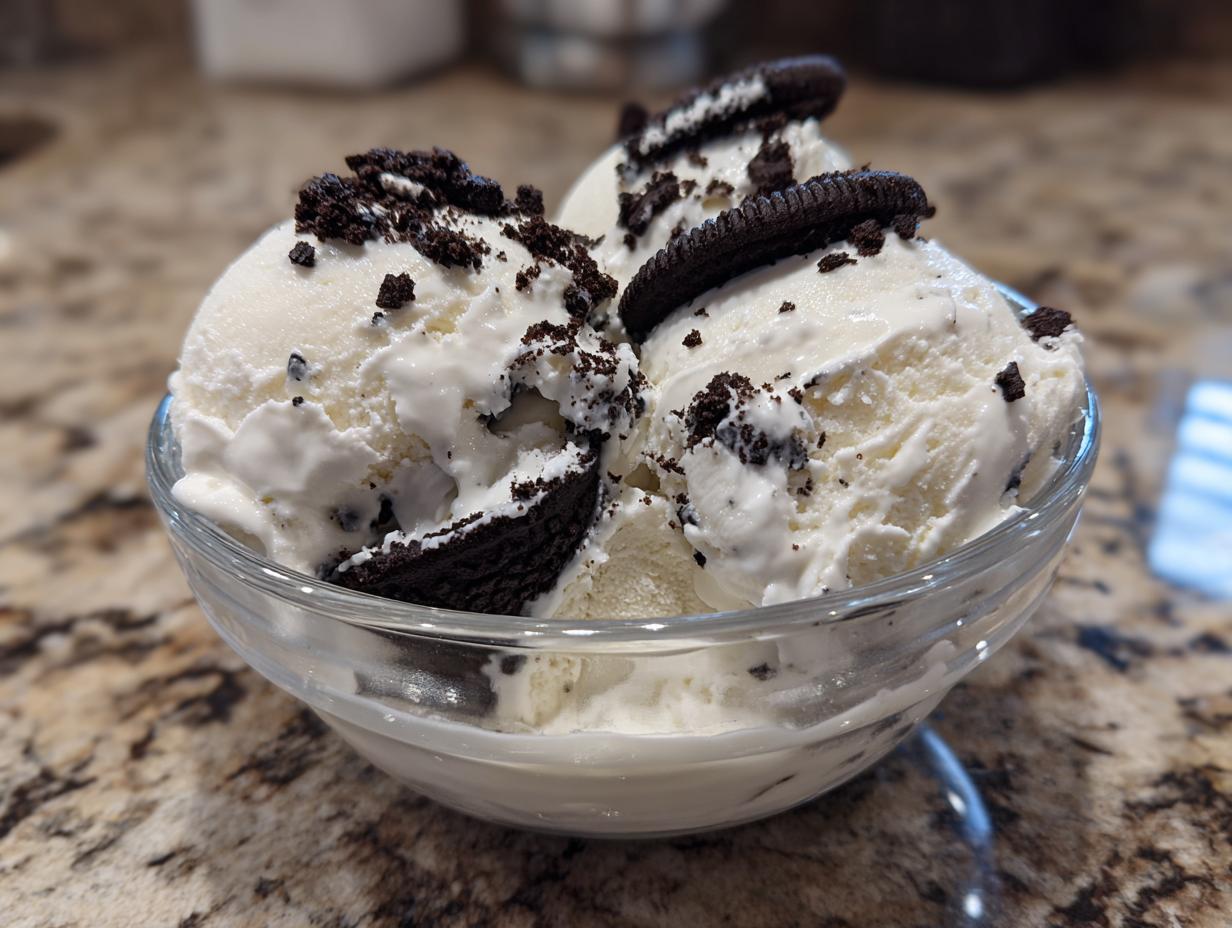

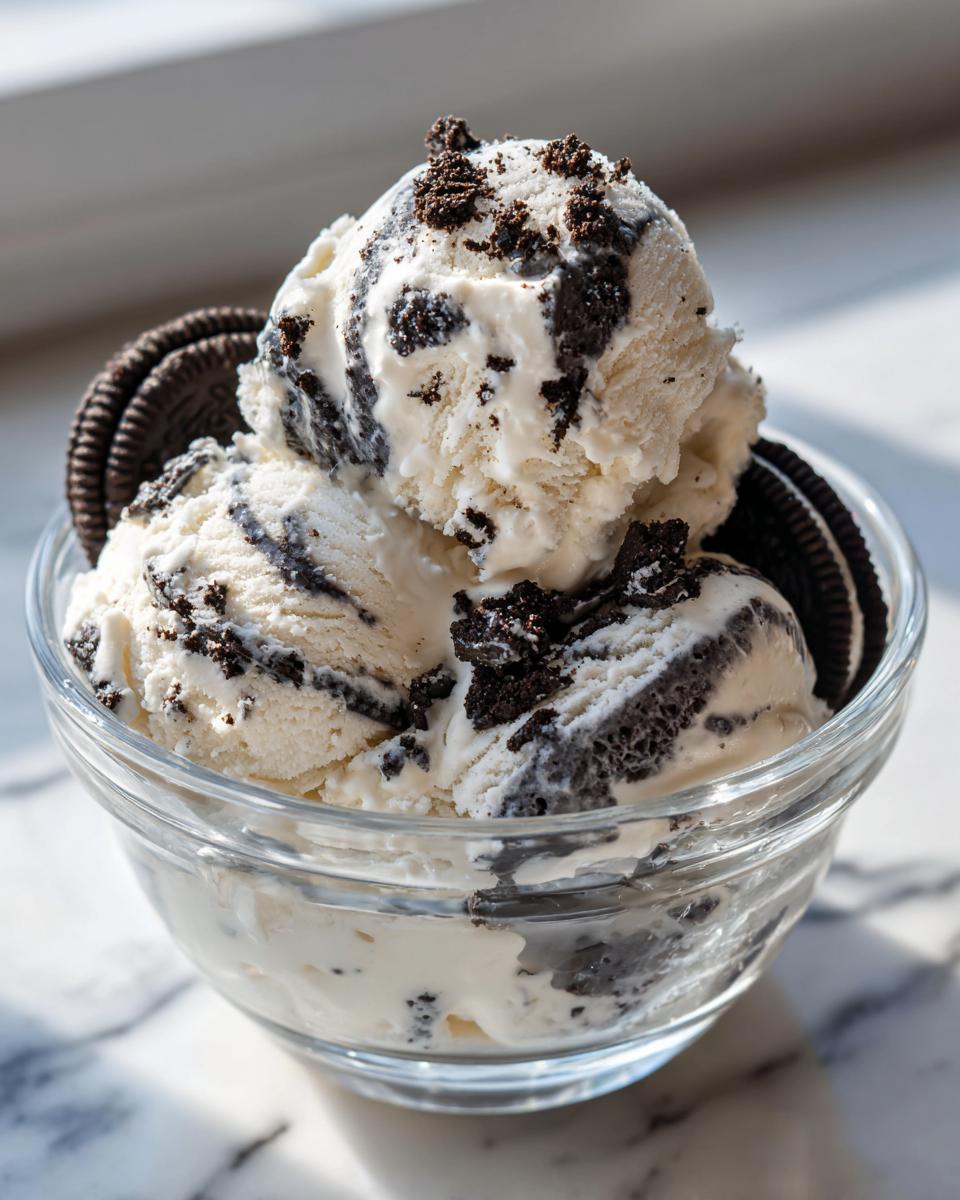
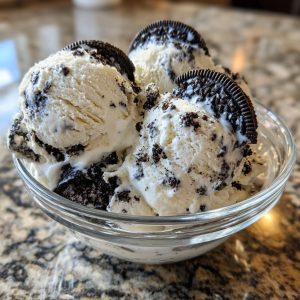
There’s something downright magical about scooping homemade ice cream straight from your freezer—no fancy machine required. My kids still giggle when they see me pull out the whipped cream and Oreos because they know what’s coming: that lusciously creamy, cookies-and-cream dream we can’t resist. This no churn Oreo ice cream is my summer lifesaver—just three simple ingredients (plus a splash of vanilla, if we’re feeling fancy) transform into a dessert so rich, you’ll swear it came from an ice cream shop. Last Fourth of July, we made a double batch, and let’s just say… there were no leftovers. Trust me, once you taste this, you’ll never miss the churn again.
- Why You'll Love This No Churn Oreo Ice Cream
- Ingredients for No Churn Oreo Ice Cream
- How to Make No Churn Oreo Ice Cream
- Tips for the Best No Churn Oreo Ice Cream
- Variations of No Churn Oreo Ice Cream
- Serving Suggestions for No Churn Oreo Ice Cream
- Storage and Freezing Tips
- Nutritional Information
- Frequently Asked Questions
Why You’ll Love This No Churn Oreo Ice Cream
This recipe is my go-to when I’m craving something sweet but don’t want to fuss with an ice cream maker. Here’s why it’s become my family’s favorite:
- No special equipment: Forget bulky machines—just a bowl, a whisk (or mixer), and your freezer.
- Three magic ingredients: Heavy cream, condensed milk, and Oreos do all the work. Vanilla’s optional but oh-so-worth it.
- Creamier than store-bought: The whipped cream base gives it that luxurious, scoopable texture we all love.
- Oreo heaven: Crunchy cookie bits in every bite? Yes, please. Kids (and let’s be honest, adults) go wild for this.
- Meal planning win: Whip up a batch Sunday and enjoy all week—if it lasts that long!
Trust me, once you try this method, you might never go back to churned ice cream again. It’s that good.
Ingredients for No Churn Oreo Ice Cream
Here’s everything you’ll need to whip up this dreamy dessert—I bet you already have most of it in your pantry right now!
- 2 cups heavy whipping cream (cold—this is key for perfect peaks)
- 1 can (14 oz) sweetened condensed milk (that glorious sticky sweetness)
- 1 tsp vanilla extract (pure vanilla makes all the difference)
- 15 Oreo cookies, crushed (I use a ziplock bag and rolling pin—therapeutic!)
- Extra Oreos for topping (optional, but why wouldn’t you?)
That’s it! Five simple things for ice cream that tastes like you fussed all day. Pro tip: Double the recipe if you’re feeding a crowd—it disappears fast.
How to Make No Churn Oreo Ice Cream
Alright, let’s get to the fun part—making this ridiculously easy ice cream! The key here is keeping things light and airy while folding in all that Oreo goodness. Don’t rush, and trust the process. I’ve made this so many times, I could do it in my sleep, but I promise you’ll nail it on your first try. Here’s how we turn those simple ingredients into a freezer masterpiece.
Step 1: Whip the Cream
First things first: cold is your friend here. Pop your mixing bowl and beaters in the freezer for 10 minutes if you can—it helps the cream whip up faster and higher. Pour in that heavy whipping cream and beat it until stiff peaks form. You’ll know it’s ready when you can turn the bowl upside down (carefully!) and nothing moves. Pro tip: If your cream isn’t cold, you’ll end up with sad, soupy results. Nobody wants that!
Step 2: Fold in Condensed Milk and Vanilla
Now, here’s where the magic happens. Drizzle in the sweetened condensed milk and vanilla extract, then gently fold them into the whipped cream with a spatula. Think of it like tucking a baby into bed—soft, slow strokes to keep all that airy fluffiness intact. Overmixing will deflate your cream, and we worked too hard for that! The mix should look cloud-like and dreamy when you’re done.
Step 3: Add Crushed Oreos
Time for the star ingredient! Sprinkle in those crushed Oreos and fold them in just until they’re evenly distributed. I like to leave some bigger chunks for texture—it’s like finding little treasure pockets in every bite. If you’re feeling extra, save a handful of crumbs to sprinkle on top before freezing. And yes, I absolutely taste-test at this stage. Quality control!
Step 4: Freeze Until Firm
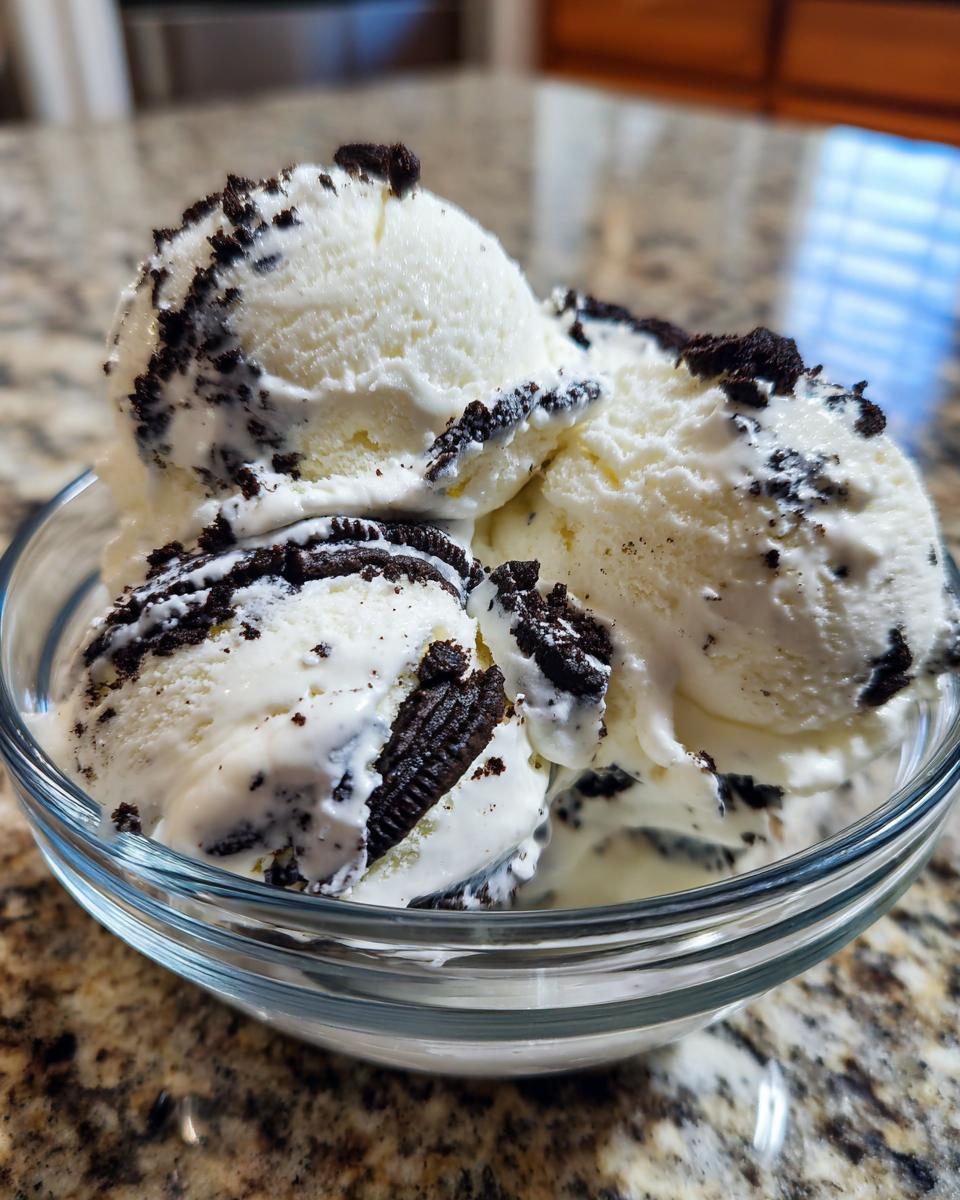
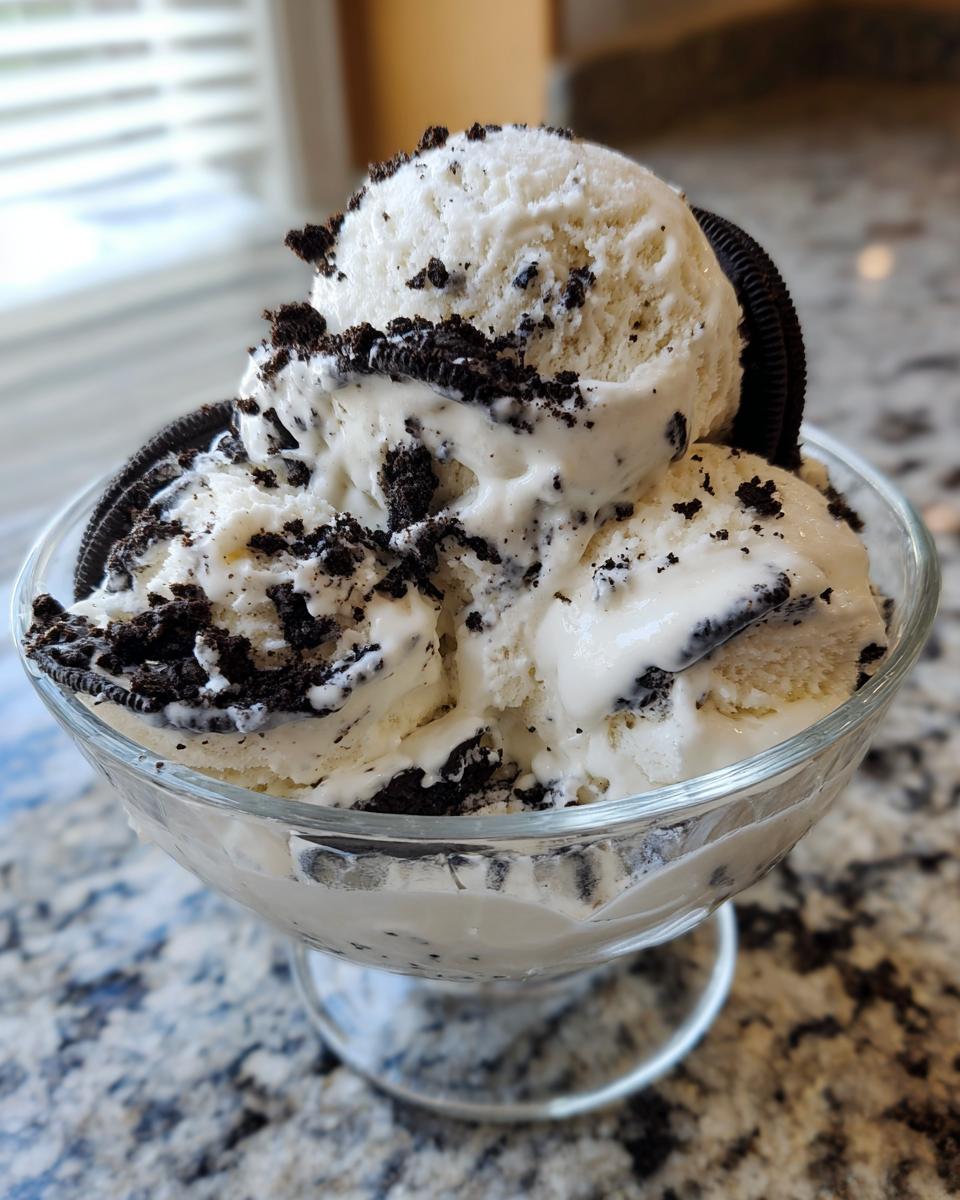
Pour your creamy Oreo mixture into a loaf pan or airtight container—I line mine with parchment for easy lifting later. Pop it in the freezer for at least 6 hours, but overnight is even better. When you’re ready to serve, let it sit on the counter for 5 minutes to soften slightly. This makes scooping a breeze and gives you that perfect, creamy texture. Then? Dive in and try not to eat the whole pan in one sitting. (No judgment if you do.)
Tips for the Best No Churn Oreo Ice Cream
After making this recipe more times than I can count, here are my foolproof tips for Oreo ice cream perfection every time:
- Use full-fat everything: Skimp on the cream and you’ll lose that luxurious texture. Trust me, it’s worth the calories!
- Fold, don’t stir: When mixing in the Oreos, gentle folding keeps things airy—like handling a cloud filled with cookie crumbs.
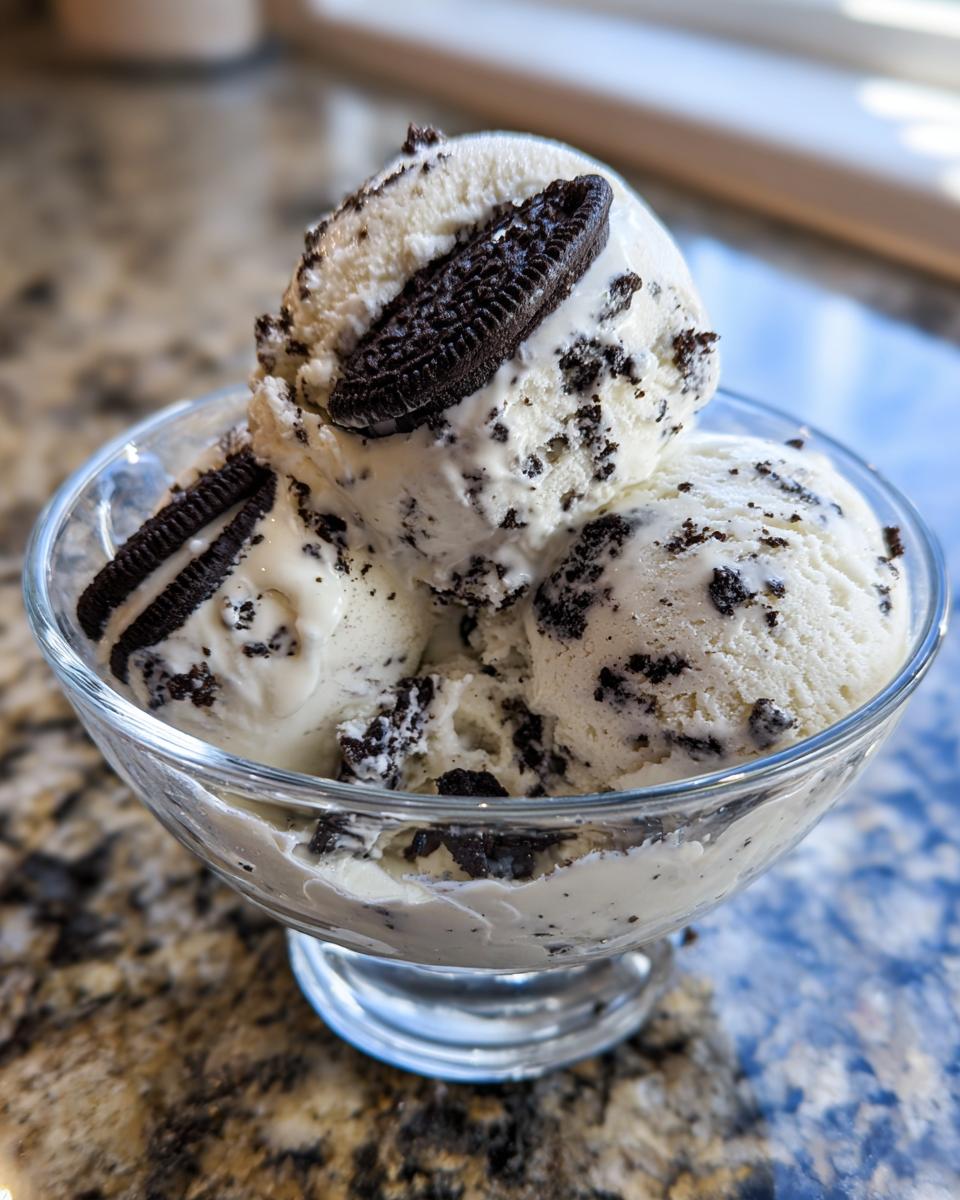
- Double the Oreos: My personal trick? I always crush extra cookies to press into the top before freezing—it creates this amazing layered crunch.
- Seal it tight: Press plastic wrap directly on the surface before freezing to prevent ice crystals. No one likes a frosty surprise!
Follow these and you’ll have ice cream so good, it might ruin store-bought for you forever!
Variations of No Churn Oreo Ice Cream
Once you’ve mastered the classic version, get creative with these fun twists! Swap regular Oreos for mint or peanut butter ones—my kids love the holiday red-and-green “Christmas Oreos” in December. Fold in chocolate chips or crushed pretzels for extra crunch. Feeling decadent? Layer the ice cream with fudge sauce before freezing for a cookies-and-cream sundae effect. The possibilities are endless!
Serving Suggestions for No Churn Oreo Ice Cream
Oh, the fun ways to serve this icy delight! My personal favorite? A generous scoop piled onto a warm brownie—it melts just enough to create a pool of creamy, cookies-and-cream goodness. For parties, I set up a toppings bar with hot fudge, whipped cream, and extra Oreo crumbs so everyone can customize their bowl. And don’t even get me started on waffle cones—that crispy crunch with the velvety ice cream is pure magic. Honestly, it’s perfection straight from the spoon too… I may or may not have “tested” that theory multiple times.
Storage and Freezing Tips
You’ll probably polish off this no churn Oreo ice cream fast (I always do!), but if miracles happen and you’ve got leftovers, here’s how to keep them perfect. Press parchment paper directly on the surface before sealing your airtight container—this blocks freezer burn like a champ! It’ll stay dreamy-creamy for up to 2 weeks, though good luck making it last that long. Pro tip: Those takeout soup containers with the snap lids? Genius for ice cream storage!
Nutritional Information
Let’s be real—this isn’t diet food, but every creamy bite is worth it! These values are estimates (your Oreo-to-cream ratio may vary, and I won’t judge if yours skews heavy on the cookies!). Per serving (about ½ cup): 320 calories, 18g fat (10g saturated), 35g carbs, and 25g sugar. Pro tip: Pair with fresh berries to balance the sweetness—or just embrace the indulgence!
Frequently Asked Questions
Over the years, I’ve gotten some great questions about this no churn Oreo ice cream recipe—here are the ones that pop up most often with my tested answers!
Can I use low-fat cream instead of heavy whipping cream?
Oh honey, I wish! But no—low-fat cream just doesn’t have enough fat to whip up properly. You’ll end up with sad, soupy disappointment instead of that dreamy fluffy texture we love. Stick with full-fat heavy whipping cream (the cold kind straight from the fridge) for perfect peaks every time.
How do I prevent icy texture in my no churn ice cream?
Two secrets here: First, whip that cream until it’s thick enough to hold mountain peaks—undermixing leads to ice crystals. Second, press plastic wrap right against the surface before freezing to block out air. (This trick saved my batches once I figured it out!) And don’t skimp on freezing time—at least 6 hours means perfectly creamy results.
Can I add other mix-ins besides Oreos?
Absolutely! This recipe is your playground. My family loves it with chocolate chips, crushed peppermint candies (holiday magic!), or even swirls of peanut butter. The key is keeping your add-ins small and evenly distributed—nobody wants all the good stuff in one bite. Just fold them in gently after the Oreos to keep that airy texture.
No Churn Oreo Ice Cream
A simple, machine-free Oreo ice cream made with whipped cream and condensed milk, folded with crushed cookies for a creamy, scoopable treat.
- Prep Time: 10 min
- Cook Time: 0 min
- Total Time: 6 hours 10 min
- Yield: 6 servings 1x
- Category: Dessert
- Method: Freezing
- Cuisine: American
- Diet: Vegetarian
Ingredients
- 2 cups heavy whipping cream
- 1 can (14 oz) sweetened condensed milk
- 1 tsp vanilla extract
- 15 Oreo cookies, crushed
Instructions
- Whip the heavy cream until stiff peaks form.
- Gently fold in the sweetened condensed milk and vanilla extract.
- Add the crushed Oreo cookies and mix lightly.
- Pour the mixture into a loaf pan or airtight container.
- Freeze for at least 6 hours or until firm.
- Scoop and serve.
Notes
- For a smoother texture, let the ice cream sit at room temperature for 5 minutes before scooping.
- Add extra crushed Oreos on top for more crunch.
Nutrition
- Serving Size: 1/2 cup
- Calories: 320
- Sugar: 25g
- Sodium: 120mg
- Fat: 18g
- Saturated Fat: 10g
- Unsaturated Fat: 6g
- Trans Fat: 0g
- Carbohydrates: 35g
- Fiber: 1g
- Protein: 4g
- Cholesterol: 55mg