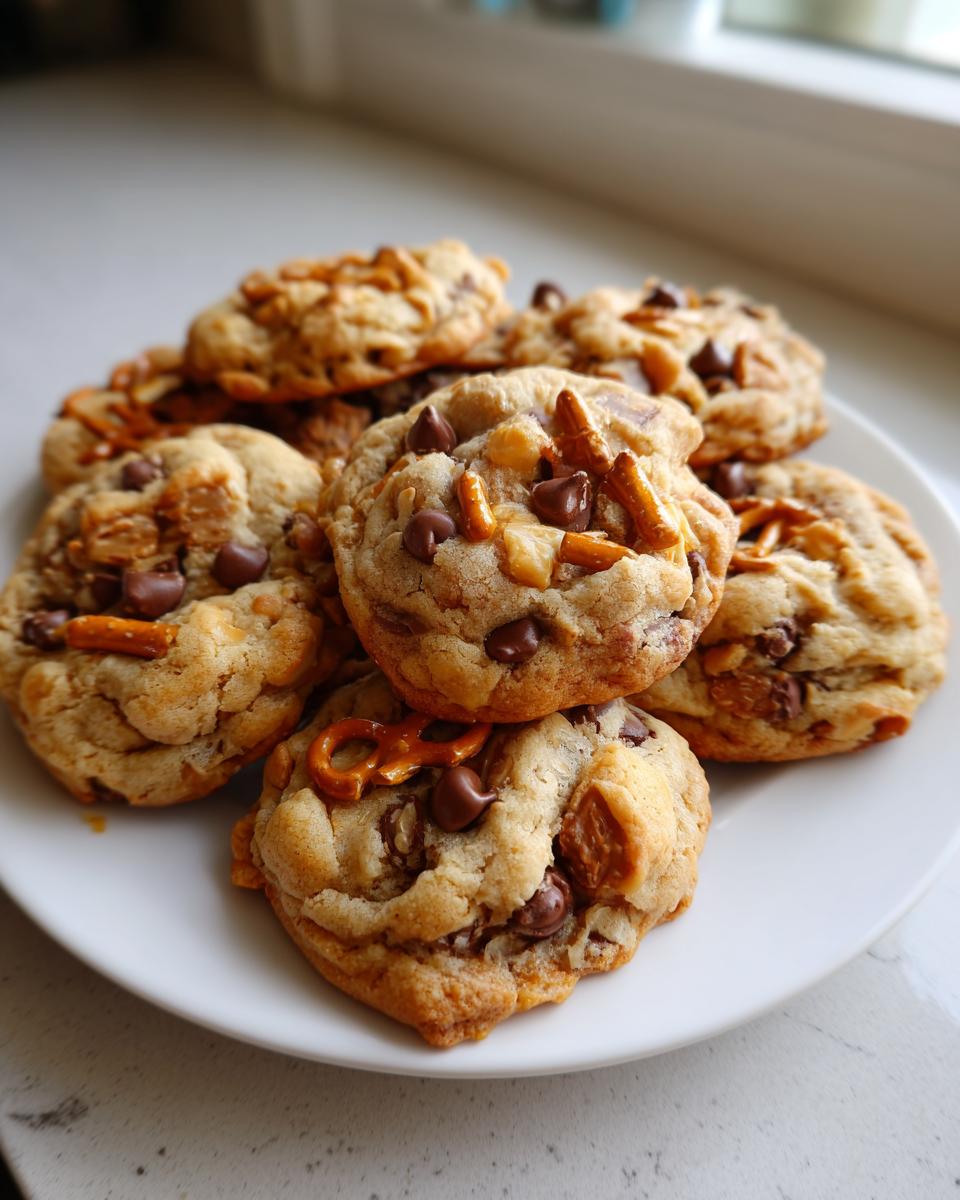
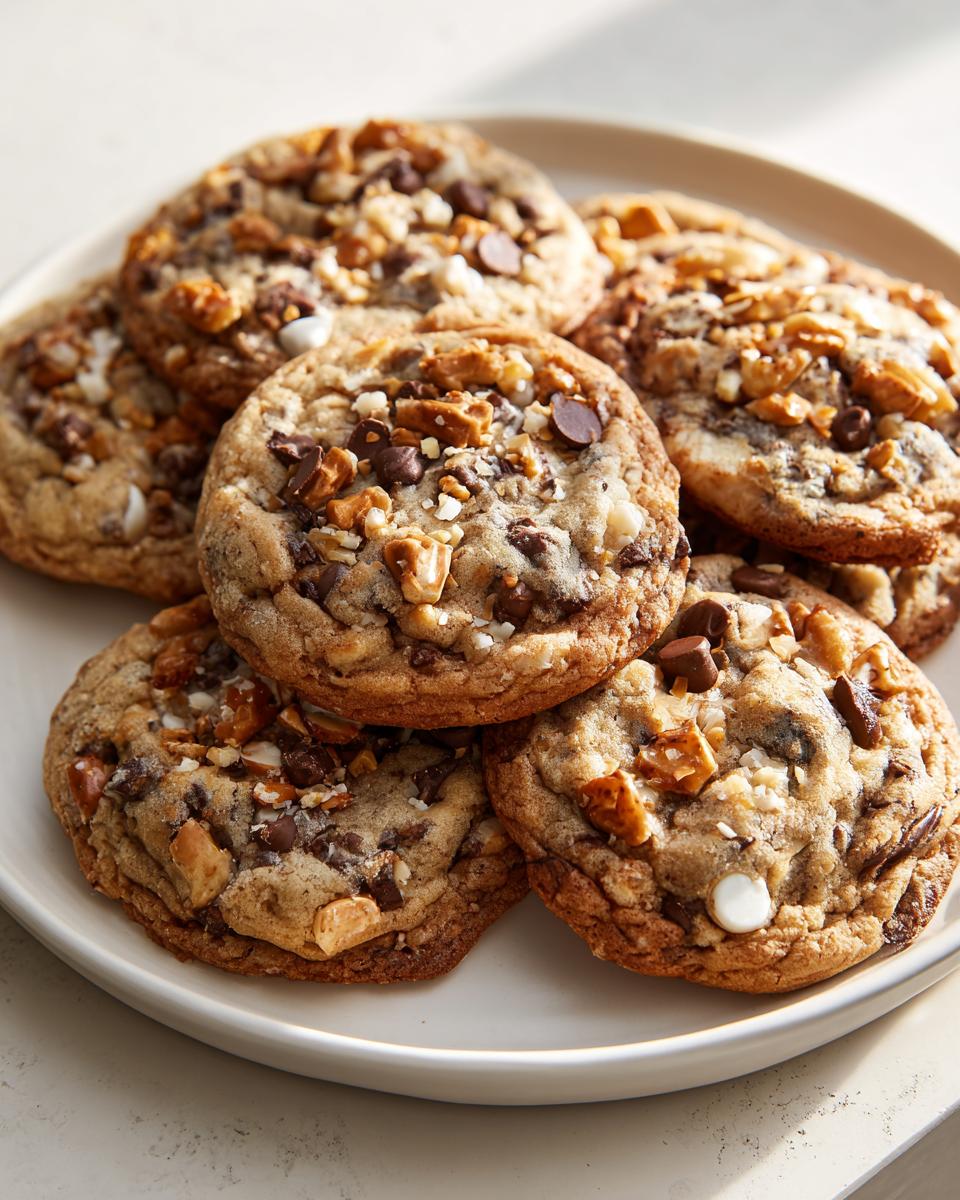
Some of my favorite childhood memories were made in Grandma Eleanor’s kitchen, where flour dusted the countertops like freshly fallen snow and the scent of vanilla filled the air. It was there that I first fell in love with what she called her “everything but the kitchen sink” cookies. She’d laugh as she tossed handfuls of chocolate chips, pretzels, toffee bits, and whatever else she found in the pantry into the dough. The result? A chewy, golden cookie with the perfect salty-sweet contrast that made them disappear almost as fast as she could bake them.
Those kitchen sink cookies were magic – crispy at the edges, soft in the center, with little surprises in every bite. Now, decades later, I still make them exactly how Grandma taught me. The smell of them baking takes me right back to those warm afternoons, sneaking bites of dough and listening to her stories. There’s just something about the way the sweet chocolate and crunchy pretzels come together in these cookies that feels like pure comfort in every bite. Trust me, once you try them, you’ll understand why they became our family’s most requested treat.
Why You’ll Love These Kitchen Sink Cookies
Here’s why these kitchen sink cookies will become your new obsession:
- That perfect chewy texture – crispy golden edges with a soft, buttery center that stays tender for days
- Salty-sweet magic – the combination of chocolate, toffee, and pretzels creates flavor fireworks in every bite
- Endless possibilities – toss in whatever you’ve got on hand (I’ve used everything from potato chips to dried cranberries)
- Crowd-pleaser guaranteed – these disappear fast at parties and bake sales (I always make a double batch!)
- Holiday cookie box superstar – package them up with pretty ribbon for the most requested gift around
The best part? You probably have most ingredients in your pantry already. Just wait until you see the look on people’s faces when they take that first bite!
Kitchen Sink Cookies Ingredients
Here’s what you’ll need to make a batch of these magical kitchen sink cookies. I’ve made these so many times I can rattle off this list in my sleep – though I still check it twice, just like Grandma taught me!
- 1 cup (2 sticks) unsalted butter, softened at room temperature (this makes all the difference for creaming!)
- 1 cup packed brown sugar – the molasses adds that perfect depth
- 1/2 cup granulated sugar for just the right sweetness
- 2 large eggs, straight from the fridge is fine
- 1 teaspoon vanilla extract – the good stuff if you’ve got it
- 2 1/4 cups all-purpose flour (I like to spoon and level to measure)
- 1 teaspoon baking soda – check it’s fresh!
- 1/2 teaspoon salt – balances all that sweetness
Now for the fun part – mix-ins! These are the essentials, but feel free to raid your pantry:
- 1 cup semi-sweet chocolate chips (or chopped chocolate if you’re feeling fancy)
- 1/2 cup crushed pretzels – the saltier the better
- 1/2 cup toffee bits – the sticky, buttery magic
- 1/2 cup chopped nuts – I love pecans, but walnuts work great too
See? Nothing too fancy – just simple ingredients that come together to make pure cookie magic!
How to Make Kitchen Sink Cookies
Making these kitchen sink cookies is easier than you think! The magic happens in just a few simple steps. First things first – preheat your oven to 350°F (175°C) and line your baking sheets with parchment paper. Trust me, this makes cleanup a breeze and helps prevent sticking. Now grab that bowl of softened butter – if you forgot to take it out earlier (we’ve all been there!), just microwave it for 5-second bursts until it’s soft but not melted.
Prepping the Dough
In your trusty mixing bowl, beat together the butter and both sugars until they’re light and fluffy – about 2-3 minutes should do it. This is where the magic starts! Now add those eggs one at a time, mixing well after each, then stir in that beautiful vanilla. Don’t forget to scrape down the sides of the bowl – I can’t tell you how many times I’ve found pockets of unmixed ingredients hiding there!
Baking the Cookies
Now for the fun part – drop that generous dough by rounded tablespoons onto your prepared sheets, leaving about 2 inches between them so they have room to spread. Bake for 10-12 minutes until the edges are golden but the centers still look slightly underdone – this is your secret for those perfect chewy centers. Let them rest on the pans for 5 minutes before transferring to a wire rack – I know it’s tempting, but don’t skip this step or your cookies might fall apart!
Pro tip from Grandma: rotate your pans halfway through baking for even browning, especially if your oven has hot spots like mine does. And if you want them extra crisp? Bake a minute or two longer – but keep an eye on them, they go from perfect to overdone quickly!
Expert Tips for Perfect Kitchen Sink Cookies
After making these cookies more times than I can count (and taste-testing every single batch, obviously), I’ve picked up a few tricks to make them absolutely perfect every time. Want to take yours to the next level? Try browning the butter first – just melt it in a saucepan until it’s golden and nutty-smelling, then let it cool slightly before using. Oh my goodness, the depth of flavor it adds is unreal!
Here’s another favorite trick: chill the dough for at least 30 minutes before baking. Not only does this help prevent spreading, but it gives you those delightfully thick, bakery-style cookies we all love. And while we’re talking baking – don’t forget to rotate your pans halfway through! I swear by this, especially if your oven heats unevenly like mine does.
One last thing: resist the urge to overmix once you add the flour. I know it’s tempting to keep stirring, but that’s how you end up with tough cookies. Just mix until everything comes together, even if you see a few floury streaks – they’ll work themselves out. Follow these simple tricks, and you’ll have cookies that would make my Grandma Eleanor proud!
Mix-In Variations for Kitchen Sink Cookies
The beauty of these cookies is that you can toss in just about anything! Here are some of my favorite mix-in combos:
Sweet options:
- M&Ms (perfect for holidays – use seasonal colors!)
- White chocolate chips with dried cranberries
- Shredded coconut and butterscotch chips
- Chopped peanut butter cups (my secret weakness)
Salty surprises:
- Crushed potato chips (trust me on this one)
- Pretzels and mini cheese crackers
- Salted peanuts with dark chocolate
Allergy-friendly? No problem! Swap nuts for sunflower seeds or just leave them out. That’s the magic of kitchen sink cookies – they’re endlessly adaptable to what you love and what you’ve got on hand!
Storing and Freezing Kitchen Sink Cookies
Here’s how to keep those kitchen sink cookies tasting just-baked fresh! At room temperature, store them in an airtight container with a slice of bread – this little trick keeps them soft for up to 3 days (if they last that long!). For longer storage, freeze the baked cookies in single layers separated by parchment for 3 months. I also love freezing dough balls – just scoop them onto a tray, freeze firm, then transfer to bags. When that cookie craving hits, bake straight from frozen, adding a minute to the baking time. Want to revive day-old cookies? A quick 10-second zap in the microwave or 5 minutes in a 300°F oven brings back that perfect crispness!
Kitchen Sink Cookies FAQs
I’ve gotten so many questions about these kitchen sink cookies over the years! Here are the answers to the ones I hear most often:
Can I use melted butter instead of softened?
Oh boy, I learned this the hard way! Melted butter will make your cookies spread too thin. You really need that softened butter to cream properly with the sugars for the perfect chewy texture. But if you’re in a pinch, you can try chilling the dough for an hour before baking to help prevent spreading.
How do I keep my cookies from spreading too much?
Here’s my foolproof solution: make sure your baking soda is fresh (test it—it should bubble in vinegar!), chill the dough for 30 minutes before baking, and don’t overcrowd your baking sheets. Also, resist the urge to press down the dough balls—they’ll spread just perfectly on their own!
What’s the best nut for maximum crunch?
For that perfect salty-sweet crunch, I swear by pecans or roasted almonds. Walgets work great too, but toast them first (350°F for 5-7 minutes) to really bring out their flavor. Not a nut fan? Try toasted coconut flakes or sunflower seeds instead!
Can I freeze the dough for later?
Absolutely! In fact, I always keep some dough balls in the freezer for last-minute cravings. Just scoop them first, freeze on a tray, then pop ’em in a bag. Bake straight from frozen—just add an extra minute or two to the cooking time. It’s like having fresh-baked cookies anytime!
Why are mine not coming out chewy?
The secret is slightly underbaking—pull them when the edges are golden but the centers still look soft. They’ll firm up as they cool. Also, using all brown sugar (or replacing some white sugar with extra brown) helps. And don’t overmix once you add the flour—that makes them tough as shoe leather!
Nutrition Information
Here’s the scoop on nutrition for these kitchen sink cookies (because we all want to know exactly how much joy we’re consuming, right?): Each cookie contains about 180 calories. Remember, these numbers can vary based on your specific ingredients and brands – especially with all those fun mix-ins!
Nutrition per cookie (estimate): 9g fat, 22g carbs, 12g sugar, 2g protein. Now go enjoy that salty-sweet goodness – life’s too short not to savor every bite!
PrintKitchen Sink Cookies
Chewy cookies packed with chips, pretzels, toffee, and nuts for a salty-sweet treat.
- Prep Time: 15 min
- Cook Time: 12 min
- Total Time: 27 min
- Yield: 24 cookies 1x
- Category: Dessert
- Method: Baking
- Cuisine: American
- Diet: Vegetarian
Ingredients
- 1 cup unsalted butter, softened
- 1 cup brown sugar
- 1/2 cup granulated sugar
- 2 large eggs
- 1 tsp vanilla extract
- 2 1/4 cups all-purpose flour
- 1 tsp baking soda
- 1/2 tsp salt
- 1 cup semi-sweet chocolate chips
- 1/2 cup crushed pretzels
- 1/2 cup toffee bits
- 1/2 cup chopped nuts
Instructions
- Preheat your oven to 350°F (175°C). Line baking sheets with parchment paper.
- Cream butter and sugars until light and fluffy. Add eggs and vanilla, mixing well.
- In a separate bowl, whisk flour, baking soda, and salt. Gradually add to the wet ingredients.
- Fold in chocolate chips, pretzels, toffee bits, and nuts.
- Drop dough by rounded tablespoons onto baking sheets. Bake for 10-12 minutes until edges are golden.
- Cool on baking sheets for 5 minutes before transferring to a wire rack.
Notes
- For extra chewiness, slightly underbake the cookies.
- Store in an airtight container to maintain freshness.
Nutrition
- Serving Size: 1 cookie
- Calories: 180
- Sugar: 12g
- Sodium: 120mg
- Fat: 9g
- Saturated Fat: 5g
- Unsaturated Fat: 3g
- Trans Fat: 0g
- Carbohydrates: 22g
- Fiber: 1g
- Protein: 2g
- Cholesterol: 25mg

