
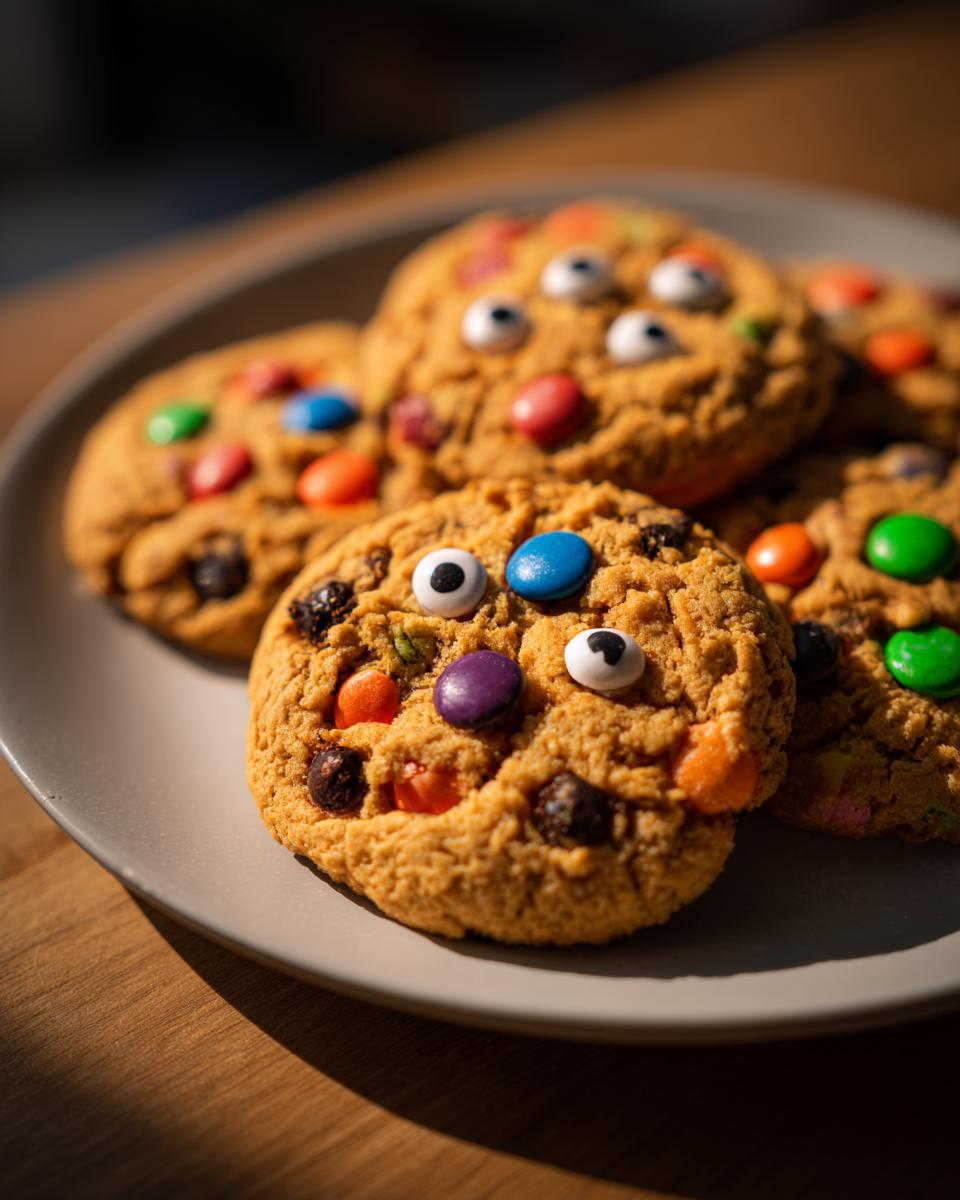
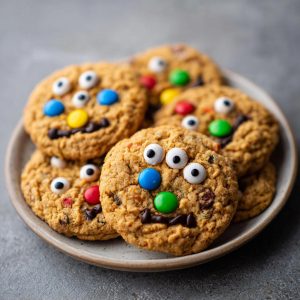
Oh boy, is it that time of year again? That magical season where the leaves turn crunchy, the air gets a little spooky, and the kitchen just *has* to smell like cinnamon and sugar! There’s seriously nothing I love more than getting into the Halloween spirit, and for me, that absolutely means baking with my kiddos. And what better way to capture all that fun and fright than with a batch of these amazing Halloween monster cookies? They’re just the softest, chewiest little guys, absolutely loaded with all sorts of candy – M&M’s, peanut butter goodness, oats, and even those creepy candy eyeballs! They’re a total hit every single year, and honestly, they’re almost as much fun to make as they are to eat. I remember one year, we had so much candy leftover, we just went wild stuffing it into the dough!
- Why You'll Love These Halloween Monster Cookies
- Gather Your Ingredients for Halloween Monster Cookies
- How to Make Perfect Halloween Monster Cookies
- Tips for Keeping Your Halloween Monster Cookies Soft
- Creative Ways to Use Leftover Halloween Candy
- Making Halloween Monster Cookies: A Kid-Friendly Activity
- Frequently Asked Questions About Halloween Monster Cookies
- Estimated Monster Cookie Calories Per Cookie
- Storage and Reheating Instructions for Your Monster Cookies
- Serving Halloween Monster Cookies at Parties
- Share Your Halloween Monster Cookie Creations!
Why You’ll Love These Halloween Monster Cookies
Seriously, these cookies are a total slam dunk for so many reasons! Here’s why you’ll absolutely adore making and devouring them:
- So Easy to Make: Even with little helpers, these come together super fast. No chilling needed!
- Kid-Approved Fun: Kids *love* these! They get to help mix, stuff with candy, and decorate their own little monsters.
- Candy Lover’s Dream: Whatever candy you have hanging around? It’s going in! That’s the best part.
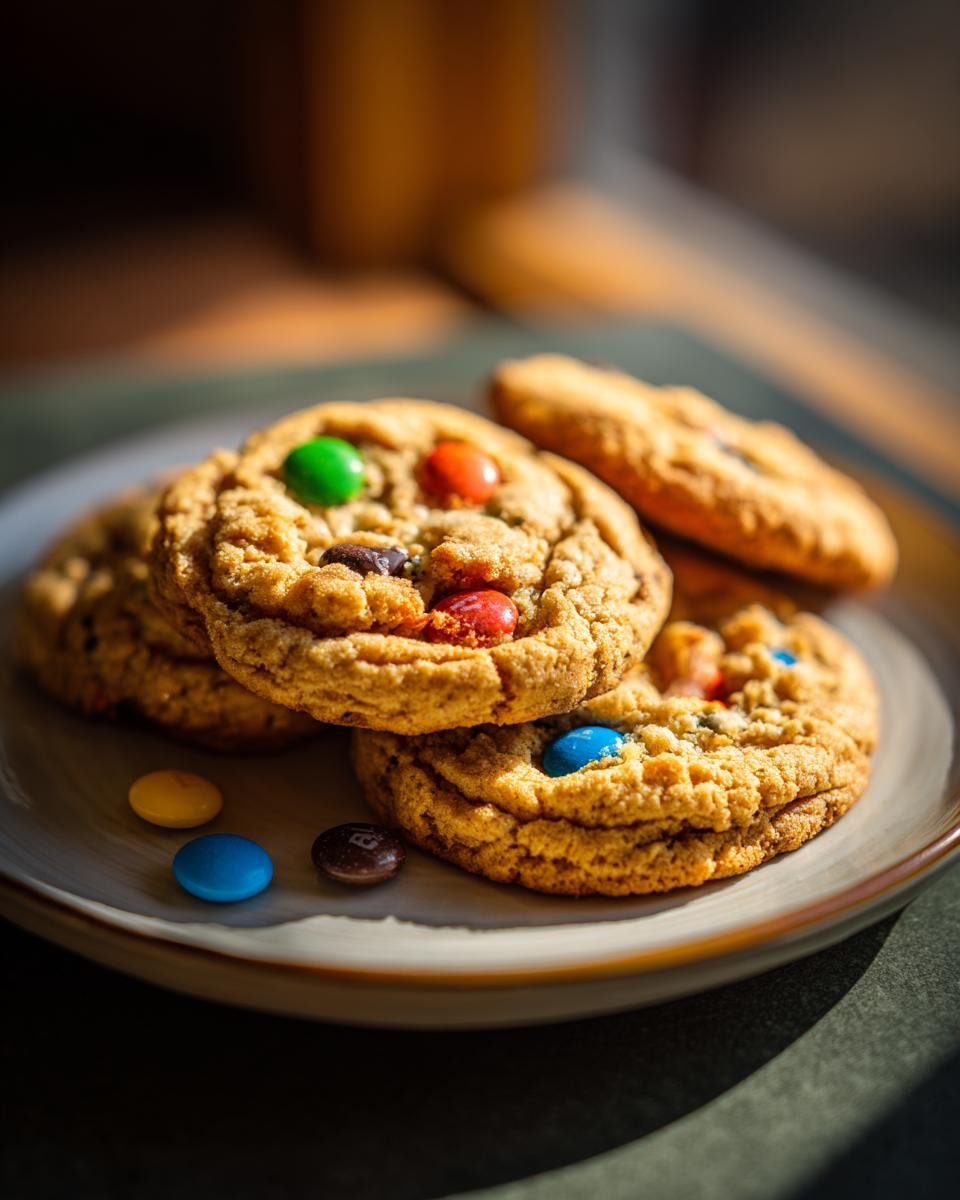
- Soft & Chewy Perfection: We’re talking about that perfect texture – not cakey, not crunchy, just pure soft, chewy goodness.
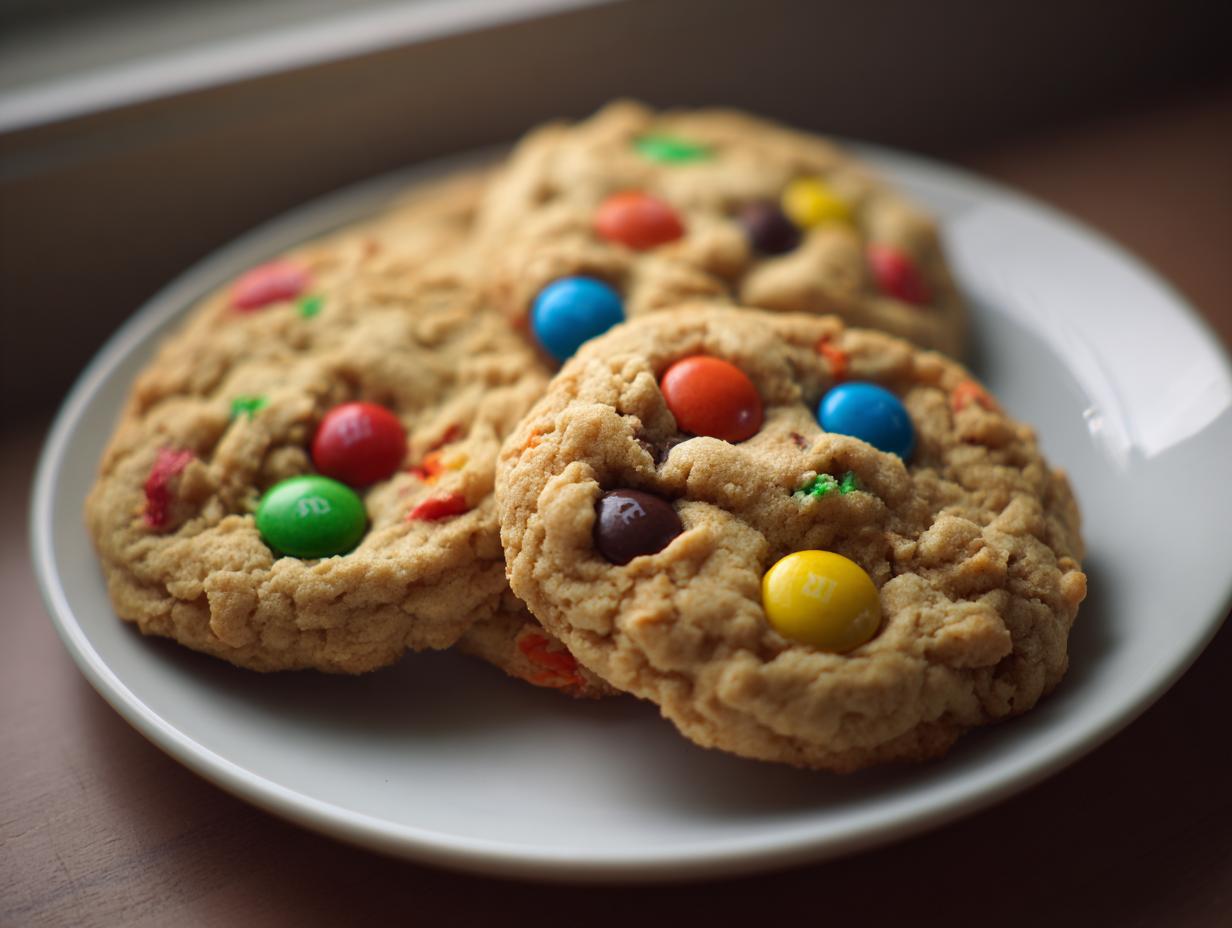
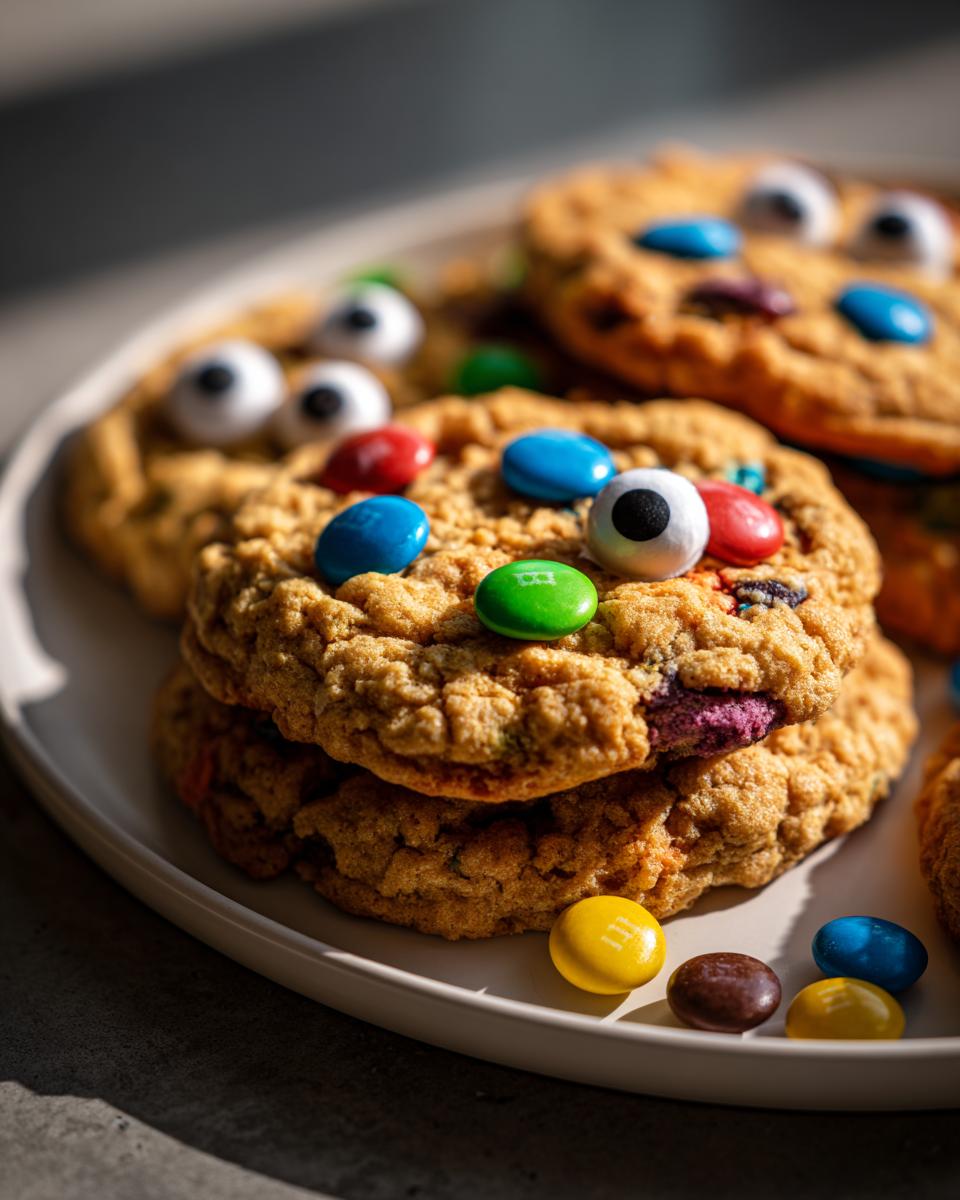
- Festive & Fun: With candy eyeballs and bright M&M’s, they look just as spooky and fun as they taste. Perfect for any Halloween party!
Gather Your Ingredients for Halloween Monster Cookies
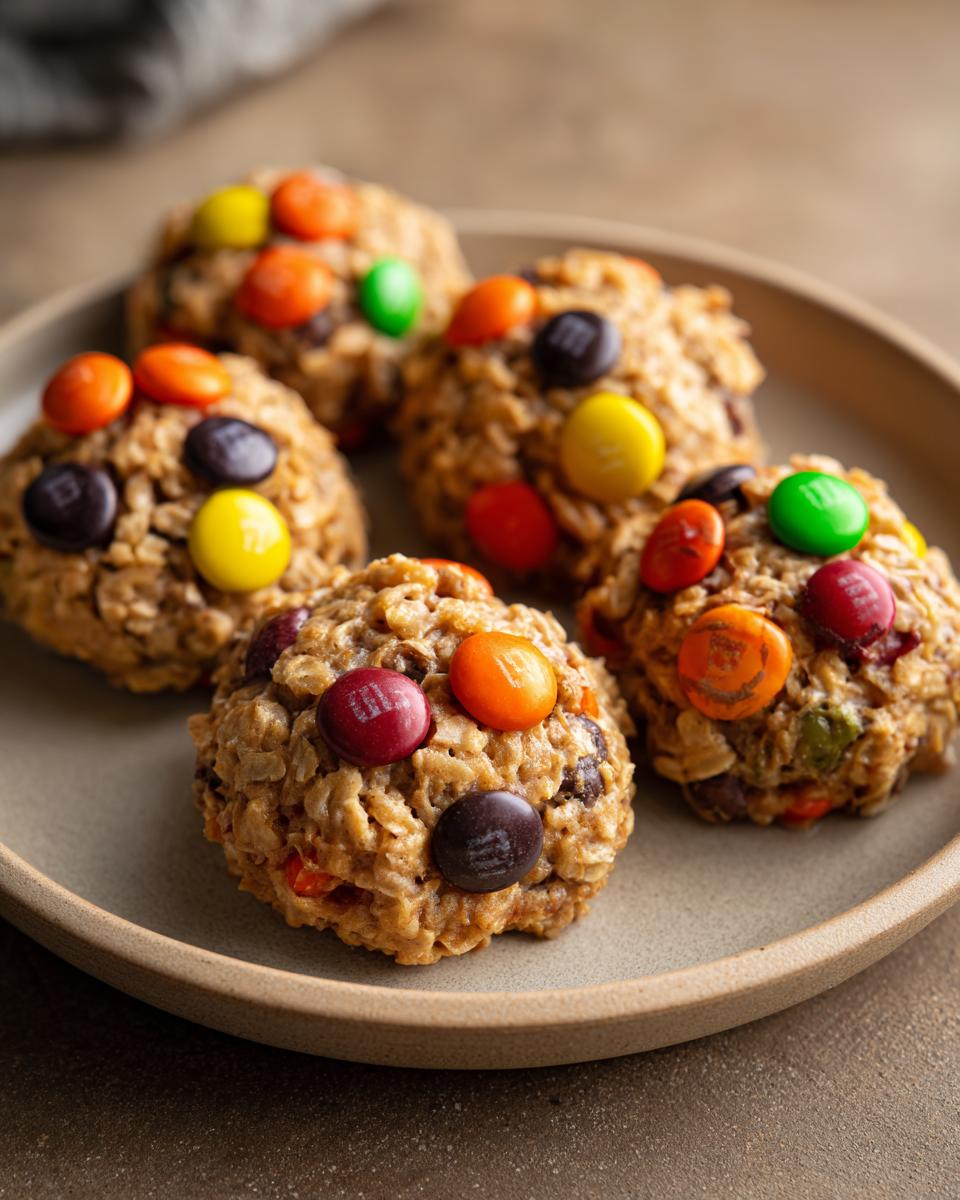
Alright, let’s get our shopping list ready for these spooky delights! You’ll want to grab a few things to make sure your Halloween monster cookies are absolutely perfect. First off, we need a cup of softened butter – make sure it’s soft enough to mash down with your finger, no melted butter here! Then, we’ll need a cup each of granulated sugar and packed brown sugar; that brown sugar is key for that chewy texture, trust me. Two large eggs are up next, followed by a teaspoon of good ol’ vanilla extract for that cozy flavor. For our dry ingredients, grab two cups of all-purpose flour, a teaspoon of baking soda, and half a teaspoon of salt. Now for the stars of the show: three cups of old-fashioned rolled oats – none of that instant stuff! And of course, a cup of creamy peanut butter. The best part? Two whole cups of chopped Halloween candy! Think M&M’s, candy corn, and definitely those fun candy eyeballs. If you’re going the gluten-free route, just be sure to snag a good gluten-free all-purpose flour blend and make sure your oats are certified gluten-free. Easy peasy!
How to Make Perfect Halloween Monster Cookies
Alright, let’s get these spooky cookies into the oven! Making these Halloween monster cookies is super straightforward, and honestly, it’s half the fun. Just follow these simple steps and you’ll have a whole batch of chewy, candy-loaded goodness in no time! Think of it like a baking adventure, kind of like when I make my famous snickerdoodles or those amazing Levain copycat cookies.
Creaming Butter and Sugars for Halloween Monster Cookies
First things first, grab your big mixing bowl. You want to cream together that softened butter with both the granulated sugar and the packed brown sugar. Use your mixer, or a sturdy spoon if you’re feeling ambitious, until it’s all light and fluffy. This step is crucial because it whips air into the dough, which helps make our cookies nice and tender, not dense like hockey pucks!
Combining Wet and Dry Ingredients for Monster Cookies
Now, in a separate bowl, whisk together your flour, baking soda, and salt. This just makes sure everything’s evenly distributed so you don’t get a salty bite! Then, you’ll slowly add these dry ingredients to your creamed butter-sugar mixture. Mix it until it’s *just* combined – seriously, don’t overdo it! Overmixing can make your cookies tough, and we want chewy, not chewy-tough.
Adding Oats, Peanut Butter, and Candy Mix-ins
Time for the heart of the cookie! Stir in your old-fashioned rolled oats and that creamy peanut butter. Get them all mixed in until it looks like chunky cookie dough. Then comes the best part: fold in all that chopped Halloween candy! I like to give it a gentle fold so the candy gets distributed evenly throughout the dough without getting all smashed up.
Baking Your Halloween Monster Cookies
Now, preheat your oven to 350°F (175°C) and line some baking sheets – parchment paper is your friend here for easy cleanup. Drop rounded tablespoons of dough onto the sheets, leaving a couple of inches between them so they have room to spread. For extra soft-in-the-middle cookies, give the tops a little gentle flatten with your fingers. Bake for about 9 to 12 minutes. You’re looking for the edges to be just lightly golden brown. The centers should still look a little soft – that’s how you know they’ll be perfectly chewy when they cool down!
Cooling and Finishing Your Spooky Treats
Once they’re out of the oven, let those cookies hang out on the baking sheets for a few minutes. This lets them set up just enough so they don’t fall apart. Then, carefully transfer them to a wire rack to cool completely. If you’re adding any extra candy eyeballs to make them extra monstrous, now’s the time to gently press them into the warm cookies before they set completely! It’s like giving them their own spooky eyes.
Tips for Keeping Your Halloween Monster Cookies Soft
Okay, so you’ve made these amazing Halloween monster cookies, and you want them to stay perfectly soft and chewy, right? I totally get it! Nobody wants a dry, crumbly cookie, especially when it’s loaded with candy. So, here are my tried-and-true secrets for how to keep monster cookies soft, and it all starts right in the oven.
First off, don’t overbake them! Seriously, pull these babies out when the edges are just starting to turn golden brown and the centers still look a little underdone. They’ll keep baking a bit on the hot pan, and that touch of underbaking is the magic trick for that ultimate soft chew. Brown sugar is another big player here; it has more moisture than white sugar thanks to that molasses content, which naturally keeps baked goods softer. For storage, make sure they’re completely cooled, then pop them into an airtight container. You can even add a slice of bread to the container – it sounds weird, but the cookie will absorb a little moisture from the bread and stay super soft. These tricks work wonders, just like they do for my kitchen sink cookies!
Creative Ways to Use Leftover Halloween Candy
Okay, let’s talk about the glorious aftermath of trick-or-treating: the candy haul! These Halloween monster cookies are basically a treasure chest for any leftover candy you’ve got lingering around. Seriously, the possibilities are half the fun! I love chopping up chocolate bars – even the ones that have gone a *little* soft – and tossing them in. They get all melty and gooey in the cookies! And don’t even get me started on gummy candies; they get surprisingly chewy and add a fun little burst of flavor. We always end up with a random assortment, but that’s the charm of these leftover Halloween candy cookies. My personal favorite combo is the classic M&M’s and maybe some chopped Reese’s cups. It’s always a delicious surprise what gets mixed into each batch! It’s so much fun, kind of like when we make those out-of-this-world caramel apple nachos – you just use what you have and make magic!
Making Halloween Monster Cookies: A Kid-Friendly Activity
Honestly, one of my favorite things about these Halloween Monster Cookies is how much fun they are to make *with* the kids. It’s not just baking; it’s an event! This is truly a fantastic way to get into the spirit of holiday baking with kids. Let them help cream the butter and sugar – they love seeing it get all fluffy. And when it’s time for the candy, oh boy, that’s the best part! You can let them chop the candy (with supervision, of course!) or just dump it all in.
Don’t forget the candy eyeballs! They are a total game-changer for making these cookies look like little monsters. Just gently press them into the dough before baking or right after they come out of the oven. You can even get a little wild with some neon sprinkles if you’re feeling that “neon sprinkle aesthetic” vibe. It’s so much fun to see what little monsters each kid creates! It’s a bit like when we make our mini pancake cereal; everyone gets to customize their own little creation.
We love snapping pics of our cookie creations, and I sometimes share them on my Facebook page, RecipesToKeepHQ. It’s just a great way to capture the memories and the messy, happy fun of it all!
Frequently Asked Questions About Halloween Monster Cookies
Got questions about these spooky delights? I’ve got you covered! Because when it comes to baking these Halloween monster cookies, a few things always pop up. Let’s dive into the most common ones so your baking goes off without a hitch! If you’re looking for more sweet ideas, check out my full list of dessert recipes!
Can I make these Halloween monster cookies without chilling the dough?
Oh yes, absolutely! That’s one of the best things about these no chill monster cookies. The dough is perfect for scooping right away. Because we’ve got oats and peanut butter in there, it holds its shape pretty well, so you don’t have to wait ages in the fridge. Just scoop and bake!
How do I add candy eyeballs so they stick?
This is the fun part! For adding candy eyeballs to cookies, you’ve got a couple of options. You can gently press them into the dough *before* they go into the oven. Or, if you want them for sure to stick and maybe look a little more “sweaty” and monstrous, press them in right when the cookies come out of the oven. The residual heat will help them adhere perfectly!
Can I make these Halloween monster cookies gluten-free?
You sure can! If you’re looking for gluten-free goodness, just make sure you’re using a good quality gluten-free all-purpose flour blend. Also, double-check that your oats are certified gluten-free, as oats can sometimes get cross-contaminated. These peanut butter oats gluten free notes are crucial if you need them to be! They’ll still be just as chewy and delicious.
Estimated Monster Cookie Calories Per Cookie
Okay, so you’re curious about the numbers, huh? I get it! When you’re whipping up a batch of these fantastic Halloween monster cookies, it’s good to have an idea. While every batch can be a *little* different depending on exactly what candy you toss in, you can generally estimate about 250 calories per cookie. Remember that’s based on making about 24 cookies, and it includes the butter, sugars, oats, peanut butter, and all that yummy candy. So, a little treat for your monster cookie calories per cookie count!
Storage and Reheating Instructions for Your Monster Cookies
Alright, so you’ve got a glorious pile of these amazing Halloween monster cookies, and you want them to stay just as soft and chewy as when they first came out of the oven, right? I totally get it! The best way to keep them fresh is to make sure they’re completely cool first. Then, pop them into an airtight container. You can keep them on the counter for about 3 to 4 days, and they’ll still be wonderfully soft, especially if you used those tips from earlier about not overbaking! If you need them to last even longer, they freeze like a dream. Just wrap them well in plastic wrap and pop them into a freezer bag. That way, you’ve got a spooky treat ready whenever the craving hits!
Serving Halloween Monster Cookies at Parties
These Halloween monster cookies are just perfect for any spooky get-together! Seriously, they’re a guaranteed crowd-pleaser. Think about setting them up on a fun trick or treat dessert table with all your other spooky cookie ideas. They look amazing with those colorful candy bits and those googly eyes peeking out – people always love those candy-studded cookie closeups! You could even pair them with some savory things like my easy Caprese skewers or a big ol’ bowl of 7-layer taco dip. They’re just so festive and fun, everyone will be grabbing for a few!
Share Your Halloween Monster Cookie Creations!
Alright, now that you’ve got the inside scoop on these fantastic Halloween monster cookies, I would just LOVE to see what you whip up! Did you try any wild candy combinations? Did your little monsters turn out extra spooky? Share your photos and tell me all about your baking adventures in the comments below. Seriously, hearing from you makes my day and helps everyone else get inspired! You can even check out more about my baking journey over on the About Me page!
PrintHalloween Monster Cookies
Soft and chewy Halloween monster cookies loaded with candy and oats, perfect for kids and parties.
- Prep Time: 20 min
- Cook Time: 12 min
- Total Time: 32 min
- Yield: 24 cookies 1x
- Category: Dessert
- Method: Baking
- Cuisine: American
- Diet: Vegetarian
Ingredients
- 1 cup (2 sticks) unsalted butter, softened
- 1 cup granulated sugar
- 1 cup packed brown sugar
- 2 large eggs
- 1 teaspoon vanilla extract
- 2 cups all-purpose flour
- 1 teaspoon baking soda
- 1/2 teaspoon salt
- 3 cups old-fashioned rolled oats
- 1 cup peanut butter
- 2 cups chopped Halloween candy (M&M’s, candy corn, candy eyeballs)
Instructions
- Preheat your oven to 350°F (175°C). Line baking sheets with parchment paper.
- In a large bowl, cream together the softened butter, granulated sugar, and brown sugar until light and fluffy.
- Beat in the eggs one at a time, then stir in the vanilla extract.
- In a separate bowl, whisk together the flour, baking soda, and salt.
- Gradually add the dry ingredients to the wet ingredients, mixing until just combined.
- Stir in the rolled oats and peanut butter until evenly distributed.
- Fold in the chopped Halloween candy.
- Drop rounded tablespoons of dough onto the prepared baking sheets, about 2 inches apart. For a softer center, slightly flatten the tops of the cookies.
- Bake for 9-12 minutes, or until the edges are lightly golden brown and the centers are still soft.
- Let the cookies cool on the baking sheets for a few minutes before transferring them to a wire rack to cool completely.
Notes
- For extra soft cookies, slightly underbake them.
- You can use any leftover Halloween candy you have on hand.
- To achieve a festive look, use candy eyeballs and brightly colored M&M’s.
- These cookies can be stored in an airtight container at room temperature for up to 3 days.
- For a gluten-free option, use a gluten-free all-purpose flour blend and ensure your oats are certified gluten-free.
Nutrition
- Serving Size: 1 cookie
- Calories: 250
- Sugar: 20g
- Sodium: 100mg
- Fat: 14g
- Saturated Fat: 6g
- Unsaturated Fat: 8g
- Trans Fat: 0g
- Carbohydrates: 30g
- Fiber: 2g
- Protein: 4g
- Cholesterol: 30mg