
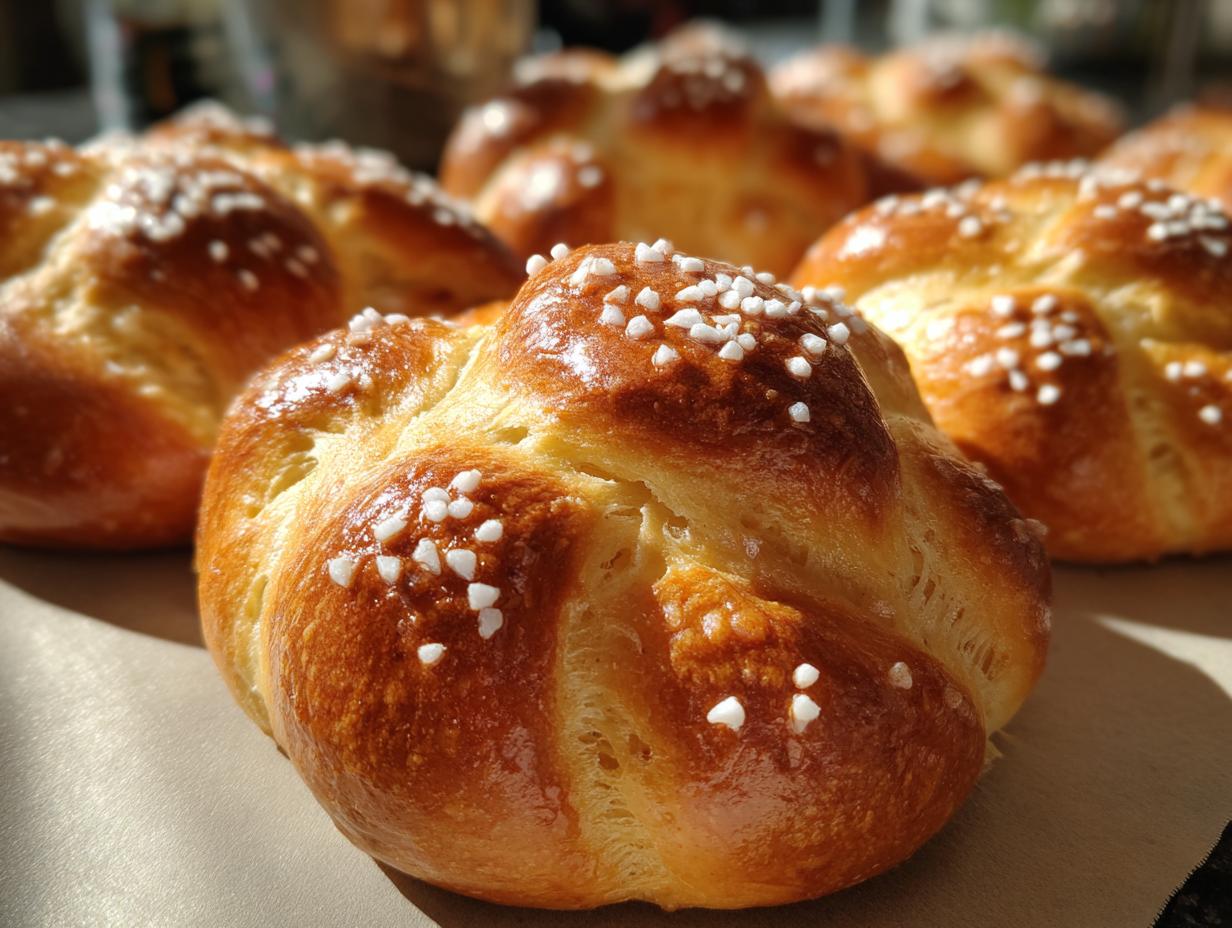

There’s something truly special about baking pan de muerto. It’s more than just bread; it’s a warm, fragrant hug from Mexico, made to celebrate and remember loved ones during Día de Muertos. My grandmother always made this rich, sweet bread, and the scent of orange and anise filling her kitchen was pure magic. The little dough bones on top? They always make me smile, a sweet reminder of family and tradition. This recipe isn’t just about following steps; it’s about taking a moment to connect with a beautiful heritage and honor those who’ve come before us. Trust me, the taste and the feeling you get while making it are absolutely worth it!
- Why You'll Love This Pan de Muerto Recipe
- Ingredients for Authentic Pan de Muerto
- Step-by-Step Guide: How to Make Pan de Muerto
- Tips for Perfect Pan de Muerto
- Ingredient Notes and Substitutions for Pan de Muerto
- Serving and Storing Your Pan de Muerto
- Frequently Asked Questions about Day of the Dead Bread
- Nutritional Information for Pan de Muerto
- Share Your Pan de Muerto Creations!
Why You’ll Love This Pan de Muerto Recipe
You’re going to adore making this pan de muerto! It’s surprisingly easy, even for a beginner baker. The scent of orange and anise baking is simply divine, and that sweet, soft crumb is pure heaven. Plus, shaping those little bone pieces is a fun activity for the whole family. It’s a beautiful way to honor tradition and connect with a rich cultural celebration, all while baking something absolutely delicious.
Ingredients for Authentic Pan de Muerto
To make this special pan de muerto, you’ll want to gather these treasures. We start with a cup of warm milk, just the right temperature to wake up our yeast, and a little sugar to get things going. Then comes the flour – about four cups, plus extra for dusting, because we want a nice, workable dough. Don’t forget the salt for balance! Four big eggs, at room temperature, and half a cup of softened butter are key for that rich, tender crumb. For that unmistakable flavor, we’ll use a teaspoon of orange zest and, if you love that classic taste, half a teaspoon of anise seed. Lastly, have about two tablespoons of orange blossom water or a little extra milk ready for brushing before the final sprinkle of sugar.
Step-by-Step Guide: How to Make Pan de Muerto
Alright, let’s get our hands in that dough and make some beautiful pan de muerto! It’s really not as intimidating as it looks, and the process itself feels like a celebration. Just follow these steps, and you’ll have a gorgeous, fragrant loaf ready to share. To get started, you’ll want to head over to our blog for some extra tips, but here’s the whole process broken down.
Preparing the Yeast Mixture
First things first, we need to wake up that yeast! In a big bowl, pour in your warm milk – it should feel like a cozy bath, around 105-115°F. Sprinkle in your yeast and just a tablespoon of sugar. Give it a gentle stir and let it sit for about 5 to 10 minutes. You’ll know it’s ready when it gets nice and foamy. That means your yeast is happy and ready to make some magic!
Mixing and Kneading the Pan de Muerto Dough
Now for the fun part – mixing everything together! To that foamy yeast mixture, add the rest of your sugar, the flour, salt, those lovely room-temperature eggs, and the softened butter. Mix it all up until it forms a shaggy dough. Then, turn that dough out onto a lightly floured surface. This is where you get to knead! Work it for about 8 to 10 minutes until it’s smooth and stretchy. You’ll know it’s perfect when you can poke it, and it springs back gently.
First Rise for the Dough
Once your dough is beautifully kneaded and feels just right, pop it into a lightly oiled bowl. Cover it up with some plastic wrap – this keeps it nice and moist inside. Find a warm spot in your kitchen, and let it rest and rise for about 1 to 1.5 hours. You’ll know it’s ready when it has doubled in size. It’s like a little bread baby getting ready to grow!
Shaping Your Pan de Muerto
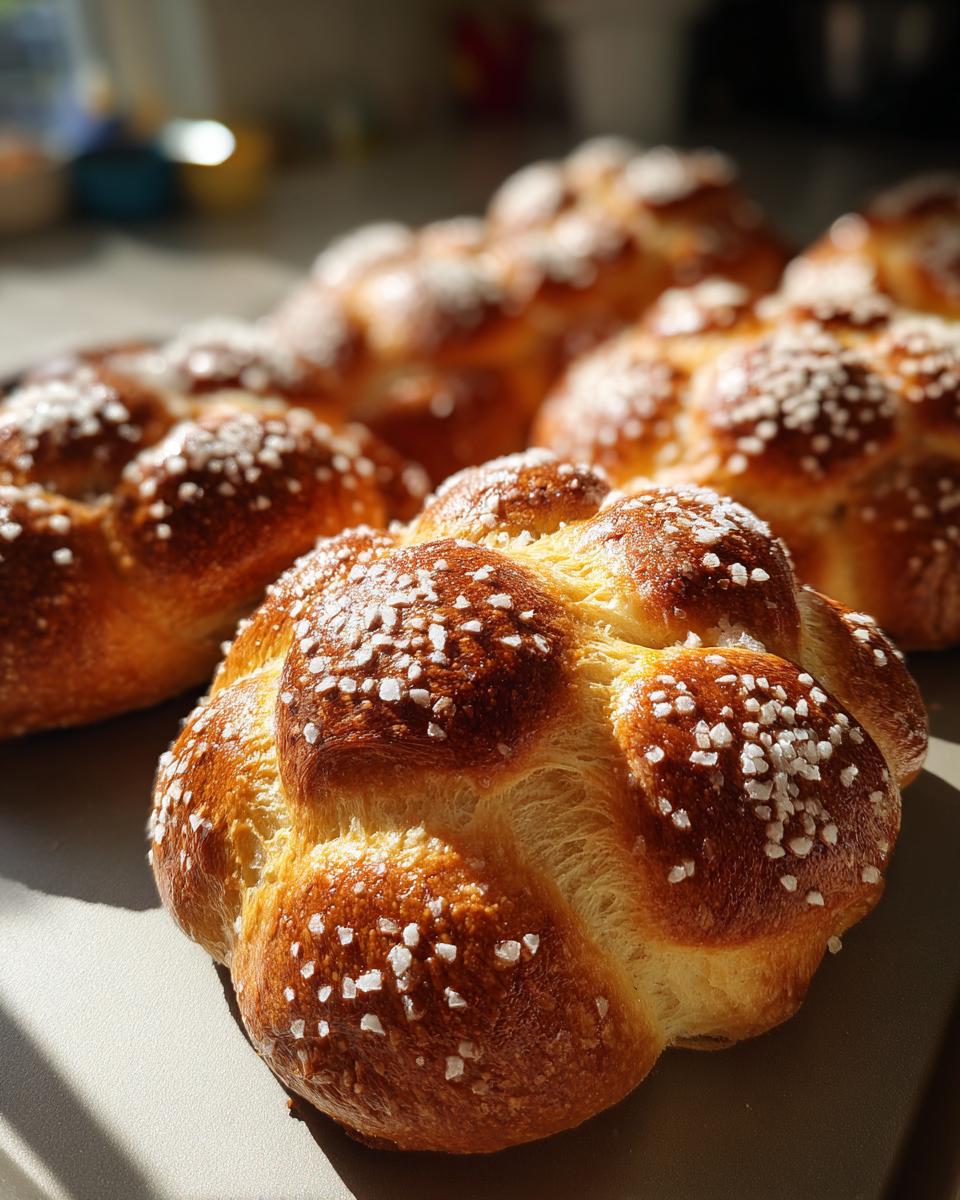
After that first rise, give the dough a good punch to deflate it. Now, divide it up. You’ll want one bigger piece for the main round loaf and a smaller chunk set aside for all those decorative bits. Roll the bigger piece into a nice, smooth ball and place it on a baking sheet lined with parchment paper. For the smaller dough, roll out ropes to make those classic ‘bone’ shapes and a little teardrop for the top. Stick them on with a tiny bit of water or egg wash so they stay put during baking.
Second Rise and Baking
Loosely cover your beautifully shaped bread with plastic wrap again. Let it have another little rest for about 30 to 45 minutes. While it’s doing its second puff, preheat your oven to 350°F (175°C). Once it’s risen, pop it into the hot oven and bake for 30 to 40 minutes. You’re looking for a lovely golden-brown color, and it should sound nice and hollow when you tap the bottom. That’s your signal it’s done!
Finishing Touches: Glaze and Sugar
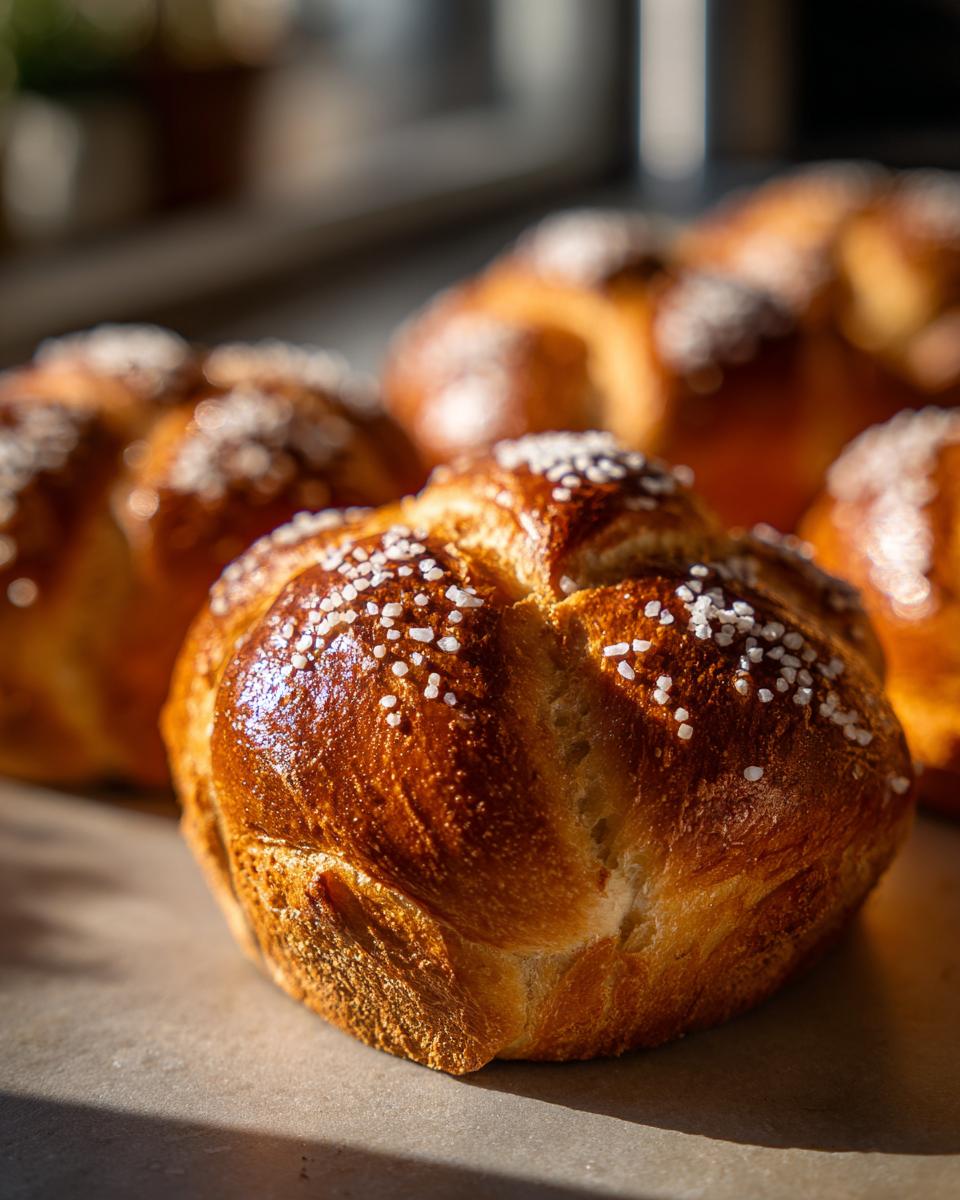
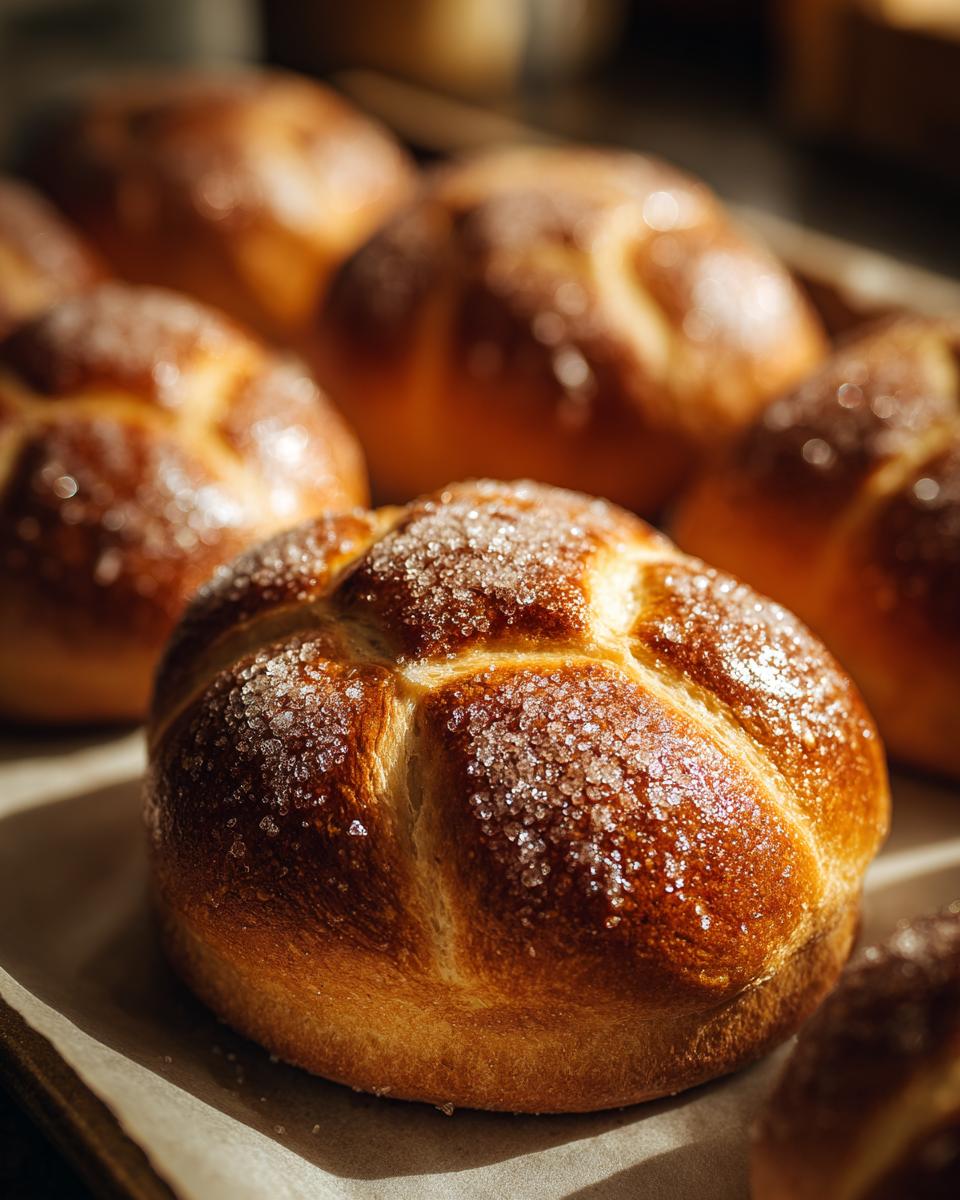
As soon as that gorgeous pan de muerto comes out of the oven, while it’s still warm, brush the top with your orange blossom water or milk. Then, go ahead and generously sprinkle on the sugar. This makes it wonderfully sparkly and adds that perfect sweet finish. Enjoy that amazing aroma!
Tips for Perfect Pan de Muerto
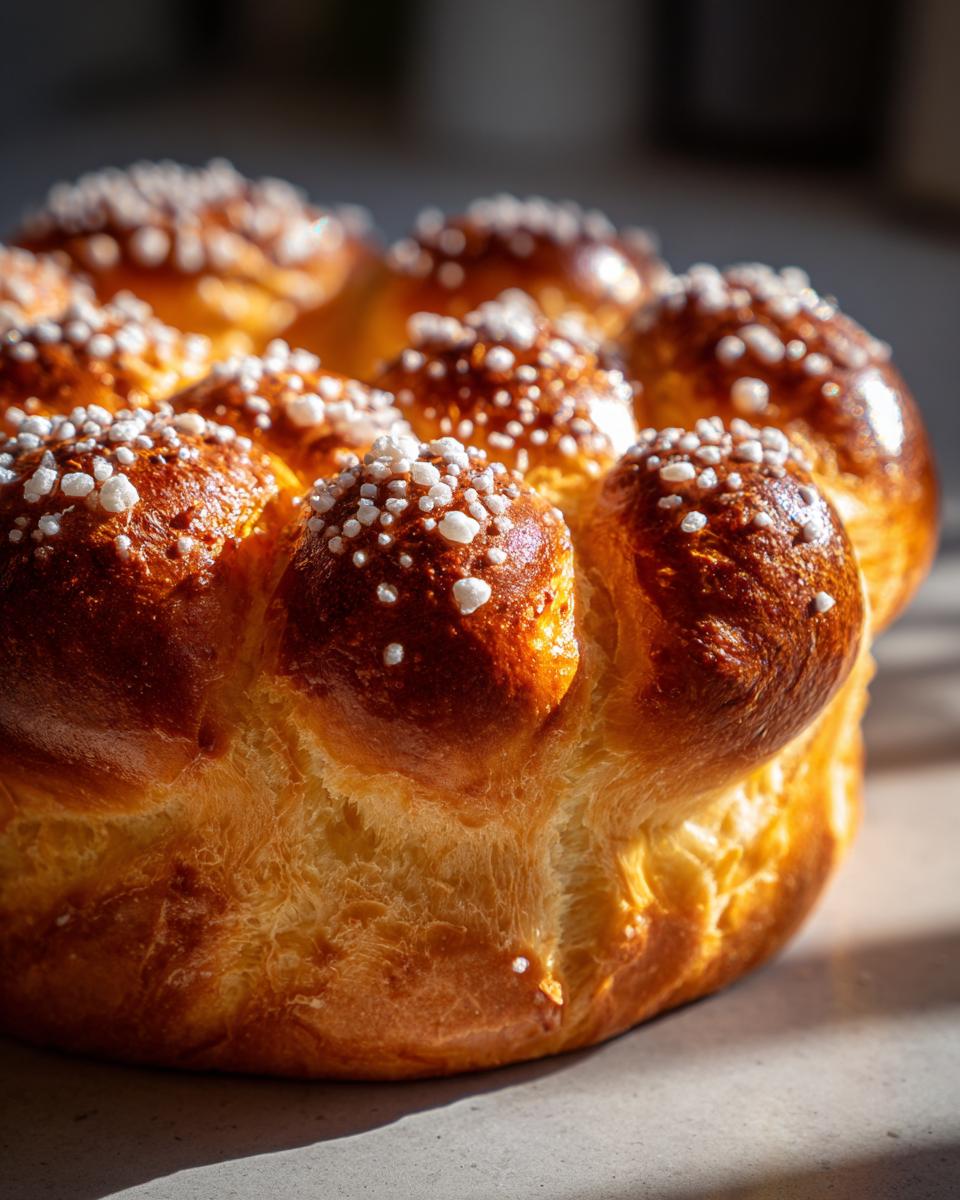
Making pan de muerto is such a rewarding experience, and a few little tricks can make all the difference. First off, make sure your eggs and butter are really at room temperature – it helps them mix in so much smoother, leading to a better dough. When you’re kneading, don’t be afraid to really work that dough! About 8-10 minutes by hand is perfect for getting that lovely elastic texture. Another tip? Don’t let it over-rise the second time; you want it puffy, but not so much that it collapses when you add the decorations. And for shaping those bones, make them thick enough so they don’t get lost in the oven. For more of my personal tips and stories, check out my about page!
Ingredient Notes and Substitutions for Pan de Muerto
Sometimes you might be missing an ingredient, or maybe you just want to try something a little different with your pan de muerto! If you can’t find orange blossom water, don’t fret! A bit more orange zest in the dough or even a tiny splash of orange extract will give you lovely citrus notes. And about the anise seed – it gives that classic “perfumey” flavor that’s so signature, but if it’s not your thing or you can’t find it, just leave it out. The bread will still be delicious with the orange flavor! For a slightly richer bread, you could even try using milk instead of water for brushing before the sugar.
Serving and Storing Your Pan de Muerto
This pan de muerto is truly best enjoyed fresh! It’s perfect with a warm cup of coffee or hot chocolate, especially in the morning or as an afternoon treat. Since it’s got that lovely soft texture, it’s also wonderful to share alongside a more traditional ofrenda for Día de Muertos. If you happen to have any leftovers (which is rare in my house!), just wrap it up tightly in plastic wrap, and then pop that into an airtight container or a zip-top bag. It should stay lovely for about two to three days. You can find more tips on keeping your baked goods fresh on our terms of use page!
Frequently Asked Questions about Day of the Dead Bread
What is the traditional flavor of pan de muerto?
The most traditional flavor for pan de muerto is that lovely combination of sweet orange zest and slightly licorice-like anise. It’s just divine! Some families also use orange blossom water for an extra floral punch.
Can I make pan de muerto without anise?
Absolutely! If anise isn’t your favorite or you can’t find it, no problem. Your pan de muerto will still be wonderfully flavorful with just the orange zest. You can even add a little more zest or a tiny drop of orange extract to make up for it!
How do you make the bone shapes for pan de muerto?
Making those ‘bones’ is easier than you think! Just take a piece of your dough, roll it into a thin rope, and then cross two ropes over each other to look like bones. You can also shape a small teardrop for the top. Just a dab of water or egg wash helps them stick!
Is pan de muerto only eaten during Día de Muertos?
Yes, typically it is. Pan de muerto is specifically made and enjoyed for the Día de Muertos (Day of the Dead) celebrations, usually from late October through early November. It’s often placed on ofrendas (altars) to honor departed loved ones.
Nutritional Information for Pan de Muerto
Just a heads-up, the nutritional info for this delicious pan de muerto is an estimate, as things can change depending on your specific ingredients and how big you slice it! But generally, one serving (about a slice) has around 250 calories, 10g of fat (5g saturated), 5g of protein, 2g of fiber, and about 15g of sugar. It’s a sweet treat for a special occasion, for sure!
Share Your Pan de Muerto Creations!
I just LOVE seeing what you all make! Did your pan de muerto turn out beautifully? Did it fill your kitchen with that amazing orange-anise smell? Please, please leave a comment below and tell me all about your experience! I’d also be thrilled if you could share a photo with me over on Facebook at Recipes To Keep. Your baking adventures make my day!
PrintPan de Muerto (Bread of the Dead)
A traditional sweet Mexican bread flavored with orange and anise, decorated with bone-like shapes, perfect for Día de Muertos celebrations.
- Prep Time: 30 minutes
- Cook Time: 40 minutes
- Total Time: 2 hours 15 minutes
- Yield: 1 loaf 1x
- Category: Dessert
- Method: Baking
- Cuisine: Mexican
- Diet: Vegetarian
Ingredients
- 1 cup warm milk (105-115°F)
- 2 ¼ teaspoons active dry yeast
- ½ cup granulated sugar, plus more for topping
- 4 cups all-purpose flour, plus more for dusting
- ½ teaspoon salt
- 4 large eggs, room temperature
- ½ cup unsalted butter, softened
- 1 teaspoon orange zest
- ½ teaspoon anise seed (optional)
- 2 tablespoons orange blossom water or milk for brushing
Instructions
- In a large bowl, combine warm milk, yeast, and 1 tablespoon of sugar. Let stand for 5-10 minutes until foamy.
- Add the remaining sugar, flour, salt, eggs, and softened butter to the yeast mixture. Mix until a shaggy dough forms.
- Turn the dough out onto a lightly floured surface and knead for 8-10 minutes until smooth and elastic.
- Place the dough in a lightly oiled bowl, cover with plastic wrap, and let rise in a warm place for 1-1.5 hours, or until doubled in size.
- Punch down the dough and divide it into two portions: one large portion for the loaf and a smaller portion for decorations.
- Shape the larger portion into a round loaf. Place on a baking sheet lined with parchment paper.
- From the smaller portion, shape pieces into ‘bones’ and a ‘teardrop’ shape to decorate the top of the loaf, adhering them with a little water or egg wash.
- Cover the shaped bread loosely with plastic wrap and let rise for another 30-45 minutes.
- Preheat your oven to 350°F (175°C).
- Bake for 30-40 minutes, or until golden brown and hollow-sounding when tapped.
- While the bread is still warm, brush the top with orange blossom water or milk. Sprinkle generously with sugar.
Notes
- For a stronger anise flavor, lightly crush the anise seeds before adding them to the dough.
- If you don’t have orange blossom water, you can use a little more orange zest or a splash of orange extract.
- The ‘bone’ shapes can be made by rolling dough into ropes and crossing them over each other.
- This bread is best enjoyed fresh but can be stored in an airtight container for a couple of days.
Nutrition
- Serving Size: 1 slice
- Calories: 250
- Sugar: 15g
- Sodium: 150mg
- Fat: 10g
- Saturated Fat: 5g
- Unsaturated Fat: 5g
- Trans Fat: 0g
- Carbohydrates: 35g
- Fiber: 2g
- Protein: 5g
- Cholesterol: 70mg