
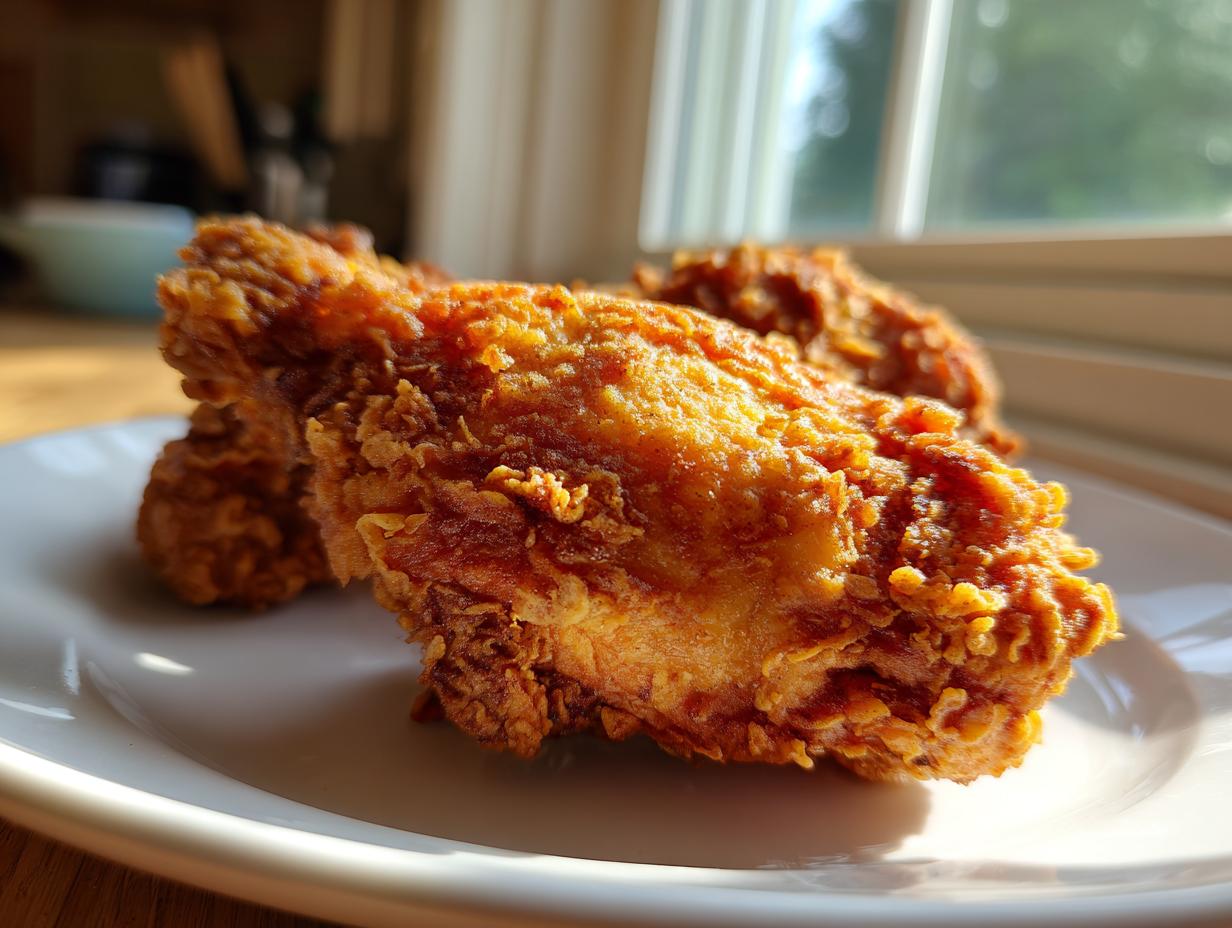

Oh, that sound! That glorious, shatteringly crisp *crack* when you bite into perfectly fried chicken! It’s pure magic, isn’t it? For me, it’s pure nostalgia, instantly taking me back to lazy summer afternoons and Sunday dinners that stretched for hours. I’ve spent *ages* trying to nail that restaurant-quality fried chicken right in my own kitchen – the kind that’s impossibly crispy on the outside but unbelievably juicy and flavorful on the inside. And guess what? I finally cracked the code! This recipe is my absolute go-to for homemade fried chicken that’ll make everyone at the table swoon.
- Why You'll Love This Crispy Fried Chicken Recipe
- Ingredients for the Best Fried Chicken
- Tips for Perfect Fried Chicken
- How to Fry Fried Chicken to Golden Perfection
- Serving Suggestions for Southern Fried Chicken
- Storage and Reheating Your Fried Chicken
- Frequently Asked Questions About Fried Chicken
- Nutritional Information
- Share Your Crispy Fried Chicken Creations!
Why You’ll Love This Crispy Fried Chicken Recipe
This isn’t just any fried chicken; it’s the kind of fried chicken dreams are made of! You’ll absolutely adore:
- That incredible, golden-brown crunch that just won’t quit.
- The super juicy, tender meat inside – no dry chicken here!
- How a classic comfort food can be this easy to make at home.
- It’s a guaranteed crowd-pleaser. Seriously, it disappears in minutes!
Ingredients for the Best Fried Chicken
Alright, let’s talk about what you’ll need. This recipe is pretty straightforward, but having the right stuff makes all the difference. You’ll want about 3 pounds of chicken pieces – I love using a mix of thighs, drumsticks, and breasts, but pick your favorites! For that magical tenderizing and flavor base, you’ll need 2 cups of good old buttermilk. And if you like a little zing, a couple of tablespoons of your favorite hot sauce is a total game-changer.
Now for the crispy coating: grab 3 cups of all-purpose flour. To that, we’ll add 2 teaspoons of salt, 1 teaspoon of black pepper, 1 teaspoon of paprika, 1/2 teaspoon each of garlic powder and onion powder, and a little pinch of cayenne pepper if you’re feeling brave!
And of course, you’ll need plenty of vegetable oil or shortening for frying. Make sure you have at least 2-3 inches worth for that perfect deep-fry bath!
Tips for Perfect Fried Chicken
Okay, let’s get down to the nitty-gritty! Making truly amazing fried chicken isn’t just about tossing it in the fryer. It’s about these little secrets that make all the difference between good and *spectacular*. Trust me, a little patience and a few key steps will guarantee you the crispiest, juiciest bird on the block. We’re talking serious flavor here, folks! For more tips and inspiration, you can always check out our Facebook page!
The Buttermilk Marinade Secret
Okay, seriously, don’t skip this step. The buttermilk bath is where the magic *really* begins. Buttermilk is acidic, and that acidity works wonders to break down the chicken’s tough connective tissues, making it incredibly tender and juicy. It also helps the flour coating stick like a dream. And that little splash of hot sauce I mentioned? It adds just a whisper of heat that works *beautifully* with the chicken, without making it actually spicy.
Achieving the Crispiest Fried Chicken Coating
Now for that crunchy coating! You want to make sure your flour mixture is well-seasoned – remember that salt, pepper, paprika, and those savory powders? They’re working overtime here! When you dredge the chicken, really press that flour onto the pieces. Don’t just shake off the excess; give it some love! Then, the *crucial* part: let the coated chicken rest on a wire rack for about 15-20 minutes. This lets the coating hydrate and stick to the chicken. It stops that dreaded flour coating from falling off in the fryer! And for an extra-crispy, craggy crust, try a quick double-dip: dip it back in the buttermilk for a few seconds, then give it another good coating in the flour. It’s a little extra work, but oh-so-worth-it for that shatteringly crisp texture. You can find more crispy chicken ideas here!
How to Fry Fried Chicken to Golden Perfection
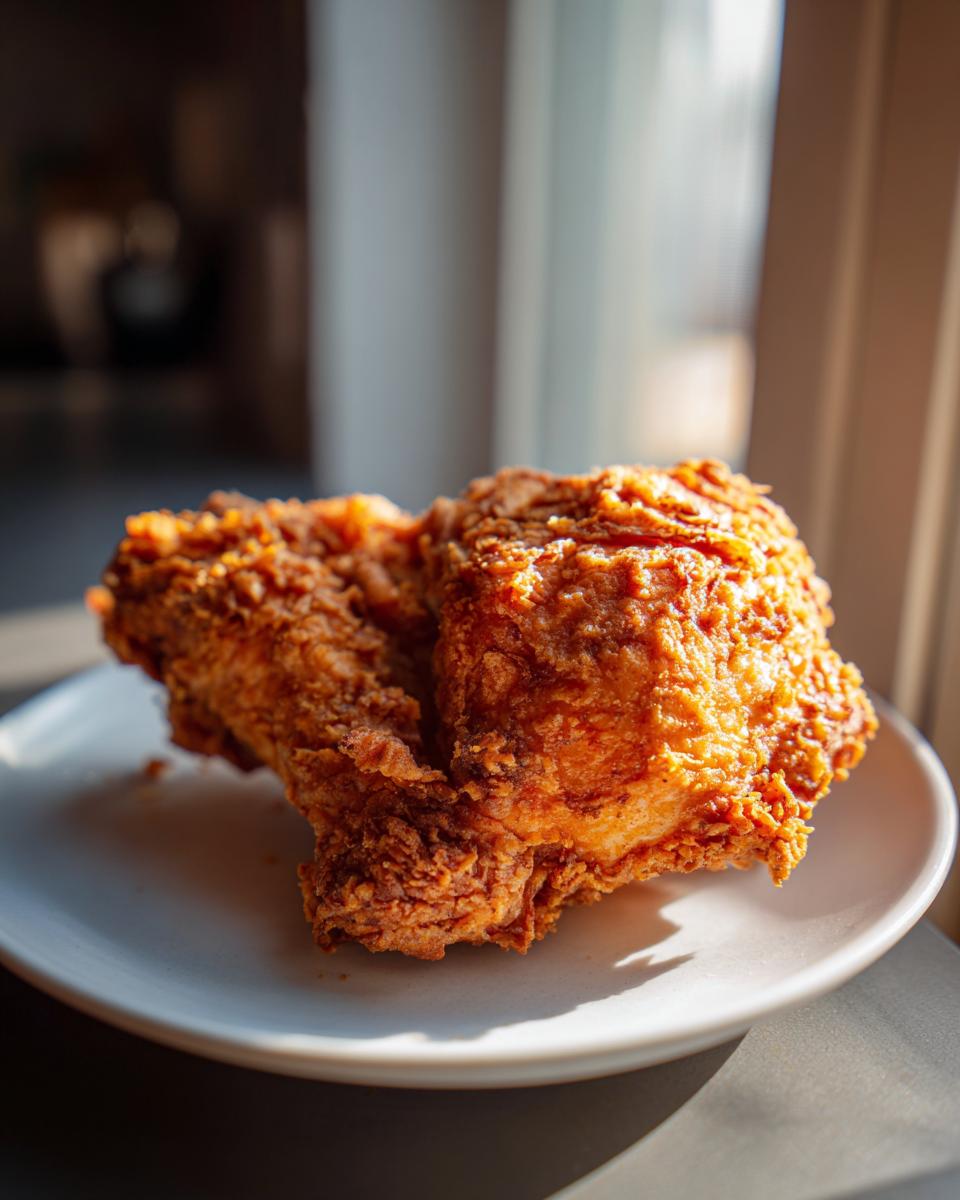
Okay, this is where the magic truly happens! Frying chicken takes a little attention, but oh boy, is it worth it. First things first: safety! Hot oil is no joke, so be super careful. You’ll want to heat about 2 to 3 inches of your vegetable oil or shortening in a big, heavy skillet or a Dutch oven. We’re looking for a steady temperature between 325°F and 350°F. A good cooking thermometer is your best friend here, seriously. It helps make sure you don’t get that greasy, undercooked bird.
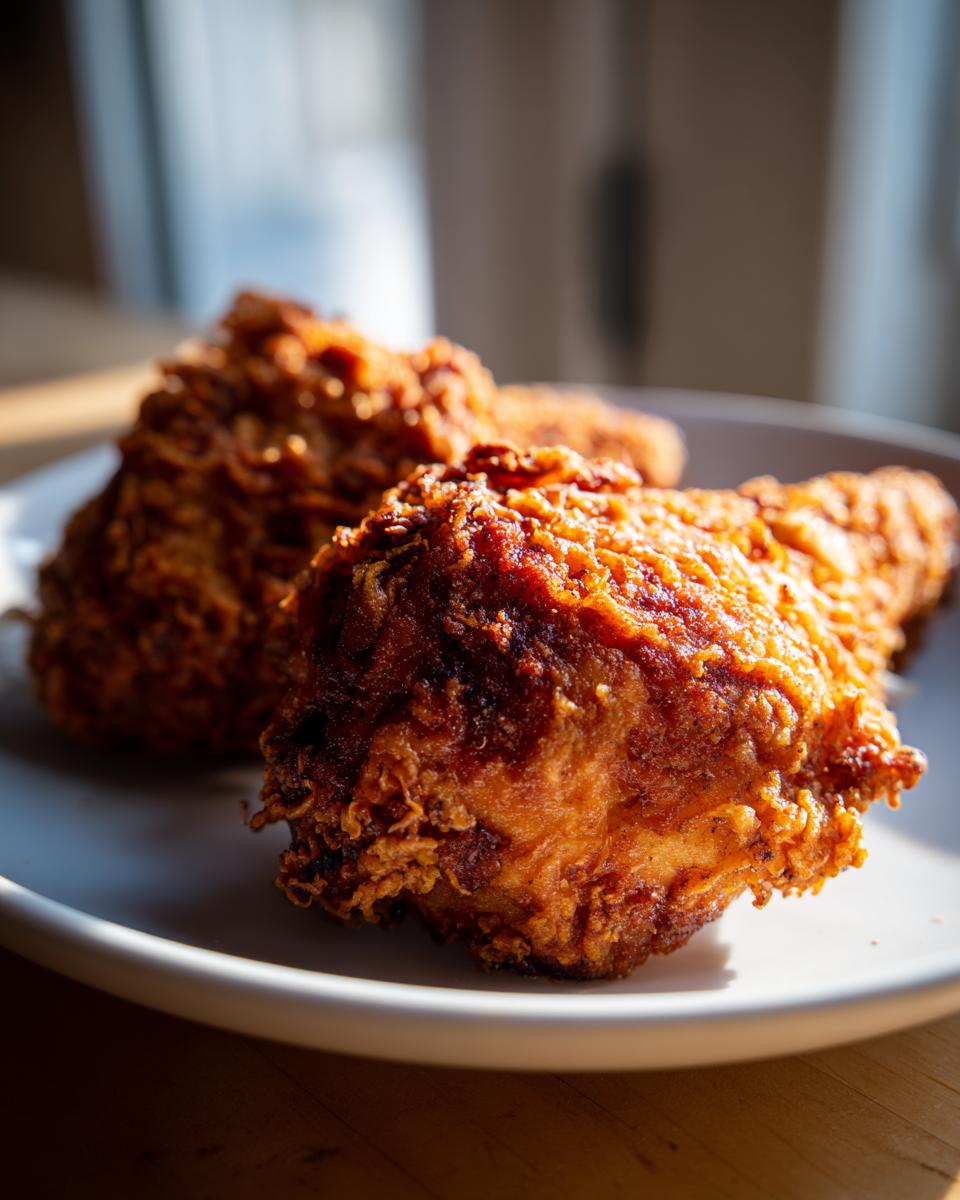
Once your oil is ready, carefully place your floured chicken pieces into the hot oil, skin-side down first. Make sure you don’t crowd the pan – we’ll do this in batches to keep that oil temperature nice and steady. You’ll want to fry the smaller pieces for about 6-8 minutes on each side, and the bigger pieces, like thighs and drumsticks, for about 10-12 minutes per side. Get that beautiful golden brown color!
For more awesome chicken recipes, check out our air fryer buffalo wings!
Frying in Batches for Optimal Results
This is non-negotiable, folks! If you cram too much chicken into the oil at once, the oil temperature plummets. That means soggy, greasy chicken instead of that perfect crispiness we’re aiming for. So, do yourself a favor and fry in batches. Lay your chicken pieces gently into the hot oil, skin-down first, leaving a little space between each piece. They need room to sizzle and get that gorgeous crust all over.
Knowing When Your Fried Chicken is Done
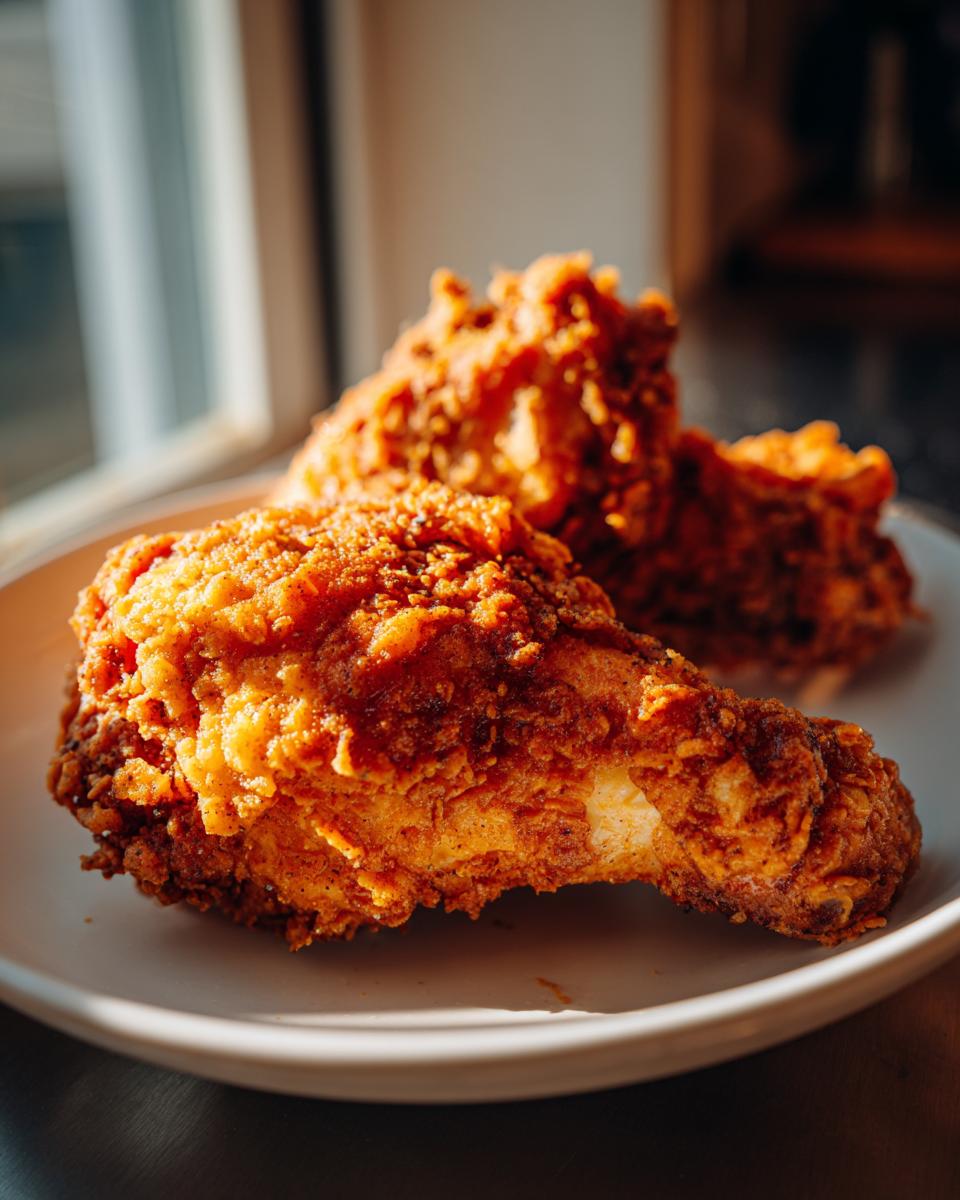
You want that beautiful, deep golden-brown color all over, but the real test is the inside. The absolute surest way to know it’s cooked through is with a meat thermometer. Stick it into the thickest part of the chicken (avoiding bone!) and you’re looking for 165°F. Once they’re done, carefully lift them out with tongs and place them on a clean wire rack set over a baking sheet. This lets any extra oil drip away and keeps that glorious crust nice and crispy. Nobody likes soggy bottoms, right?
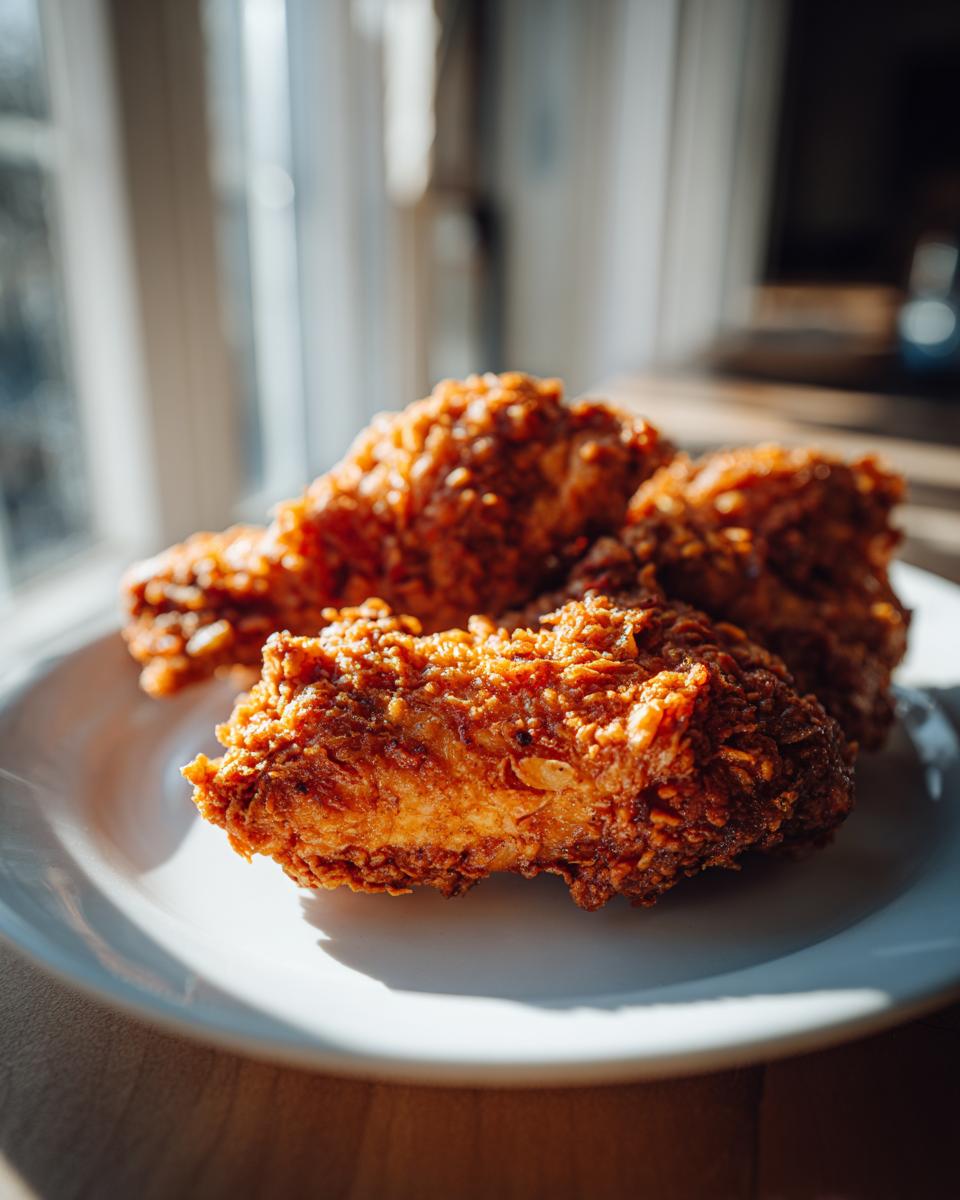
Serving Suggestions for Southern Fried Chicken
Fried chicken just screams comfort food, right? So, it only makes sense to pair it with all those classic Southern sides that just make you feel good. Think absolutely creamy mashed potatoes – they are a must! Or maybe some fluffy, easy stuffing? And you can never go wrong with a comforting scoop of green bean casserole. Mac and cheese is also a winner, of course! These pairings just make the whole meal feel extra special.
Storage and Reheating Your Fried Chicken
Leftover fried chicken is still delicious, but you want to be smart about storing and reheating it so you don’t lose that amazing crunch. First off, let the cooked chicken cool down completely on a wire rack. Then, pop it into an airtight container or wrap it well in foil or plastic wrap. It’ll be good in the fridge for about 3 to 4 days. Now, about reheating – ditch the microwave! It just makes things soggy. Your best bet is to pop it back into a medium-hot oven (around 375°F is great) for about 10-15 minutes, or until it’s heated through and that crust is nice and crispy again. An air fryer works wonders for reheating, too!
Frequently Asked Questions About Fried Chicken
Got questions about getting that perfect crispy fried chicken? I’ve got answers! It’s totally normal to have a few questions when you’re diving into this classic dish, but don’t worry, we’ll get you to juicy, crunchy perfection in no time.
Can I make buttermilk fried chicken ahead of time?
You totally can marinate your chicken in buttermilk overnight, which is actually great for flavor and tenderness! But for the crispiest coating, it’s best to do the dredging and coating right before you’re ready to fry. If you coat it too far in advance, that flour can get a little gummy waiting for the fryer.
What’s the best oil for frying chicken?
You want an oil with a high smoke point that won’t mess with the flavor of your delicious chicken. Vegetable oil, canola oil, or even shortening are fantastic choices. They get nice and hot and allow your chicken to get that beautiful golden crust without burning.
How do I prevent my fried chicken from being greasy?
The biggest culprit for greasy fried chicken is oil that’s not hot enough! Make sure your oil is at a steady 325-350°F before you add chicken, and don’t overcrowd the pan – that drops the temp, too. Also, letting it drain on a wire rack instead of paper towels helps keep that gorgeous crust crisp!
Can I use chicken breasts for this recipe?
Absolutely! Chicken breasts are delicious for fried chicken, but they cook a bit faster than thighs or drumsticks. Keep a close eye on them and they should be done in about 6-8 minutes per side. A meat thermometer is your best friend to make sure they’re cooked through to that safe 165°F!
Nutritional Information
Alright, let’s talk numbers! Keep in mind these are just estimates, and they can change depending on exactly how you make it (and how much you eat!). A typical serving of this amazing fried chicken usually comes in around 450 calories, with about 25g of fat and a solid 35g of protein to keep you going. It’s comfort food, after all!
Share Your Crispy Fried Chicken Creations!
I’m just bursting with excitement to hear how your fried chicken turns out! Did you go for the double-dip? Did it get that amazing crunch I promised? Please, please leave a comment below and let me know your results, or even better, rate the recipe! You can learn more about my recipe testing process on my About page. Happy cooking!
PrintCrispy Buttermilk Fried Chicken
Learn to make incredibly crispy and juicy fried chicken at home, just like your favorite Southern restaurants. This recipe focuses on achieving a perfect golden crust and tender, flavorful meat.
- Prep Time: 20 min
- Cook Time: 30 min
- Total Time: 4 hours 50 min
- Yield: 6 servings 1x
- Category: Main Course
- Method: Frying
- Cuisine: American
- Diet: Vegetarian
Ingredients
- 3 pounds chicken pieces (such as thighs, drumsticks, breasts)
- 2 cups buttermilk
- 2 tablespoons hot sauce (optional)
- 3 cups all-purpose flour
- 2 teaspoons salt
- 1 teaspoon black pepper
- 1 teaspoon paprika
- 1/2 teaspoon garlic powder
- 1/2 teaspoon onion powder
- 1/4 teaspoon cayenne pepper (optional)
- Vegetable oil or shortening, for frying
Instructions
- Place chicken pieces in a large bowl or resealable plastic bag. Pour buttermilk and hot sauce (if using) over the chicken. Ensure all pieces are coated. Cover or seal and refrigerate for at least 4 hours, or preferably overnight.
- In a shallow dish, whisk together flour, salt, pepper, paprika, garlic powder, onion powder, and cayenne pepper (if using).
- Remove chicken from buttermilk, letting excess drip off. Dredge each piece thoroughly in the seasoned flour mixture, pressing to ensure a good coating. Place coated chicken on a wire rack set over a baking sheet. Let sit for 15-20 minutes to allow the coating to adhere.
- In a large, heavy-bottomed skillet or Dutch oven, heat about 2-3 inches of vegetable oil or shortening to 350°F (175°C).
- Carefully place chicken pieces into the hot oil, skin-side down, without overcrowding the skillet. Fry in batches.
- Fry chicken for about 6-8 minutes per side for smaller pieces (like wings or breast halves) and 10-12 minutes per side for larger pieces (like thighs or drumsticks), until golden brown and cooked through. The internal temperature should reach 165°F (74°C).
- Remove chicken from oil and place on a clean wire rack to drain excess oil.
- Serve hot.
Notes
- For extra crispy skin, you can double-dip the chicken: after the first flour coating, dip it back into the buttermilk briefly, then into the flour again.
- Maintain a consistent oil temperature between 325°F and 350°F (160°C-175°C) for best results. If the oil is too hot, the outside will burn before the inside is cooked. If it’s too cool, the chicken will absorb too much oil and become greasy.
- A meat thermometer is the most reliable way to ensure your chicken is cooked through.
Nutrition
- Serving Size: 1 piece
- Calories: 450
- Sugar: 2g
- Sodium: 800mg
- Fat: 25g
- Saturated Fat: 7g
- Unsaturated Fat: 18g
- Trans Fat: 0g
- Carbohydrates: 20g
- Fiber: 1g
- Protein: 35g
- Cholesterol: 120mg