
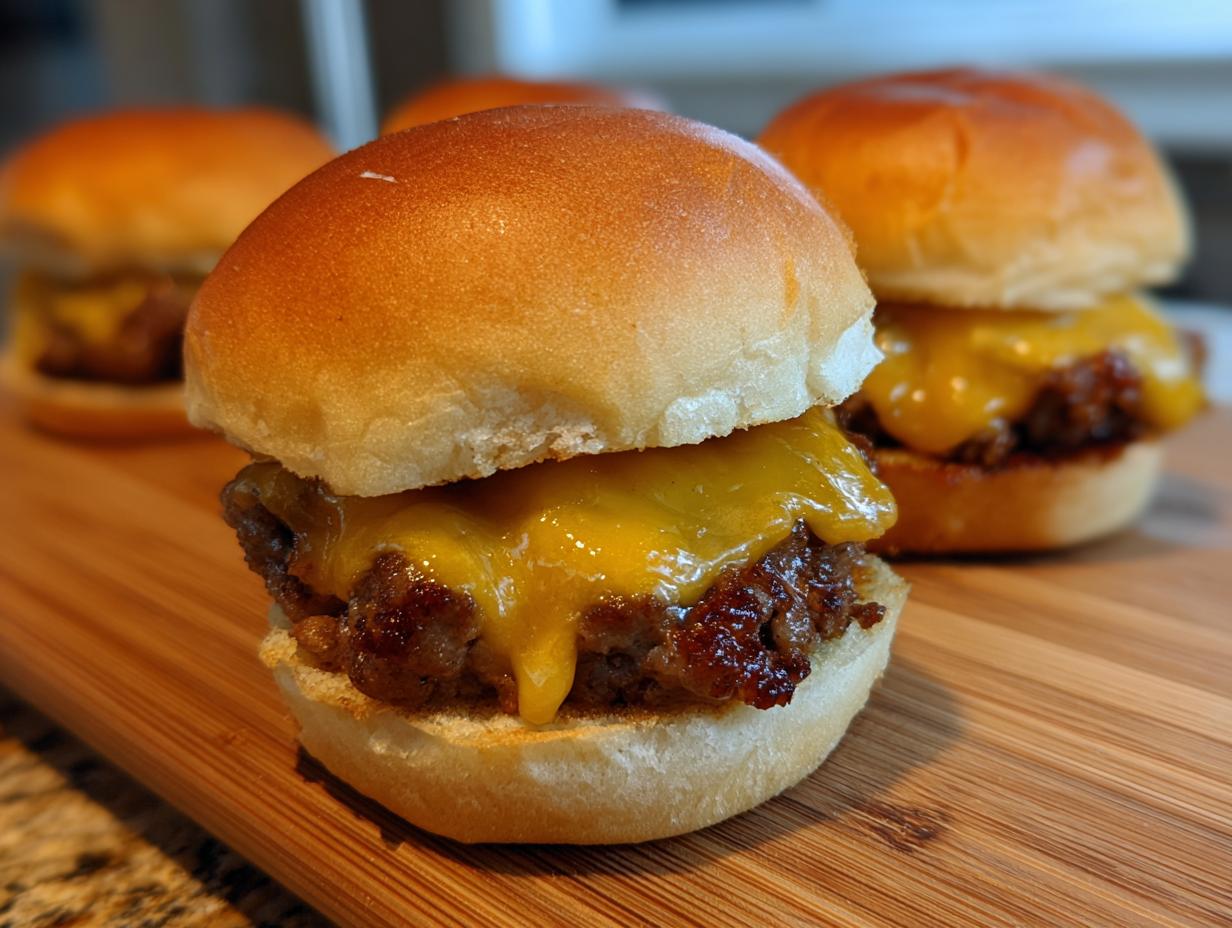

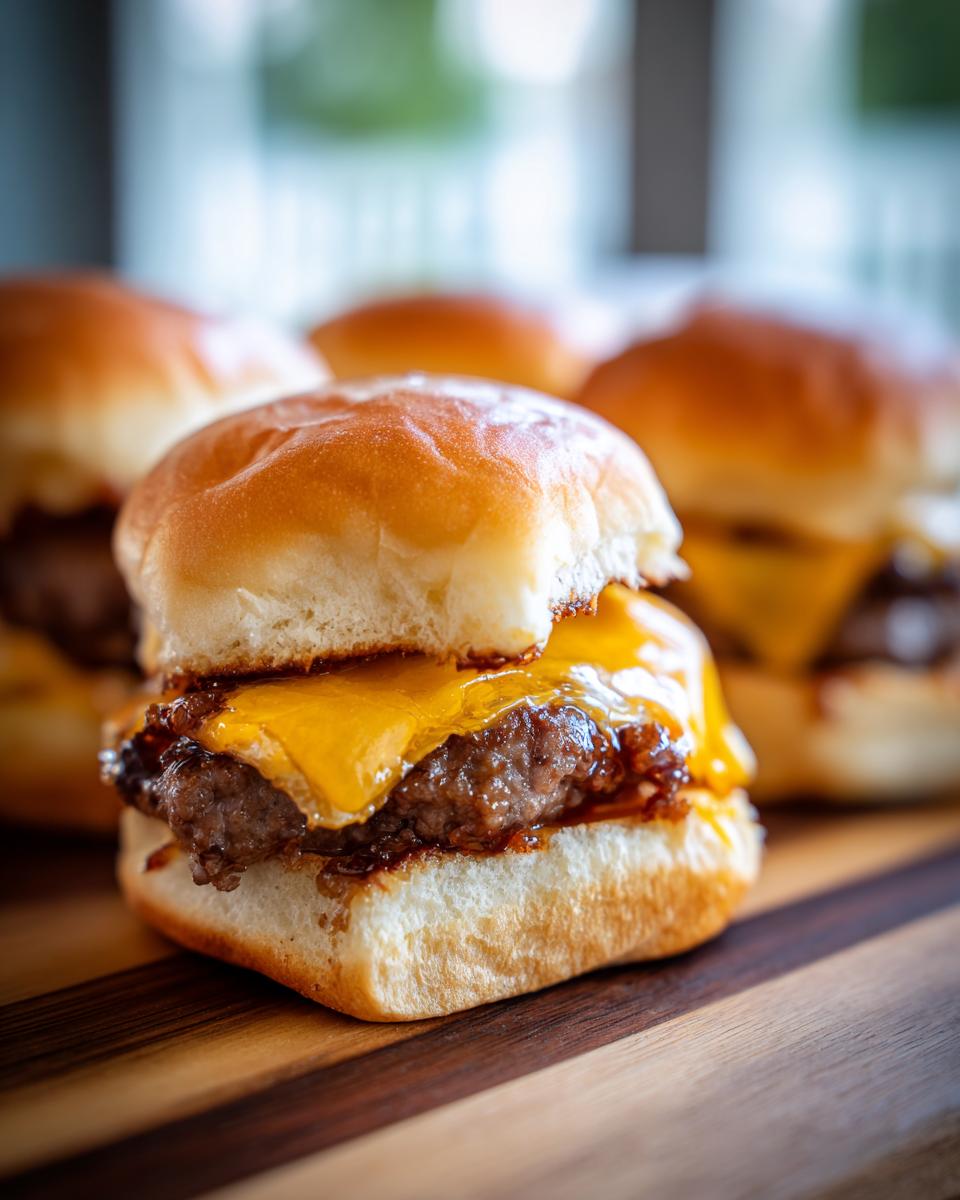
Okay, picture this: you’ve got a crowd coming over, maybe for game day, maybe just a casual get-together, and you want something *everyone* will devour without you being stuck in the kitchen all night. That’s where these amazing cheeseburger sliders come in! They’re the definition of a party hero – all the incredible flavor of a classic cheeseburger, but in a perfect, bite-sized package that’s ridiculously easy to make for a crowd. Here at Recipes To Keep, we’re all about those go-to American classics that just make people happy, and trust me, Caroline Hayes has tested these little beauties to make sure they’re absolutely foolproof and totally delicious. It’s all about maximizing that classic flavor with minimal fuss, so you can actually enjoy your party!
- Why You'll Love These Cheeseburger Sliders
- Gather Your Ingredients for Easy Cheeseburger Sliders
- How to Make Perfect Cheeseburger Sliders
- Tips for Making Party Hamburger Sliders
- Frequently Asked Questions About Mini Burger Sliders
- Nutritional Information for Cheeseburger Sliders
- Share Your Delicious Cheeseburger Sliders!
Why You’ll Love These Cheeseburger Sliders
Seriously, these little guys are a lifesaver for any gathering. Here’s why you’ll be making them again and again:
- Super Easy Prep: You can throw the beef mixture together in minutes!
- Crowd Favorite: Who doesn’t love a mini cheeseburger? They disappear in a flash.
- Classic Flavor, Mini Size: All the juicy, cheesy goodness you crave, but perfectly snackable.
- Total Time Saver: From start to finish, you’re looking at less than an hour, which means more mingling and less stressing.
Gather Your Ingredients for Easy Cheeseburger Sliders
Alright, let’s get down to business! To whip up these awesome mini cheeseburgers, you’ll want to have these trusty ingredients ready to go. They’re all pretty standard, which makes them a breeze to grab:
- Ground Beef: 1.5 pounds (don’t skimp on quality here, it makes a difference!)
- Breadcrumbs: 1/2 cup (plain or Italian style works great)
- Milk: 1/4 cup (just a splash to keep things moist)
- Egg: 1 large (our binder!)
- Salt: 1 teaspoon (essential flavor booster)
- Black Pepper: 1/2 teaspoon (freshly ground is best, if you have it!)
- Garlic Powder: 1/4 teaspoon (adds that little something extra)
- Onion Powder: 1/4 teaspoon (for that savory depth)
- Slider Buns: 12 count (choose your favorite! Hawaiian rolls are *chef’s kiss* but any mini bun will do)
- American Cheese: 12 slices (classic meltiness, you know?)
- Optional Toppings: Lettuce, tomato, onion, pickles, ketchup, mustard – whatever makes your heart sing!
How to Make Perfect Cheeseburger Sliders
Alright, let’s get this party started with the actual cooking! Making these cheeseburger sliders is easier than you think, and the whole process really does come together quickly. Caroline always says the key is to keep things simple and not overthink it, especially when you’re cooking for a bunch of people. Just follow these steps and you’ll have a crowd-pleasing masterpiece in no time! You can even think of this as a mini, personalized version of a really big crowd-pleaser, kinda like how we do with our slow cooker queso dip – easy to make, fantastic for sharing!
Preparing the Beef Mixture
First things first, preheat your oven to 375°F (190°C). Now, grab a big bowl. Toss in your ground beef, those handy breadcrumbs, a splash of milk, one egg, and all your seasonings—salt, pepper, garlic powder, and onion powder. Now, here’s a little tip straight from Caroline: mix everything *gently*! You just want it combined, not mashed into oblivion. Overmixing can make your sliders tough, and nobody wants a tough slider. Just a few gentle folds with your hands or a spatula will do the trick.
Baking and Cutting the Beef
Next, take that beautifully combined meat mixture and press it evenly into a 9×13 inch baking pan. You want it to be a nice, even layer so it cooks uniformly. Pop that pan into your preheated oven and let it bake for about 15 to 20 minutes, or until the beef is cooked all the way through. Once it’s done, carefully take it out and drain off any extra grease – nobody likes greasy sliders! Then comes the fun part: while the beef is still warm in the pan, use a knife or a spatula to cut it into 12 equal pieces, right there in the pan.
Melting the Cheese and Assembling the Cheeseburger Sliders
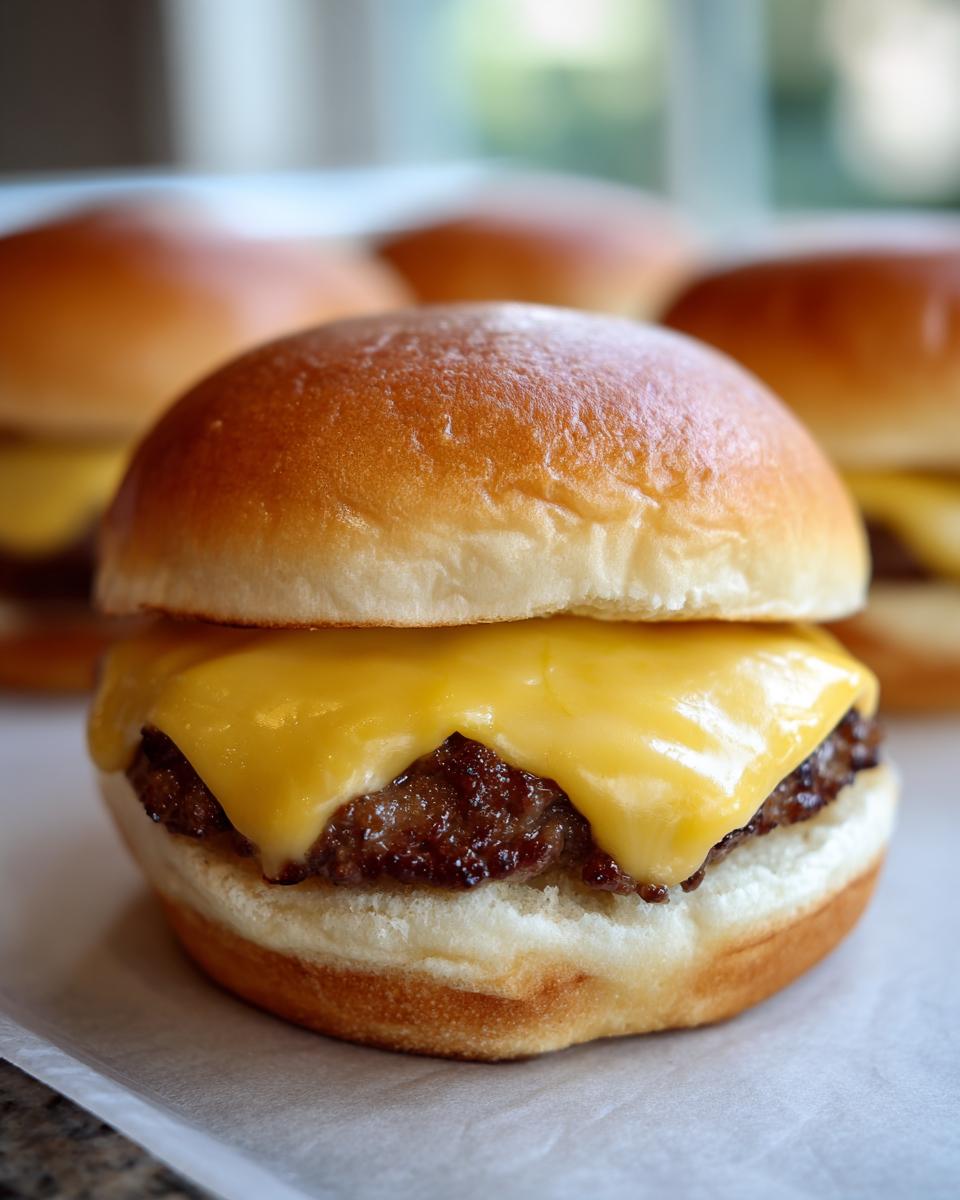
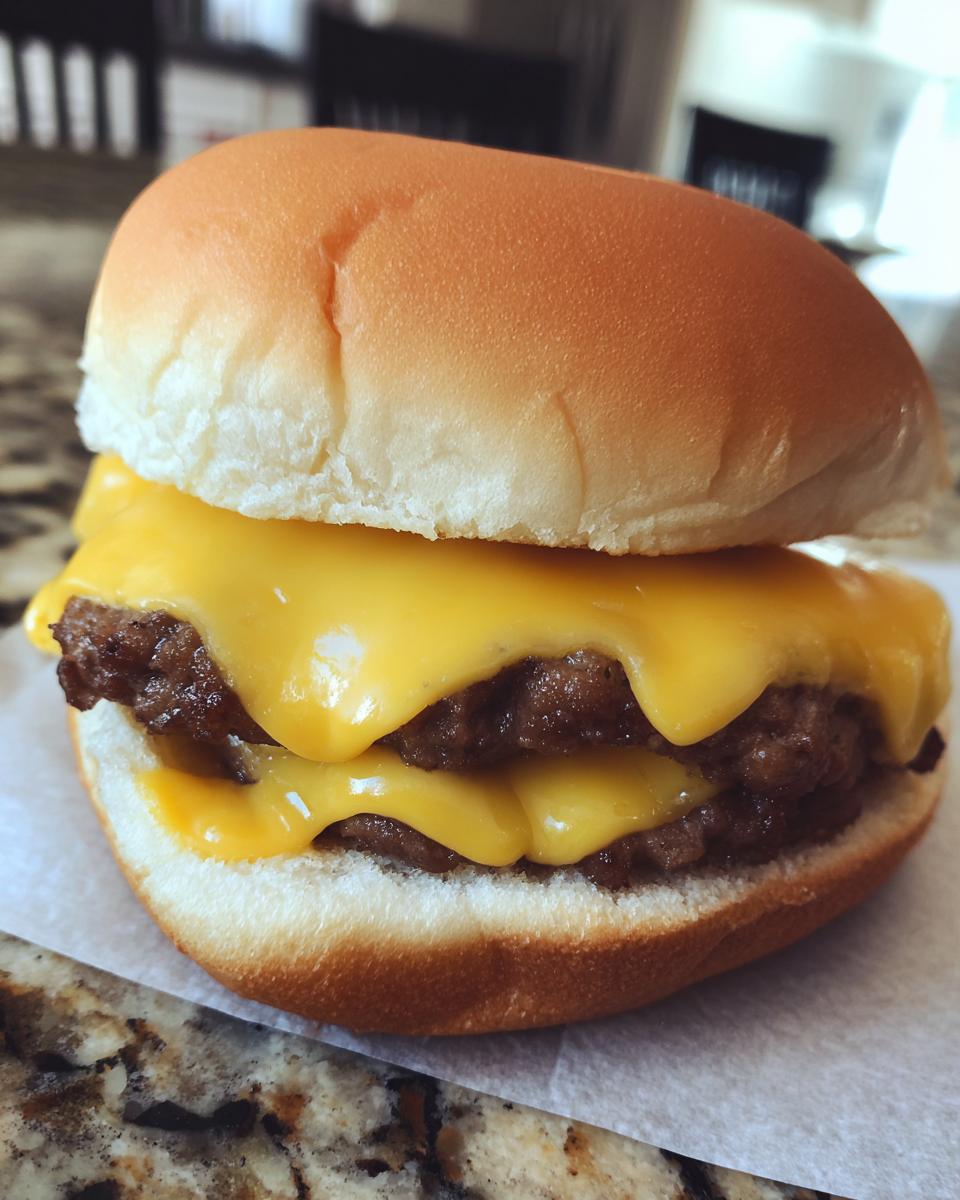
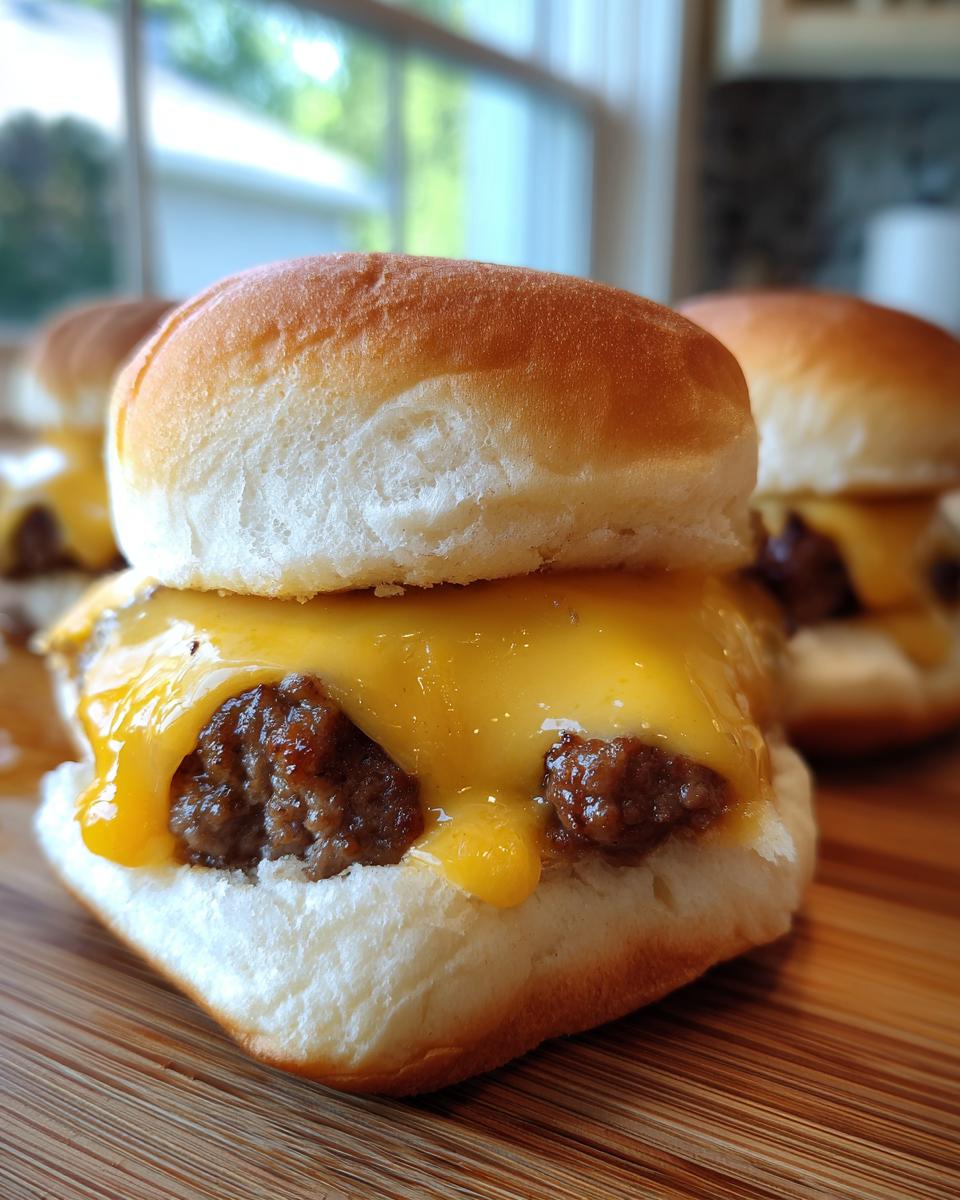
Now for that melty, cheesy goodness! Lay a slice of American cheese right on top of each of those 12 beef portions still sitting in the pan. Pop the pan back into the oven for just another 2-3 minutes, or until you see that cheese is perfectly gooey and melted. This is where the magic really happens! Once the cheese is melty, carefully lift each beef-and-cheese patty out of the pan and place it right onto the bottom half of one of your slider buns. Add any of your favorite toppings – lettuce, tomato, pickles, a squeeze of ketchup or mustard – and then crown it with the top bun. Voila! You’ve got yourself some incredible cheeseburger sliders, ready to wow your guests!
Tips for Making Party Hamburger Sliders
Okay, so you’ve made the cheeseburger sliders, and they smell amazing! But if you’re hosting a party, keeping them delicious and ready for guests is key. Caroline always says that while these are quick to make, thinking ahead makes hosting so much smoother. If you’re having a bigger get-together, consider making these party sliders alongside other goodies, maybe even something like slow cooker chicken tikka masala to have variety. The goal is for everyone to have a great time and eat well without you being stuck in the kitchen!
One super helpful tip for these cheeseburger sliders is to prep your toppings ahead of time. Wash and chop lettuce, slice tomatoes, and have your pickles and sauces ready to go in small bowls. This makes the final assembly lightning fast. For keeping them warm? A slow cooker on its ‘warm’ setting is your best friend! Just place the assembled sliders inside, maybe with a little extra moisture like a food-safe damp paper towel on top (but not touching the buns directly if you can help it) to keep them from drying out. This way, guests can grab one whenever they’re ready, warm and delicious!
Frequently Asked Questions About Mini Burger Sliders
Got questions about these tasty little treats? I get it! When you’re trying to feed a crowd, a few things can pop into your mind. Here are some answers to those common things folks ask about these mini burger sliders. Don’t worry, we make sure these are super straightforward, just like all our recipes here at Recipes To Keep!
Can I make these cheeseburger sliders ahead of time?
You totally can prep the beef mixture and press it into the pan a day ahead and keep it covered in the fridge. Bake and melt the cheese right before serving for the best meltiness!
What are the best toppings for mini burger sliders?
Honestly, anything goes! Classic lettuce, tomato, thinly sliced red onion, pickles, ketchup, and mustard are always hits. A little shredded cheese mixed into the beef before baking is also delicious!
How do I keep the cheeseburger sliders warm for a party?
My favorite trick is a slow cooker set to ‘warm’! If you assemble them on the buns before the final cheese melt, you can place them in there. Just be mindful of the buns getting soggy; a damp paper towel placed loosely over them can help, but keep an eye on it!
Nutritional Information for Cheeseburger Sliders
Just a heads-up, these nutrition numbers are estimates and can bounce around a bit depending on the exact brands you use, especially the buns and beef. But for a general idea, one of these delicious little cheeseburger sliders packs about 350 calories, 20g of fat (8g of which is saturated), and provides around 18g of protein. So, you get all that amazing burger goodness without overwhelming your guests!
Share Your Delicious Cheeseburger Sliders!
Did you make these amazing cheeseburger sliders? I’d be thrilled to hear all about it! Leave a comment below, give the recipe a star rating if you loved it, or snap a pic and tag us on social media. You can find us on Facebook at Recipes To Keep!
PrintEasy Cheeseburger Sliders
Make delicious mini cheeseburgers perfect for parties and game days. This recipe offers a simple way to feed a crowd with classic burger flavor in a bite-sized package.
- Prep Time: 15 min
- Cook Time: 25 min
- Total Time: 40 min
- Yield: 12 sliders 1x
- Category: Appetizer
- Method: Baking
- Cuisine: American
- Diet: Vegetarian
Ingredients
- 1.5 pounds ground beef
- 1/2 cup breadcrumbs
- 1/4 cup milk
- 1 egg
- 1 teaspoon salt
- 1/2 teaspoon black pepper
- 1/4 teaspoon garlic powder
- 1/4 teaspoon onion powder
- 12 slider buns
- 12 slices American cheese
- Optional toppings: lettuce, tomato, onion, pickles, ketchup, mustard
Instructions
- Preheat your oven to 375°F (190°C).
- In a large bowl, combine ground beef, breadcrumbs, milk, egg, salt, pepper, garlic powder, and onion powder. Mix gently until just combined. Do not overmix.
- Press the meat mixture evenly into a 9×13 inch baking pan.
- Bake for 15-20 minutes, or until the beef is cooked through.
- Remove from oven and drain any excess grease.
- While the beef is still warm in the pan, cut it into 12 equal portions using a knife or spatula.
- Place a slice of American cheese on top of each portion.
- Return the pan to the oven for 2-3 minutes, or until the cheese is melted.
- Carefully remove the beef and cheese portions from the pan and place each one onto the bottom half of a slider bun.
- Add your desired toppings and the top half of the bun.
- Serve immediately.
Notes
- For easier serving, you can assemble the sliders in the baking pan by placing the bottom buns under the beef and cheese before the final melt.
- Keep sliders warm in a slow cooker on the ‘warm’ setting if serving later.
- Prepare toppings in advance to speed up assembly.
Nutrition
- Serving Size: 1 slider
- Calories: 350
- Sugar: 4g
- Sodium: 600mg
- Fat: 20g
- Saturated Fat: 8g
- Unsaturated Fat: 12g
- Trans Fat: 0g
- Carbohydrates: 25g
- Fiber: 1g
- Protein: 18g
- Cholesterol: 70mg