
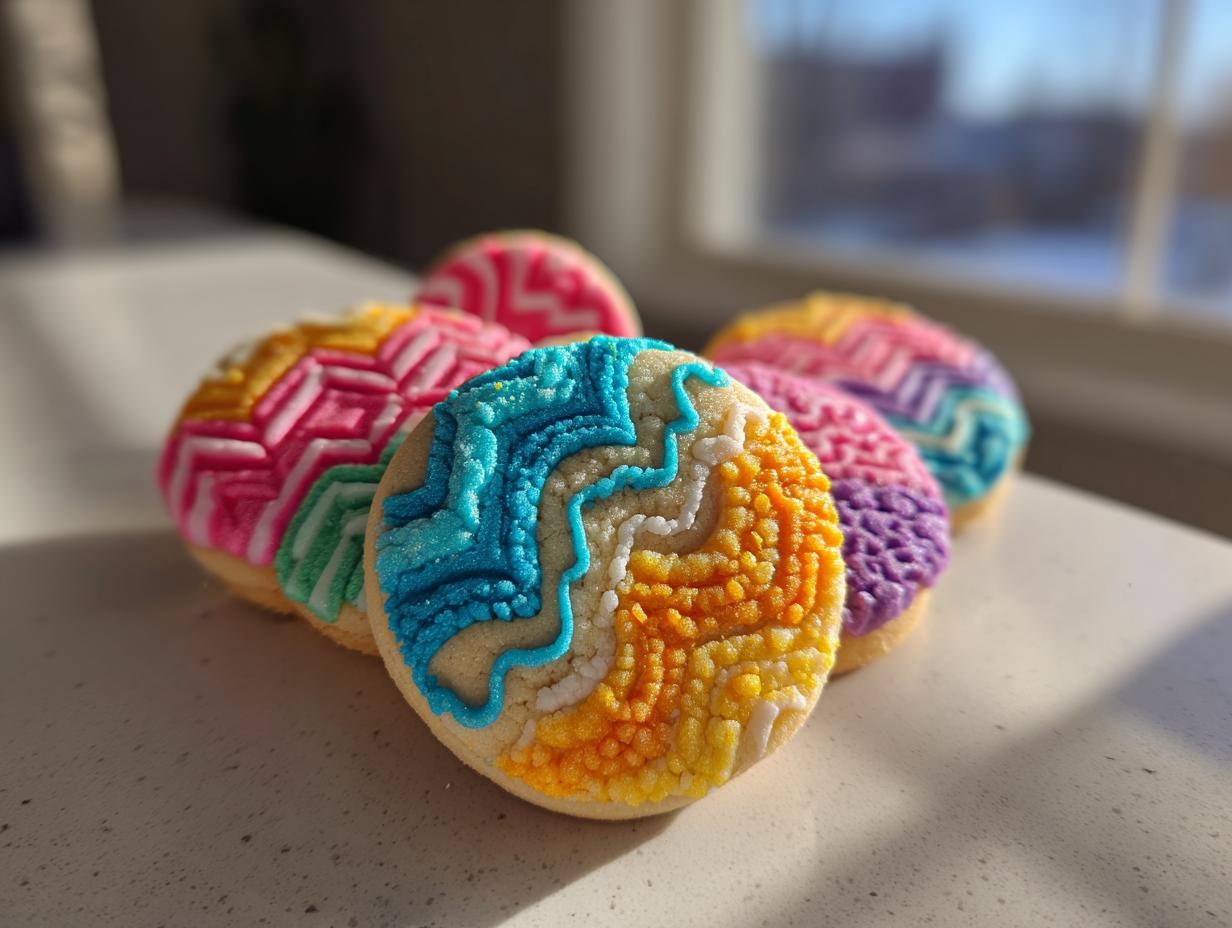

Oh, the sheer joy of decorating cookies! There’s just something magical about transforming a simple sugar cookie into a colorful work of art, isn’t there? Whether it’s for Christmas, a birthday, or just because, decorated sugar cookies are an absolute blast for everyone, from little ones with sticky fingers to us grown-ups who secretly love a good crafting session. My own grandmother, Eleanor, used to keep her favorite recipes in a well-loved wooden box with cards stained from all the baking – and these sugar cookies were always a shining star! Here at Recipes To Keep, I’ve spent loads of time in the kitchen, just like she did, testing and tweaking to get this classic recipe absolutely perfect for you. So, get ready, because we’re diving into a recipe that’s guaranteed to give you beautifully shaped cookies with a perfectly smooth canvas for all your creative icing designs!
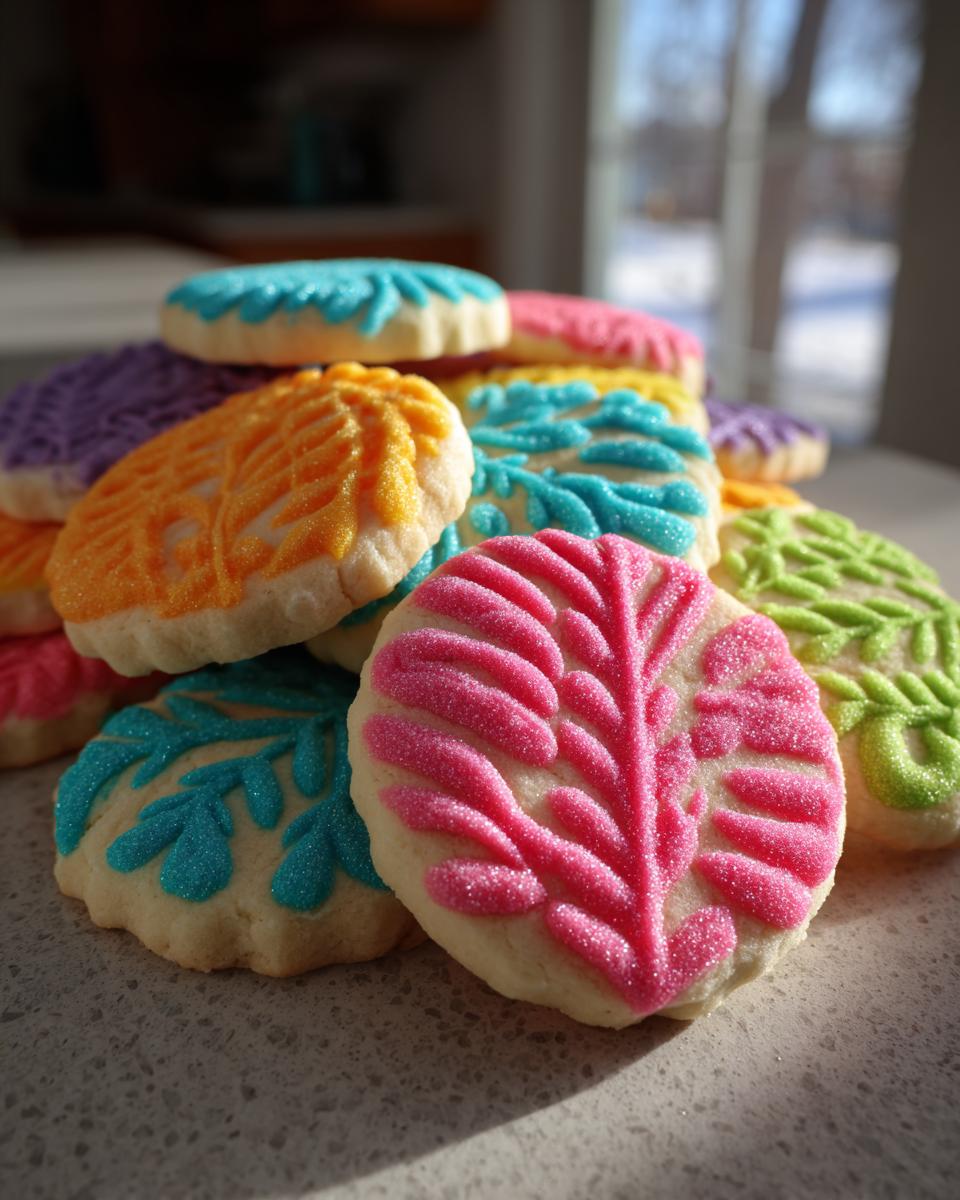
- Why These Decorated Sugar Cookies Are a Keeper
- The Best Sugar Cookie Dough for Decorating
- Simple Icing for Cookie Decoration
- How to Make Decorated Sugar Cookies: Step-by-Step
- Decorating Your Holiday Cut-Out Cookies
- Frequently Asked Questions About Decorated Sugar Cookies
- Nutritional Information
- Share Your Decorated Sugar Cookie Creations!
Why These Decorated Sugar Cookies Are a Keeper
So, why is this particular sugar cookie recipe a true “keeper,” you ask? It’s all about those little things that make a big difference when you’re ready to get creative!
- They hold their shape beautifully! This means your cute little gingerbread people won’t turn into sad, blobby puddles in the oven.
- Perfectly pale canvas: They bake up light and even, giving you the ideal background for all your colorful icing and sprinkles.
- Flavor that wows: Simple, classic, and utterly delicious. They taste just as good as they look, which is exactly what you want!
- Easy to work with: From rolling to cutting and decorating, this dough is a dream. It makes the whole process fun, not fussy.
The Best Sugar Cookie Dough for Decorating
Okay, let’s talk about what makes this sugar cookie dough the absolute star of the show for decorating. Seriously, when you want cookies that hold their shape like little soldiers and don’t spread out into sad, flat puddles, this is the recipe you need! I’ve tested this so many times in my kitchen, trying to get that perfect balance. You end up with a cookie that’s wonderfully tender but sturdy enough for all your cookie cutter creations. Plus, they bake up to this lovely pale golden color, which is honestly the best canvas for all those bright icing colors and fun sprinkles. If you’re looking for the best sugar cookie for decorating, trust me, this is it. It’s designed specifically for those beautiful decorated sugar cookies that look like you bought them from a fancy bakery, but made them with love at home! If you want even more tips, check out my Halloween cut-out cookie tips – they apply here too!
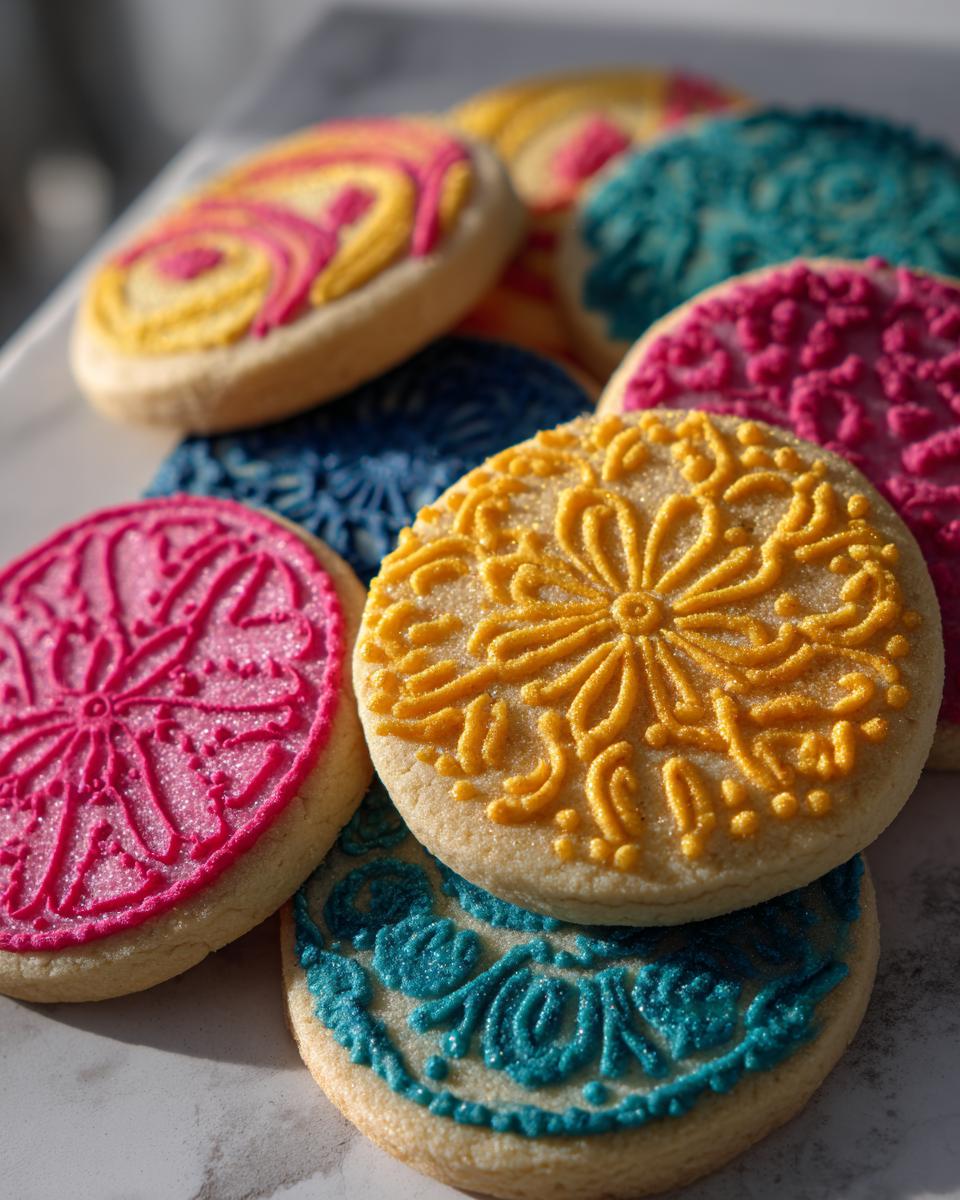
Ingredients for Perfect Cut-Out Cookies
Here’s what you’ll need to get that perfect dough going. It’s pretty straightforward stuff, but the quality of your ingredients really does make a difference:
- 3 cups all-purpose flour
- 1 teaspoon baking powder
- 1/2 teaspoon salt
- 1 cup (that’s two sticks!) unsalted butter, nice and softened
- 1 1/2 cups granulated sugar
- 2 large eggs
- 1 teaspoon good quality vanilla extract
- 1/4 cup milk
Tips for Rolling and Cutting Decorated Sugar Cookies
Alright, this is where the magic really happens! Getting the dough rolled and cut just right is key to making amazing decorated sugar cookies. My biggest tip from all those testing sessions? Keep that dough chilled! It makes such a difference. When you’re ready to roll, work with just half the dough at a time, keeping the other half chilling in the fridge – it stops it from getting too warm and sticky. I like to roll mine out on a lightly floured surface, aiming for about a 1/4-inch thickness. This way, they bake up nicely without being too thick or too thin. When you’re cutting, press straight down and twist just a little; it helps them keep their shape even better. And when you transfer them to your baking sheet? Be gentle! Using a thin spatula helps a lot, especially for those tricky shapes. Remember, even thickness means even baking, so take your time here!
Simple Icing for Cookie Decoration
Now for the really fun part – making these cookies look absolutely stunning! This icing is super straightforward, but it’s the perfect partner for our sugar cookies. It’s got that lovely sweet flavor and, best of all, it sets up nicely so your beautiful designs don’t smudge. While it’s not technically a true royal icing for cookies, it gets wonderfully firm and smooth, giving you that beautiful canvas for pretty much anything you can dream up. It’s the simple touch that really makes our decorated sugar cookies pop!
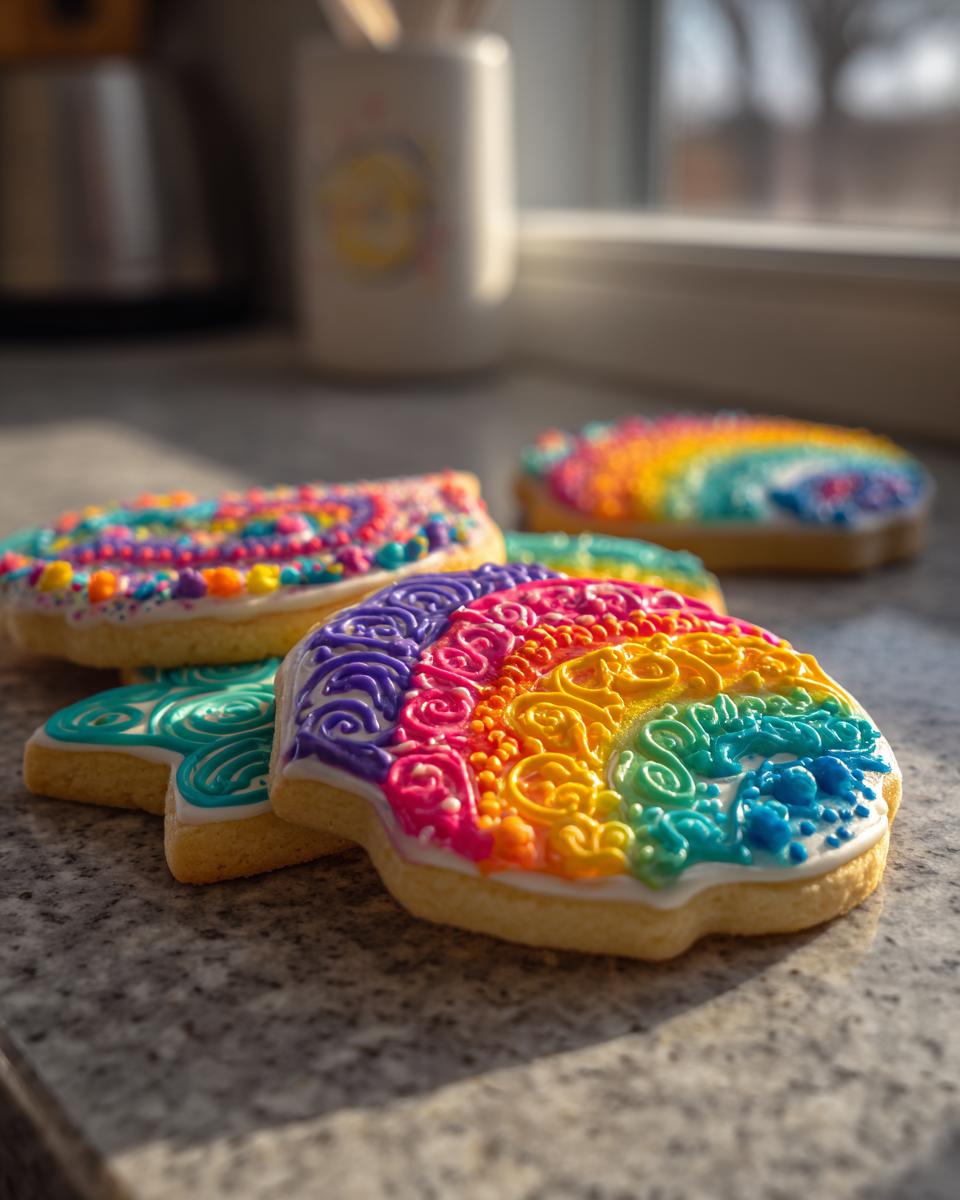
Ingredients for Easy Cookie Icing
Here’s what you’ll need to whip up this easy, delicious icing. It’s just a few pantry staples that come together in a flash:
- 3 cups powdered sugar
- 1/4 cup milk or water – your choice!
- 1 teaspoon vanilla extract
Achieving the Right Icing Consistency
Getting the icing just right makes all the difference for decorating. When you mix it up, start with the powdered sugar, then add your liquid (milk or water) and vanilla. Whisk it all together until it’s smooth. If it feels too thick and clumpy, just add a tiny bit more liquid, like a teaspoon at a time, until it smooths out. If it seems way too thin, add more powdered sugar, a tablespoon at a time. For piping those clean lines, you want it a bit thicker, almost like toothpaste. If you want to ‘flood’ the cookies and cover them in a smooth layer, an even thinner consistency works best – think like honey. It’s all about little adjustments until it feels perfect for what you want to do!
How to Make Decorated Sugar Cookies: Step-by-Step
Alright, let’s get down to business and make these beautiful decorated sugar cookies! I’ve spent ages in the kitchen perfecting these steps, just like my Grandma Eleanor would, to make sure they’re super easy to follow and give you amazing results every time. So, tie on your apron, and let’s create some edible art!
-
First things first, let’s get that dough ready. grab a medium bowl and whisk together your flour, baking powder, and salt. This just makes sure everything gets distributed nicely. Set that aside for a sec.
-
Now, in your big mixing bowl, cream together that softened butter and the granulated sugar. You want it to get nice and light and fluffy. This is a crucial step that my grandmother always stressed – it makes such a difference to the texture!
-
Beat in those two large eggs, one at a time, making sure each one is fully incorporated before you add the next. Then, stir in that lovely vanilla extract. It always smells so good at this stage!
-
Here comes the clever part for mixing the dry and wet ingredients. Gradually add your flour mixture to the butter mixture, alternating it with the milk. Start and end with the dry stuff. Mix it until it *just* comes together. Honestly, don’t overmix it – that’s the biggest culprit for tough cookies!
-
Divide your dough right in half. Flatten each half into a disc – this just makes it easier to roll out later. Wrap them up tightly in plastic wrap and pop them into the fridge to chill for at least an hour. Seriously, don’t skip this chilling step; it’s the secret to preventing spreading!
-
When you’re ready to bake, preheat your oven to 350°F (that’s 175°C). And get a couple of baking sheets ready. I like to line mine with parchment paper – makes cleanup a breeze and helps with non-sticking.
-
Take one disc of dough out of the fridge. On a lightly floured surface, roll it out nice and evenly to about 1/4-inch thick. Now, grab your favorite cookie cutters and have some fun cutting out your shapes!
-
Carefully transfer your cut-out cookies onto those prepared baking sheets. Give them a little space; they don’t spread much, but it’s always good practice.
-
Bake them for about 8 to 10 minutes. You’re looking for the edges to be *just* barely golden. The centers should still look pale. Honestly, pulling them out when they’re still a bit pale is key to that perfect tender bite.
-
Let the cookies hang out on the baking sheets for a few minutes to firm up a bit. Then, gently move them over to a wire rack to cool down completely. This is super important – don’t even think about icing warm cookies!
-
While your gorgeous cookies are cooling, whip up that easy icing. In a medium bowl, whisk together your powdered sugar, milk (or water works just fine too!), and vanilla extract until it’s nice and smooth. If it’s looking a bit thick, add a tiny splash more liquid. Too thin? A little more powdered sugar will fix it right up.
-
If you’re planning on using colors, now’s the time! Divide that icing into smaller bowls and mix in your food coloring to get all those pretty shades you want. This whole process, from dough to icing, is part of what makes these such fantastic decorated sugar cookies.
-
Once your cookies are totally cool (I can’t stress this enough!), it’s decorating time! Go wild with your icing and sprinkles. Let them dry completely before you stack them or serve them, and you’ll have a batch of beauties ready to impress. For more dessert ideas, you can always browse my full dessert category!
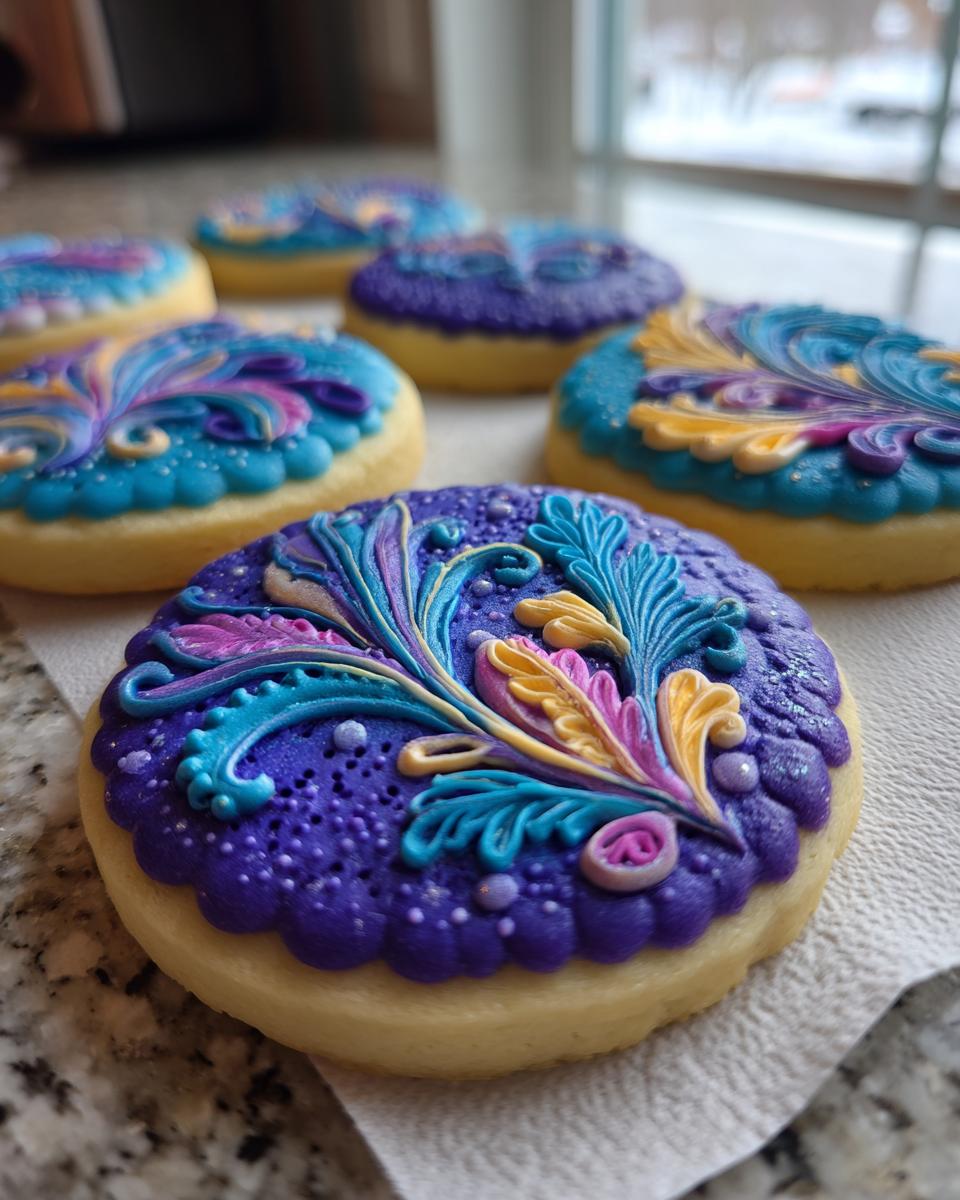
Decorating Your Holiday Cut-Out Cookies
Now for the part that really makes these cookies sparkle – decorating! This is where you can really let your creativity shine and turn these delicious holiday cut-out cookies into little edible masterpieces. I love starting with a base layer of icing and letting it set for a bit before adding details. For really smooth coverage, I like to ‘flood’ the cookie, which means using a slightly thinner icing to fill in the whole cookie after piping an outline. It takes a little practice, but wow, does it look professional! My grandmother always said that the little details, like a tiny dot of icing or a perfectly placed sprinkle, are what make people feel special. Don’t be afraid to experiment with different tips for piping borders or even just using the back of a spoon to spread the icing smoothly. For some extra fun, you can check out my recipes for caramel apple pretzel bites or get creative with cookies made with leftover candy – they’re all about fun and flavor!
Frequently Asked Questions About Decorated Sugar Cookies
Got questions about making the perfect decorated sugar cookies? I’m here to help! After all my testing, I’ve run into a few things, and I bet you might too. Here are some common questions I get, and don’t forget you can always check out our terms of use if you have any site-specific queries!
Why do my sugar cookies spread when baking?
Oh, the dreaded spread! Usually, this happens if your dough isn’t chilled enough – that’s the biggest culprit! Also, make sure your butter isn’t too soft when you start creaming it. Chilling that dough thoroughly is the absolute key to keeping those cute shapes intact!
Can I make the cookie dough ahead of time?
Absolutely! This dough is perfect for making ahead. Just wrap those flattened discs in plastic wrap and pop them in the fridge for up to 3 days. You can even freeze the dough for longer storage – just thaw it in the fridge overnight. It’s a lifesaver when you want to bake on a whim!
How do I get royal icing to dry hard?
For that super hard finish, make sure your icing isn’t too thin. If you’re using this recipe, adding just a touch more powdered sugar will help. Also, letting the cookies dry in a relatively cool, dry place with good air circulation is important. Avoid humid environments if you can!
What are the best cookie cutters for sugar cookies?
For beautiful holiday cut-out cookies, I find that cutters with a thin metal edge work best. They cut cleanly through the dough. Plastic ones are fun for kids, but sometimes they can push the dough around. For intricate shapes, choose cutters that aren’t *too* delicate to avoid breakage when you transfer them.
Nutritional Information
Just a heads-up, these numbers are estimates because, you know, home baking can vary a bit! Things like the exact brand of butter or how thick you roll your dough can change things. But generally, one of these yummy cookies has about 180 calories, 8g of fat, 2g of protein, and 27g of carbohydrates. Enjoy every bite!
Share Your Decorated Sugar Cookie Creations!
I absolutely LOVE seeing what you all create in your kitchens! Once you’ve whipped up these decorated sugar cookies, please tell me all about it in the comments below! How did they turn out? Did you try any fun decorating tricks? And if you shared photos on social media, tag us! We’d be thrilled to see your amazing cookie masterpieces. You can even find us on Facebook!
PrintPerfect Decorated Sugar Cookies

A reliable sugar cookie dough recipe that holds its shape for cut-outs, paired with a simple icing for decorating. Perfect for holidays and special occasions.
- Prep Time: 30 min
- Cook Time: 10 min
- Total Time: 1 hour 40 min
- Yield: 24 cookies 1x
- Category: Dessert
- Method: Baking
- Cuisine: American
- Diet: Vegetarian
Ingredients
- 3 cups all-purpose flour
- 1 teaspoon baking powder
- 1/2 teaspoon salt
- 1 cup (2 sticks) unsalted butter, softened
- 1 1/2 cups granulated sugar
- 2 large eggs
- 1 teaspoon vanilla extract
- 1/4 cup milk
- Powdered sugar, for dusting
- For the Icing:
- 3 cups powdered sugar
- 1/4 cup milk or water
- 1 teaspoon vanilla extract
- Food coloring (optional)
Instructions
- In a medium bowl, whisk together the flour, baking powder, and salt. Set aside.
- In a large bowl, cream together the softened butter and granulated sugar until light and fluffy.
- Beat in the eggs one at a time, then stir in the vanilla extract.
- Gradually add the dry ingredients to the wet ingredients, alternating with the milk, beginning and ending with the dry ingredients. Mix until just combined. Do not overmix.
- Divide the dough in half, flatten each half into a disc, wrap in plastic wrap, and refrigerate for at least 1 hour.
- Preheat your oven to 350°F (175°C). Line baking sheets with parchment paper.
- On a lightly floured surface, roll out one disc of dough to about 1/4-inch thickness. Cut out desired shapes using cookie cutters.
- Carefully transfer the cookies to the prepared baking sheets.
- Bake for 8-10 minutes, or until the edges are lightly golden. The centers should still look pale.
- Let the cookies cool on the baking sheets for a few minutes before transferring them to a wire rack to cool completely.
- While the cookies cool, prepare the icing. In a medium bowl, whisk together the powdered sugar, milk (or water), and vanilla extract until smooth. If the icing is too thick, add a little more liquid; if too thin, add more powdered sugar.
- Divide the icing into bowls and add food coloring if desired.
- Once the cookies are completely cool, decorate them with the icing and sprinkles. Let the icing set completely before storing or serving.
Notes
- For best results, chill the dough thoroughly. This prevents spreading during baking.
- Roll the dough evenly to ensure consistent baking times.
- Avoid overbaking to keep the cookies pale and tender.
- Adjust icing consistency by adding more liquid or powdered sugar as needed.
- Royal icing can be used for a harder, more durable finish.
Nutrition
- Serving Size: 1 cookie
- Calories: 180
- Sugar: 25g
- Sodium: 50mg
- Fat: 8g
- Saturated Fat: 5g
- Unsaturated Fat: 3g
- Trans Fat: 0g
- Carbohydrates: 27g
- Fiber: 0g
- Protein: 2g
- Cholesterol: 25mg