
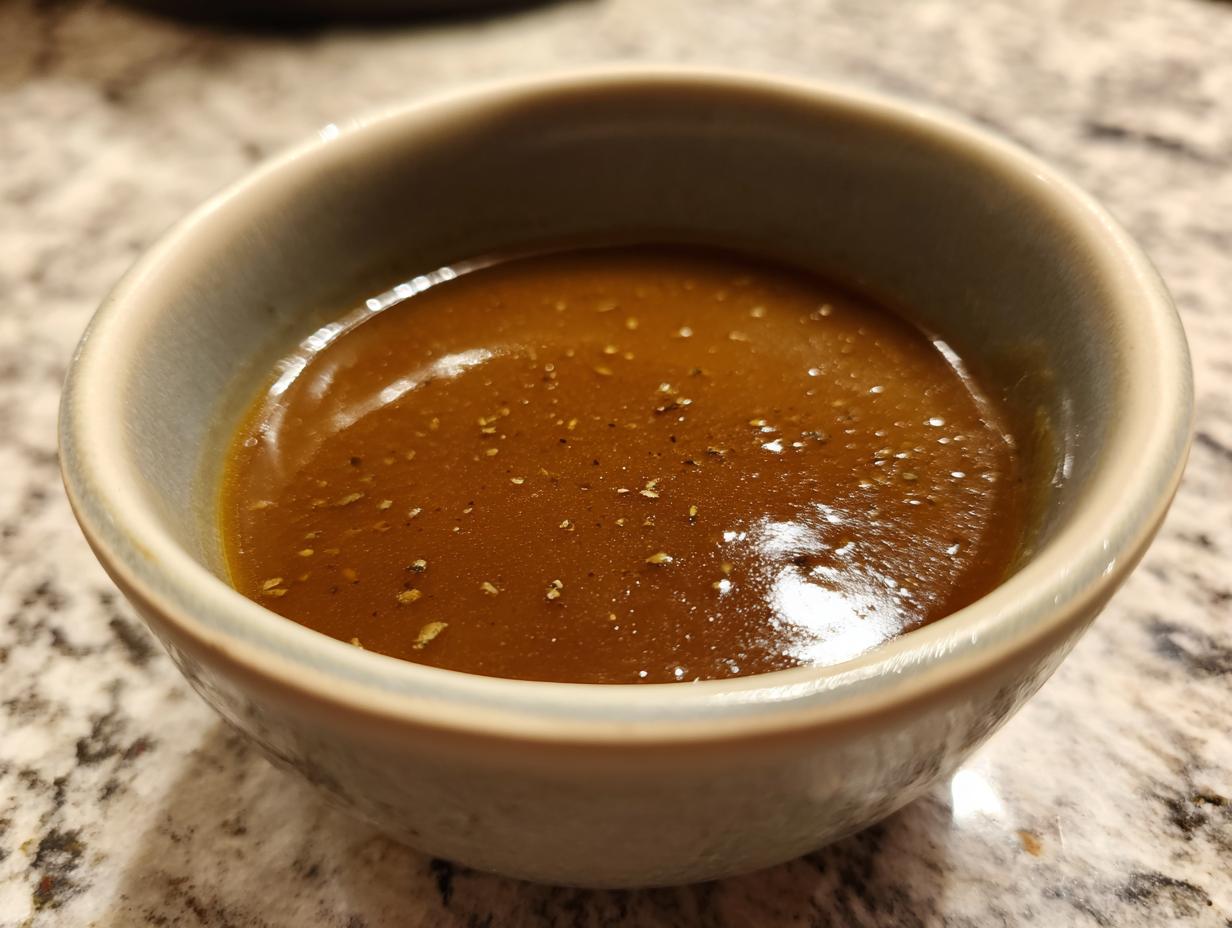

Oh, that moment when the turkey is golden brown, the potatoes are mashed, and the table is set… but something’s missing, right? It’s that rich, savory river of **gravy** that ties it all together! Just like my grandmother Eleanor always said, a meal isn’t truly complete without it. This simple, foolproof recipe uses your turkey’s own pan drippings to create the most incredible homemade gravy. Forget those lumpy disasters; this guide will have you making silky smooth, deeply flavorful gravy every single time. It’s the kind of delicious comfort food that makes a house feel like home, and trust me, your family will remember it. For more about our kitchen philosophy, check out our About page!
- Why This Gravy Recipe is a Keeper
- Essential Ingredients for Perfect Turkey Gravy
- How to Make Gravy from Turkey Drippings: Step-by-Step
- Tips for the Best Homemade Turkey Gravy
- Serving Suggestions for Your Gravy
- Frequently Asked Questions about Gravy
- Nutritional Information Estimate
- Share Your Gravy Creations!
Why This Gravy Recipe is a Keeper
You’re going to love this recipe because it’s just so darn easy and delivers HUGE flavor. It’s genuinely a classic American recipe that makes your whole meal feel special. Here’s why it’s a keeper:
- Super Simple: Only a few ingredients and comes together fast.
- Amazing Flavor: Uses your turkey’s own drippings for that authentic taste.
- Perfect Texture: Smooth, rich, and never lumpy if you follow these steps!
- Completes the Meal: It’s the delicious finishing touch your turkey and potatoes deserve.
Essential Ingredients for Perfect Turkey Gravy
Alright, let’s talk about what you’ll need to make this amazing gravy! It’s actually pretty straightforward, and you probably already have most of it. For the best, most flavorful gravy, here’s what you grab:
- 4 tablespoons of those precious pan drippings from your roasted turkey
- 4 tablespoons of all-purpose flour – this helps thicken everything up beautifully
- 2 cups of good turkey broth or stock (homemade is amazing, but good quality store-bought works too!)
- Salt and freshly ground black pepper, to taste – the finishing touches that really make it sing
How to Make Gravy from Turkey Drippings: Step-by-Step
Alright, let’s get down to business and turn those amazing turkey drippings into the best homemade **turkey drippings gravy** you’ve ever had. Don’t be intimidated; it’s way easier than you think and makes all the difference!
Separating the Drippings for Your Gravy
First things first, take a look at your roasting pan after the turkey’s out. See all that goodness stuck to the bottom? Carefully pour those drippings into a heatproof bowl or a sturdy fat separator. Let it sit for a few minutes – the fat will float right to the top. We want about 4 tablespoons of that flavorful fat for our gravy base. If you don’t quite have that much, no worries! Just top it off with a bit of butter or a little more turkey fat; it’ll still be delicious.
Creating the Roux for Thick Gravy
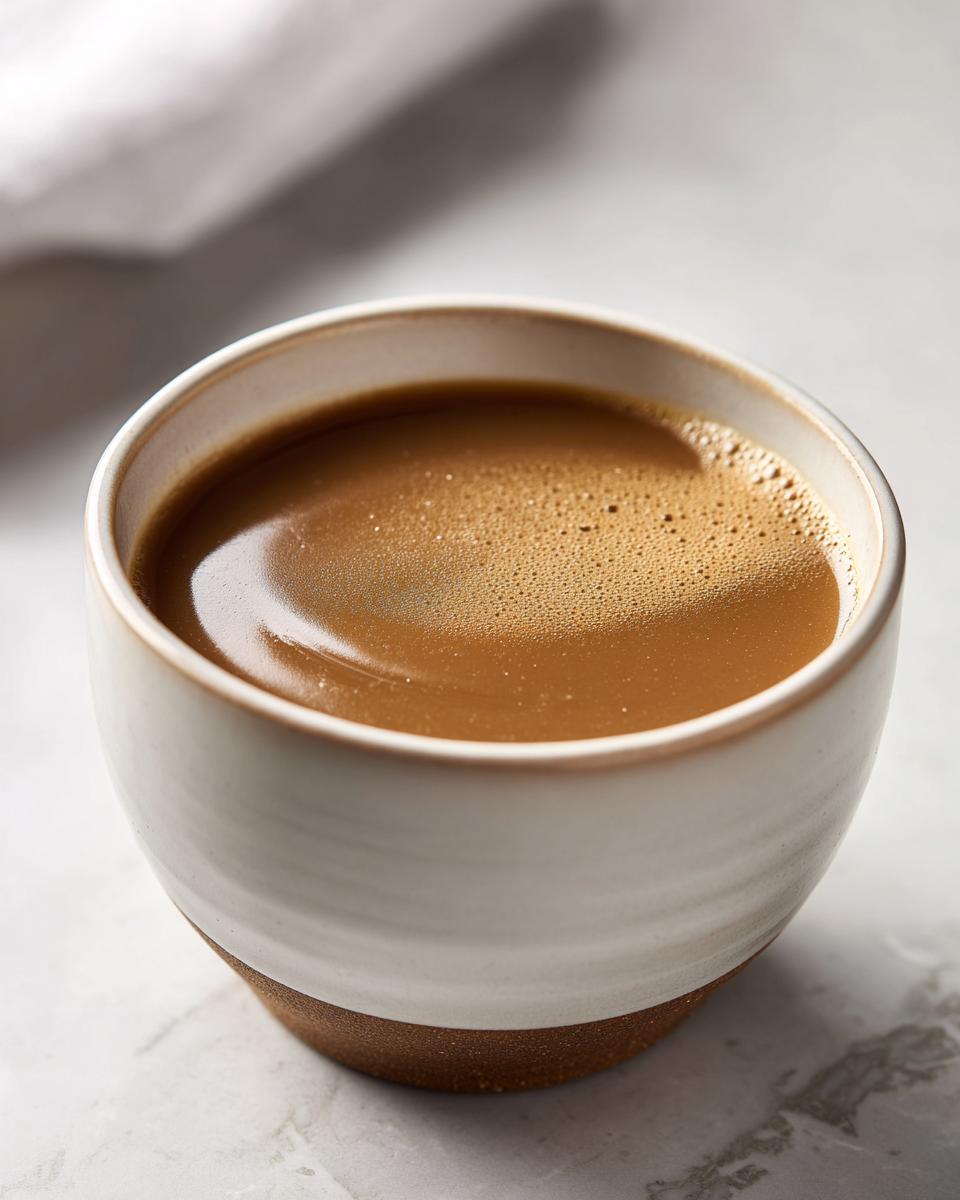
Now, grab a medium saucepan and set it over medium heat. Add in those 4 tablespoons of reserved turkey fat. Once it’s melted and shimmery, it’s time for the flour! Whisk in the 4 tablespoons of all-purpose flour. Keep whisking constantly for about 1 to 2 minutes. You want this mixture, called a roux, to be smooth and maybe just a *tiny* bit golden. This little step is absolutely key to a thick, luscious gravy.
Whisking in Broth to Avoid Lumps
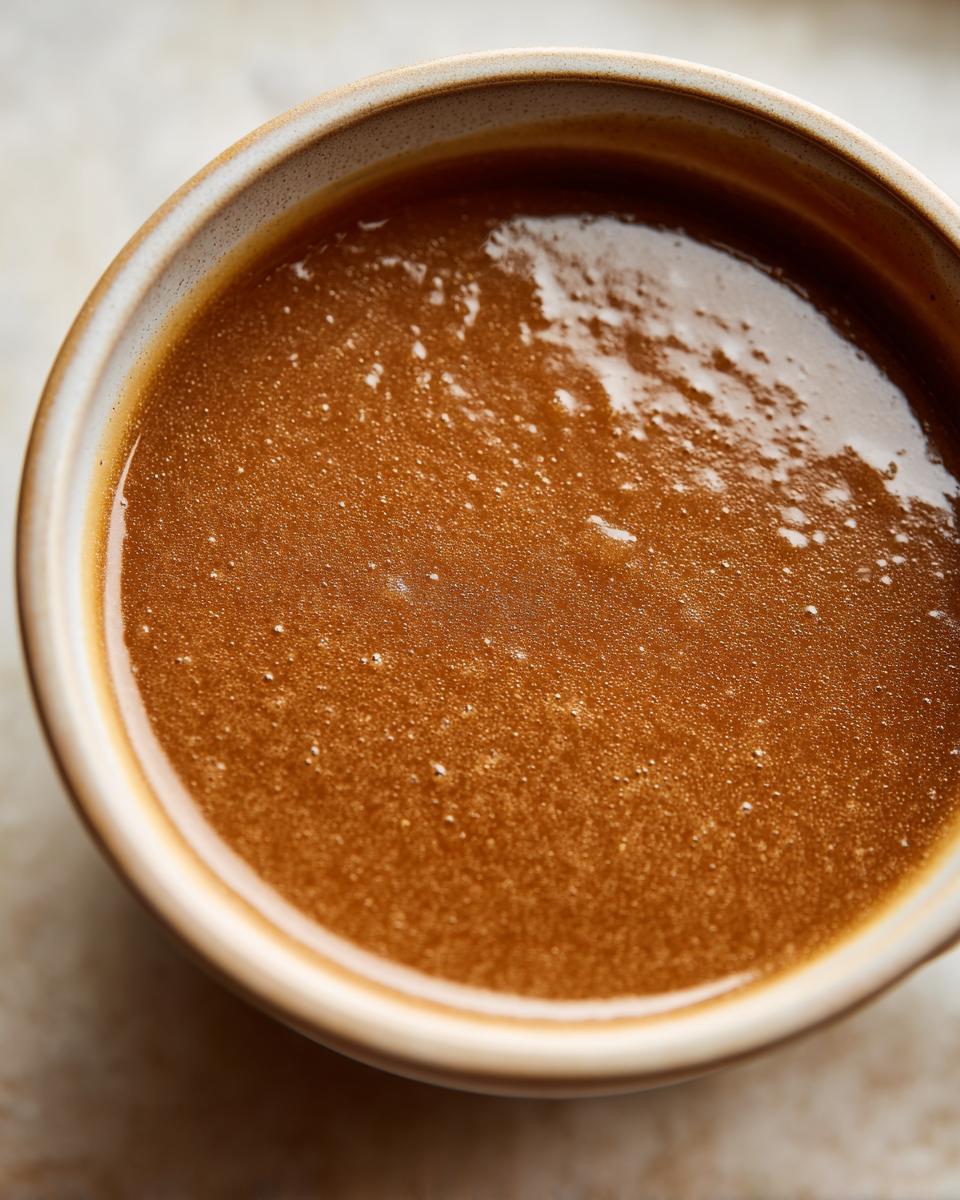
This is where the magic really happens! Slowly, and I mean slowly, start whisking in your 2 cups of turkey broth or stock. Add just a splash at first, whisking like crazy until it’s smooth. Then, keep adding the broth a little bit at a time, whisking after each addition – this is crucial for **how to make gravy without lumps**. Seriously, don’t dump it all in at once, or you’ll end up with a gloopy mess! Keep whisking until it’s all combined and super smooth. This whole process makes a fantastic turkey gravy.
Simmering and Seasoning Your Gravy
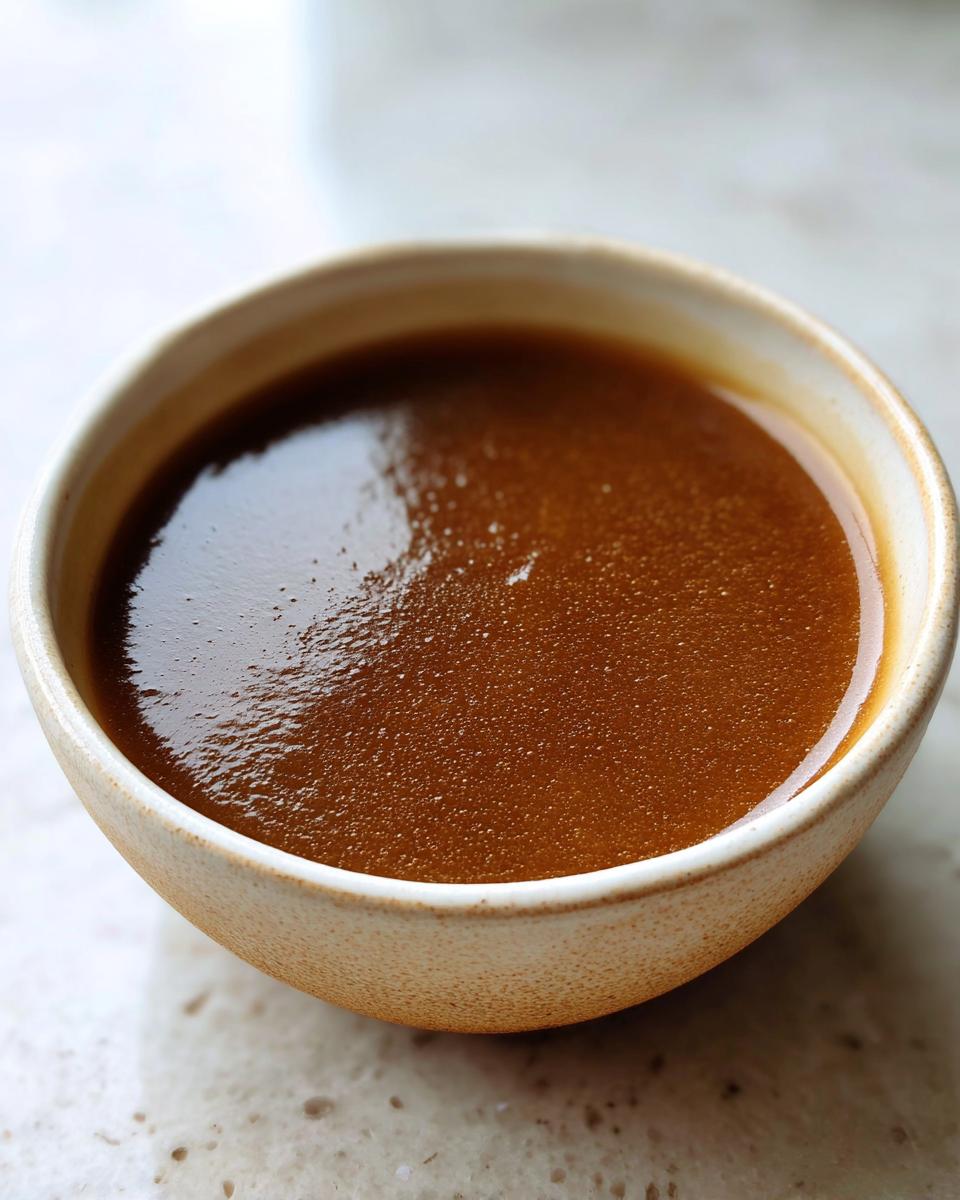
Once your broth is all whisked in, bring the mixture to a gentle simmer over medium heat. Keep whisking often, especially around the edges and bottom, so nothing sticks. Let it bubble away gently for about 5 to 10 minutes. You’ll see it start to thicken up beautifully. As it simmers, taste it! Add salt and freshly ground black pepper until it’s just right for you. If there are any extra bits of meat juice in the roasting pan (not the fat!), now’s the time to whisk them in for even more flavor!
Tips for the Best Homemade Turkey Gravy
Making gravy might seem a little scary, but trust me, it’s totally doable and so, so worth it! These little tricks have been passed down, and they really make all the difference between a ‘meh’ gravy and a ‘wow!’ gravy. You’ll find all sorts of great cooking tips on our blog, but here are my favorites for gravy:
Achieving a Silky Smooth Gravy
If you want that super smooth, restaurant-quality gravy, here’s my secret: strain it! Just before serving, pour your gorgeous gravy through a fine-mesh sieve into another pot or a clean bowl. It catches any tiny little bits you might have missed and gives you the most beautiful, silky texture. It’s a small step that makes a huge difference!
Troubleshooting Gravy Consistency
Okay, so sometimes gravy can be a little *too* thick or, gasp, a little too thin. Don’t panic! If it’s too thick, just whisk in a tiny bit more turkey broth or even some warm water until it slides off your spoon perfectly. If it’s too thin, no worries! Mix 1 tablespoon of cornstarch with 2 tablespoons of cold water until it’s smooth, then whisk that slurry into your simmering gravy. It’ll thicken right up!
Serving Suggestions for Your Gravy
Now that you’ve got this liquid gold, what do you do with it? Well, this **gravy** is practically a holiday superhero! It’s *essential* for drizzling over your beautifully roasted turkey (you can find my favorite juicy turkey breast recipe right here!). And don’t even think about serving mashed potatoes without a generous ladle of this goodness – they’re just begging for it, and my creamy mashed potatoes are the perfect canvas. It’s also divine over stuffing, like my easy stuffing recipe, or really anything that needs a little savory magic. It’s the cozy hug your whole meal needs!
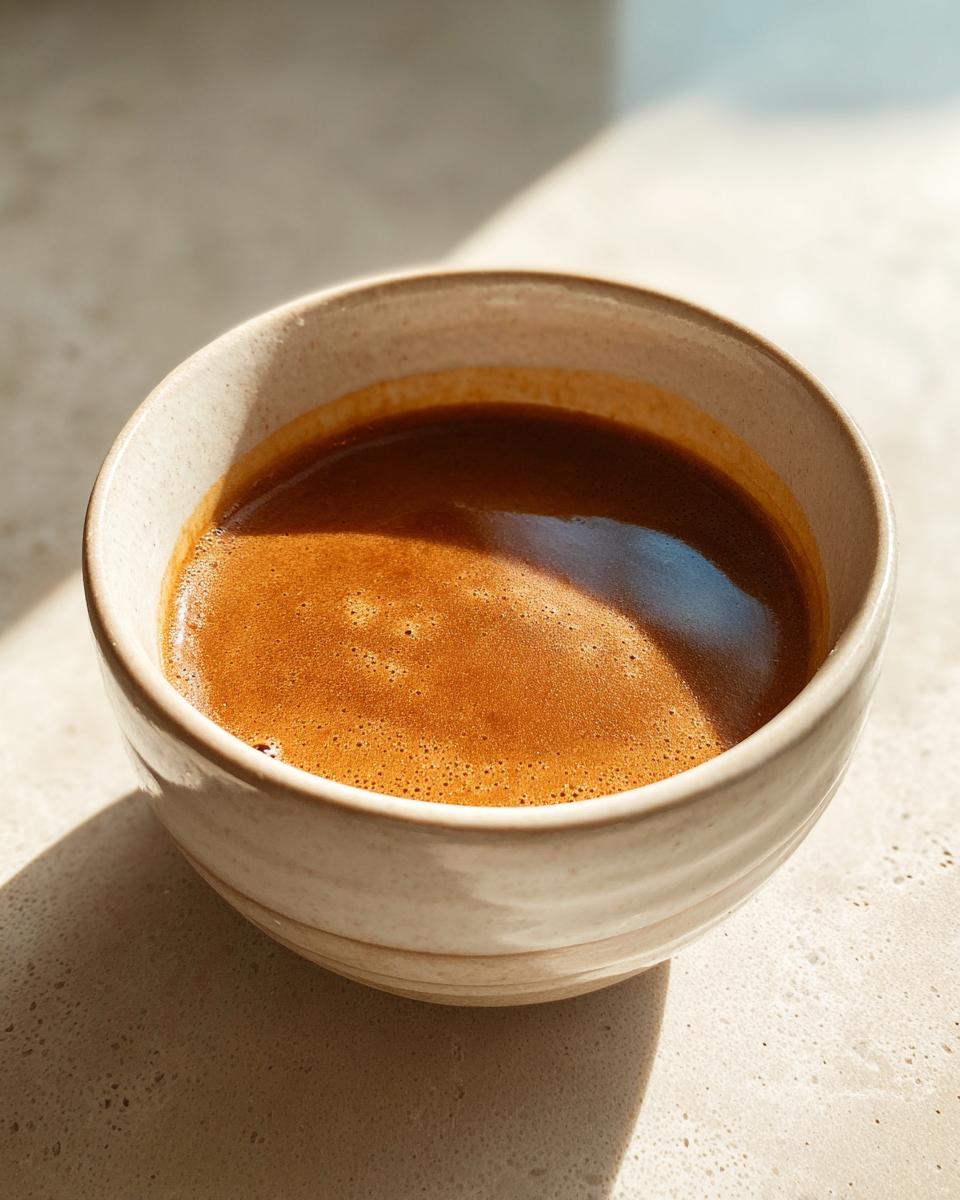
Frequently Asked Questions about Gravy
Got gravy questions? I’ve got answers! Making this classic **gravy** is all about a few simple tricks, and I’m happy to share them. Here are some things folks often want to know about whipping up the best homemade turkey gravy. For more delicious side dishes, be sure to browse the site!
Can I make this gravy ahead of time?
Yes, you totally can! You can make the gravy a day or two ahead and store it in an airtight container in the fridge. Just gently reheat it on the stove, whisking as it warms up. You might need to add a splash more broth if it’s thickened up too much.
What if I don’t have enough turkey drippings for my gravy?
Oh, bummer, but no biggie! If you’re short on drippings after your turkey comes out, you can totally use butter instead. Just measure out 4 tablespoons of butter and melt it to make your roux. It won’t have quite the same turkey flavor, but it’ll still be absolutely delicious and save the day!
How do I store leftover gravy?
Leftover gravy is a treasure! Store any extra in an airtight container in the refrigerator for up to 3 days. When you’re ready to use it again, just gently warm it up on the stovetop over low heat, whisking constantly. It’s the perfect thing for sandwiches or any meal that needs a little extra comfort!
Nutritional Information Estimate
Just a little heads-up, these numbers are estimates, okay? They can change a bit depending on the exact ingredients you use. But for a standard 1/4 cup serving of this yummy gravy, you’re looking at roughly:
- Calories: 120
- Fat: 8g
- Protein: 2g
- Carbohydrates: 10g
- Sodium: 300mg
- Sugar: 1g
Share Your Gravy Creations!
I just love hearing from you all! Did you make this gravy? How did it turn out? Please tell me all about it in the comments below, and consider giving it a star rating if you loved it! Sharing this recipe on social media helps us keep creating these kitchen keepsakes for everyone. Let’s make some delicious memories together! You can also find us on Facebook!
PrintClassic Turkey Gravy from Pan Drippings
A smooth and savory homemade turkey gravy made from your roasted turkey’s pan drippings, perfect for holiday meals.
- Prep Time: 5 min
- Cook Time: 15 min
- Total Time: 20 min
- Yield: About 2 cups 1x
- Category: Side Dish
- Method: Stovetop
- Cuisine: American
- Diet: Vegetarian
Ingredients
- 4 tablespoons pan drippings
- 4 tablespoons all-purpose flour
- 2 cups turkey broth or stock
- Salt and freshly ground black pepper to taste
Instructions
- Pour the pan drippings from your roasted turkey into a heatproof bowl or a fat separator. Let it sit for a few minutes to allow the fat to separate from the juices. Skim off about 4 tablespoons of the fat and reserve it.
- Place a saucepan over medium heat. Add the reserved 4 tablespoons of turkey fat.
- Whisk in the 4 tablespoons of all-purpose flour with the melted fat. Cook, whisking constantly, for about 1 to 2 minutes until the mixture is smooth and lightly golden. This is your roux.
- Gradually whisk in 2 cups of turkey broth or stock, a little at a time, ensuring no lumps form.
- Bring the mixture to a simmer, whisking often. Continue to simmer for 5 to 10 minutes, or until the gravy has thickened to your desired consistency.
- Season the gravy with salt and freshly ground black pepper to your taste.
- If you have any meat juices from the roasting pan that are not fat, you can whisk them into the gravy at this stage for extra flavor.
- Serve hot.
Notes
- For a smoother gravy, you can strain it through a fine-mesh sieve before serving.
- If you don’t have enough pan drippings, you can supplement with butter or additional turkey fat.
- If your gravy is too thick, whisk in a little more turkey broth or water until it reaches the right consistency.
- If your gravy is too thin, you can make a slurry with 1 tablespoon of cornstarch mixed with 2 tablespoons of cold water, then whisk it into the simmering gravy until thickened.
Nutrition
- Serving Size: 1/4 cup
- Calories: 120
- Sugar: 1g
- Sodium: 300mg
- Fat: 8g
- Saturated Fat: 3g
- Unsaturated Fat: 5g
- Trans Fat: 0g
- Carbohydrates: 10g
- Fiber: 0g
- Protein: 2g
- Cholesterol: 10mg