


Oh, have you ever cooked a whole duck for a special dinner? It feels so fancy, right? I remember the first time I roasted a duck for our holiday feast a few years back. I was a little nervous because it’s not something you whip up every day, but wow, did it deliver! This recipe for roast duck is my go-to because it guarantees that beautiful, mahogany-colored, super-crispy skin and unbelievably tender, juicy meat. It’s honestly less intimidating than it seems, and it makes any meal feel incredibly special. Trust me, your guests will be raving! Come on over and check out what we’re cooking up on Facebook sometime!
- Why You'll Love This Roast Duck Recipe
- Gather Your Ingredients for Perfect Roast Duck
- Essential Equipment for Whole Duck Roasting
- Step-by-Step Guide to Roasting Your Duck
- Tips for Achieving Perfect Whole Duck Roasting
- Serving Suggestions for Your Holiday Roast Waterfowl
- Frequently Asked Questions About Roast Duck
- Nutritional Information for Roast Duck
Why You’ll Love This Roast Duck Recipe
Seriously, this roast duck recipe is a winner for so many reasons. You’ll adore:
- That unbelievably crispy skin—it’s like crackling candy!
- The meat is always super tender and juicy, never dry.
- It feels so elegant and festive, perfect for holidays or impressing guests ($0 down, $0 a month with meal planning!).
- It’s surprisingly easy to pull off, even if you’re a bit nervous about cooking a whole duck!
Gather Your Ingredients for Perfect Roast Duck
Alright, let’s get our ducks in a row with the ingredients! For this delicious roast duck, you’ll need:
- 1 whole duck, around 4 to 5 pounds – make sure it’s good and fresh!
- 1 juicy lemon, cut into quarters
- 1 bright orange, also cut into quarters
- 4 sprigs of fresh thyme – the smell is amazing!
- 2 sprigs of fresh rosemary
- 1 teaspoon of salt
- 1/2 teaspoon of black pepper
That’s it! Simple, right? These few things are all you need to make a truly memorable meal.
Essential Equipment for Whole Duck Roasting
Before you dive into making your delicious roast duck, let’s make sure you’ve got the right gear. You won’t need anything too fancy, just a few trusty kitchen staples:
- A good oven
- A sturdy roasting pan
- A rack to fit inside the pan (this is key for even cooking!)
- A few paper towels
- A fork or sharp knife for pricking the skin
That’s pretty much it! Having these ready to go makes the whole process so much smoother.
Step-by-Step Guide to Roasting Your Duck
Alright, let’s get this beautiful bird ready for its star turn! Honestly, following these steps makes the whole process of cooking a roast duck totally manageable. You’ll be so proud when you pull it out of the oven! Need more tips for cooking? You can always find great advice over on our blog!
Preparing the Duck for Roasting
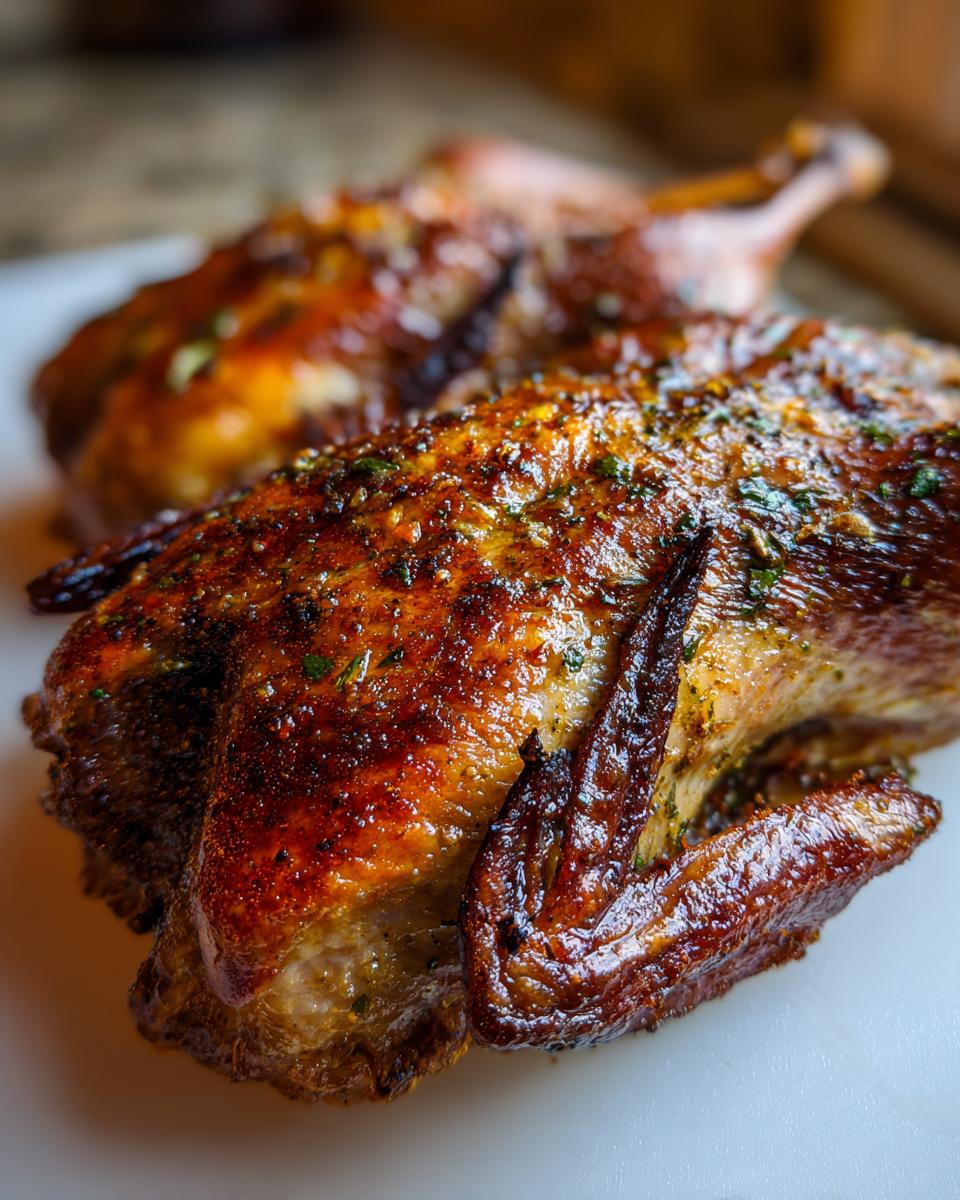
First things first, let’s get that duck prepped. Preheat your oven to a nice, steady 350°F (175°C). When you pull the duck out of its packaging, check inside for the giblets – take those out. Then, give the duck a good rinse, inside and out, with cold water. Pat it *super* dry with paper towels. Seriously, get it as dry as you can! Now, grab a fork or a sharp knife and prick the skin all over. Don’t go digging into the meat, just the skin! This is a crucial step because it lets all that wonderful fat escape as it roasts, leading to that coveted crispy skin.
Stuffing and Seasoning Your Roast Duck
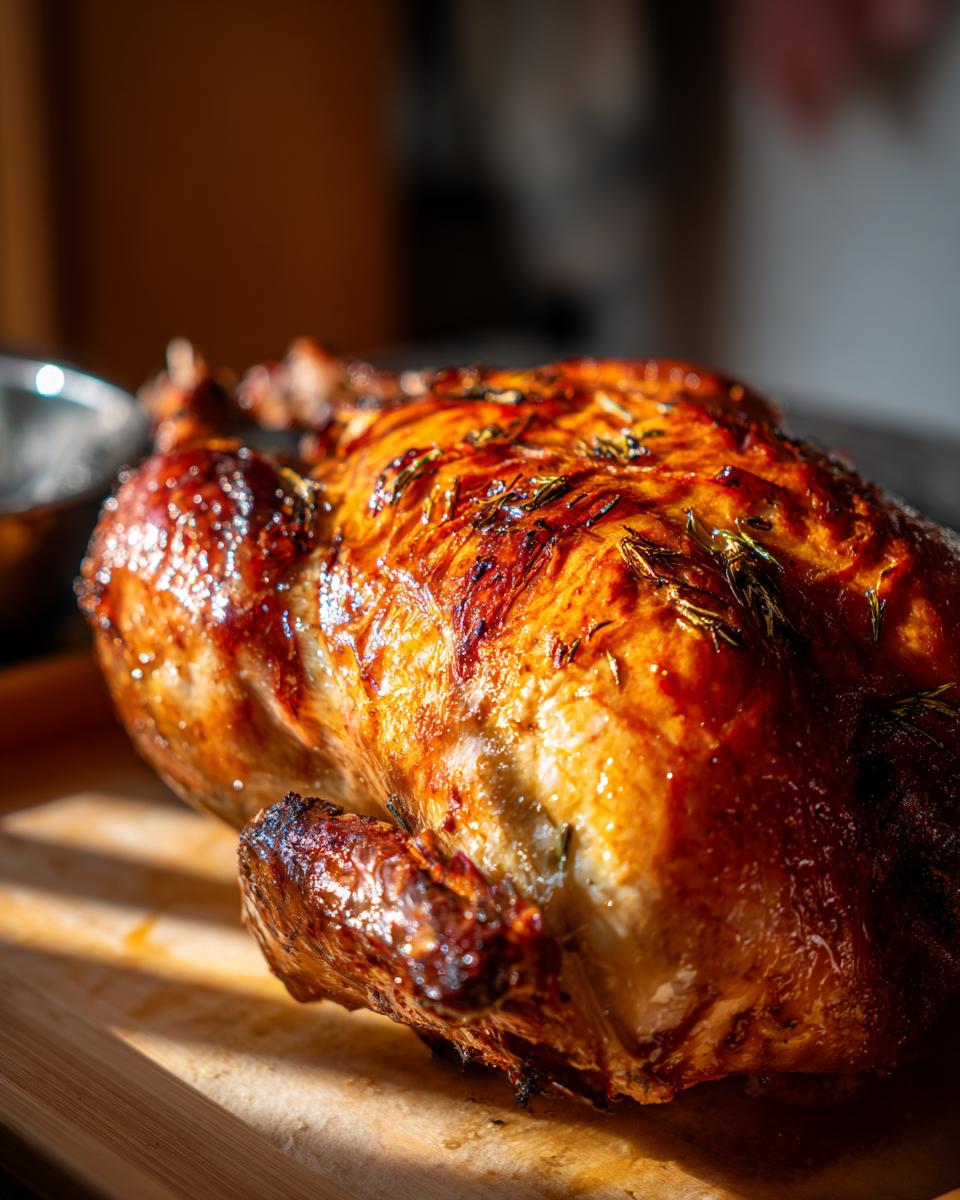
Next up, let’s give our duck some lovely flavor from the inside out! Stuff the cavity with those fragrant aromatics we grabbed – the quartered lemon, orange, and the sprigs of thyme and rosemary. These guys will perfume the duck as it cooks. Then, it’s time for the outside! Season your duck generously all over with the salt and pepper. Don’t be shy here; this is where a lot of the flavor development happens. It might seem like a lot, but it makes all the difference.
The Roasting Process for Crispy Skin Duck
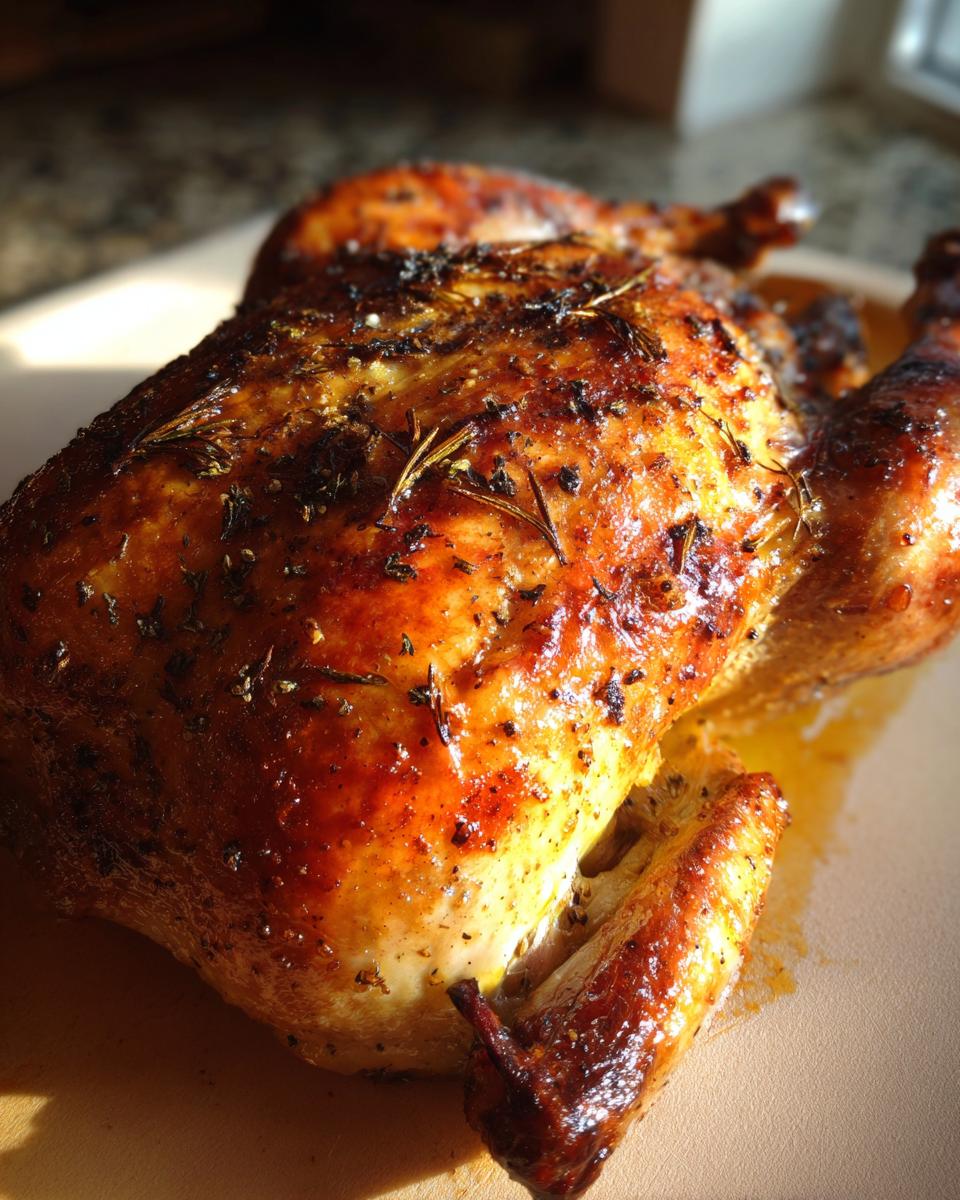
Now for the main event! Place your beautifully prepped duck on the rack in your roasting pan. This rack is important because it allows air to circulate all around the duck, which helps that skin get nice and crisp. Pop it into your preheated oven. We’re looking at about 2 to 2.5 hours of roasting time. The best way to know it’s done is to use a meat thermometer; it should read 165°F (74°C) in the thickest part of the thigh, but be careful not to hit the bone. Every 30 minutes or so, scoop up some of that rendered fat from the bottom of the pan and baste the duck with it generously. This keeps it moist and adds flavor! If you notice the skin is getting too brown before the duck is cooked through, just loosely tent it with some aluminum foil. Nobody wants burnt skin!

Resting and Carving Your Roast Duck
Once your duck is perfectly cooked and golden brown, resist the urge to carve it right away! Take it out of the oven and let it rest for at least 15 to 20 minutes. This is super important because it allows all those juices to redistribute throughout the meat, making it extra tender and moist. Once it’s rested, you can carve it up and serve it proudly. You’ve earned it!
Tips for Achieving Perfect Whole Duck Roasting
Okay, let’s talk about getting that duck *absolutely* perfect every single time. We’ve covered the basics, but here are a few little tricks I’ve picked up that really make a difference for that spectacular whole duck roasting experience. Think of them as my little secrets! You can learn more about my kitchen philosophy over on my About page, but these tips are pure gold for duck.
For that super-duper crispy skin, try this: Before you even start seasoning, grab a kettle and carefully pour boiling water all over the duck skin. Do this a couple of times, letting it drip off a bit in between pours. It sounds weird, I know, but it tightens up the skin and helps it crisp up like magic in the oven. Also, don’t be afraid to experiment with the herbs inside the cavity! While lemon, orange, thyme, and rosemary are my go-to, sometimes I love adding a few sprigs of sage or even a little bit of marjoram for a slightly different, earthy note. It’s all about making it your own!
Serving Suggestions for Your Holiday Roast Waterfowl
Now that you’ve got this amazing holiday roast waterfowl ready, what do you serve with it? Oh, the possibilities! I love pairing it with some comforting, classic sides that really let the duck shine. A big scoop of my creamy mashed potatoes is always a winner, along with a hearty slice of stuffing. And if you’re feeling extra ambitious, a light vegetable lasagna can be a nice contrast! It all just feels so cozy and special.
Frequently Asked Questions About Roast Duck
Got questions about cooking a gorgeous duck? I’ve got answers! It’s not as tricky as you might think, and a little know-how goes a long way.
How to Ensure Crispy Skin on Your Roast Duck
The secret to that amazing, crackly skin really comes down to a few things. Make sure you pat your duck *super* dry before roasting, and don’t skip pricking the skin all over; it lets the fat render out. For an extra crisp boost, try pouring boiling water over it before it goes in the oven!
What’s the Best Temperature for Roasting Duck?
We like to roast our duck at a steady 350°F (175°C). The most important part is making sure the internal temperature hits 165°F (74°C) in the thickest part of the thigh. That’s your sign it’s perfectly cooked and safe to eat!
Can I Substitute Turkey for Duck in Holiday Meals?
Oh, absolutely! If you’ve always done turkey but want to try something a little different, duck is a fantastic substitute for your holiday spread. It’s richer and has that incredible crispy skin that turkey sometimes struggles with. It definitely feels a bit more luxurious, and this lovely turkey recipe is great, but duck brings its own special charm to the table!
Nutritional Information for Roast Duck
Just a heads-up, this is an estimate, and the exact numbers can change depending on how big your duck is and all that good stuff. But generally, for about a quarter of this delicious roast duck, you’re looking at:
- Calories: Around 800
- Fat: About 60g (with 20g saturated fat)
- Protein: Roughly 50g
- Carbohydrates: Around 10g
- Sodium: About 300mg
It’s definitely a richer protein, but oh-so-worth-it for a special meal!
PrintClassic Roast Duck with Herbs and Citrus
A recipe for a whole roast duck with crispy skin and tender meat, perfect for holiday meals or special occasions.
- Prep Time: 20 min
- Cook Time: 150 min
- Total Time: 170 min
- Yield: 4-6 servings 1x
- Category: Main Course
- Method: Roasting
- Cuisine: American
- Diet: Gluten Free
Ingredients
- 1 whole duck (about 4–5 pounds)
- 1 lemon, quartered
- 1 orange, quartered
- 4 sprigs fresh thyme
- 2 sprigs fresh rosemary
- 1 teaspoon salt
- 1/2 teaspoon black pepper
Instructions
- Preheat your oven to 350°F (175°C).
- Remove giblets from the duck cavity. Rinse the duck inside and out with cold water and pat it thoroughly dry with paper towels.
- Prick the duck skin all over with a fork or a sharp knife, being careful not to pierce the meat. This helps the fat render.
- Stuff the cavity with the quartered lemon, orange, thyme, and rosemary.
- Season the outside of the duck generously with salt and pepper.
- Place the duck on a rack in a roasting pan.
- Roast for 2 to 2.5 hours, or until the internal temperature reaches 165°F (74°C) in the thickest part of the thigh, avoiding the bone. Baste the duck with its own rendered fat every 30 minutes.
- If the skin starts to brown too quickly, loosely tent the duck with aluminum foil.
- Once cooked, remove the duck from the oven and let it rest for 15-20 minutes before carving.
Notes
- For extra crispy skin, you can pour boiling water over the duck skin before roasting.
- You can substitute other herbs like sage or marjoram.
- Serve with your favorite side dishes.
Nutrition
- Serving Size: 1/4 duck
- Calories: 800
- Sugar: 5
- Sodium: 300
- Fat: 60
- Saturated Fat: 20
- Unsaturated Fat: 35
- Trans Fat: 1
- Carbohydrates: 10
- Fiber: 2
- Protein: 50
- Cholesterol: 250