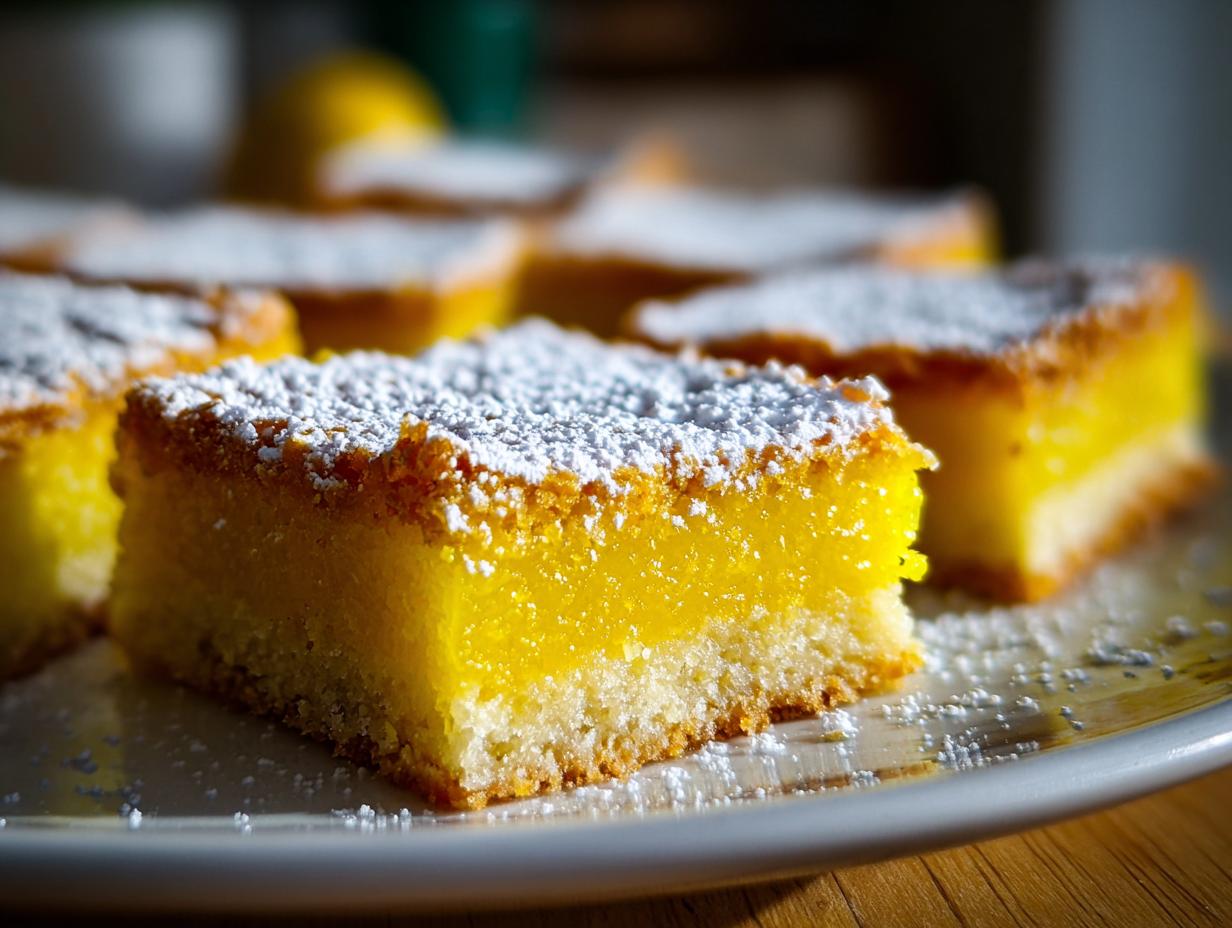

Oh, lemon bars! Just thinking about them makes me feel like I’m sunshine in a bite, doesn’t it? There’s something so utterly cheerful about that perfect balance – a buttery, crisp shortbread crust hugging a vibrantly zesty, sweet lemon filling. It’s like a little slice of pure happiness! When I was first starting out, trying to capture that perfect tang and sweet finish felt like a quest, but luckily, I learned from the best, just like Caroline Hayes learned from her grandma Eleanor. You can read all about her passion for preserving classic American recipes here. This classic lemon bar recipe is the one that truly delivers, tasting just like those cherished memories from my own childhood kitchen. You’ll want to save this one! Don’t forget to follow us on Facebook for more kitchen inspiration.

- Why You'll Love These Lemon Bars
- Classic Lemon Bars: Ingredients You'll Need
- Crafting the Perfect Shortbread Crust for Your Lemon Bars
- Making the Zesty Lemon Filling for Your Lemon Bars
- Assembling and Baking Your Tangy Lemon Squares
- Cooling and Cutting Your Classic Lemon Bar Dessert
- Tips for Success with Your Lemon Bars
- Ingredient Notes and Substitutions for Lemon Bars
- Serving Suggestions for Your Lemon Bars
- Storage and Reheating Instructions
- Frequently Asked Questions About Lemon Bars
- Nutritional Information
- Share Your Lemon Bar Creations!
Why You’ll Love These Lemon Bars
Trust me, these aren’t just any lemon bars; they’re pure sunshine in dessert form! You’ll adore them because:
- They hit that perfect sweet-tart balance that just makes your taste buds sing.
- The buttery shortbread crust is wonderfully crisp and melts in your mouth.
- Honestly, they’re super easy to whip up, making them perfect for any occasion.
- Their refreshing, bright flavor is just *chef’s kiss*!
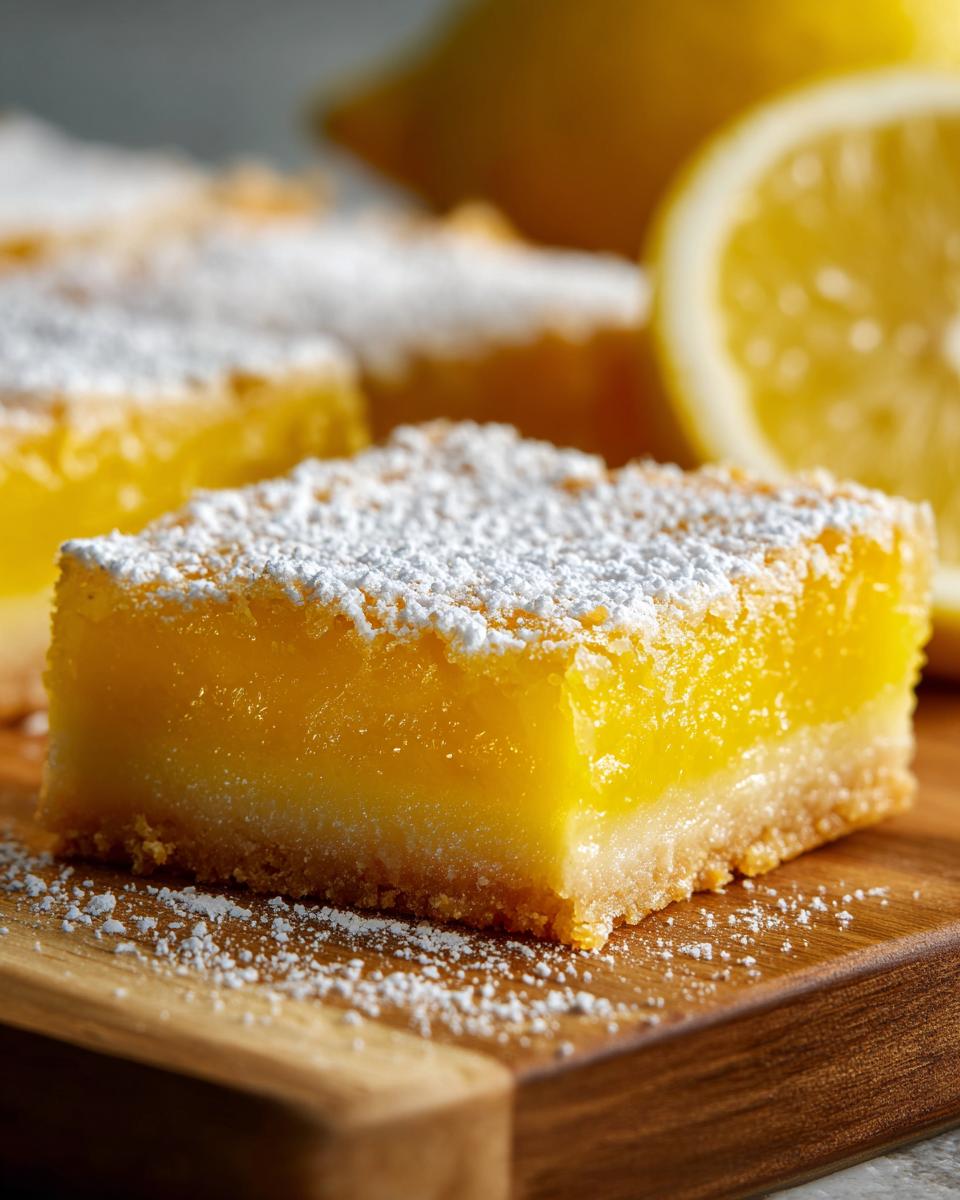
Classic Lemon Bars: Ingredients You’ll Need
Alright, let’s gather everything we need to make these little rays of sunshine! Having everything ready makes the whole process so much smoother.
- 1 cup all-purpose flour (for the crust)
- 1/2 cup unsalted butter, softened (make sure it’s nice and soft, not melted!)
- 1/4 cup granulated sugar (for the crust)
- 1/4 teaspoon salt (just a pinch to balance things out)
- 2 large eggs (room temperature is best, if you can!)
- 1 cup granulated sugar (for the filling)
- 1/4 cup all-purpose flour (for the filling)
- 2 tablespoons fresh lemon zest (this is where that bright flavor comes from – about 4 lemons!)
- 1/2 cup fresh lemon juice (use the juice from those zested lemons, about 4 of them, for the best zing!)
- 1/4 teaspoon baking powder
- 1 tablespoon powdered sugar, for dusting (the pretty white snow on top!)
Crafting the Perfect Shortbread Crust for Your Lemon Bars
Okay, first things first: that amazing crust! This is what gives our lemon bars that perfect buttery foundation, and it’s super simple. You’ll want to preheat your oven to 350°F (175°C). Grab an 8×8 inch pan and line it with parchment paper so it hangs over the sides – trust me, this makes getting them out so much easier later! For the crust itself, just mix up 1 cup of flour, that softened butter, 1/4 cup of sugar, and a little salt until it looks like lovely, crumbly sand. Then, just press it all evenly into the bottom of that lined pan. Pop it into the oven for about 15-20 minutes, until it’s just lightly golden. Caroline always said a well-baked crust is the secret to avoiding soggy bottoms, and she was so right!
Making the Zesty Lemon Filling for Your Lemon Bars
Now for the star of the show – that bright, zesty lemon filling! It’s so simple, you’ll wonder why you ever bought them before. While your crust is cooling a bit, grab another bowl. Whisk together those two large eggs and the 1 cup of sugar until they’re really happy and well combined. Then, gently stir in the 1/4 cup of flour, all that lovely lemon zest (oh, the smell!), the fresh lemon juice, and a little pinch of baking powder. Keep whisking until it’s super smooth, no lumps allowed! Pouring this gorgeous sunshine concoction over your slightly cooled crust is such a satisfying moment. These lemon bars are almost ready to dazzle you!
Assembling and Baking Your Tangy Lemon Squares
Now for the exciting part: bringing it all together! Once your crust has had a little moment to cool down, gently pour that bright, zesty lemon filling right over the top. Spread it out evenly so every bite gets that perfect ratio of crust to filling. Then, carefully pop the whole thing back into the 350°F (175°C) oven. You’ll bake it for another 20 to 25 minutes. You’ll know they’re ready when the filling looks set – it shouldn’t be jiggly in the center anymore, and the edges might be just lightly golden. Caroline always warned against overbaking them, saying it can make the flavor a bit dull, so keep an eye on them!
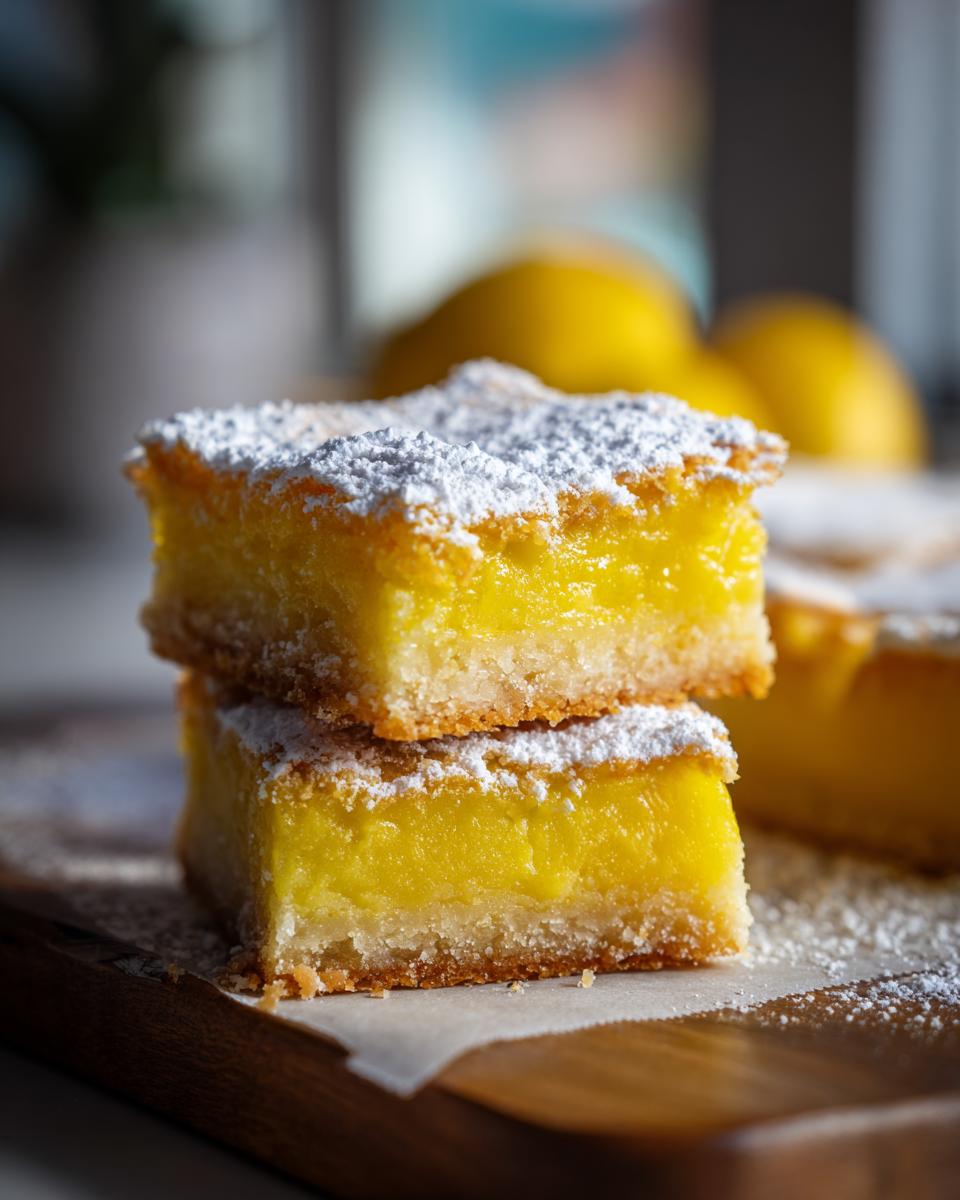
Cooling and Cutting Your Classic Lemon Bar Dessert
Okay, this is kind of the MOST important part if you want those perfect, beautiful squares. You absolutely, positively HAVE to let these bars cool down COMPLETELY in the pan. I know it’s torture when they smell this good, but trust me on this one! It’s what allows that lovely lemon filling to set up just right. Once they’re totally cool, grab that parchment paper overhang you left – it’s your best friend for lifting the whole thing out of the pan like magic. Then, find yourself a nice, sharp knife. Give it a little wipe between cuts if you like, and slice them into neat little squares. These classic lemon bar desserts will look like they came straight from a bakery!

Tips for Success with Your Lemon Bars
You know, getting these lemon bars just *perfect* really boils down to a few simple things. It’s like how Caroline Hayes always said her careful testing made sure her recipes were foolproof. First off, don’t skimp on the fresh lemons! That zest and juice are the heart and soul of that amazing tangy flavor, so ditch the bottled stuff if you can. When you’re mixing the filling, whisk it until it’s really smooth – no one likes lumpy lemon bars! And remember that cooling step? It’s super important so they set up nicely and you get those clean cuts. Honestly, these little tips make all the difference in achieving that cloud-like texture on top and a perfectly firm crust below. Check out more tips and tricks on our blog!
Ingredient Notes and Substitutions for Lemon Bars
Sometimes you might need to swap something out, and that’s totally okay! For that bright, zingy flavor in your lemon bars, fresh lemon juice and zest are really the gold standard. But, if you absolutely can’t find fresh lemons, you could try using bottled lemon juice, but you might want to add a little extra zest to compensate. Some folks even like to use a mix of lemon and lime juice for a different twist! As for the flour, all-purpose is perfect here, but I haven’t tested other kinds, so I’d stick with that for the best results with these classic lemon bars.
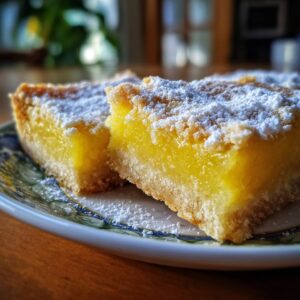
Serving Suggestions for Your Lemon Bars
These bright lemon bars are SO versatile! They’re just perfect with a cup of hot coffee or a refreshing glass of iced tea. I love having them on hand for picnics and potlucks – they’re always a huge hit! They also make a wonderful, light dessert after a heartier meal, or as part of a dessert spread. You can even find more amazing dessert ideas here!
Storage and Reheating Instructions
Got leftover lemon bars? Lucky you! They’re best stored in an airtight container in the refrigerator for up to 3-4 days. The chill keeps that filling perfectly set and that crust nice and crisp. As for reheating, I usually don’t bother – they’re fantastic served cold! But if you prefer them warmer, a quick zap in the microwave for about 10-15 seconds should do the trick.
Frequently Asked Questions About Lemon Bars
Got questions about these sunny little treats? I’ve got answers!
Why are my lemon bars runny?
Oh no, runny lemon bars are the worst! Usually, this happens if they haven’t baked long enough. The filling needs to be set, meaning it’s firm to the touch and not jiggly. Make sure you’re baking them until they reach that point! Also, remember that they need to cool completely before cutting – that cooling process really helps them firm up.
Can I make lemon bars ahead of time?
Absolutely! These lemon bars are fantastic made ahead. In fact, I think they taste even better after they’ve had a chance to chill in the fridge for a few hours (or even overnight!). Just store them in an airtight container, and they’ll be ready to go whenever that craving strikes.
What’s the best way to get a clean cut on my lemon bars?
For those super neat cuts, the biggest tip is to let the bars cool completely! Seriously, it’s a game-changer. Once they’re fully cooled, use a long, sharp knife. It helps to wipe the knife clean with a damp cloth between each cut. And using that parchment paper overhang to lift the whole slab out of the pan first makes it so much easier to slice them evenly. You’ll get perfect little squares every time!
Can I use Meyer lemons for this recipe?
Yes, you can! Meyer lemons are a bit sweeter and less tart than regular lemons, so your lemon bars might have a slightly milder flavor. You might want to add a tiny bit more zest, or even a splash more lemon juice, just to boost that characteristic tang. They’ll still be absolutely delicious, just a little different!
Nutritional Information
Okay, so exact nutritional info can be a bit tricky since everyone’s ingredients can vary just a tiny bit, right? But based on our recipe, one of these delightful lemon bars shakes out to be roughly around 200 calories. You’ll also find about 10g of fat (with about 6g of that being saturated), 28g of carbs, 1g of fiber, and 2g of protein. These are just estimates, of course, but they give you a good idea!
Share Your Lemon Bar Creations!
I just know you’re going to love making these sunny lemon bars! Once you’ve whipped up a batch, I’d be absolutely thrilled if you’d come back and leave a comment with your thoughts. Tell me how they turned out! And if you snap any gorgeous photos, tag us on social media – we can’t wait to see your delicious creations!
PrintClassic Lemon Bars
A bright and tangy lemon bar recipe with a buttery shortbread crust, perfect for any occasion.
- Prep Time: 20 min
- Cook Time: 45 min
- Total Time: 65 min
- Yield: 16 bars 1x
- Category: Dessert
- Method: Baking
- Cuisine: American
- Diet: Vegetarian
Ingredients
- 1 cup all-purpose flour
- 1/2 cup unsalted butter, softened
- 1/4 cup granulated sugar
- 1/4 teaspoon salt
- 2 large eggs
- 1 cup granulated sugar
- 1/4 cup all-purpose flour
- 2 tablespoons lemon zest (from about 4 lemons)
- 1/2 cup fresh lemon juice (from about 4 lemons)
- 1/4 teaspoon baking powder
- 1 tablespoon powdered sugar, for dusting
Instructions
- Preheat your oven to 350°F (175°C). Line an 8×8 inch baking pan with parchment paper, leaving an overhang on the sides.
- In a medium bowl, combine 1 cup flour, softened butter, 1/4 cup sugar, and salt. Mix until crumbly.
- Press this mixture evenly into the bottom of the prepared baking pan to form the crust.
- Bake the crust for 15-20 minutes, or until lightly golden. Remove from oven and let cool slightly.
- While the crust cools, prepare the lemon filling. In a separate bowl, whisk together the eggs and 1 cup sugar until well combined.
- Stir in 1/4 cup flour, lemon zest, lemon juice, and baking powder until smooth.
- Pour the lemon filling evenly over the pre-baked crust.
- Bake for another 20-25 minutes, or until the filling is set and the edges are lightly golden.
- Let the bars cool completely in the pan on a wire rack.
- Once cooled, lift the bars out of the pan using the parchment paper overhang.
- Dust with powdered sugar before cutting into squares.
Notes
- For a bolder lemon flavor, use fresh lemon juice and zest.
- Ensure the filling is completely set before removing from the oven.
- Allow bars to cool completely for clean cuts.
Nutrition
- Serving Size: 1 bar
- Calories: 200
- Sugar: 25g
- Sodium: 50mg
- Fat: 10g
- Saturated Fat: 6g
- Unsaturated Fat: 4g
- Trans Fat: 0g
- Carbohydrates: 28g
- Fiber: 1g
- Protein: 2g
- Cholesterol: 40mg