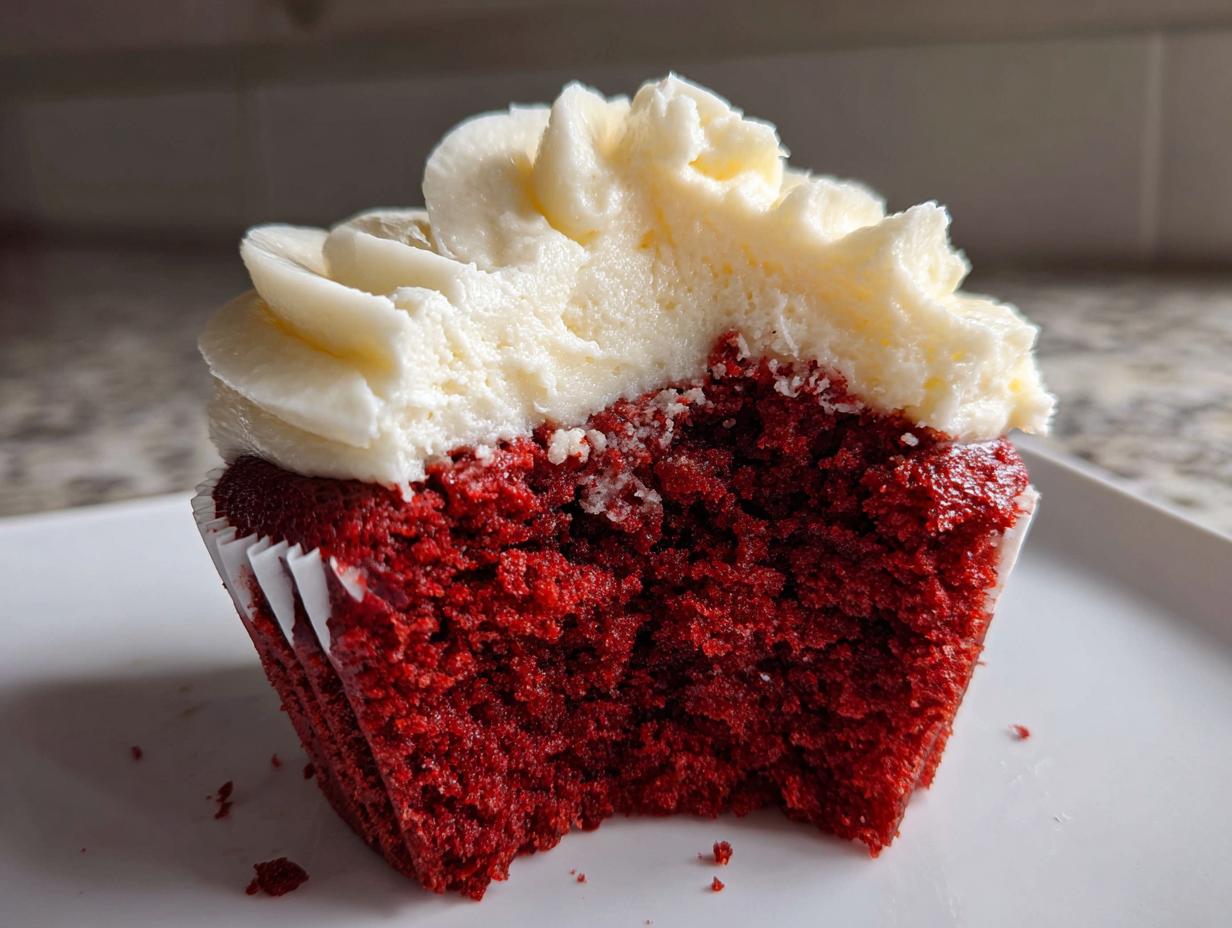

There’s something magical about red velvet cupcakes—a bite of nostalgia that takes me right back to my grandmother’s kitchen, where the aroma of cocoa and vanilla filled the air. Their deep crimson hue and fluffy, tangy crumb have made them a Southern classic for generations. But let me tell you, not all red velvet cupcakes are created equal. Too often, they’re dry, bland, or worse—just vanilla cake with food coloring. This recipe, though? It’s the real deal. The kind you’d find in a top-notch bakery, with a delicate chocolate undertone, a hint of tang from buttermilk, and that unmistakable velvety texture. I remember making these with my mom for Valentine’s Day one year, sneaking bites of batter (don’t judge; I know you’ve done it too). And now, they’re what I bake when I want to feel that same warmth and joy all over again.
Why You’ll Love These Red Velvet Cupcakes
Oh, where do I even begin? These cupcakes are my go-to for birthdays, Valentine’s Day, or just when I need a little pick-me-up. Here’s why they’ll become your favorite too:
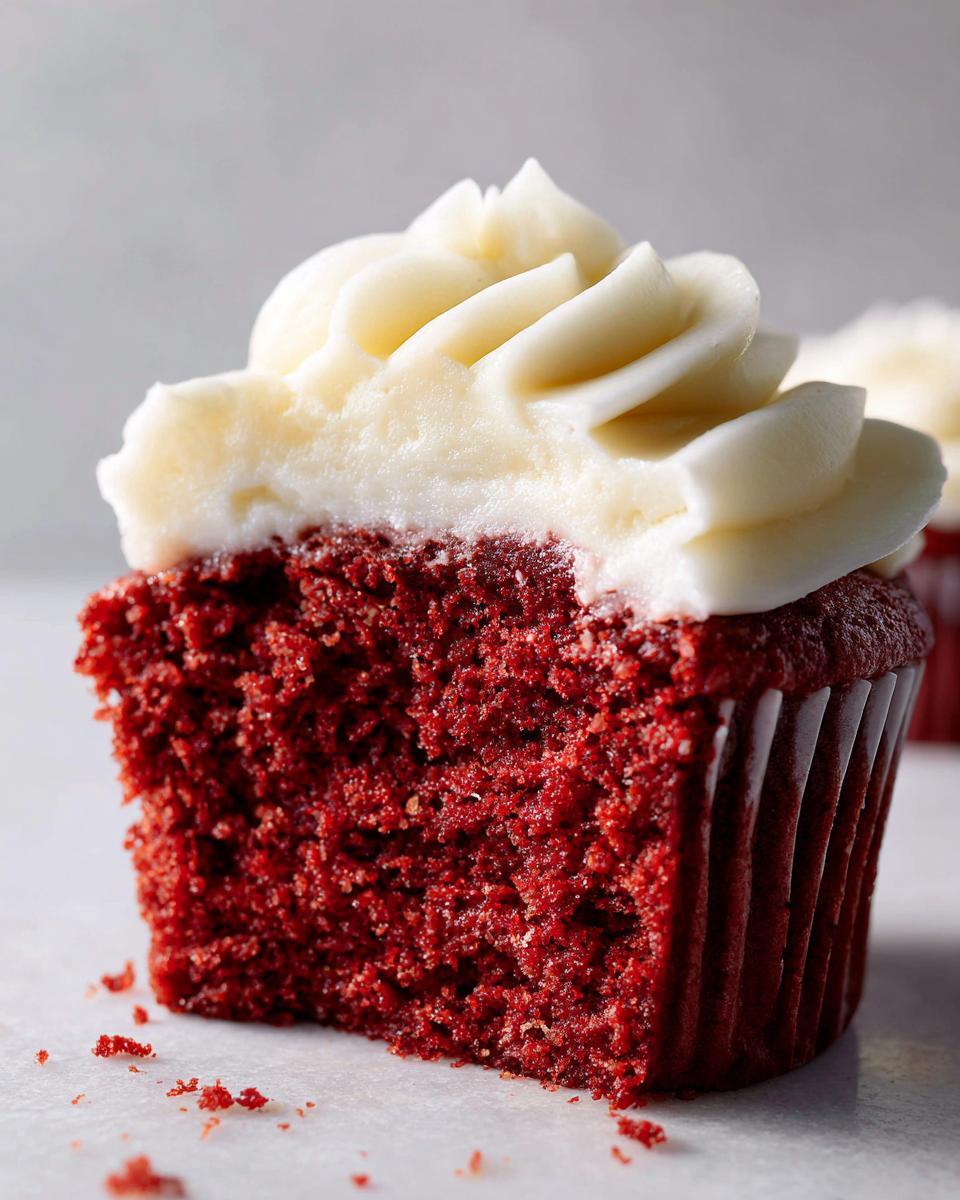
- That velvety crumb – So moist and tender it practically melts in your mouth
- Perfect cocoa balance – Just enough chocolate flavor without overpowering the delicate red velvet taste
- Tangy buttermilk magic – Gives that signature slight tang that makes red velvet… well, red velvet!
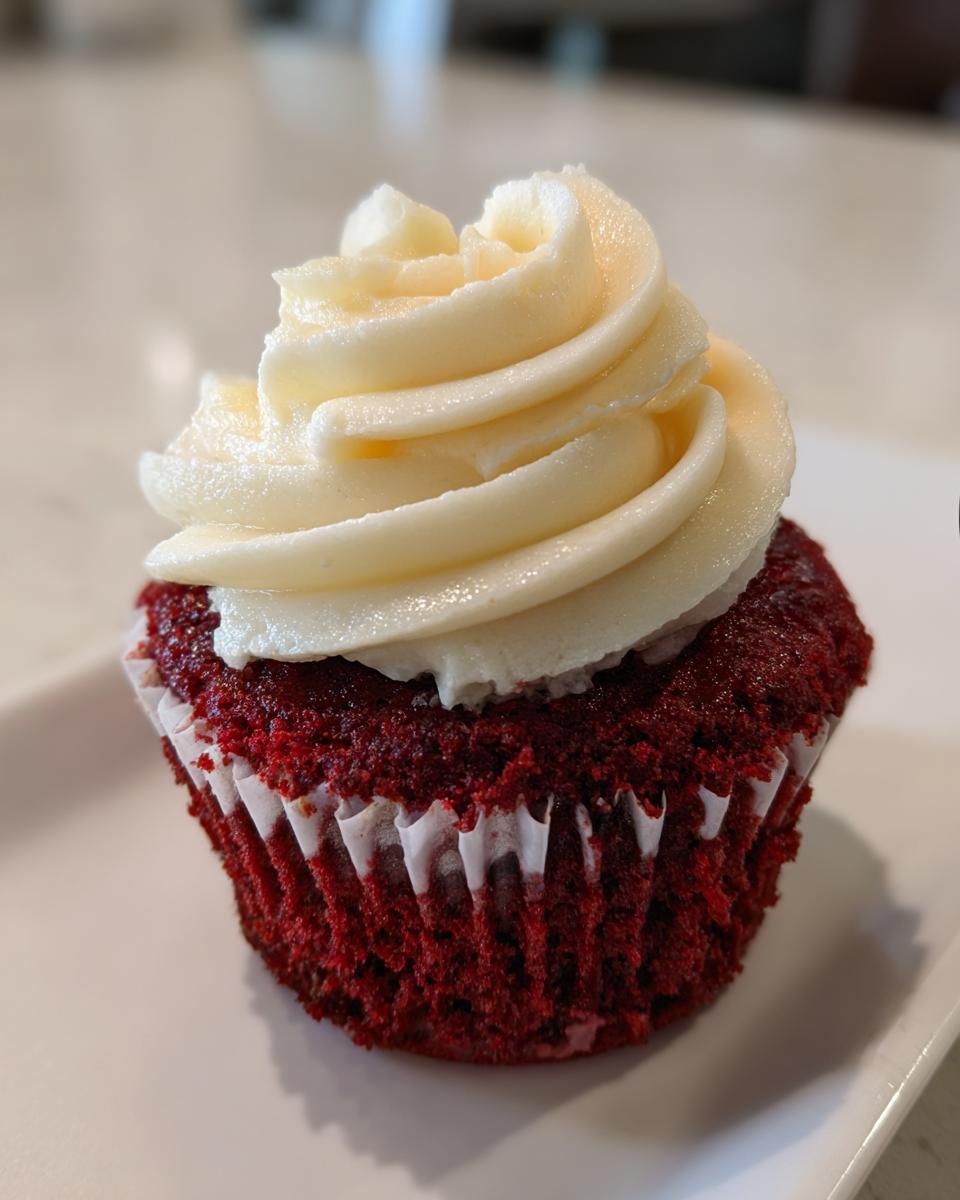
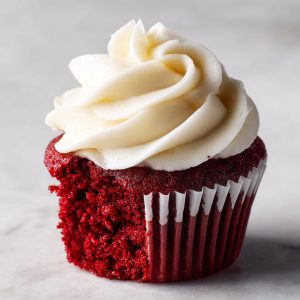
- Gorgeous color – Deep red bakery-style color that doesn’t fade when baked
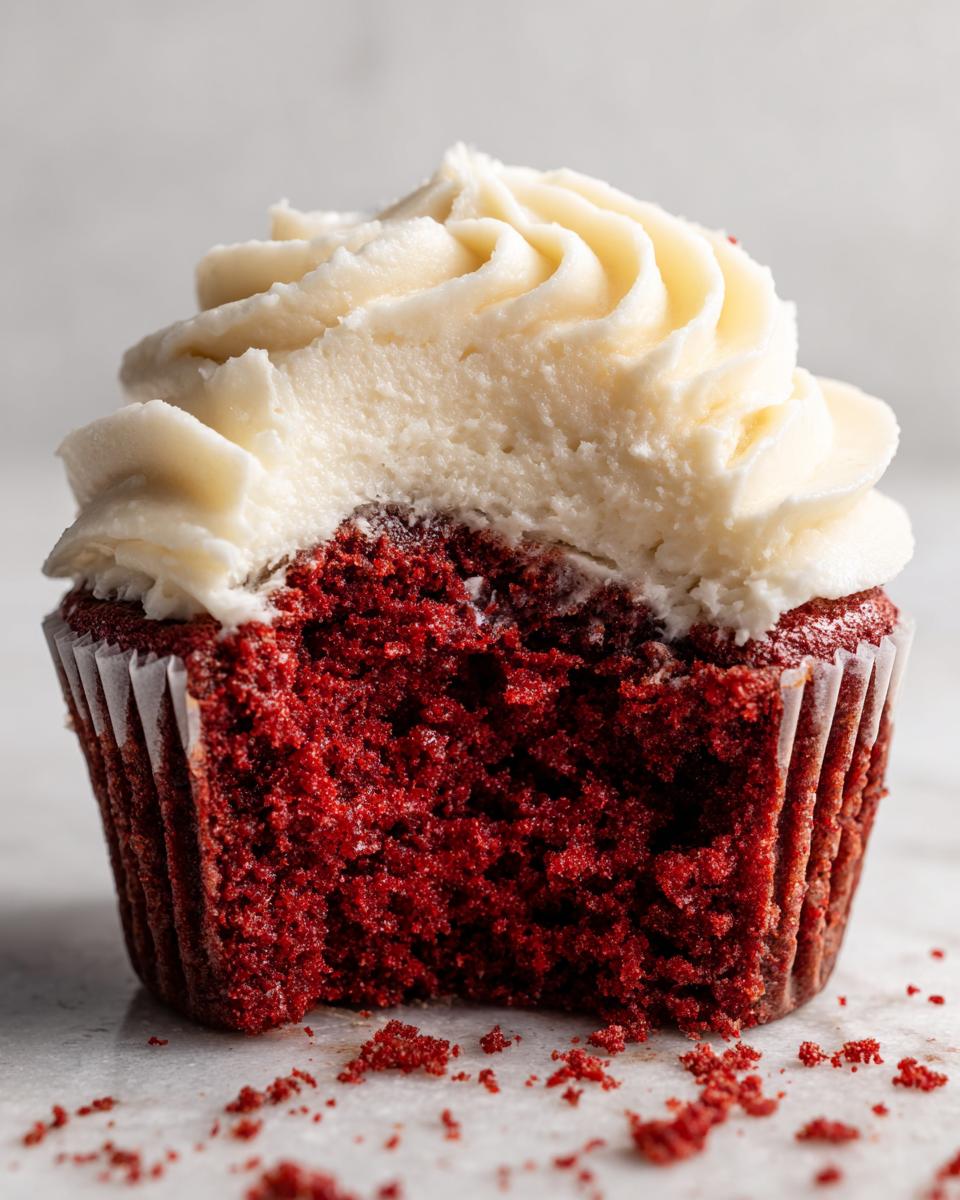
- Cream cheese frosting – The only acceptable topping, if you ask me (and it’s dreamy with that slight tang)
Honestly, one bite and you’ll understand why I make these at least once a month. They’re foolproof and always get rave reviews!

Ingredients for Red Velvet Cupcakes
I love how simple this ingredient list is – nothing fancy, just pantry staples transformed into something magical. But trust me, the devil’s in the details when it comes to red velvet. Here’s exactly what you’ll need (and why each matters!):
Dry Ingredients:
- 1 1/4 cups all-purpose flour (spooned and leveled – don’t pack it!)
- 1/4 cup unsweetened cocoa powder (the good stuff, not Dutch-processed)
- 1/2 tsp baking soda
- 1/4 tsp fine salt (I use kosher)
Wet Ingredients:
- 1/2 cup unsalted butter, softened (this means pressable with a finger but not greasy – about 65°F)
- 3/4 cup granulated sugar (yes, plain white sugar is perfect here)
- 1 large egg, room temperature (takes about 30 minutes out of the fridge)
- 1 tsp pure vanilla extract (imitation just won’t do it justice)
- 1/2 cup buttermilk (see my tips below if you need to make your own)
- 1 tbsp red gel food coloring (the liquid kind waters down the batter – gel is key!)
- 1 tsp white vinegar (don’t skip this! It activates the baking soda)
Pro tip about that red color: Gel food coloring gives you that vibrant bakery-style look without thinning your batter. Start with 1 tablespoon, but don’t be afraid to add a tiny bit more if you want that dramatic red. Just mix it in slowly – you can always add, but you can’t take away!
For the Cream Cheese Frosting
Honestly, any red velvet cupcake is only as good as its frosting. This cream cheese frosting version is my gold standard – tangy, not-too-sweet, and pipes like a dream when made right.
- 8 oz cream cheese, softened (block style, not spreadable tubs)
- 1/4 cup unsalted butter, softened
- 3 cups powdered sugar, sifted (please sift it – no one wants lumpy frosting!)
- 1 tsp vanilla extract
- Pinch of salt (balances the sweetness perfectly)
If your frosting seems too thin after mixing, just chill it for 15 minutes. Too thick? A teaspoon of milk does the trick. The perfect consistency holds its shape when piped but still tastes light as air.
How to Make Red Velvet Cupcakes
Okay, let’s get baking! I know you’re excited to see those gorgeous red beauties come out of the oven, but trust me – taking these steps carefully makes all the difference between good cupcakes and bakery-perfect ones. Here’s exactly how I do it:
Step 1: Combine Dry Ingredients
First things first – grab that whisk! In a medium bowl, whisk together the flour, cocoa powder, baking soda, and salt. If your cocoa looks at all lumpy (which happens to the best of us), give it a quick sift first. This little dance ensures all those dry friends are perfectly combined and helps create that signature light crumb. Set this aside – it’s going to join the party soon!
Step 2: Cream Butter and Sugar
Now for my favorite part – the creaming. Using a handheld mixer or stand mixer with the paddle attachment, beat that softened butter and sugar together on medium-high speed. And here’s the key: don’t rush it! Keep going until the mixture turns pale yellow and gets gloriously fluffy, about 2-3 minutes. It should look almost like whipped buttercream when it’s ready. This step creates all those tiny air pockets that make your cupcakes light as air.
Step 3: Add Wet Ingredients
Time to bring it all together! Beat in the egg and vanilla until fully incorporated – about 30 seconds. Now, with the mixer on low, alternate adding the dry ingredients and buttermilk. I do it in this order: 1/3 dry, 1/2 buttermilk, 1/3 dry, remaining buttermilk, then finish with the last of the dry. Gently mix in the vinegar and that gorgeous red Gel food coloring last, just until everything is combined. The batter should be silky smooth with no flour streaks, but stop the second it comes together – overmixing is the enemy of tender cupcakes!
When filling your cupcake liners, resist the urge to overfill! I use an ice cream scoop for perfect portions – filling each liner about 2/3 full. Bake at 350°F for exactly 18-20 minutes. You’ll know they’re done when a toothpick comes out with just a few moist crumbs. Let them cool completely before frosting, or you’ll have a melted frosting situation – and nobody wants that!
Tips for Perfect Red Velvet Cupcakes
After making probably hundreds of these cupcakes over the years (and having a few disasters along the way!), here are my hard-earned tips for absolute cupcake perfection:
- Gel food coloring is non-negotiable – Liquid coloring waters down your batter and gives you that sad, faded pink instead of rich red. Gel keeps the texture perfect while giving that signature color. Start with 1 tablespoon and add more to your desired shade.
- Know your oven – An oven thermometer ($10 well spent!) prevents overbaking. My oven runs hot – if yours does too, reduce the temp by 15°F to avoid domed or dry cupcakes.
- Cool completely – I know it’s tempting, but that cream cheese frosting will turn into a melted mess on warm cupcakes. Wait at least 45 minutes (I use this time to clean up and make the frosting).
- Buttermilk substitute – Out of buttermilk? No problem! Mix 1/2 tablespoon vinegar or lemon juice into 1/2 cup regular milk and let it sit for 5 minutes.
- Sinking solution – If your cupcakes collapse, you probably overmixed after adding flour or opened the oven door too soon. Resist both urges!
- Doming fix – That volcano top happens when your oven’s too hot. Next time, try reducing the temperature by 25°F and baking a few minutes longer.
One last tip from my grandma: “Good baking is about restraint”. Mix just until combined, fill those liners just 2/3 full, and be patient while they bake. Follow these tips, and you’ll have flawless red velvet cupcakes every single time!
Red Velvet Cupcakes FAQ
I get so many questions about these red velvet cupcakes – and trust me, I’ve asked most of them myself at some point! Here are the answers I’ve discovered through lots of delicious trial and error:
Can I use liquid food coloring instead of gel?
Oh honey, I wouldn’t recommend it! Liquid food coloring waters down your batter and gives you this sad, washed-out pink instead of that gorgeous red velvet color. Gel coloring (like Americolor Super Red) packs serious pigment without throwing off your batter’s consistency. But if you’re in a pinch? Use 2-3 tablespoons of liquid coloring and reduce the buttermilk by a tablespoon to compensate.
How should I store leftover cupcakes?
These moist red velvet cupcakes keep beautifully in an airtight container at room temperature for 2 days. After that, pop them in the fridge (they’ll last up to 5 days total). The cream cheese frosting means they need refrigeration eventually – but let them come to room temp before serving for that perfect texture. For longer storage, freeze unfrosted cupcakes for up to 3 months!
Can I make these gluten-free?
Absolutely! Swap the all-purpose flour for a 1:1 gluten-free baking blend (I love King Arthur’s). The texture will be slightly more delicate, so handle the batter gently. And here’s a pro tip – add 1/4 teaspoon xanthan gum if your blend doesn’t include it already. This helps mimic that classic bakery-style cupcake texture we all love.
Why did my cupcakes sink in the middle?
Oh no, we’ve all been there! This usually happens if you overmix the batter after adding flour (developing too much gluten) or open the oven door too early. Next time, mix just until combined and don’t peek for at least 15 minutes! Also, check your baking soda – if it’s old, it won’t give proper lift. A fresh container makes all the difference.
Got more questions? I’m happy to help – just leave a comment below! After making literally hundreds of batches of these classic southern cupcakes, I’ve probably encountered (and solved) whatever issue you’re facing.
Nutritional Information
While I’m all about indulgence when it comes to these gorgeous red velvet cupcakes (life’s too short to count calories while eating cream cheese frosting!), here’s the nutritional breakdown per cupcake for those who like to know:
- Calories: 220
- Total Fat: 10g
- Saturated Fat: 6g
- Carbohydrates: 30g
- Fiber: 1g
- Sugar: 18g
- Protein: 3g
A quick note – these values can vary slightly depending on your exact ingredients, especially the butter and cream cheese brands you use. And if you’re watching your sugar intake, you could reduce the frosting amount (but where’s the fun in that?). These figures are estimates from my kitchen – your mileage may vary!
PrintRed Velvet Cupcakes
Classic bakery-style red velvet cupcakes with cocoa and a tangy touch, topped with cream cheese frosting.
- Prep Time: 15 min
- Cook Time: 20 min
- Total Time: 35 min
- Yield: 12 cupcakes 1x
- Category: Dessert
- Method: Baking
- Cuisine: American
- Diet: Vegetarian
Ingredients
- 1 1/4 cups all-purpose flour
- 1/4 cup unsweetened cocoa powder
- 1/2 tsp baking soda
- 1/4 tsp salt
- 1/2 cup unsalted butter, softened
- 3/4 cup granulated sugar
- 1 large egg
- 1 tsp vanilla extract
- 1/2 cup buttermilk
- 1 tbsp red food coloring (gel recommended)
- 1 tsp white vinegar
Instructions
- Preheat oven to 350°F (175°C). Line a cupcake pan with liners.
- Whisk flour, cocoa powder, baking soda, and salt in a bowl.
- Cream butter and sugar until light and fluffy. Add egg and vanilla, mixing well.
- Alternate adding dry ingredients and buttermilk, starting and ending with dry ingredients.
- Mix in food coloring and vinegar until smooth.
- Fill cupcake liners 2/3 full. Bake for 18-20 minutes or until a toothpick comes out clean.
- Cool completely before frosting.
Notes
- Use gel food coloring for vibrant color without thinning the batter.
- Do not overmix to prevent dense cupcakes.
- Check oven temperature to avoid sinking or doming.
Nutrition
- Serving Size: 1 cupcake
- Calories: 220
- Sugar: 18g
- Sodium: 120mg
- Fat: 10g
- Saturated Fat: 6g
- Unsaturated Fat: 3g
- Trans Fat: 0g
- Carbohydrates: 30g
- Fiber: 1g
- Protein: 3g
- Cholesterol: 40mg