
I remember my first taste of sour cherry crisp like it was yesterday – sticky fingers, juice running down my chin, and that perfect balance of tart and sweet that made my taste buds dance. My aunt used to make it every summer when the cherries ripened on her old tree, and we’d all gather on her back porch with bowls still warm from the oven. That’s why I’m so excited to share this recipe with you – it captures all that summer magic with just 10 minutes of prep!
This sour cherry crisp couldn’t be easier – juicy cherries underneath a crunchy oat-nut topping that bakes up golden and irresistible. What I love most is how forgiving it is (no fancy crust to roll out!) and how it works just as beautifully with frozen cherries when fresh aren’t in season. The almond flour in the topping makes it naturally gluten-free, though you’d never guess from the incredible flavor. Whether you’re looking for a quick dessert to throw together after work or a nostalgic summer treat to make with kids, this crisp delivers comfort in every bite.
Just warning you – the aroma of cinnamon and bubbling fruit while it bakes might have your whole family hovering by the oven. Trust me, I’ve lived through many “is it done yet?” moments with impatient little fingers trying to sneak tastes of that crisp topping!
- Why You'll Love This Sour Cherry Crisp
- Ingredients for the Best Sour Cherry Crisp
- How to Make Sour Cherry Crisp
- Tips for the Perfect Sour Cherry Crisp
- Make-Ahead and Storage Tips for Sour Cherry Crisp
- Serving Suggestions for Your Sour Cherry Crisp
- Nutritional Information for Sour Cherry Crisp
- Frequently Asked Questions About Sour Cherry Crisp
Why You’ll Love This Sour Cherry Crisp
This recipe checks all the boxes for the perfect summer dessert. Here’s why it’s become my go-to for everything from weeknight treats to potluck gatherings:
- 10-minute prep – No fuss, no fancy equipment needed. Just mix, sprinkle, and bake while you finish dinner.
- Naturally gluten-free – The almond flour and oats create a crispy topping that’s even better than the traditional version (and no one will guess it’s GF!).
- Tart meets sweet – Those sour cherries mingle perfectly with just enough sugar to balance their zing.
- Crunchy, buttery topping – Walnuts and oats bake into golden perfection, adding texture to every bite.
- Make-ahead magic – Assemble it in the morning, pop it in the fridge, and bake when you’re ready.
Honestly? The hardest part is waiting for it to cool enough so you don’t burn your tongue on that first glorious bite.
Ingredients for the Best Sour Cherry Crisp
When I make this crisp, I like to gather everything on my counter first – it’s like a little pre-baking ritual. The ingredients split perfectly into two groups: one for that juicy cherry base that bubbles up caramel-like in the oven, and one for that irresistible crunchy topping you’ll want to eat straight from the pan. Here’s exactly what you’ll need:
For the Cherry Filling
- 4 cups fresh or frozen sour cherries (pitted – see my tip below if using fresh!)
- 1/2 cup granulated sugar (reduce to 1/3 cup if your cherries are very sweet)
- 1 tablespoon cornstarch (this thickens all those amazing juices perfectly)
For the Crisp Topping
- 1 cup old-fashioned rolled oats (not instant – we want texture!)
- 1/2 cup almond flour (my secret for gluten-free crisp lovers)
- 1/4 cup chopped walnuts (pecans work great too)
- 1/4 cup packed brown sugar (pack it tight – this adds caramel flavor)
- 1/4 teaspoon salt (trust me, it balances everything)
- 1/4 cup melted butter (salted or unsalted both work fine here)
Quick tip about the cherries: If you’re using fresh, just work over the bowl while pitting them to catch all the juices – I use a simple cherry pitter tool my grandma gave me, but a sturdy straw works in a pinch! Frozen cherries are totally fine too (no need to thaw first) – this recipe is all about making summer flavors work any time of year.
How to Make Sour Cherry Crisp
Okay friends, let’s get baking! This sour cherry crisp comes together so easily you’ll be amazed, but I’ll walk you through each step to make sure it turns out perfect every time. Here’s exactly how I do it:
1. Preheat and Prep
First things first – fire up that oven to 375°F (190°C). While it’s heating, grab your favorite 9×9 baking dish or any similar-sized oven-safe dish. No need to grease it – the juicy fruit will prevent sticking, and who wants extra dishes to wash?
2. The Cherry Filling
In your biggest mixing bowl (I use my grandma’s old yellow Pyrex), toss those gorgeous cherries with the granulated sugar and cornstarch. Don’t be gentle here – you want every cherry coated in that sweet, starchy mixture. The cornstarch magically thickens all those tart juices as it bakes. Pour this ruby-red mixture into your baking dish and spread it evenly – I like to leave some cherries peeking up through the topping later.
3. Create That Irresistible Topping
Now for the good stuff! In that same bowl (hey, fewer dishes!), mix together the oats, almond flour, walnuts, brown sugar, and salt. Stir it well so everything is evenly distributed. Then drizzle in that melted butter while stirring – you’ll see the magic happen as everything starts clumping together beautifully. My secret? I use my hands to really work in the butter, stopping when I’ve got pea-sized crumbles throughout.
4. Assemble and Bake
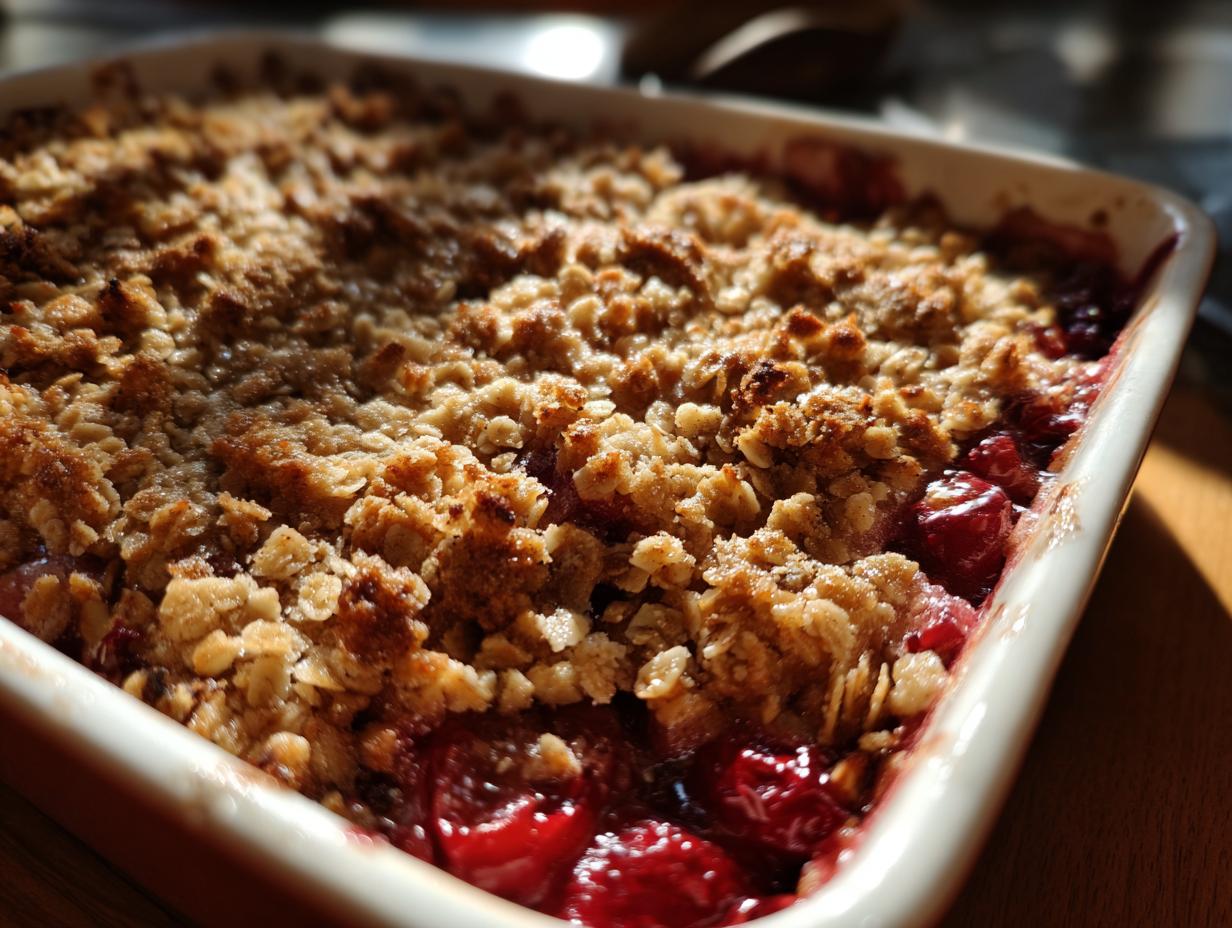
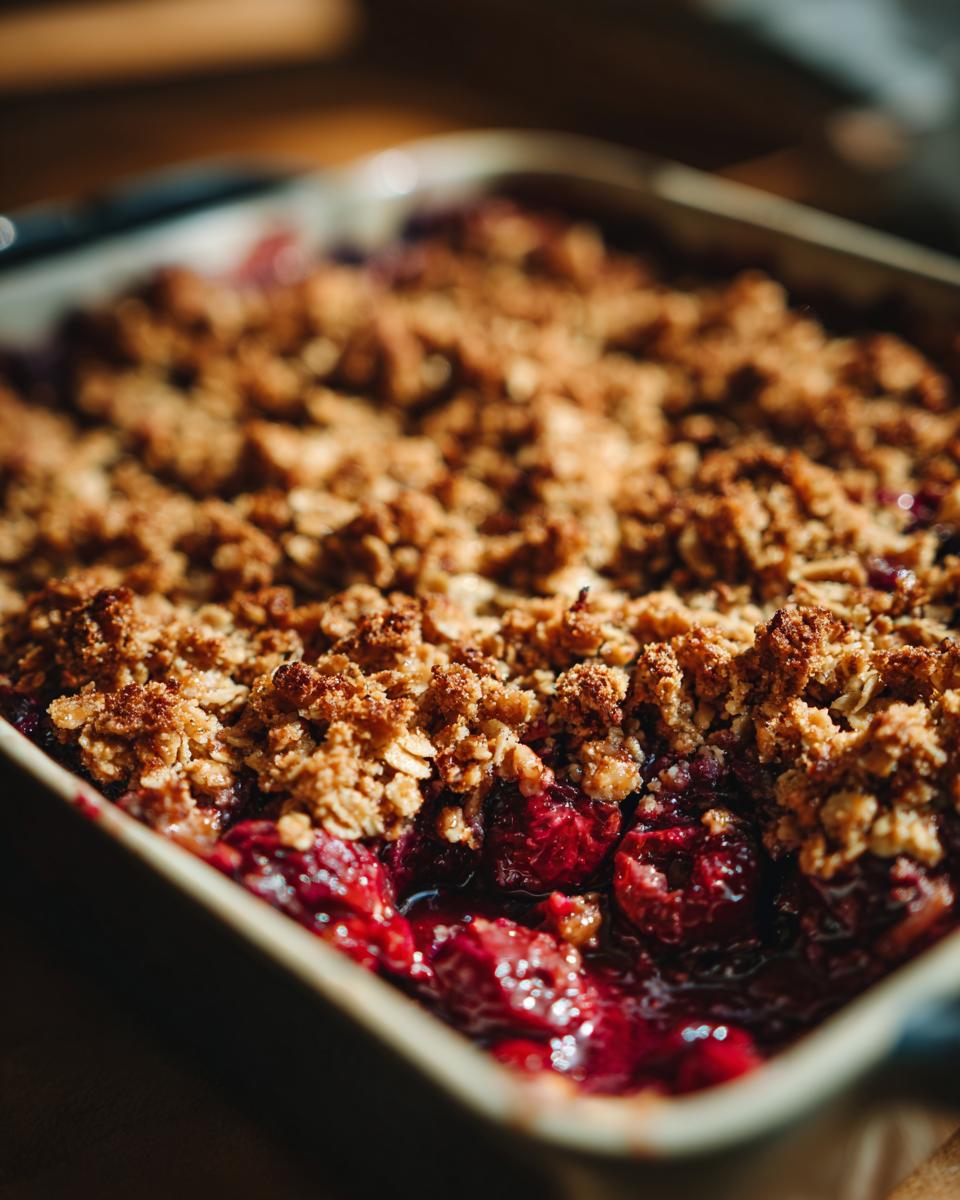
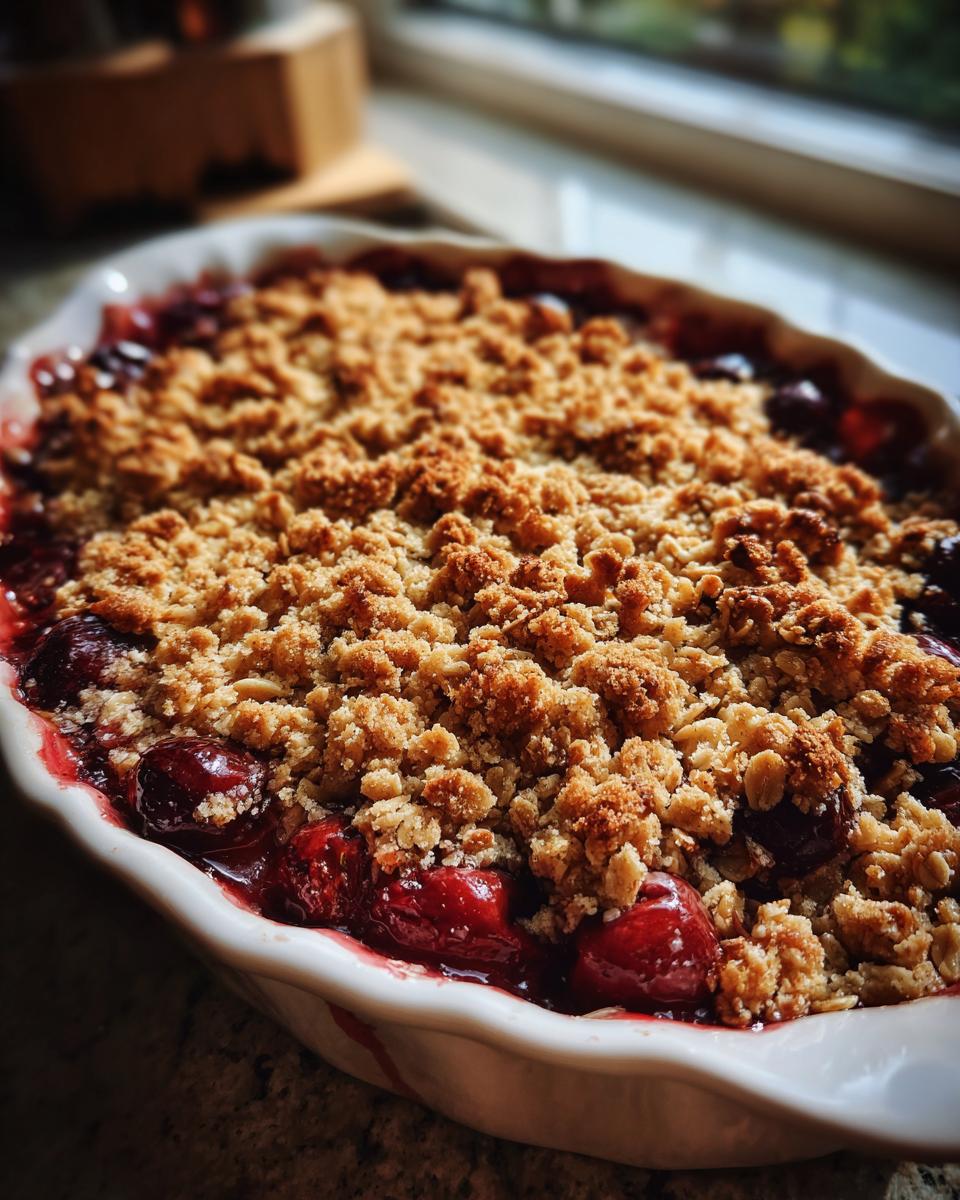
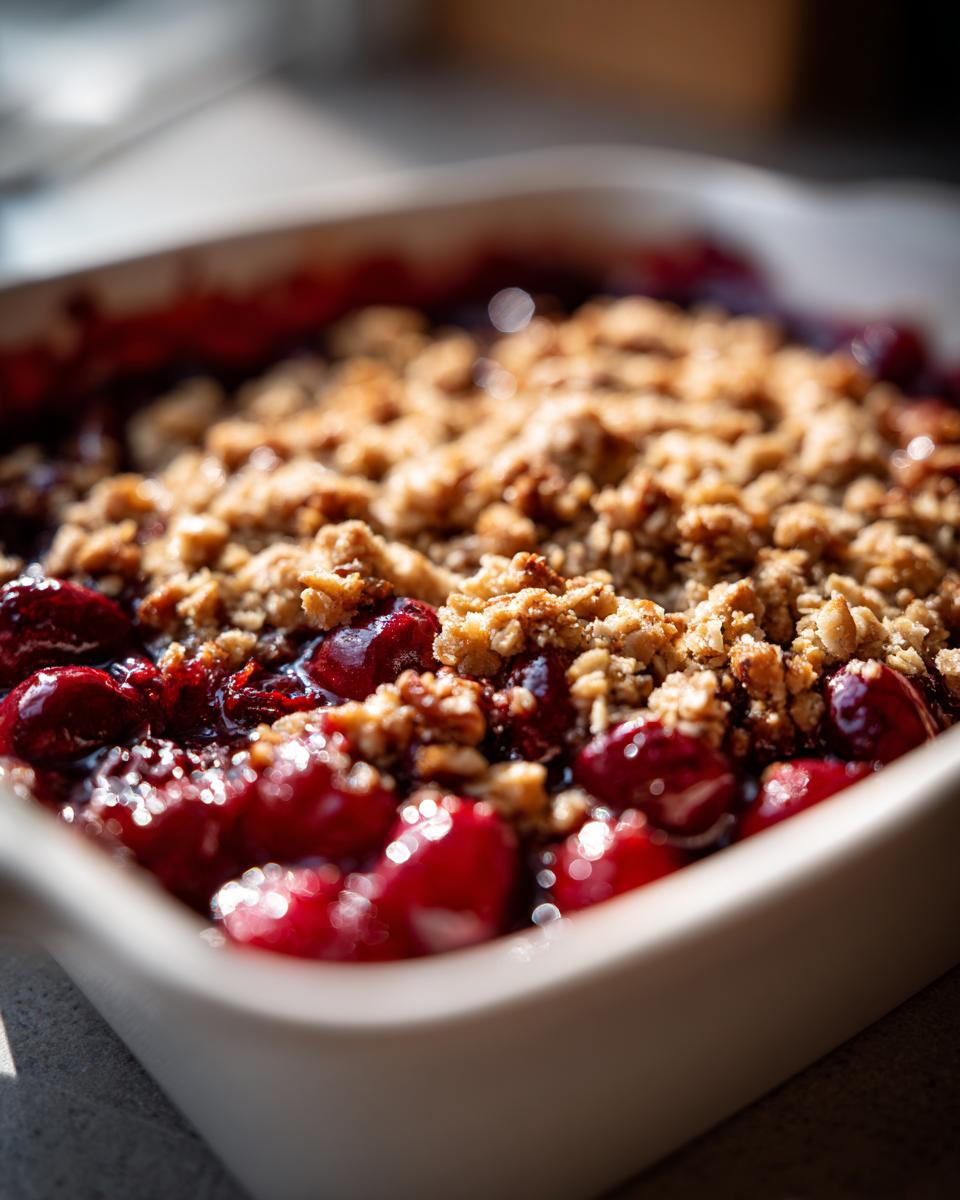
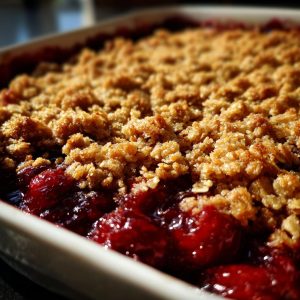
Sprinkle that buttery topping evenly over your cherry filling – no need to press down, just let it fall where it may. Pop it in the oven and set your timer for 30 minutes. At this point, start watching for two things: the topping should be golden brown (not just tan), and those cherry juices should be bubbling up around the edges like little lava pools. If it needs more time, go another 5 minutes, but don’t overbake or the topping can get too dark.
5. The Hardest Part – Waiting!
I know, I know – it smells amazing and you want to dive right in! But let it cool for at least 15 minutes before serving. This gives the juices time to thicken up properly (so it’s not soup) and saves you from burning the roof of your mouth (lesson learned the hard way!). Serve it warm with a scoop of vanilla ice cream melting over the top, and watch everyone’s eyes light up.
Tips for the Perfect Sour Cherry Crisp
After making this crisp more times than I can count (my family keeps requesting it!), I’ve picked up some handy tricks to make sure yours turns out just right every time:
- Taste your cherries first – The sugar amount is just a starting point! If your cherries are extra tart, add another tablespoon or two of sugar to the filling. Too sweet already? Dial it back.
- Pitting hack – No pitter? No problem! Use a chopstick to push the pit through stem-end of each cherry (do this over the bowl to catch all the juice). Messy? Yes. Fun? Also yes.
- Crisp topping secret – If making ahead, use cold cubed butter instead of melted – rub it into the dry ingredients with your fingers until crumbly. It’ll stay extra crisp after baking.
- Avoid sogginess – If baking straight from the fridge, let the dish sit at room temp for 15 minutes first so the topping browns before the fruit boils over.
Oh, and one last thing – don’t stress about perfection. Some of my best crisps happened when I eyeballed measurements or got creative with the nuts. That’s the beauty of comfort food!
Make-Ahead and Storage Tips for Sour Cherry Crisp
This crisp is a dream for planners and procrastinators alike! I love assembly-line baking on Sundays, so here’s how I make this dessert work for any schedule. To prep ahead, mix the cherry filling and topping separately, then store them in airtight containers in the fridge for up to 2 days. When ready to bake, just layer them in your dish – no last-minute measuring required! Already baked? Leftovers keep beautifully covered at room temperature for 2 days (if they last that long). For longer storage, wrap cooled portions tightly and freeze for 2-3 months. When that cherry craving hits, reheat frozen pieces in a 350°F oven until bubbling again – tastes just like fresh from the oven, especially with a fresh scoop of ice cream melting over the top.
Serving Suggestions for Your Sour Cherry Crisp
Oh, how I love serving this crisp warm with a generous scoop of vanilla ice cream melting into all those nooks and crannies – the contrast of cold cream against the tart cherries is pure magic! For summer barbecues, I’ll dollop on fresh whipped cream, and for breakfast (yes, breakfast!), a spoonful of Greek yogurt makes it almost virtuous. It’s perfect alongside grilled meats at a backyard cookout or as the sweet finale to a festive holiday meal. Honestly, the only wrong way to serve it is… not at all!
Nutritional Information for Sour Cherry Crisp
One serving of this delicious crisp (about 1/6th of the pan) contains approximately 280 calories, with 12g fat (5g saturated), 42g carbohydrates (25g sugar, 4g fiber), and 4g protein. Remember, these are estimates – your exact totals may vary slightly depending on cherry sweetness or nut choices. What really matters? Every bite is packed with summer’s best flavors and made with honest, simple ingredients!
Frequently Asked Questions About Sour Cherry Crisp
Every time I serve my sour cherry crisp, I get the same wonderful questions – so I’ve gathered the answers here to help you bake with confidence. These are the things I wish I’d known when I first started making this recipe!
Can I use frozen cherries instead of fresh?
Absolutely! Frozen sour cherries work beautifully here—no need to thaw them first. Just toss them straight from the freezer with the sugar and cornstarch (you might need an extra minute or two of baking time). I always keep a bag in my freezer for spontaneous crisp cravings!
How do I make sure it’s gluten-free?
This recipe is naturally gluten-free thanks to the almond flour (just double-check that your oats are certified GF if that’s a concern). The crisp topping gets its perfect crunch from the nuts and oats rather than wheat flour—my gluten-sensitive friends rave about it!
Can I substitute other nuts in the topping?
Of course! I’ve used pecans, almonds, even sunflower seeds for a nut-free version. The walnuts add a nice earthy flavor, but really any nut you have on hand will work—just chop them to about the same size for even baking.
How long does sour cherry crisp keep?
At room temperature, it’s best eaten within 2 days (cover loosely with foil). For longer storage, refrigerate up to 5 days, or freeze individual portions for 2-3 months. Pro tip: Reheat slices in the toaster oven to revive that crisp topping!
Can I double this recipe for a crowd?
You sure can! Use a 9×13-inch baking dish and increase the bake time by 5-10 minutes. This dessert is perfect for potlucks—I once brought a doubled batch to a church picnic and came home with an empty dish and several recipe requests!
Sour Cherry Crisp
A simple, comforting dessert with tart cherries and a crunchy oat-nut topping. Perfect for summer baking.
- Prep Time: 10 min
- Cook Time: 35 min
- Total Time: 45 min
- Yield: 6 servings 1x
- Category: Dessert
- Method: Baking
- Cuisine: American
- Diet: Gluten Free
Ingredients
- 4 cups fresh or frozen sour cherries, pitted
- 1/2 cup granulated sugar
- 1 tbsp cornstarch
- 1 cup rolled oats
- 1/2 cup almond flour
- 1/4 cup chopped walnuts
- 1/4 cup brown sugar
- 1/4 tsp salt
- 1/4 cup melted butter
Instructions
- Preheat oven to 375°F (190°C).
- Mix cherries, granulated sugar, and cornstarch in a bowl. Spread in a baking dish.
- Combine oats, almond flour, walnuts, brown sugar, and salt in another bowl. Stir in melted butter.
- Sprinkle the topping over the cherries.
- Bake for 30-35 minutes until bubbly and golden.
- Let cool slightly before serving.
Notes
- Use frozen cherries if fresh are unavailable.
- Make ahead and refrigerate before baking.
- Serve with vanilla ice cream for extra comfort.
Nutrition
- Serving Size: 1 serving
- Calories: 280
- Sugar: 25g
- Sodium: 120mg
- Fat: 12g
- Saturated Fat: 5g
- Unsaturated Fat: 6g
- Trans Fat: 0g
- Carbohydrates: 42g
- Fiber: 4g
- Protein: 4g
- Cholesterol: 20mg