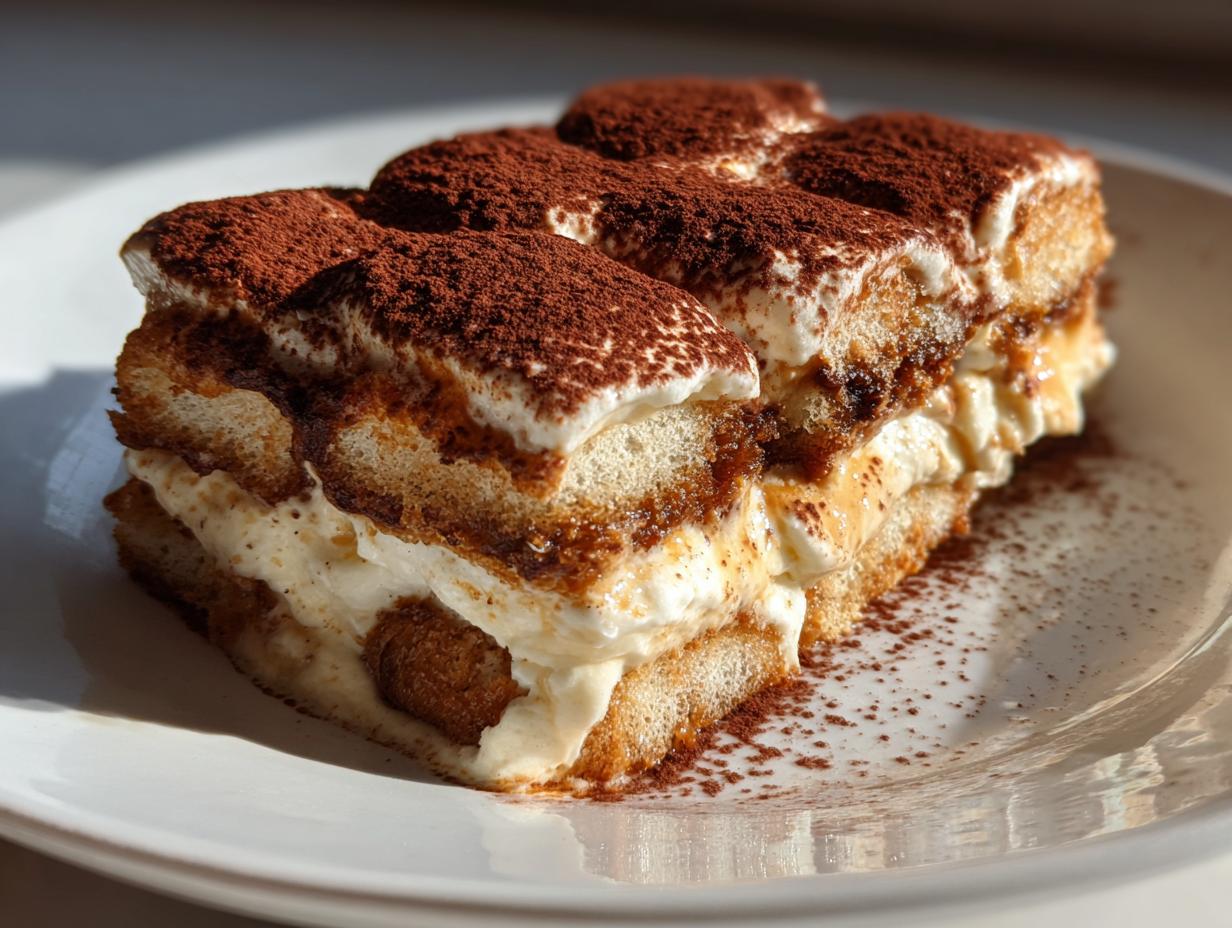

I’ll never forget the first time I tried real tiramisu. It was on a tiny cobblestone street in Rome at a café with checkered tablecloths and the most heavenly aroma of espresso in the air. The layers of coffee-soaked ladyfingers and creamy mascarpone melted in my mouth—it was love at first bite. But when I got home, every recipe I found felt intimidating with raw eggs, expensive ingredients, and complicated steps. That’s why I developed this Easy Tiramisu, a foolproof version that keeps all the magic of the classic dessert without any of the fuss.
This recipe is my go-to for everything from dinner parties to lazy Sundays. No baking required—just layers of espresso-dipped cookies and the dreamiest whipped mascarpone cream. I’ve made it so simple: no raw eggs (great for kids and pregnant friends!), and you can even use decaf if you’re serving it as an after-school treat. The flavor actually gets better overnight, which makes it perfect for meal planning ahead of busy weeks. Trust me, after one bite of this creamy, coffee-kissed dessert, you’ll understand why it’s become my most-requested recipe from friends and family alike.
Why You’ll Love This Easy Tiramisu
Once you try this recipe, you’ll see why it’s my secret weapon for effortless, impressive desserts. Here’s what makes it so special:
- No-bake bliss – Just layer and chill! No oven time means more time to relax (or sneak extra spoonfuls of that creamy mascarpone mixture).
- Make-ahead magic – Tastes even better the next day, so it’s perfect for meal planning or stress-free entertaining.
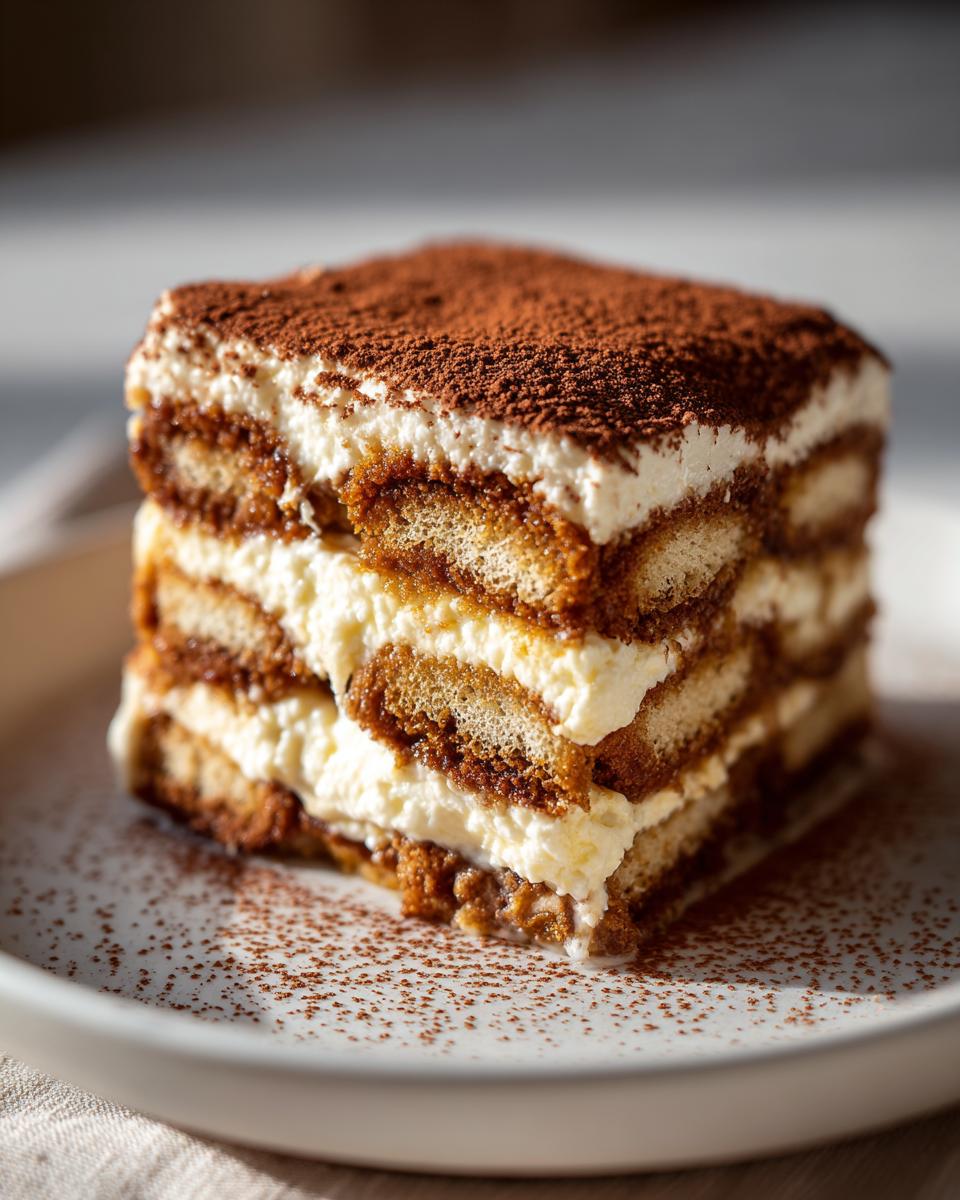
- Creamy dreamy texture – The whipped mascarpone and heavy cream combo is so lush, you’d swear it took hours to perfect.
- Totally flexible – Use decaf for kids, adjust espresso strength for coffee lovers, or skip alcohol entirely. It’s all good!
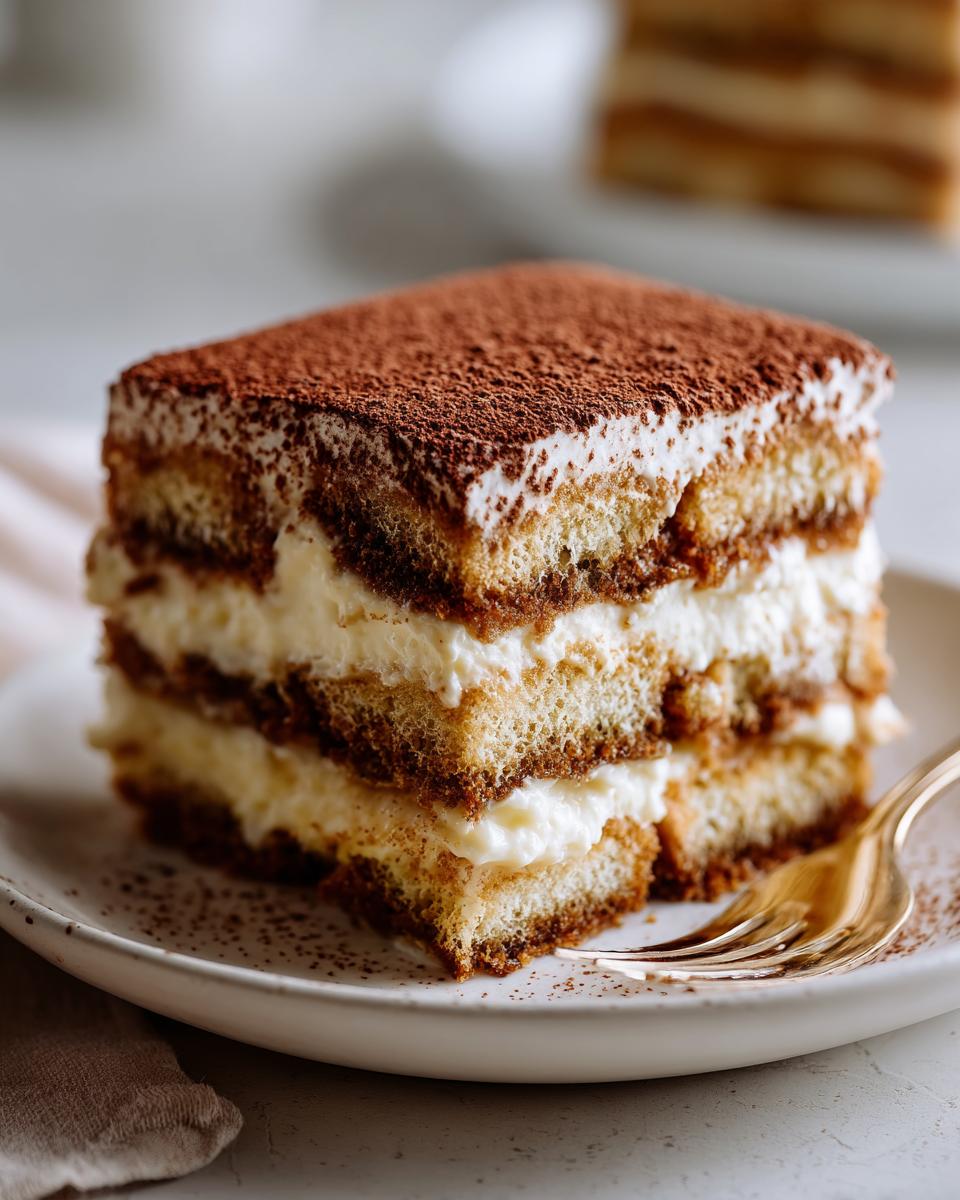
- Crowd-pleaser approved – One 9×13 pan serves a party, but it slices neatly for smaller gatherings too (just don’t tell anyone how simple it was to make).
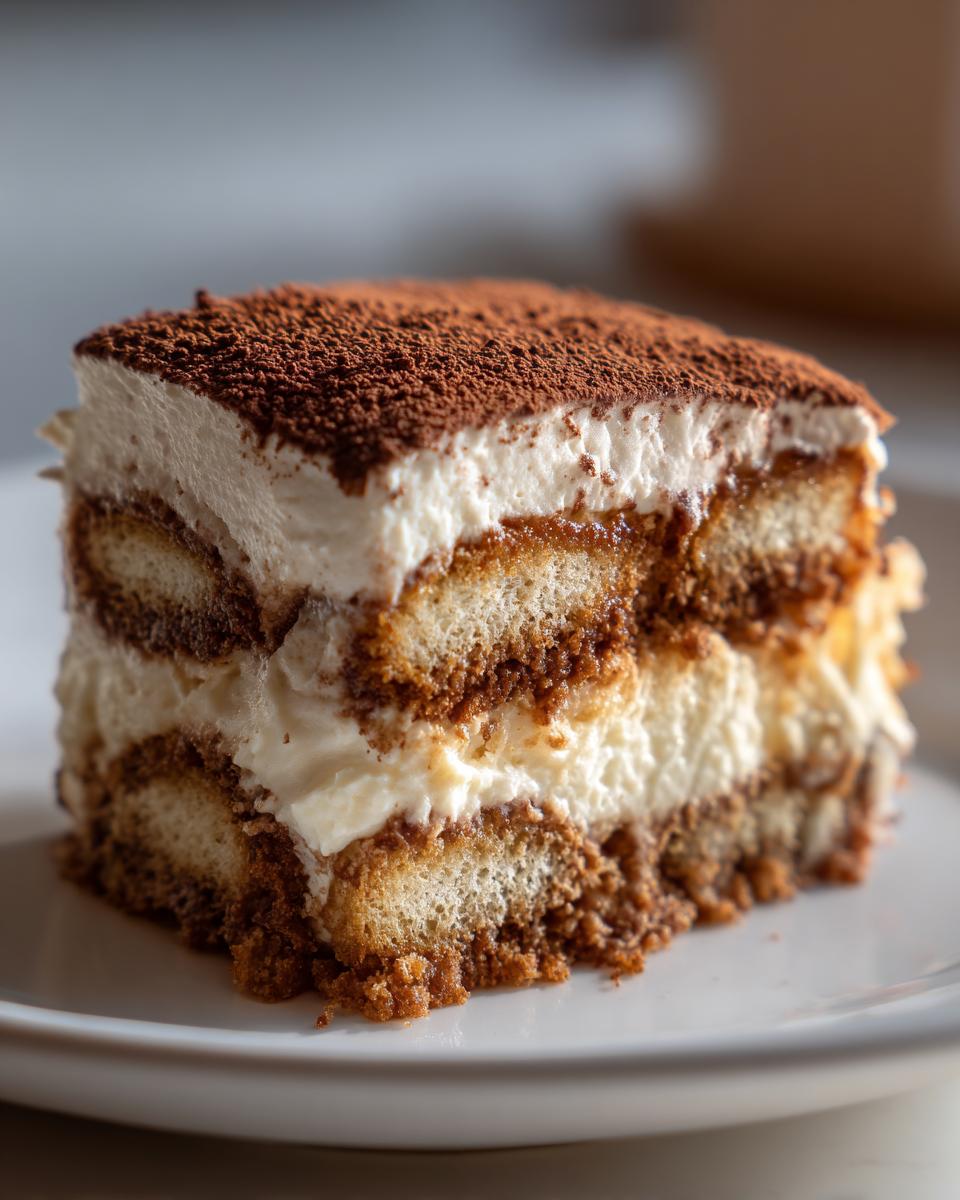
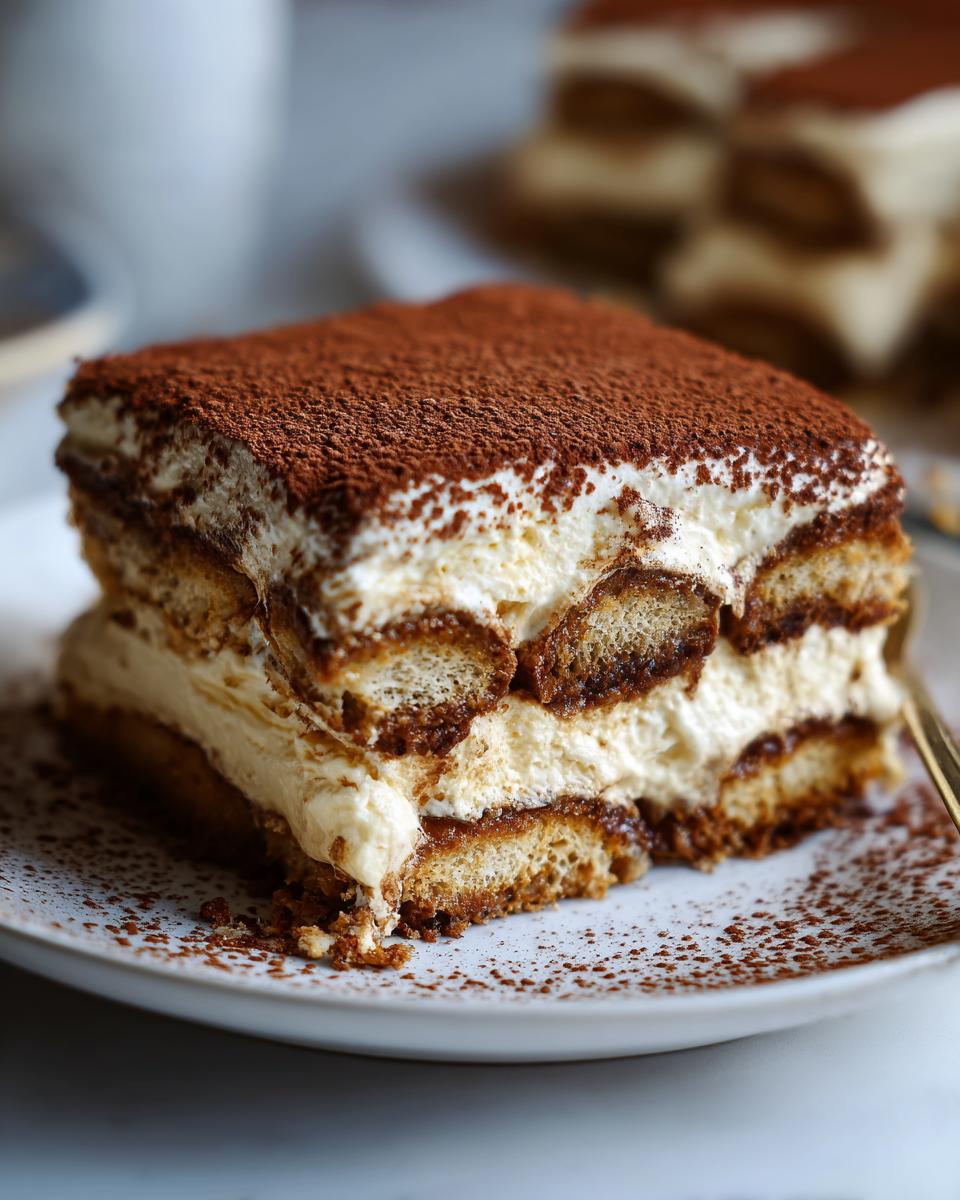
The best part? That first clean slice revealing perfect layers after chilling – pure dessert happiness in every bite.
Easy Tiramisu Ingredients
Here’s everything you’ll need for the easiest, creamiest tiramisu you’ll ever make. I’ve tested this combination over and over to get that perfect balance of coffee flavor and dreamy texture. The secret? Using room-temperature mascarpone – trust me, it makes all the difference when whipping!
For the coffee soak:
- 1 cup strong brewed espresso, completely cooled to room temperature (or 2 tbsp instant espresso powder dissolved in 1 cup hot water and cooled)
- 24 crisp ladyfinger cookies (about 7 oz or 200g – Savoiardi brand works beautifully)
For that heavenly cream layer:
- 16 oz (2 cups) mascarpone cheese, left out for 30 minutes to soften
- 1 cup cold heavy whipping cream
- 1/2 cup granulated sugar, lightly packed
- 1 teaspoon pure vanilla extract (the good stuff!
For finishing:
- 2 tablespoons unsweetened cocoa powder, for dusting (Dutch-processed gives the richest color)
Easy swaps: Use decaf espresso if you’re making this for kids (I do this all the time!). If you can’t find mascarpone, a mix of softened cream cheese and a splash of heavy cream can work in a pinch – though the texture won’t be quite as lush. And if you want to get fancy, a tablespoon of coffee liqueur or marsala wine in the espresso makes an amazing grown-up version.
How to Make Easy Tiramisu
Now comes the fun part – putting together this gorgeous dessert! Don’t let the layers intimidate you; I’ll walk you through each step so your tiramisu turns out perfect every time. The key is working quickly but carefully – especially when dipping those delicate ladyfingers. Oh, and promise me you’ll resist digging in right away? That chilling time makes all the difference for those Instagram-worthy clean slices!
Step 1: Prepare the Mascarpone Cream
First, grab that softened mascarpone – remember, room temperature is crucial for a silky, lump-free cream. In a large bowl, beat the mascarpone with a hand mixer or whisk just until smooth (about 30 seconds). Add the cold heavy cream, sugar, and vanilla. Now here’s my secret: start mixing slowly at first to prevent splatters, then increase speed once things start combining. Beat until soft peaks form – you want it billowy but not stiff like whipped cream. Too much mixing can make it grainy, so stop when it holds its shape when you lift the beater.
Step 2: Layer the Soaked Ladyfingers
Pour your cooled espresso into a shallow dish – I use a pie plate for easy dipping. Working quickly, dunk each ladyfinger into the espresso for exactly 2 seconds (count “one Mississippi” if you need to!). Any longer and they’ll get too mushy. Immediately arrange them in a single layer in your 9×13 dish, breaking some pieces to fill gaps if needed. Spread half the mascarpone cream over top in an even layer. Repeat with another layer of dipped ladyfingers and the remaining cream. Pro tip: leave a little space between cookies – they expand slightly as they absorb moisture!
Step 3: Chill for Perfect Slices
Now the hardest part – waiting! Loosely cover with plastic wrap (press it right against the cream to prevent skin) and refrigerate for at least 4 hours, but overnight is even better. This sets the layers and lets the flavors marry beautifully. Just before serving, dust generously with cocoa powder – I use a fine mesh sieve for that pretty snow-like dusting. And when you slice? That first beautiful cross-section revealing all those perfect layers will make you so proud!
Easy Tiramisu Variations
One of my favorite things about this easy tiramisu is how versatile it is! Whether you’re meal planning for a crowd or need a kid-friendly version, these simple twists let you customize it perfectly:
- Kids’ Delight: Make it family-friendly with decaf espresso and skip the alcohol. My little ones love when I dust the top with playful cocoa powder designs using stencils – hearts for Valentine’s Day or stars for sleepovers!
- Party Perfect: Need dessert for a crowd? Double the recipe in a half-sheet pan (13×18 inches) – just dip extra ladyfingers in batches. Perfect for those big holiday gatherings where everyone wants seconds.
- Boozy Grown-Up: Add 1-2 tbsp coffee liqueur or marsala wine to your espresso soak for that authentic Italian flavor. Just whisk it right into the cooled coffee before dipping.
- Seasonal Twist: Swap the cocoa for pumpkin spice in fall, or add orange zest to the cream layer during Christmas. Makes every bite feel special!
The possibilities are endless – that’s why this recipe stays in my regular rotation year-round. What variation will you try first?
Tips for the Best Easy Tiramisu
After making this recipe countless times (and taste-testing even more!), I’ve picked up some foolproof tricks to ensure your tiramisu is restaurant-quality every time. First, always use a cold metal bowl for whipping the cream – it makes the mascarpone mixture so much fluffier. Running your mixer’s bowl and beaters in the freezer for 15 minutes first? Game changer!
Here’s a little secret from my Italian friend Gina: sift that cocoa powder through a fine mesh sieve for the prettiest, most even dusting. And measure your espresso upfront – you want exactly 1 cup cooled to room temp. Too much liquid makes soggy layers, too little leaves the ladyfingers dry.
The old-school trick? Chill your serving dish first – it helps set the layers faster. And if you really want to honor the traditional Venetian method, let the assembled tiramisu rest in the fridge for a full 24 hours before serving. That’s when the magic really happens!
Easy Tiramisu FAQs
You’ve got questions, I’ve got answers! Here are the tiramisu questions I get asked most often – plus all the tips I’ve learned after making this dessert more times than I can count:
Can I use instant coffee instead of espresso?
Absolutely! Just make sure you use 2 tablespoons of good quality instant espresso powder (I like Medaglia D’Oro) dissolved in 1 cup hot water. Let it cool completely before dipping – weak coffee means weak flavor, so don’t skimp!
How long does homemade tiramisu last?
This beauty keeps wonderfully for 3 days in the fridge. After that first day though, the ladyfingers soften more – which some people (like me!) actually prefer. Just keep it covered with plastic wrap pressed right on the surface to prevent drying.
Can I freeze tiramisu?
Honestly? I don’t recommend it. The texture turns grainy when thawed – all that creamy magic just disappears. If you must freeze, skip the cocoa topping until serving and wrap very tightly, but plan to eat it within 2 weeks. Thaw overnight in the fridge.
What’s the egg substitute in this recipe?
The best part? No eggs needed! This version uses whipped cream and mascarpone for that dreamy texture. No raw egg worries, which makes it perfect for kids, pregnant friends, or anyone avoiding eggs.
Which mascarpone brand works best?
BelGioioso is my affordable go-to – rich flavor without the gourmet price tag. Trader Joe’s version works great too! Avoid tubs that feel watery when you open them. Pro tip: If your mascarpone seems stiff, let it sit out 30 minutes before mixing for smoother cream.
Still have a burning tiramisu question? Ask me in the comments – I’ve probably tested it!
Nutrition Information
Just a quick note—these numbers are estimates since your ingredients may vary slightly. Each generous slice of this heavenly tiramisu runs about 320 calories, with 22g fat (that’s the good, creamy stuff!) and 25g carbs. It’s a rich treat, so I love pairing it with lighter meals when meal planning. If you’re exploring weight loss programs, portion control is key—though I won’t judge if you sneak an extra sliver!
Share Your Easy Tiramisu Experience
Okay, now I want to hear about your tiramisu masterpiece! Did you add a boozy twist for date night? See those perfect layers when you sliced it? Snap a photo—I live for those gorgeous cross-section shots! Tag me on Instagram @CarolinesKitchen or leave a star rating below. Your tips might help another reader nail this recipe. Happy baking, friends!
PrintEasy Tiramisu

A simple, no-bake Italian dessert with layers of coffee-soaked ladyfingers and creamy mascarpone.
- Prep Time: 20 min
- Cook Time: 0 min
- Total Time: 4 hours 20 min
- Yield: 8 servings 1x
- Category: Dessert
- Method: No-Bake
- Cuisine: Italian
- Diet: Vegetarian
Ingredients
- 1 cup strong brewed espresso, cooled
- 24 ladyfinger cookies
- 16 oz mascarpone cheese
- 1 cup heavy cream
- 1/2 cup granulated sugar
- 1 tsp vanilla extract
- 2 tbsp cocoa powder
Instructions
- Mix mascarpone, heavy cream, sugar, and vanilla in a bowl until smooth.
- Dip each ladyfinger into espresso for 2 seconds, then arrange in a single layer in a dish.
- Spread half the mascarpone mixture over the ladyfingers.
- Repeat with another layer of soaked ladyfingers and mascarpone.
- Dust the top with cocoa powder.
- Chill for at least 4 hours before serving.
Notes
- For an egg-free version, skip raw eggs and use this recipe.
- Chill longer for cleaner slices.
- Use decaf espresso for a kid-friendly option.
Nutrition
- Serving Size: 1 slice
- Calories: 320
- Sugar: 18g
- Sodium: 45mg
- Fat: 22g
- Saturated Fat: 13g
- Unsaturated Fat: 7g
- Trans Fat: 0g
- Carbohydrates: 25g
- Fiber: 1g
- Protein: 5g
- Cholesterol: 85mg