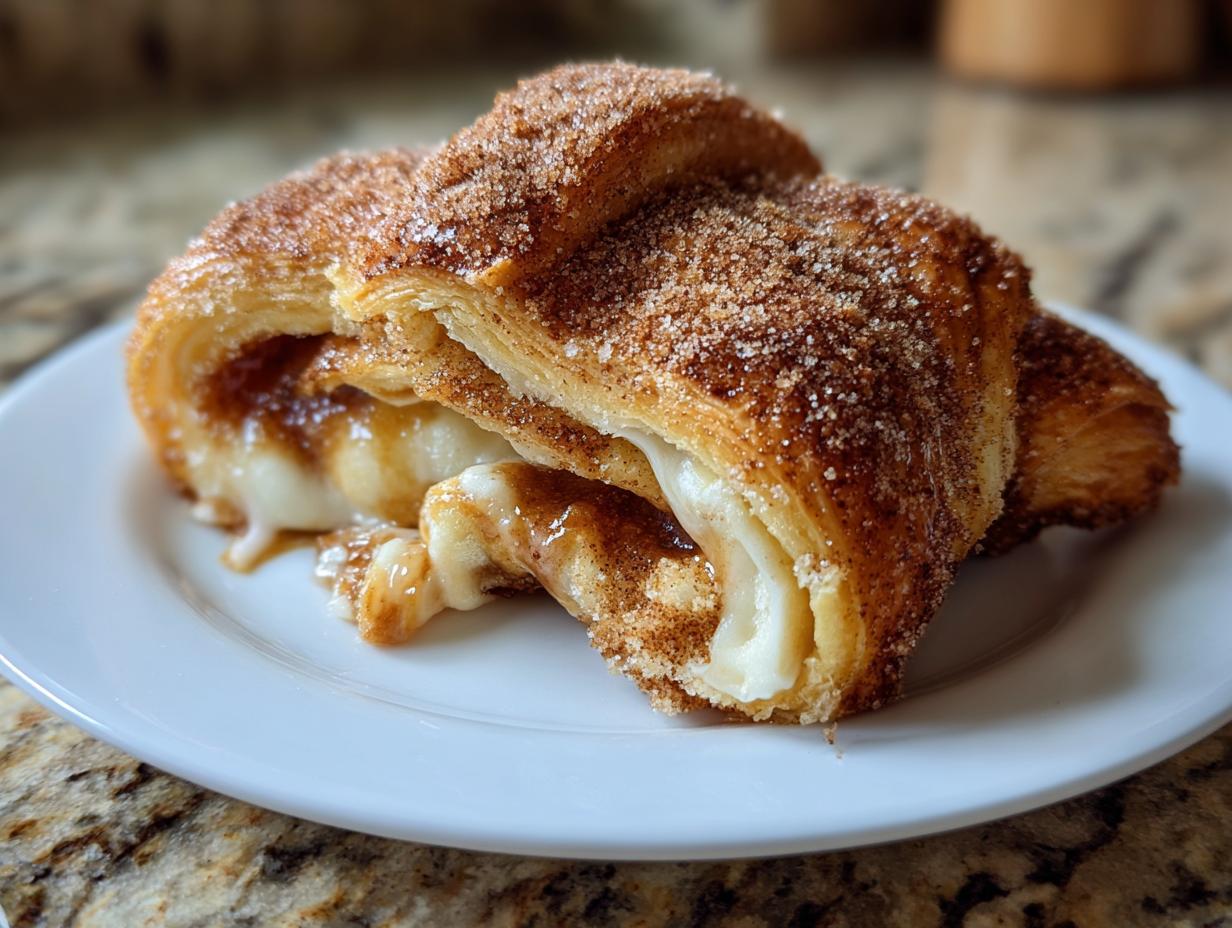

Oh my goodness, is it that time of year already? Halloween is just around the corner, and you KNOW what that means – it’s time for some seriously fun, slightly spooky, and totally delicious treats! My absolute favorite thing to whip up when the leaves start changing and the air gets crisp is these magical Hocus Pocus buns. Seriously, they’re like a little bit of baking wizardry right in your own kitchen! You take a simple marshmallow, coat it in a sweet cinnamon-sugar mix, wrap it all up in gooey crescent roll dough, and *poof*! The marshmallow disappears like a ghost, leaving behind this amazing, gooey center. I remember making these with my niece last year, her eyes were SO wide watching the marshmallow vanish in the oven – priceless!
As you know, I’m all about those classic, reliable recipes that just *work*. And these Hocus Pocus buns? They are SO simple and always a hit. They’re the perfect way to get the little ones involved in the kitchen and make your Halloween party extra special, without a ton of fuss. Trust me, they’ll be asking for seconds!
- Why You'll Love These Hocus Pocus Buns
- Hocus Pocus Buns: Ingredients You'll Need
- How to Make Hocus Pocus Buns: Step-by-Step
- Tips for Perfect Hocus Pocus Buns Every Time
- Air Fryer Hocus Pocus Buns: A Quick Alternative
- Serving and Storing Your Hocus Pocus Buns
- Frequently Asked Questions about Hocus Pocus Buns
- Estimated Nutritional Information for Hocus Pocus Buns
- Share Your Hocus Pocus Buns Creations!
Why You’ll Love These Hocus Pocus Buns
Seriously, these little guys are just the BEST for Halloween! Here’s why:
- Super Speedy: You can have these magical treats ready in under 30 minutes, from start to finish. Perfect for when you need a last-minute party snack!
- Incredibly Easy: If you can open a can of crescent rolls and coat a marshmallow, you can make these. They’re so simple, the kids can totally help!
- Pure Magic: Watching that marshmallow vanish inside the dough is just pure, delightful fun. It’s like a little baking trick that always gets a “wow!”
- Perfect Party Pleaser: Whether it’s a classroom party, a family get-together, or just a spooky movie night, these are always a huge hit with kids (and adults, too!).
Hocus Pocus Buns: Ingredients You’ll Need
Alright, gathering your ingredients is the easy part here! We’re keeping it super simple.
- 1 (8 ounce) package refrigerated crescent rolls – the kind that come in a can.
- 8 large marshmallows – just your standard fluffy ones work perfectly.
- 1 tablespoon melted butter – easy peasy, just pop it in the microwave for a few seconds!
- 1/4 teaspoon cinnamon – for that warm, cozy fall flavor.
- 1/4 teaspoon sugar – just a little extra sweetness to coat the marshmallows.
How to Make Hocus Pocus Buns: Step-by-Step
Alright, let’s get down to business and make some magic happen! It’s super straightforward, and honestly, the steps are so easy, you’ll fly through them. Think of it like a little baking adventure you can tackle in no time.
Prepping Your Hocus Pocus Buns
First things first, let’s get that oven heating up to 375 degrees Fahrenheit (that’s 190 Celsius). You want it nice and toasty. While that’s happening, grab a baking sheet and maybe line it with some parchment paper or a silicone mat – it just makes cleanup a breeze, trust me on this! Now, take your can of crescent roll dough and carefully unroll it. Separate those triangles carefully; you don’t want to tear them. In a little bowl, just whisk together your melted butter with that cinnamon and sugar until it’s all nicely combined. It smells amazing already!
Coating and Sealing the Marshmallows
Okay, this is where the real “magic” starts! Take each marshmallow and give it a nice little dip into that cinnamon-sugar butter mixture. Make sure it’s coated all over – it adds so much yummy flavor! Then, take one of those crescent roll triangles and gently wrap it around the coated marshmallow. Here’s the super important part: you’ve GOT to pinch those seams together really, really well! You want to make sure there are absolutely no gaps or holes. Think of it like tucking the marshmallow in tight; this is key to preventing any melty messes in the oven. If you’ve got any little bits of dough sticking out, just press them in. It’s a bit like wrapping a tiny present!
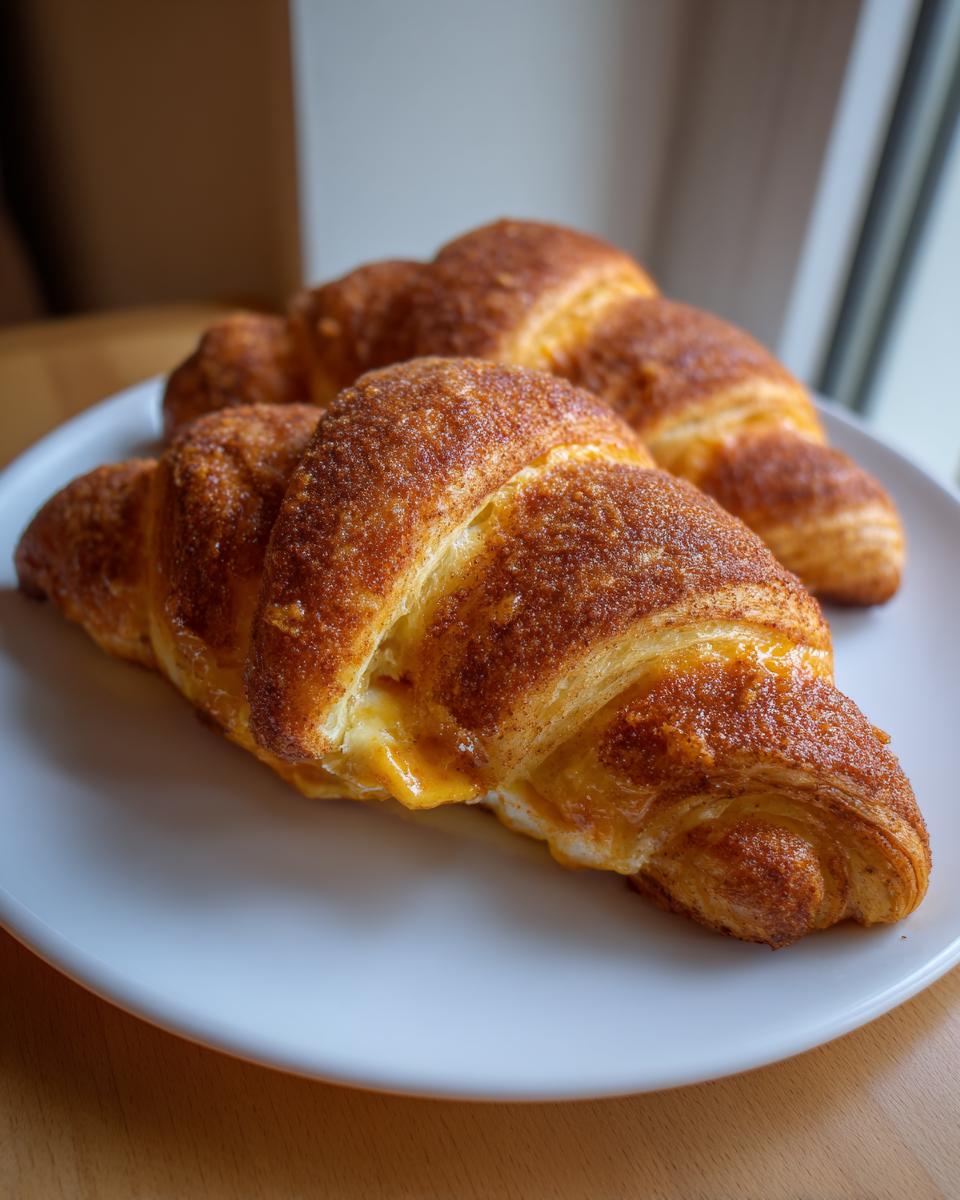
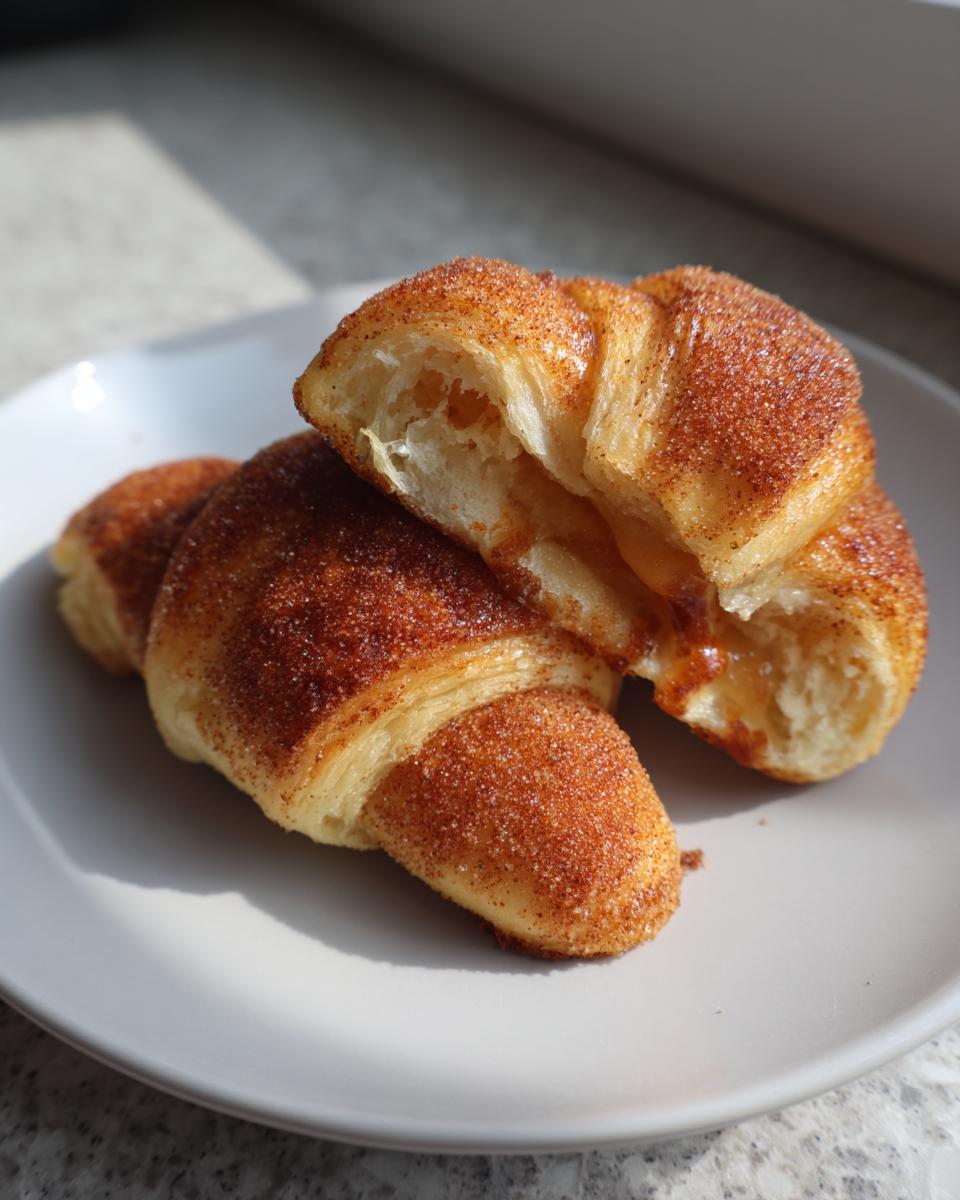
Baking Your Hocus Pocus Buns to Perfection
Once all your little marshmallow bundles are sealed up tight, carefully place them seam-side down on your prepared baking sheet. Give them a little space between each one so they have room to puff up. Now, pop them into that preheated oven and bake them for about 10 to 12 minutes. You’re looking for them to get perfectly golden brown and puffed up. You can even peek at them via your air fryer biscuit donuts recipe if you’re using one for comparison! If, by chance, a little marshmallow does decide to make a break for it, don’t stress! It’ll likely caramelize on the baking sheet into a delicious sticky treat. Just scoop it all up when they come out; it’s all part of the fun!

Tips for Perfect Hocus Pocus Buns Every Time
Alright, so we want these little guys to be absolutely perfect, right? It’s really not much different than making sure a holiday present is wrapped up nice and neat – you gotta get those seals tight! Over the years, I’ve picked up a few little tricks that make these Hocus Pocus buns just that much better, and honestly, a little less messy. It all comes down to a few key steps that ensure that marshmallow stays exactly where it’s supposed to be, creating that magical gooey center everyone loves.
Preventing Marshmallow Leaks in Hocus Pocus Buns
Okay, this is the BIG one, the thing that can sometimes make these buns a little… messy. The secret to keeping that marshmallow surprise tucked safely inside is all about the seal! When you’re wrapping the dough around the coated marshmallow, really take your time and pinch those edges together. I mean, really press them shut. Think about how you’d seal an envelope. You want to make sure there are absolutely NO gaps or tiny holes where that marshmallow goo can escape during baking. I sometimes even do a little double-fold on the seam, just to be extra sure. It might sound like a lot of fuss, but trust me, a super tight seal means a perfectly gooey, un-leaked bun every single time. It’s worth the extra second of pinching!
Variations for Your Hocus Pocus Buns
While the classic cinnamon-sugar coating is amazing, don’t be afraid to play around! For a little extra fall flavor, I sometimes add a tiny pinch of nutmeg or even a whisper of ground cloves to the butter mixture. Or, if you’re feeling extra decadent, you can pop a tiny square of good quality milk chocolate right next to the marshmallow before you wrap it – talk about a double surprise! If you can’t find large marshmallows, you can use a few mini marshmallows stacked together, but be extra careful with sealing those! You can even experiment with different types of dough if you’re feeling adventurous, though the classic crescent rolls are just so perfectly tender and easy.
Air Fryer Hocus Pocus Buns: A Quick Alternative
You know, sometimes life moves a little too fast, right? Or maybe you just don’t want to heat up the whole oven for a little batch of magic. That’s totally okay! I’ve found that these Hocus Pocus buns are just as delightful when you make them in the air fryer. It’s surprisingly quick, and you get that lovely golden-brown crispness. Honestly, they come out tasting pretty similar to the oven-baked ones, just maybe a little fluffier and faster. It’s a great way to satisfy that craving without the oven commitment, kind of like how my air fryer garlic parmesan wings recipe makes crispy wings in a flash!
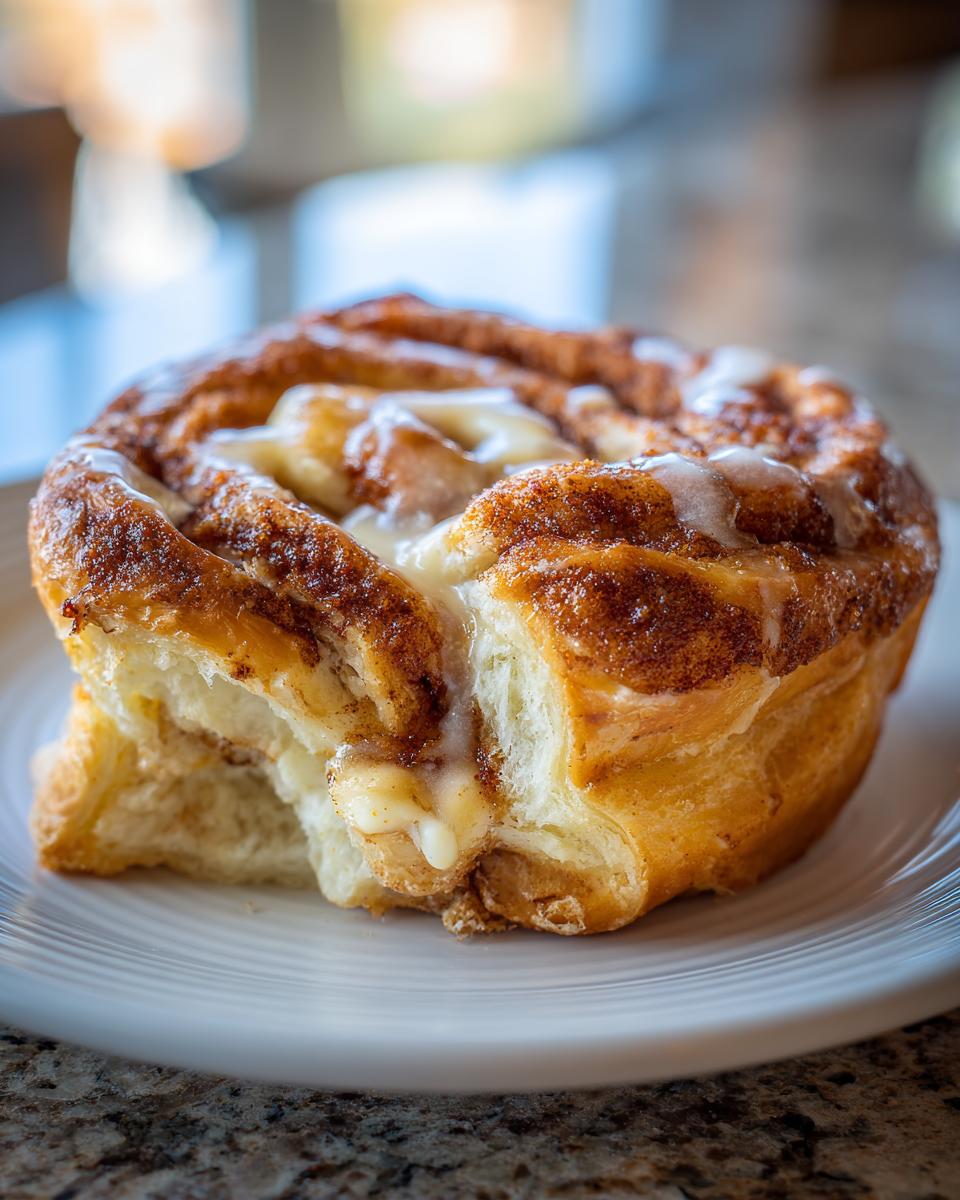
Serving and Storing Your Hocus Pocus Buns
These little guys are truly best enjoyed warm, right after they come out of the oven. That gooey marshmallow center is at its peak meltiness then! If you’ve made a batch for a Halloween party, serving them fresh from the oven is always the way to go. They’re a total showstopper, and seeing those happy, sticky faces is the best part! If you happen to have any leftovers – which, let’s be honest, doesn’t happen often in my house! – you can store them in an airtight container at room temperature for a day or two. To reheat, just pop them in a toaster oven or microwave for about 10-15 seconds. They’ll be wonderfully warm and gooey again, perfect for a surprise treat! For more delightful baked goods, you should totally check out the dessert section on Recipes to Keep!
Frequently Asked Questions about Hocus Pocus Buns
Okay, let’s chat about any little questions you might still have about these fun little guys. It seems like I get the same few questions pop up, so I thought I’d tackle them right here! They’re so straightforward, but a few little details can make all the difference.
What are Hocus Pocus Buns and Empty Tomb Rolls?
It’s funny, isn’t it? These little treats go by a few names! “Hocus Pocus buns” sounds so perfectly Halloween-y, right? But you might also hear them called “Empty Tomb rolls” or “Resurrection rolls,” especially around Easter time. They’re all the same idea – a marshmallow tucked inside dough, creating a bit of baking magic! The name just changes depending on the holiday and the story you want to tell. They’re really the same delicious concept, just with a different party hat!
Can I make Hocus Pocus Buns ahead of time?
You know, you *can* assemble them ahead of time, but I wouldn’t recommend it for too long. The biggest thing is that the dough can get a little sticky or gummy if it sits around for ages, and the marshmallow might start to get softer than you want. I’d say if you absolutely need to, assemble them the morning of the day you plan to bake them and keep them covered loosely in the fridge. But honestly, they’re at their absolute best when you whip them up fresh, right before baking. It’s so quick, it doesn’t usually take much extra time!
What is the best bake temperature for Hocus Pocus Buns?
For that perfect, golden-brown finish without burning the delicate crescent dough or the marshmallow inside, you really want to stick to around 375°F (190°C). Any hotter and the outside might cook too fast before the inside is all gooey. Too much cooler, and they might not get that lovely color, or the marshmallow might ooze out more easily. It’s that sweet spot that really makes these Hocus Pocus buns shine!
Estimated Nutritional Information for Hocus Pocus Buns
Now, I know some of you are curious about the nutritional details, and that’s totally fair! These little Hocus Pocus buns are definitely a treat, more for a fun occasion than everyday fuel. Based on the ingredients, you’re looking at roughly 120 calories per bun, with about 5 grams of fat and 10 grams of sugar. Remember, these numbers are just estimates and can totally change depending on the specific brands of crescent rolls or marshmallows you use, and how generously you coat them with that cinnamon-sugar butter! They’re made with love, not for tracking macros!
Share Your Hocus Pocus Buns Creations!
Alright, now that you’ve got the ins and outs of making these magical Hocus Pocus buns, I really want to see what you create! Did your marshmallow vanish perfectly? Did you add any fun twists? Drop a comment down below and tell me all about it! And if you snapped any pictures, be sure to tag us on Facebook – I absolutely LOVE seeing your kitchen triumphs! It makes my day!
PrintHocus Pocus Buns

Make these fun Hocus Pocus buns for a quick Halloween treat. Marshmallows disappear inside crescent rolls for a magical dessert.
- Prep Time: 10 min
- Cook Time: 12 min
- Total Time: 22 min
- Yield: 8 servings 1x
- Category: Dessert
- Method: Baking
- Cuisine: American
- Diet: Vegetarian
Ingredients
- 1 (8 ounce) package refrigerated crescent rolls
- 8 large marshmallows
- 1 tablespoon melted butter
- 1/4 teaspoon cinnamon
- 1/4 teaspoon sugar
Instructions
- Preheat your oven to 375°F (190°C).
- Unroll the crescent roll dough and separate it into 8 triangles.
- In a small bowl, mix the melted butter, cinnamon, and sugar.
- Dip each marshmallow into the butter mixture, coating it completely.
- Wrap one coated marshmallow tightly in a crescent roll triangle, pinching the seams to seal. Ensure there are no gaps to prevent leaking.
- Place the sealed rolls seam-side down on a baking sheet.
- Bake for 10-12 minutes, or until golden brown.
- Serve warm.
Notes
- For best results, pinch the seams of the crescent roll very tightly around the marshmallow to prevent it from leaking out during baking.
- If the marshmallow does leak, it will caramelize and become a delicious sticky treat on the baking sheet.
- These are also known as ’empty tomb rolls’ or ‘resurrection rolls’.
- For an air fryer, cook at 350°F (175°C) for about 5-7 minutes, checking frequently.
Nutrition
- Serving Size: 1 bun
- Calories: 120
- Sugar: 10g
- Sodium: 100mg
- Fat: 5g
- Saturated Fat: 2g
- Unsaturated Fat: 3g
- Trans Fat: 0g
- Carbohydrates: 18g
- Fiber: 0g
- Protein: 2g
- Cholesterol: 5mg