
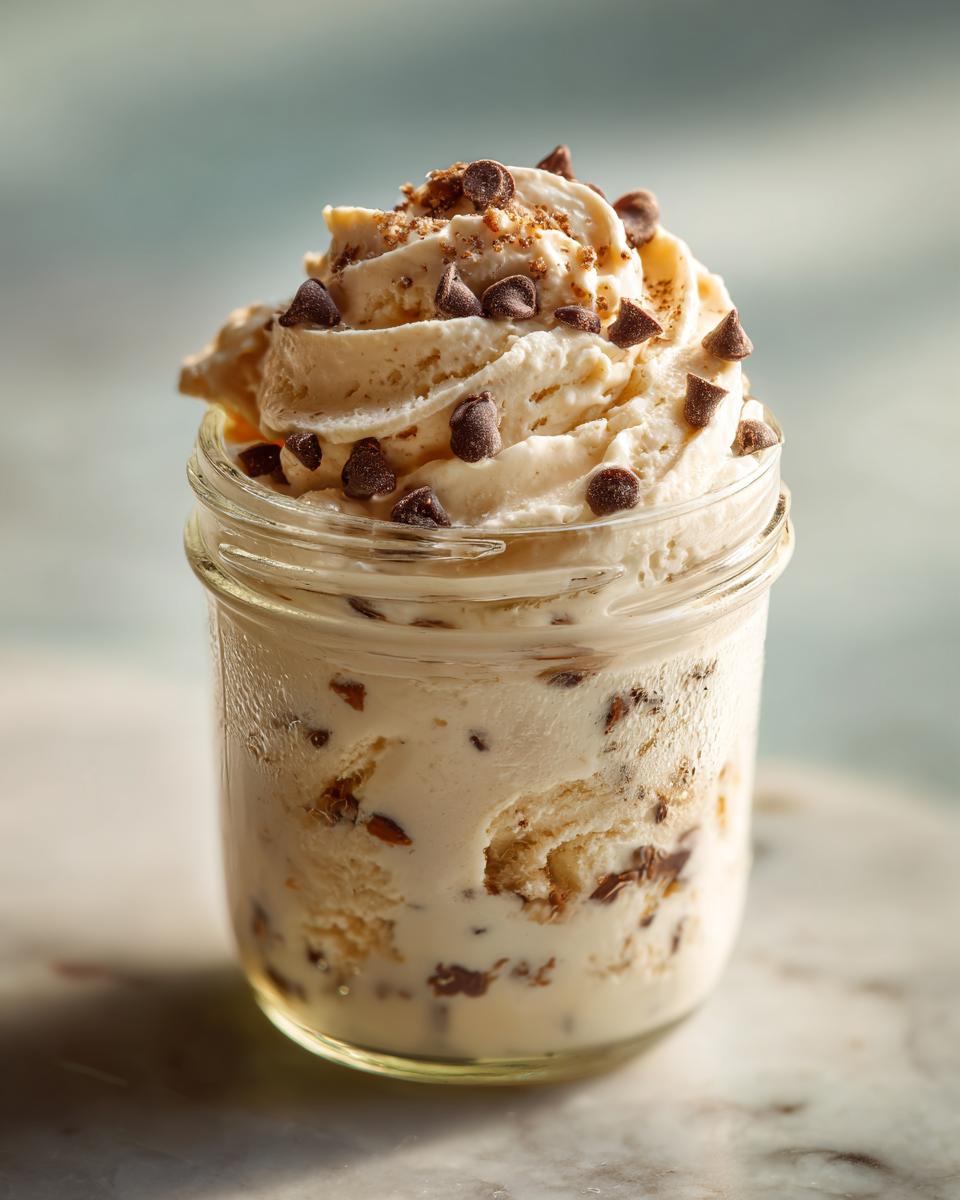
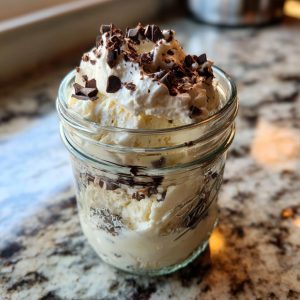
Making homemade ice cream—especially when it’s as easy as shaking it up in a mason jar! My kids still talk about the first time we made mason jar ice cream together on a hot summer day. Their eyes lit up when they realized they could create their own flavors with swirls of chocolate, chunks of cookies, or fresh berries—no fancy ice cream maker needed. This no-churn wonder is perfect for single servings, which means no more digging through a half-empty tub in the freezer. Just grab your favorite 8-ounce jar, a few simple ingredients, and let the fun begin. The best part? You don’t have to share (unless you want to). Whether you’re packing it for picnics, sneaking a late-night treat, or meal prepping desserts for the week, this mason jar ice cream is your new go-to. Trust me, once you try it, you’ll wonder how you ever settled for store-bought.
Why You’ll Love This Mason Jar Ice Cream
This little jar of happiness isn’t just delicious—it’s downright magical. Here’s why it’s become my dessert obsession:
- No fancy gadgets needed – Forget bulky ice cream machines! Your arms and a mason jar are all the “equipment” you need (kids love helping with the shaking part).
- Perfect single servings – No more fighting over the last scoop or wasted leftovers. Each jar is just for you (though I won’t judge if you make two).
- Endless flavor adventures – Crushed cookies today, fresh peaches tomorrow. You’re the boss of your mix-ins!
- Ready in hours, not days – Unlike traditional ice cream recipes, you’ll be digging in after just 4 hours in the freezer.
- Take it anywhere – Picnics, road trips, or sneaking to your favorite reading nook. These portable treats go wherever you do.
Mason Jar Ice Cream Ingredients
Gather these simple staples – most are probably already in your kitchen. The magic happens when they come together in that trusty 8-ounce mason jar. (Trust me, the size matters here! Too big and you won’t get that creamy texture we’re after.)
- 1 cup heavy cream, chilled – Cold cream whips up better, so I always keep mine in the fridge until the last second
- 1/4 cup sweetened condensed milk – Room temperature blends smoother with the cream
- 1 tsp vanilla extract – The secret background note that makes everything taste “complete”
Now for the fun part – choose your adventure with these mix-ins (use about 1/4 cup total):
- Crushed cookies (Oreos are my weakness)
- Chocolate chips or chunks
- Fresh berries
- Chopped nuts
- Candy pieces
- Caramel or fudge swirls
See? Told you this was easy. Now let’s get shaking!
How to Make Mason Jar Ice Cream
This is where the magic happens! Making mason jar ice cream is so simple, you’ll wonder why you haven’t been doing it every week. Just follow these easy steps, and you’ll have creamy, dreamy ice cream ready in no time. (Well, after a little freezer patience!)
Step 1: Combine the Base
Grab your 8-ounce mason jar – that perfect little size that makes just the right amount. Pour in the chilled heavy cream (remember, cold cream whips up better!), then add the sweetened condensed milk and vanilla extract. I like to screw on the lid at this point and give it one quick upside-down turn just to get things acquainted, but don’t shake yet!
Now, here’s my secret: Use a tall jar if you have one. The extra height gives the cream more room to move and helps it thicken faster when you shake it. Who knew physics could be so delicious?
Step 2: Shake and Freeze
Seal that jar tight – I mean really tight. Put on the metal lid and ring, then do your best “I’m-serious-about-dessert” twist to make sure it’s secure. Now shake it like you mean it! Set a timer for 5 minutes and shake like you’re trying to win a prize. You’ll feel the mixture thicken as tiny air bubbles form – that’s what gives our ice cream its perfect texture.
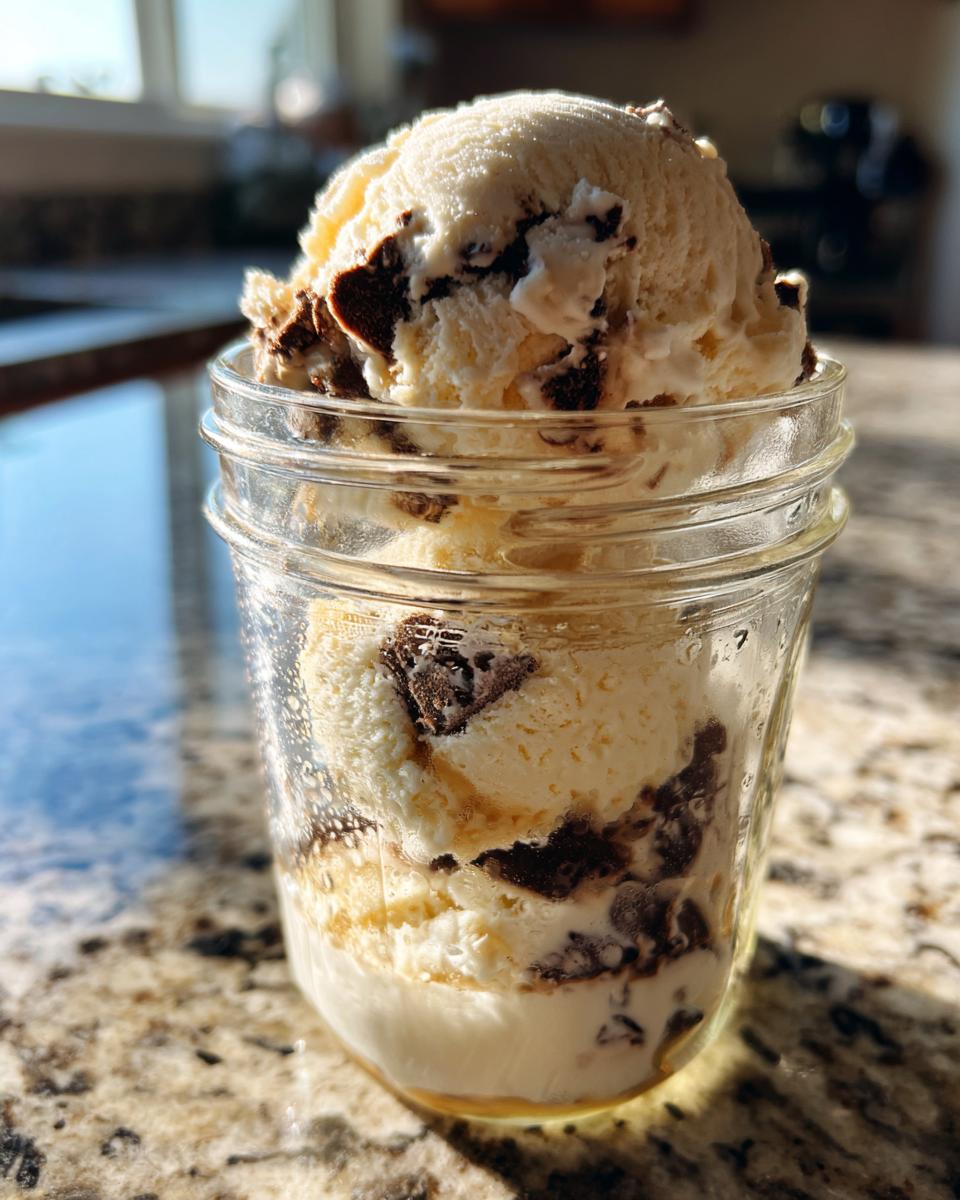
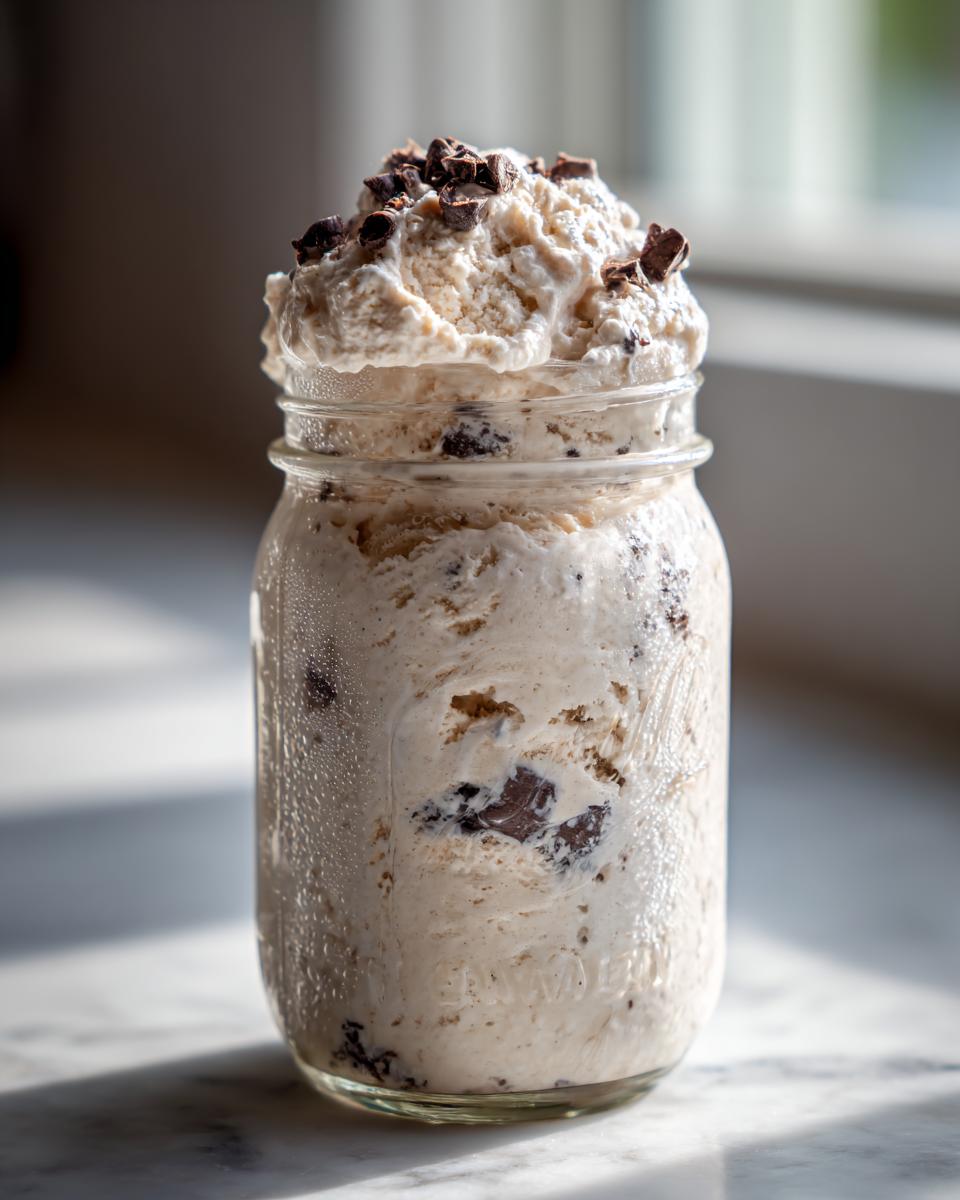
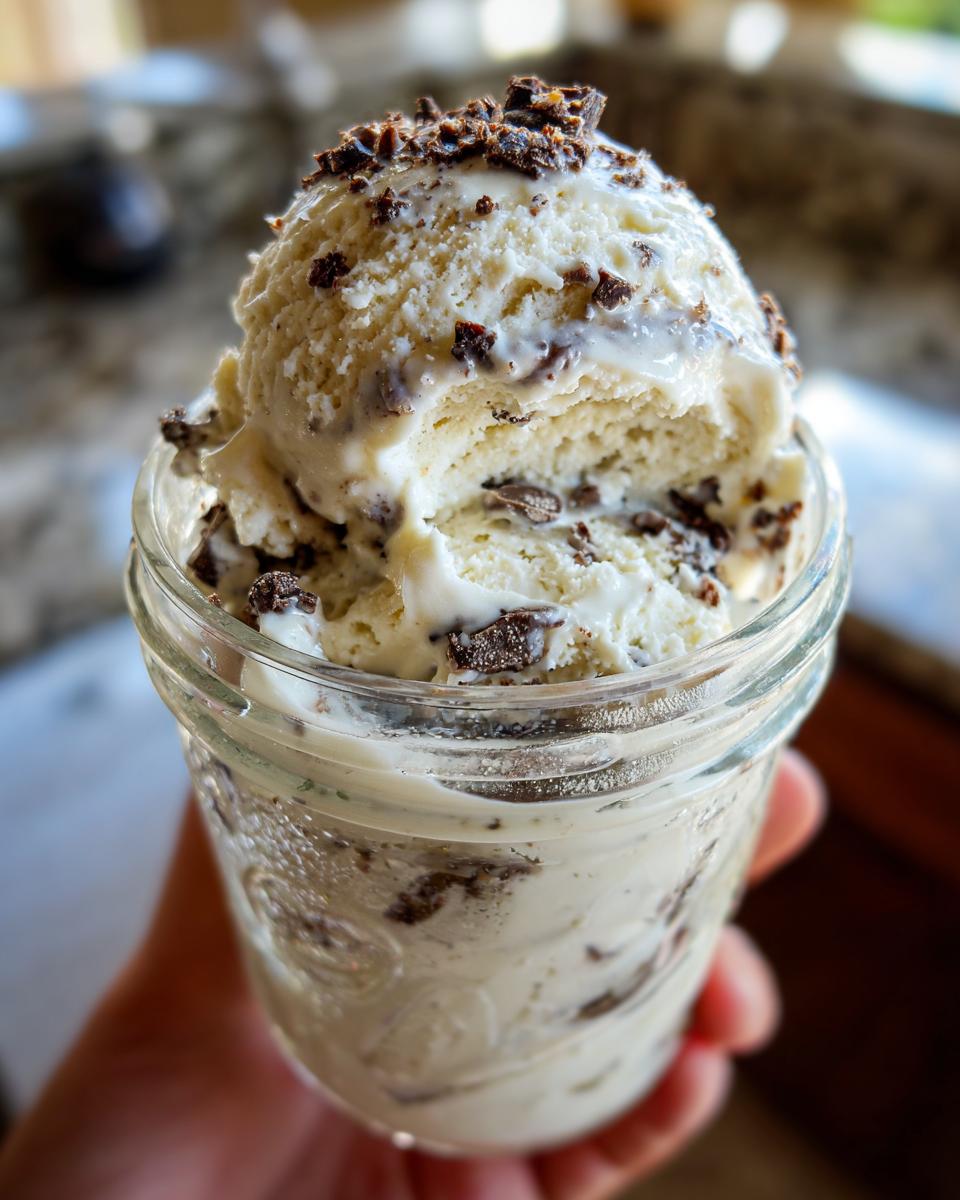
When it’s reached soft peaks (you’ll know because it’ll briefly hold its shape when you stop shaking), add your mix-ins. But here’s a pro tip: leave about an inch of space at the top. Overfilling leads to messy freezer surprises, and nobody wants that!
Pop it in the freezer for at least 4 hours. I usually make mine before dinner and it’s perfectly set by dessert time. The hardest part? Waiting!
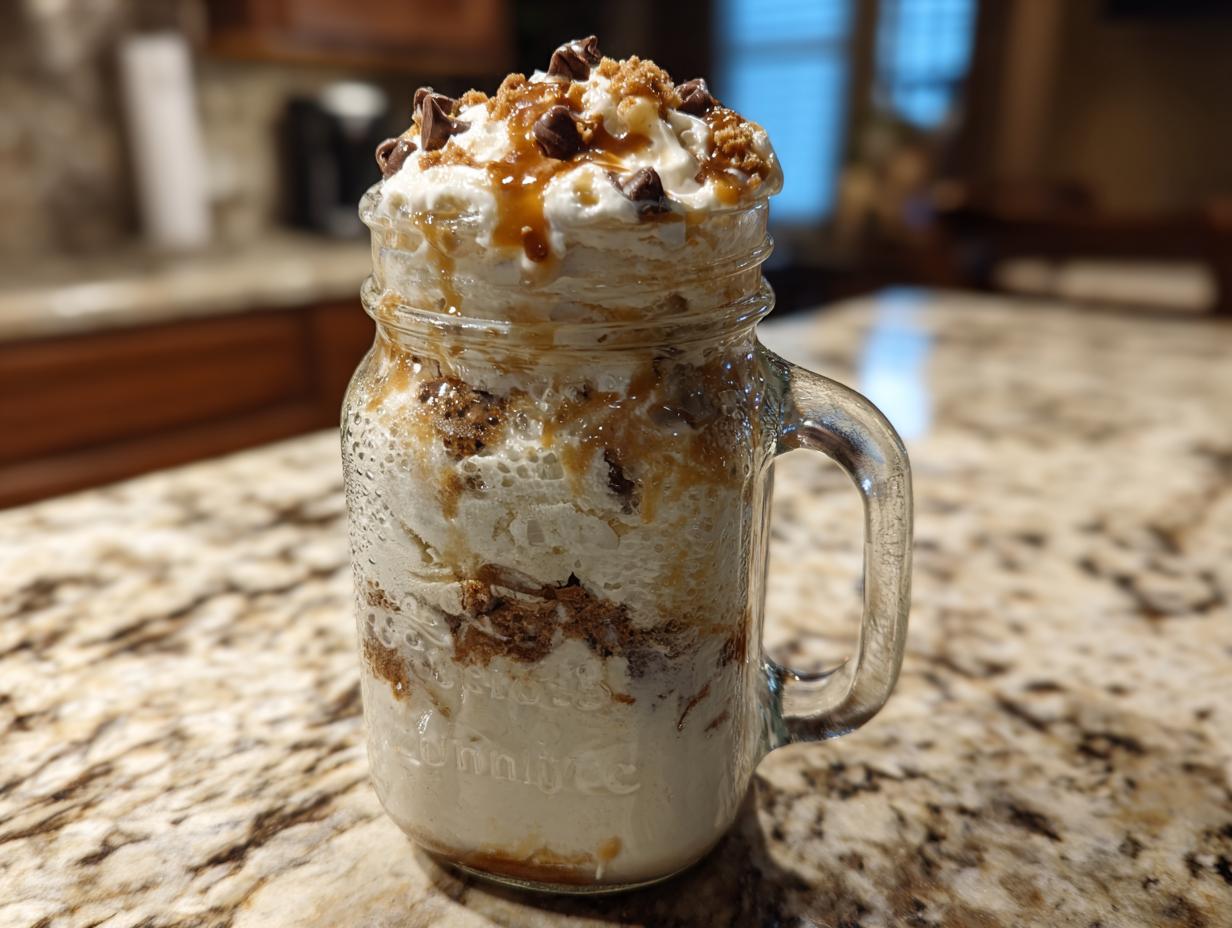
Best Mix-Ins for Mason Jar Ice Cream
Oh, the mix-ins! This is where your mason jar ice cream goes from “nice” to “can’t-stop-eating-it” amazing. I’ve lost count of how many combinations I’ve tried over the years (don’t tell my jeans), but these are the absolute crowd-pleasers that never fail:
- Cookie Monster: Crushed Oreos + mini chocolate chips (for gluten-free folks, try gluten-free chocolate sandwich cookies instead)
- Berry Blast: Fresh mashed strawberries + graham cracker crumbs (keto-friendly version: use almond flour crumbs)
- Candy Land: Chopped peanut butter cups + caramel swirl (my nephew’s “must-have” birthday treat)
- Tropical Escape: Toasted coconut flakes + diced pineapple (brings my vacation right to the freezer)
- Mocha Madness: Instant espresso powder + dark chocolate chunks (for us grown-up midnight snackers)
- Peanut Butter Dream: Swirled peanut butter + pretzel pieces (sweet, salty heaven in a jar)
- Churro Magic: Cinnamon sugar + crushed butter cookies (tastes like fair food without the lines)
Here’s my golden rule: always crush or chop your mix-ins small—big chunks freeze too hard. And if you’re meal planning for the week, layer those toppings in the middle for Instagram-worthy stripes when you scoop!
Mason Jar Ice Cream Storage Tips
Here’s the scoop on keeping your mason jar ice cream perfect (because freezer-burned desserts are just sad). These little jars will stay dreamy creamy for up to 2 weeks in the freezer—just make sure the lids are on tight! My favorite trick? Press a piece of parchment paper directly onto the surface before sealing to prevent ice crystals. If you’re meal prepping like those fancy meal delivery services (but way more personal), layer your mix-ins vertically—not just on top—so every spoonful gets the good stuff. Too hard straight from the freezer? Let it sit on the counter for 5-7 minutes—just until it scoop-able but not soupy. Trust me, your future self will thank you when that perfect after-dinner bite is waiting!
Mason Jar Ice Cream FAQs
Got questions about your no churn ice cream jars? I’ve got answers! Here are the most common things folks ask me when they discover this magical dessert:
Can I use almond milk or other dairy alternatives?
Unfortunately, no. The heavy cream’s fat content is what makes this method work—lower-fat milks won’t whip up properly. For dairy-free, try coconut cream (the thick part from a can). It whips beautifully and makes an amazing vegan version!
How do I prevent ice crystals in my portable ice cream jars?
Two tricks: 1) Press parchment paper against the surface before freezing. 2) Make sure your jar is completely airtight. Those little crystals happen when air sneaks in—so double-check your lid seal!
Why didn’t my mason jar ice cream get thick enough?
Either you didn’t shake long enough (full 5 minutes!), or your cream wasn’t cold enough. Pro tip: Chill your empty jar in the freezer for 10 minutes first—it helps the cream whip faster.
Can I make these ahead for meal planning?
Absolutely! These are perfect for prepping—just freeze for up to 2 weeks. Pack them in your lunchbox (they’ll stay frozen about 4 hours) for the ultimate homemade “ice cream delivery” to your office or picnic.
What size jars work best for small batch ice cream?
Stick to 8-ounce jars—any bigger and the cream won’t whip properly while shaking. Wide-mouth ones are easiest for scooping later (and for sneaking extra toppings in!).
Nutrition Information
Just so you know, these numbers are estimates—your mason jar masterpiece might vary slightly depending on mix-ins. For one 8-ounce jar with our basic recipe (before toppings), you’re looking at about 450 calories with 32g fat (20g saturated). The sweetened condensed milk brings 30g sugar, while the heavy cream provides the luxurious texture we love. Adding candy or cookies? That’ll bump up the carbs and sugar, while fresh fruit keeps things lighter. For keto-friendly versions using sugar alternatives and low-carb mix-ins, those numbers change completely—isn’t customization wonderful? Remember, it’s a treat meant to be savored, not stressed over!
You can follow me on Facebook.
If you like this recipe, you may like my Fruit Roll Up Ice Cream Recipe.
Check out my blog for other recipes.
PrintMason Jar Ice Cream
Single-serve, no-churn ice cream layered with mix-ins for a portable dessert.
- Prep Time: 5 min
- Cook Time: 0 min
- Total Time: 4 hours 5 min
- Yield: 1 serving 1x
- Category: Dessert
- Method: No-Churn
- Cuisine: American
- Diet: Vegetarian
Ingredients
- 1 cup heavy cream
- 1/4 cup sweetened condensed milk
- 1 tsp vanilla extract
- 1/4 cup mix-ins (chocolate chips, crushed cookies, fruit, etc.)
Instructions
- In a mason jar, combine heavy cream, sweetened condensed milk, and vanilla extract.
- Seal the jar tightly and shake vigorously for 5 minutes until thickened.
- Add your mix-ins and gently stir.
- Freeze for at least 4 hours before serving.
Notes
- Use 8-ounce mason jars for single servings.
- Layer mix-ins between cream for a fun presentation.
- Store in the freezer for up to 2 weeks.
Nutrition
- Serving Size: 1 jar
- Calories: 450
- Sugar: 30g
- Sodium: 60mg
- Fat: 32g
- Saturated Fat: 20g
- Unsaturated Fat: 10g
- Trans Fat: 0g
- Carbohydrates: 35g
- Fiber: 1g
- Protein: 5g
- Cholesterol: 100mg