

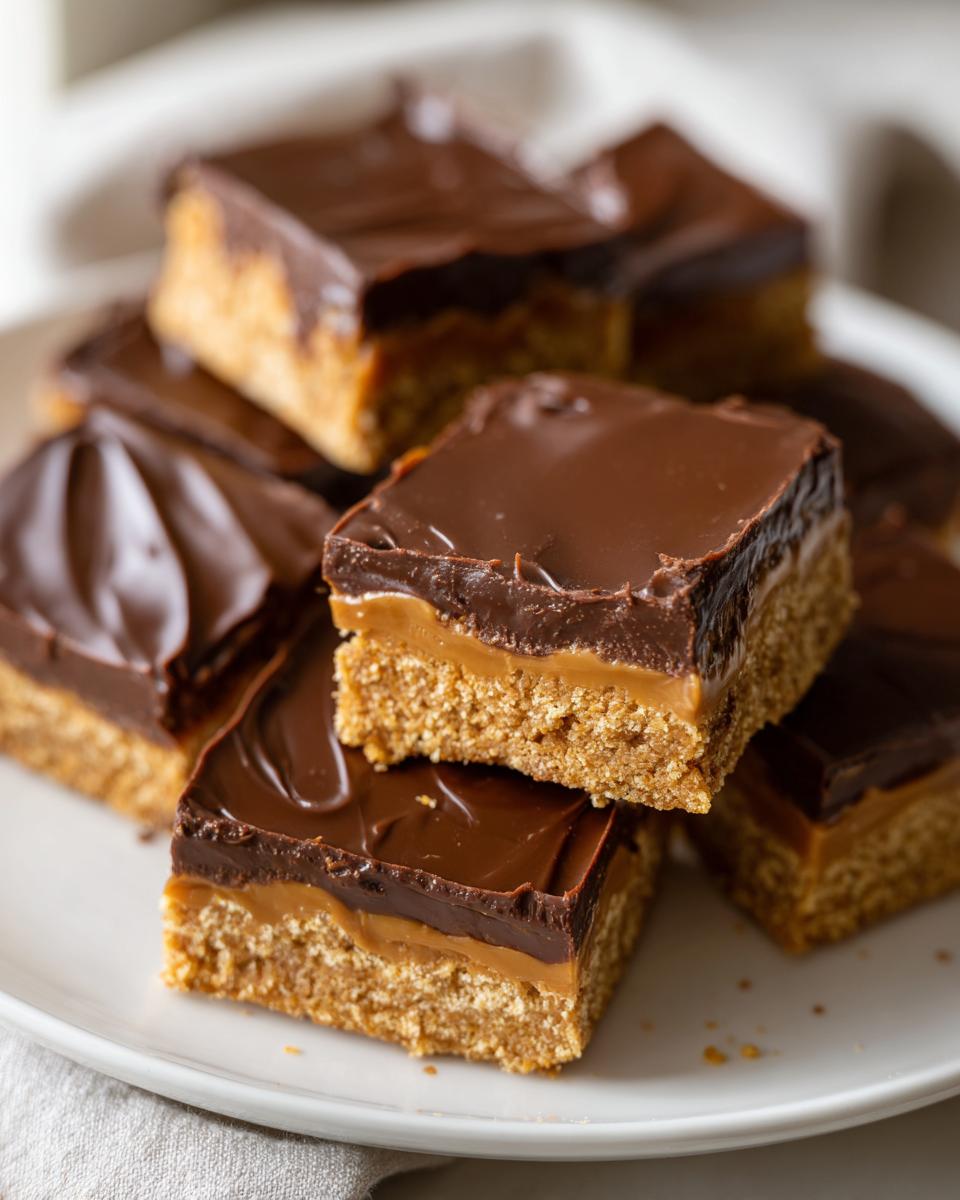
Remember that brutal summer when even the thought of turning on the oven made you sweat? That’s when my no-bake peanut butter bars became my lifeline—and eventually, my signature potluck dish. Picture this: It’s 95 degrees outside, and my neighbor’s kid’s bake sale is in an hour. I grab five simple ingredients (you probably have them right now), mix them in one bowl, and boom—Reese’s-worthy bars are chilling in the fridge while I sip iced tea. No baking, no stress, just that perfect sweet-salty crunch everyone loves. These bars saved me during heatwaves, last-minute parties, and those “I need chocolate NOW” emergencies. The best part? They’re impossible to mess up—even my 10-year-old nephew makes them solo. Trust me, once you try these, you’ll stash the recipe in your “forever favorites” file like I did.
- Why You'll Love These No-Bake Peanut Butter Bars
- Ingredients for No-Bake Peanut Butter Bars
- How to Make No-Bake Peanut Butter Bars
- Tips for Perfect No-Bake Peanut Butter Bars
- Serving and Storing No-Bake Peanut Butter Bars
- Nutritional Information for No-Bake Peanut Butter Bars
- Frequently Asked Questions
Why You’ll Love These No-Bake Peanut Butter Bars
Let me count the ways you’ll adore these easy treats—just like my kids do every time I whip up a batch:
- No oven required (hallelujah for summer baking without the sweat!)
- Only 5 ingredients – all pantry staples you likely have right now
- Ready in 15 minutes of hands-on work – perfect for last-minute cravings
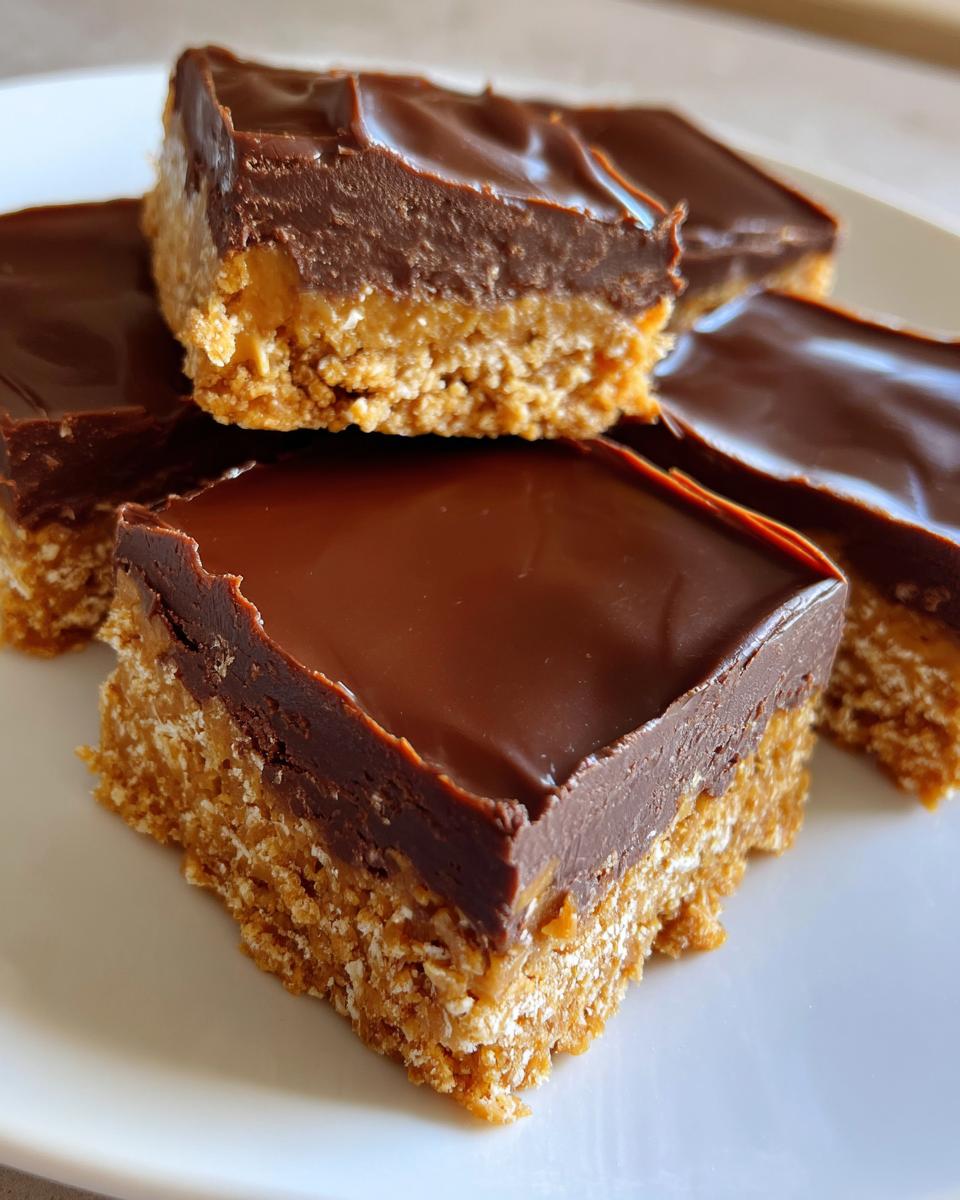
- Tastes like homemade Reese’s cups – that magical peanut butter-chocolate combo we all love
- Cool and refreshing straight from the fridge – a summer dessert dream
- Potluck superhero – they travel like champs and disappear from trays first
Seriously, these bars are my secret weapon for every “Oh no, I forgot to make something!” moment. Your friends will think you spent hours baking!
Ingredients for No-Bake Peanut Butter Bars
Gather these simple ingredients, and you’re minutes away from peanut butter chocolate heaven. Trust me, quality matters here—especially with the peanut butter and chocolate. Here’s what you’ll need:
- 1 cup creamy peanut butter – Skip the natural kind for this one; the regular stuff gives the perfect texture (I always use Jif or Skippy).
- 1/2 cup unsalted butter, melted – Real butter only! Margarine just won’t give you that rich flavor.
- 2 cups powdered sugar – Sift it if you’re fancy, but honestly, I usually don’t bother.
- 1 1/2 cups graham cracker crumbs – About 12 full sheets crushed fine (I whiz mine in the food processor, but a zip-top bag and rolling pin work too).
- 1 1/2 cups semi-sweet chocolate chips – Guittard or Ghirardelli are my go-tos for that bakery-quality taste.
See? Nothing weird or hard to find. I love that I can make these anytime—even at midnight when that peanut butter craving hits!
How to Make No-Bake Peanut Butter Bars
Got 15 minutes and a mixing bowl? Let’s make magic happen! I’ve made these no-bake peanut butter bars more times than I can count, and I’ve nailed down every trick to get them perfect every single time. You’ll need an 8×8-inch baking dish lined with parchment paper (seriously, don’t skip the parchment – it’s your best friend here). Here’s how we do it:
Step 1: Prepare the Peanut Butter Layer
In your biggest mixing bowl, dump that creamy peanut butter and melted butter. Give it a good stir until it’s completely smooth – no streaks! Add the powdered sugar and graham cracker crumbs next. Mix until it looks like damp sand and holds together when you squeeze it. The key? Press this mixture FIRMLY into your prepared pan with wet fingers (the water keeps it from sticking). Get it packed tight like you’re building a sandcastle – this prevents crumbly bars later!
Step 2: Add the Chocolate Topping
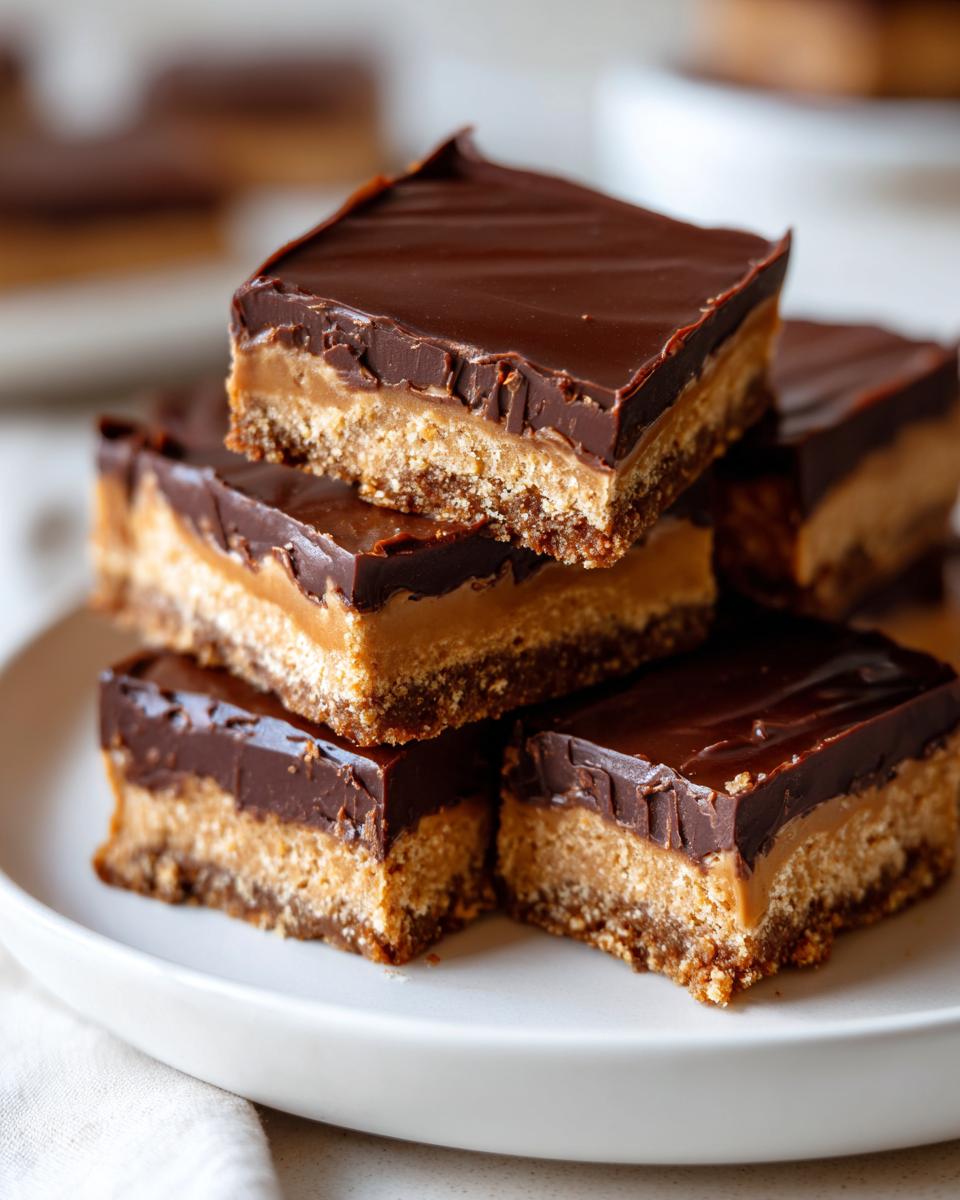
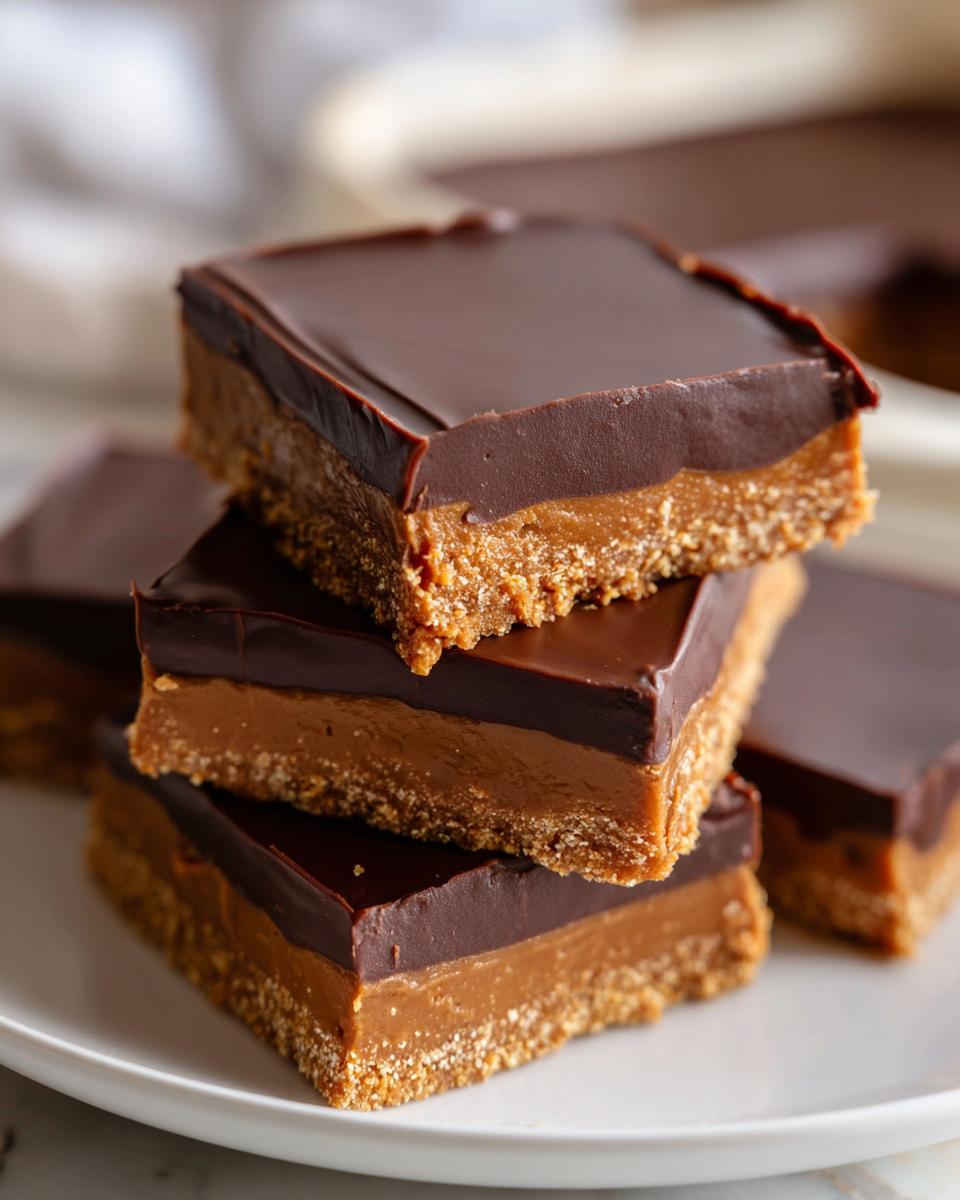
Now for the chocolatey crown! Melt your chocolate chips in 30-second microwave bursts (stirring in between) or use a double boiler if you’re feeling fancy. When it’s smooth and glossy, pour it over the peanut butter layer. Tilt the pan to spread evenly, or use an offset spatula for bakery-perfect results. Pro tip: Tap the pan lightly on the counter to remove air bubbles. Then – the hardest part – pop it in the fridge for at least 2 hours (overnight is even better!) until completely set. Fight the urge to cut too soon – patience gives you those clean, sharp edges that make everyone say “wow!”
See? Even easier than turning on your oven! Now try not to eat the whole pan in one sitting – I dare you.
Tips for Perfect No-Bake Peanut Butter Bars
After years of making these bars (and taste-testing way too many!), I’ve learned a few tricks that take them from good to “oh-my-gosh-give-me-the-recipe” great:
- Chill time matters: I know it’s tempting, but don’t rush the fridge time! Those 2 hours let the chocolate set properly so you get clean cuts. For extra firmness, try 30 minutes in the freezer first.
- Hot knife trick: Run your knife under hot water before slicing—wipes clean between cuts for picture-perfect bars every time.
- Storage savvy: They’ll keep beautifully in the fridge for up to a week (if they last that long!), but freeze some in an airtight container if you need them longer—they thaw perfectly at room temp in 15 minutes.
- Texture tweak: Prefer crunch? Swap 1/4 cup peanut butter for crunchy style, or sprinkle chopped peanuts on the chocolate layer before it sets.
Bonus: These freeze like a dream! Layer between parchment in a container for ready-to-grab treats anytime a craving strikes.
Serving and Storing No-Bake Peanut Butter Bars
These beauties are my go-to for any occasion where a happy crowd is involved! For bake sales, I cut them into cute little squares and stack them in cupcake liners—they always sell out first. At potlucks, I arrange them on a vintage tray with some fresh berries for color (though let’s be real, the berries always get ignored!). Family movie night? Just leave the whole pan on the coffee table with a stack of napkins—they’ll disappear before the opening credits finish.
Storage is a breeze: Keep them in an airtight container in the fridge where they’ll stay perfect for up to a week. The chocolate might lose a tiny bit of shine after day 3, but the taste? Still heavenly. For longer keeping, freeze them between layers of parchment—they thaw beautifully in about 15 minutes on the counter. Pro tip: Hide a few in the back of the freezer for emergency dessert cravings!
Nutritional Information for No-Bake Peanut Butter Bars
Let’s keep it real—these are treats, not health food, but here’s the scoop per bar (based on cutting into 12 pieces): approximately 280 calories, 18g fat (7g saturated), 25g carbs (2g fiber, 20g sugar), and 5g protein. Numbers might shift slightly depending on your peanut butter brand or chocolate choice. I like to enjoy them guilt-free as small portions—they’re so rich, one square totally satisfies!
Frequently Asked Questions
After making these no-bake peanut butter bars for years, I’ve heard every question in the book—here are the answers to the ones people ask me most:
Can I use crunchy peanut butter instead of creamy?
Absolutely! I do this all the time when I want extra texture. The bars will hold together just fine. Just know you’ll get little peanut bits in every bite (which I think makes them even more addictive).
How long do these peanut butter bars last in the fridge?
They stay perfect for up to 5 days in an airtight container. After that, the chocolate might lose a tiny bit of shine, but they’ll still taste amazing. I often freeze half the batch—they’ll keep for 3 months and thaw beautifully in just 15 minutes.
Can I use milk chocolate instead of semi-sweet?
You sure can! I actually make half batches with each kind for family parties—it’s fun to let people choose. Just know milk chocolate makes them sweeter, while semi-sweet gives that classic Reese’s balance we all love.
Why do my bars crumble when I cut them?
Two tricks: 1) Press the peanut butter layer EXTRA firmly (I mean, really pack it in), and 2) Let them chill the full 2 hours. A hot knife helps too—run it under warm water between slices.
Bonus: These freeze like a dream! Layer between parchment in a container for ready-to-grab treats anytime a craving strikes.
For more delicious recipes and updates, follow us on Facebook!
PrintNo-Bake Peanut Butter Bars
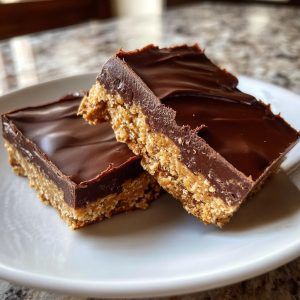
A quick and easy dessert that tastes like homemade Reese’s, perfect for hot weather, bake sales, and make-ahead trays.
- Prep Time: 15 min
- Cook Time: 0 min
- Total Time: 2 hours 15 min
- Yield: 12 bars 1x
- Category: Dessert
- Method: No-Bake
- Cuisine: American
- Diet: Vegetarian
Ingredients
- 1 cup creamy peanut butter
- 1/2 cup unsalted butter, melted
- 2 cups powdered sugar
- 1 1/2 cups graham cracker crumbs
- 1 1/2 cups semi-sweet chocolate chips
Instructions
- Line an 8×8-inch baking dish with parchment paper.
- In a bowl, mix peanut butter, melted butter, powdered sugar, and graham cracker crumbs until combined.
- Press the mixture evenly into the prepared dish.
- Melt chocolate chips in the microwave or over a double boiler, then spread over the peanut butter layer.
- Chill in the fridge for at least 2 hours before cutting into bars.
Notes
- Store in an airtight container in the fridge for up to a week.
- For a firmer texture, freeze for 30 minutes before cutting.
Nutrition
- Serving Size: 1 bar
- Calories: 280
- Sugar: 20g
- Sodium: 80mg
- Fat: 18g
- Saturated Fat: 7g
- Unsaturated Fat: 9g
- Trans Fat: 0g
- Carbohydrates: 25g
- Fiber: 2g
- Protein: 5g
- Cholesterol: 10mg