
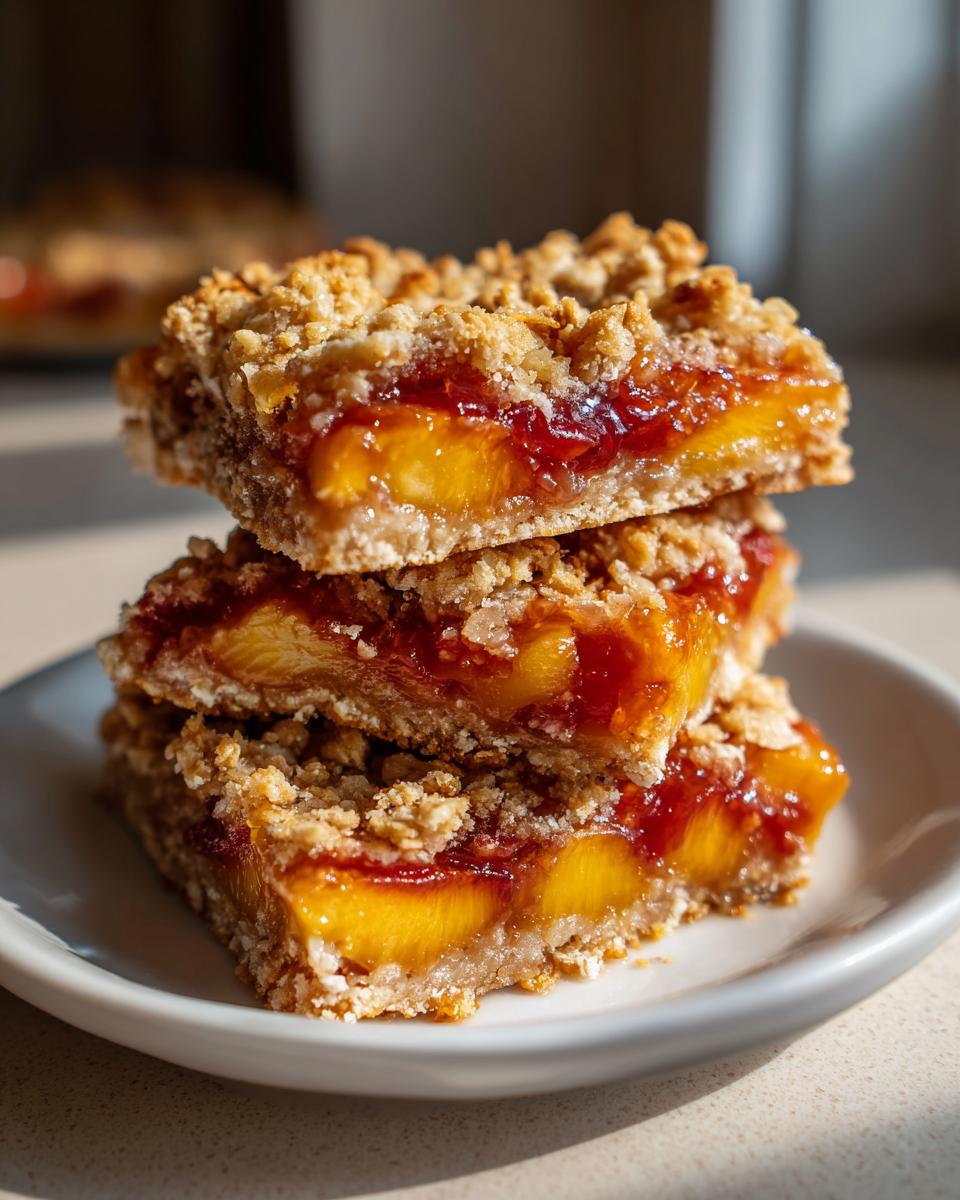
There’s nothing quite like biting into a buttery, peach-filled dessert on a warm summer day – except maybe when that dessert fits perfectly in your hand! My peach cobbler bars have become the star of every family picnic and backyard barbecue since I first baked them three summers ago. I’ll never forget the messy joy of testing the original batch with my nieces – we ended up with peach juice on our shirts and crumbs everywhere, but their chorus of “Aunt Caro, you HAVE to make these again!” told me I’d found something special.
These bars capture everything we love about classic peach cobbler – the juicy fruit, the cinnamon-kissed crumble – but in a portable package that won’t topple off your paper plate. I’ve brought versions of these to church socials, soccer games (wrapped carefully in parchment, of course), and even tucked them into care packages for college friends. The secret? A sturdy oat base that holds up to the sweet peach filling without getting soggy, and a topping that stays crisp for days. Trust me, once you try this handheld take on summer’s favorite dessert, you’ll understand why my family now demands I make a double batch every time.
Why You’ll Love These Peach Cobbler Bars
Let me tell you why these peach cobbler bars have become my go-to summer treat – and why they’ll steal your heart too:
- Portable perfection: No more messy bowls or dropped forks! These sturdy bars travel beautifully to picnics, potlucks, and pool parties. I’ve even packed them in school lunches (though they rarely make it to noon).
- Summer in every bite: That burst of juicy peaches with cinnamon crumble? It’s like July sunshine you can hold in your hand. Fresh peaches shine here, but I’ll share my canned peach trick for off-season cravings.
- Meal planning magic: They keep wonderfully for days, making them ideal for weight loss programs when you need portion-controlled sweet fixes. One bar satisfies my dessert craving without derailing my eating plan.
- Effortless baking: No fancy techniques here – just mix, press, layer, and bake. My 10-year-old nephew could make these (and did last summer, with minimal supervision!).
Honestly? I think the best part is how they make everyone smile. These bars taste like childhood summers and happy gatherings – but without the stress of pie crusts or runny fillings. Pure peach happiness, squared!
Ingredients for Peach Cobbler Bars
Gathering the right ingredients makes all the difference in these peach cobbler bars – trust me, I’ve tested enough variations to know! Here’s everything you’ll need, broken down by layers. Don’t worry, most are pantry staples you probably have already. My only rule? Use real butter (Grandma would haunt me otherwise!).
For the Oat Crumble Base & Topping:
- 2 cups old-fashioned rolled oats (not quick oats – they get mushy)
- 1 1/2 cups all-purpose flour (or gluten-free 1-to-1 blend for GF friends)
- 1 cup packed dark brown sugar (light works too, but dark adds caramel magic)
- 1/2 teaspoon fine sea salt
- 1 teaspoon ground cinnamon (Saigon cinnamon if you have it – wow!)
- 3/4 cup melted unsalted butter (cooled slightly; see my butter note below)
For the Peach Filling:
- 3 cups diced peaches (about 4 medium fresh peaches or 2 15-oz cans, drained)
- 1/4 cup granulated sugar (adjust to taste based on peach sweetness)
- 1 tablespoon fresh lemon juice (bottled works in a pinch)
- 1 tablespoon cornstarch (or arrowroot for clearer filling)
Butter Note: I always use unsalted butter for baking control, but if salted is all you have, just reduce the added salt by 1/4 teaspoon. The butter should be melted but not hot – you’ll know it’s right when it coats the back of a spoon without sizzling the dry ingredients.
Peach Preference: Summer means fresh peaches (peeled and diced to 1/2-inch pieces) for me, but canned peaches (in juice, not syrup!) work beautifully year-round. For frozen peaches, thaw and drain them well first – nobody wants watery bars!
How to Make Peach Cobbler Bars
Making these peach cobbler bars is as easy as, well, pie – but way less fussy! I love how the layers come together with simple steps that even baking newbies can master. Just follow this foolproof process, and you’ll have perfect handheld peach treats ready in no time. Ready? Let’s bake!
Preparing the Crumble Base
First, grab your biggest mixing bowl and toss in the oats, flour, brown sugar, salt, and cinnamon. I always whisk the dry ingredients first to banish any flour lumps – nobody wants a surprise pocket of cinnamon! Then drizzle in that melted butter slowly while stirring with a wooden spoon. The magic happens when the mixture looks like wet sand – clumpy but not greasy. Pro tip: If it seems too dry, add another tablespoon of butter. Too wet? A sprinkle more oats will fix it.
Assembling the Peach Filling
Now for the star of the show – the peaches! In a separate bowl, gently mix the diced peaches (fresh or canned – no judgement here!), sugar, lemon juice, and cornstarch until the peaches glisten. If using canned peaches, pat them mostly dry first so your filling isn’t watery. Fresh peaches? Peel them if you’re fancy, but I often leave the skins on for extra color and fiber. Let this sit while you prep the pan – those juices will start to mingle beautifully.
Baking and Cooling
Pop your lined 8×8 pan in a preheated 350°F oven for 35-40 minutes. You’ll know they’re done when the edges bubble slightly and the topping turns golden like a summer sunset. Here’s my golden rule: Let them cool completely – about 2 hours – before slicing. I know it’s torture, but cutting warm leads to crumbly chaos! For clean bars, chill them briefly first. The wait makes all the difference between good and “Oh-my-goodness-I-need-another” amazing.
Tips for Perfect Peach Cobbler Bars
After baking these bars more times than I can count (my neighbors are very happy taste-testers!), I’ve picked up some tricks that take them from good to “can I have the recipe?” great. First – peaches matter! For fresh ones, sniff the stem end – it should smell like sunshine. Too firm? Let them ripen in a paper bag for a day. If using canned, I prefer fruit packed in juice (not syrup) for balanced sweetness.
Got a sous-vide precision cooker? It’s my secret weapon for peaches! Cooking them at 165°F for 30 minutes softens them perfectly without mushy spots. For storage, these bars keep beautifully at room temp for 2 days (covered), or freeze them individually wrapped for up to 3 months – just pop one in your lunchbox frozen, and it’ll thaw by dessert time!
Serving and Storing Peach Cobbler Bars
Nothing beats biting into these peach cobbler bars when they’re just warm enough to make the peaches glisten – that’s why I always sneak one within 15 minutes of cooling (purely for quality control, of course!). For full peach flavor, serve them at room temperature, but if you love that melty butter feeling like I do, pop them in the microwave for 10 seconds first. Either way, they’re heavenly plain or with a scoop of vanilla ice cream melting over the top (my husband’s guilty weekend treat).
Now let’s talk storage – because these bars taste amazing days later if you keep them right! Room temperature works for about 2 days in an airtight container (I swear by my glass Snapware). In the fridge, they’ll last up to 5 days – just let them come to room temp or give them a quick warm-up to revive that crumbly texture. For long-term keeping, freeze them individually wrapped in parchment, then foil; they’ll stay perfect for 3 months. My favorite trick? Grab a frozen bar with your morning coffee – by break time, you’ve got instant summer happiness!
Nutritional Information
Each peach cobbler bar clocks in at about 220 calories – just enough to satisfy your sweet tooth without derailing your meal planning goals! Here’s the usual breakdown per bar: 9g fat (5g saturated), 32g carbs (2g fiber, 15g sugar), and 3g protein. But listen – these numbers can shift a bit depending on your peach sweetness or if you use gluten-free flour. I always say focus more on that peach-filled joy than precise numbers!
Frequently Asked Questions
Over the years, I’ve gotten so many questions about these peach cobbler bars! Here are the ones that pop up most often – along with the answers I’ve tested in my own kitchen countless times.
Can I use frozen peaches for these bars?
Absolutely! I use frozen peaches all winter when fresh ones aren’t in season. Just thaw them completely first and drain very well – I even pat them with paper towels to remove excess moisture. Sometimes I’ll toss them with a teaspoon of cornstarch extra since frozen peaches release more liquid. Your bars might need an extra 5 minutes in the oven, so keep an eye on them!
How do I make gluten-free peach cobbler bars?
It’s an easy swap! Use a 1-to-1 gluten-free flour blend (I love the one with the blue label) instead of regular flour. Keep the oats, but check that they’re certified GF since some brands process them in facilities with wheat. Everything else stays exactly the same – you’d never guess they’re gluten-free!
Can I double the recipe for a 9×13 pan?
Yes! Just double all ingredients exactly and use a 9×13-inch pan lined with parchment. The bake time might go up to 45-50 minutes – watch for that golden top crust. This works great for potlucks, though I warn you – they disappear even faster when you make more!
How long do these bars stay fresh?
At room temperature, they’re perfect for 2 days in an airtight container. After that, I refrigerate them for up to 5 days (let them come to room temp before eating). For long-term storage, freeze them individually wrapped – they’ll keep beautifully for 3 months. My husband grabs them straight from the freezer for his lunchbox!
Can I make these with other fruits?
You bet! The base works with almost any fruit. I’ve made amazing versions with blueberries (reduce sugar to 2 tbsp), apples (pre-cook them slightly), and even mixed berries. Just keep the total fruit to about 3 cups and adjust cornstarch based on how juicy your fruit is – berries need an extra teaspoon!
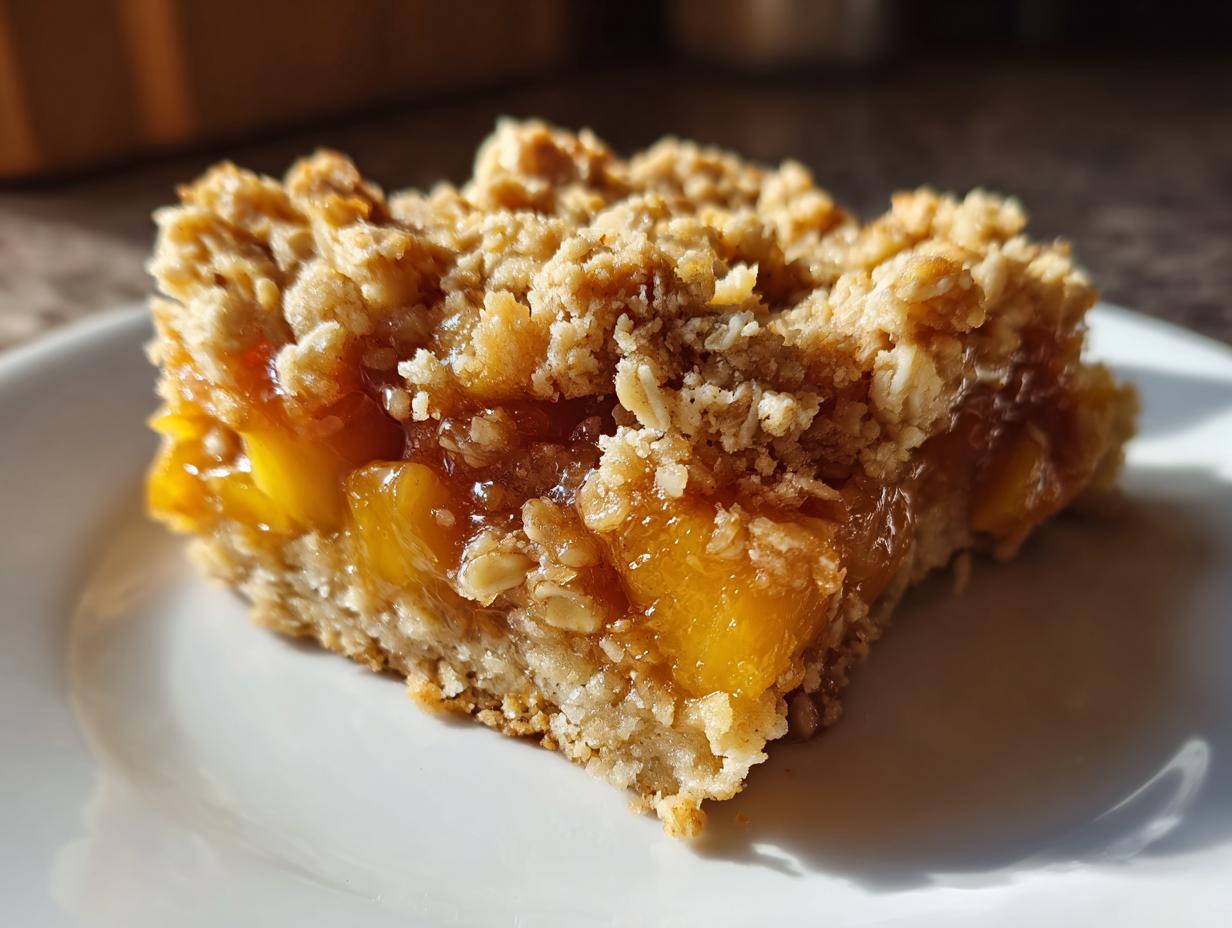
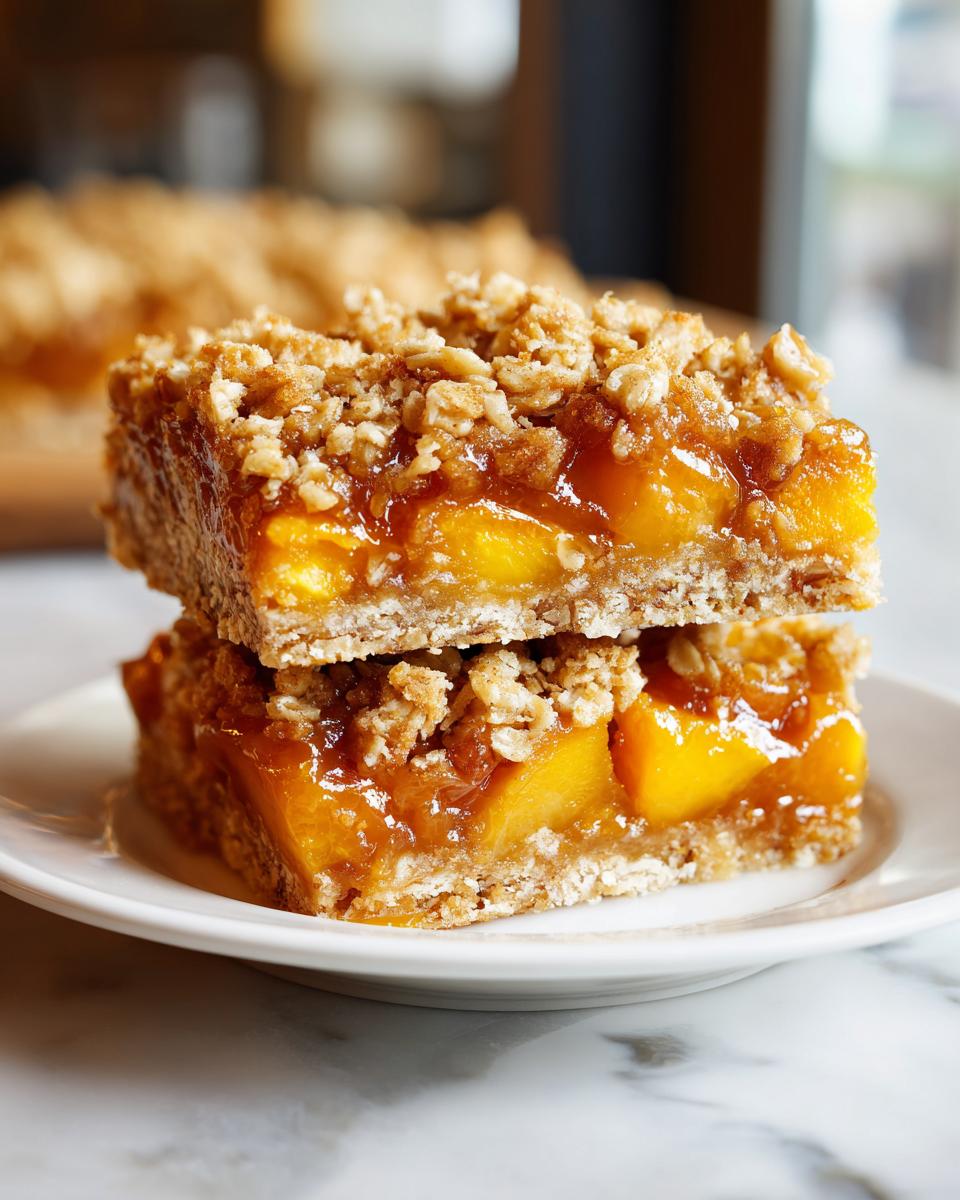
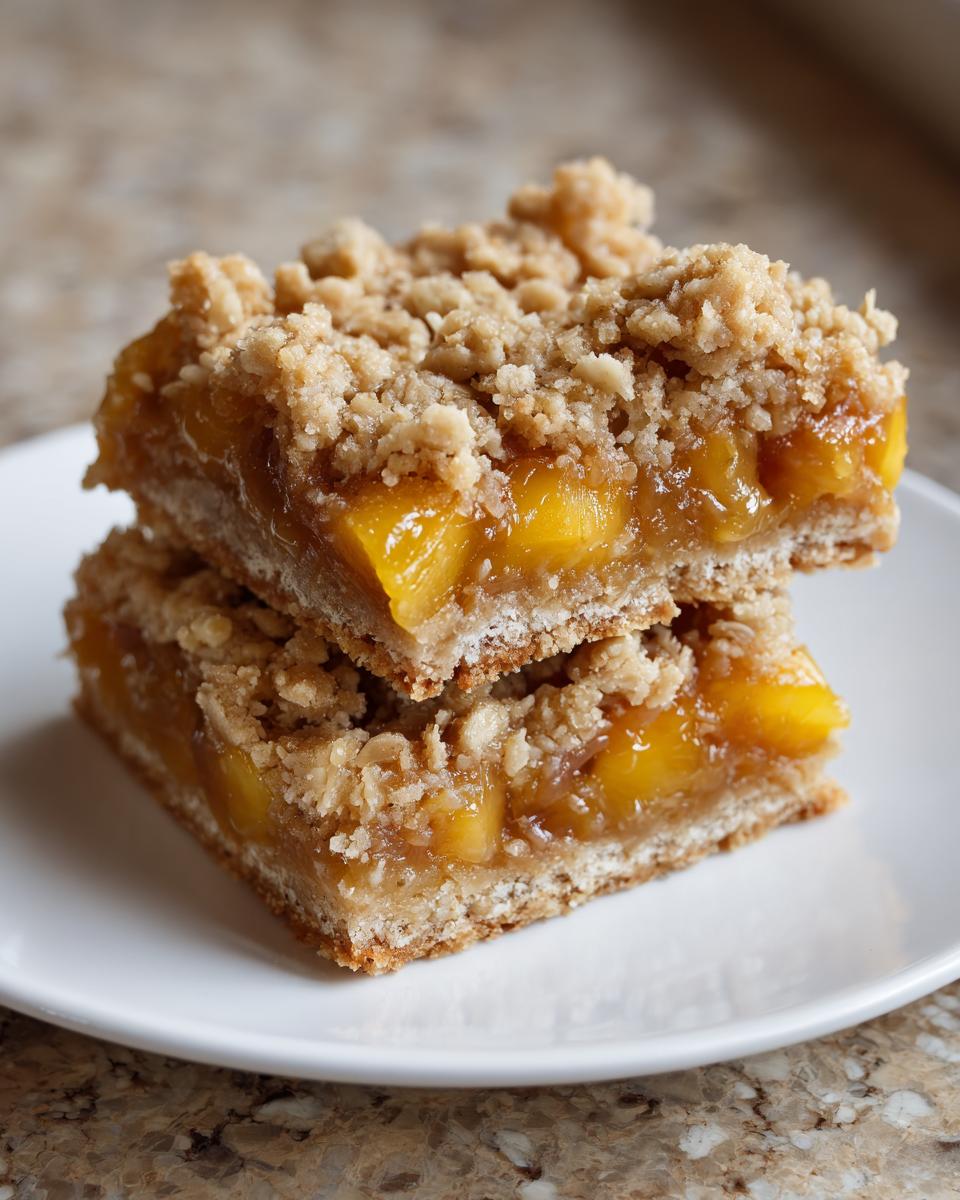
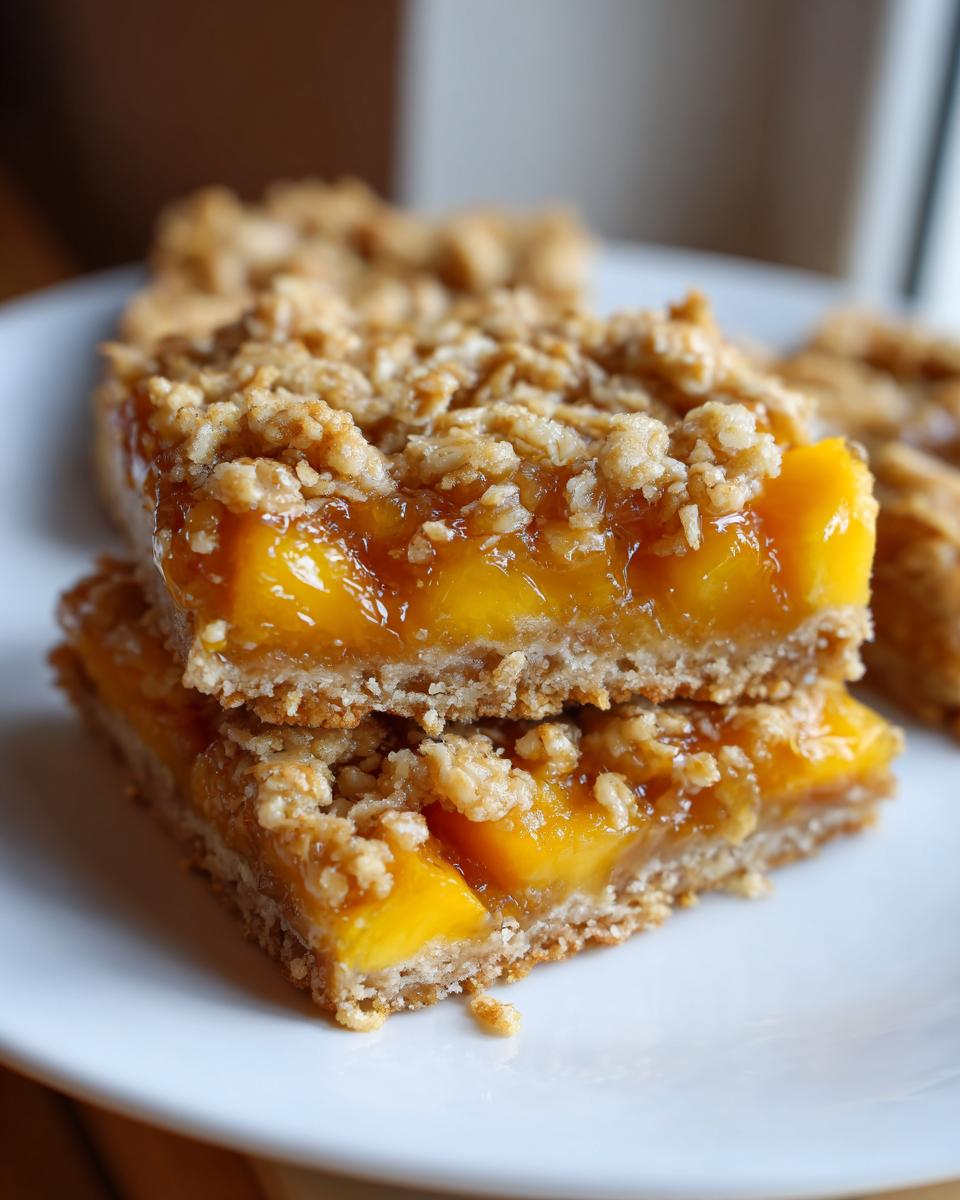
Peach Cobbler Bars
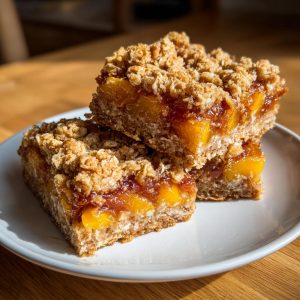
Handheld peach cobbler bars with a thick oat crumble base, peach filling, and glaze. Perfect for summer gatherings.
- Prep Time: 15 min
- Cook Time: 40 min
- Total Time: 55 min
- Yield: 12 bars 1x
- Category: Dessert
- Method: Baking
- Cuisine: American
- Diet: Vegetarian
Ingredients
- 2 cups rolled oats
- 1 1/2 cups all-purpose flour
- 1 cup brown sugar
- 1/2 tsp salt
- 1 tsp cinnamon
- 3/4 cup melted butter
- 3 cups diced peaches (fresh or canned)
- 1/4 cup granulated sugar
- 1 tbsp lemon juice
- 1 tbsp cornstarch
Instructions
- Preheat oven to 350°F. Line an 8×8-inch pan with parchment paper.
- Mix oats, flour, brown sugar, salt, and cinnamon in a bowl. Stir in melted butter until crumbly.
- Press 2/3 of the mixture into the pan to form the base.
- Combine peaches, granulated sugar, lemon juice, and cornstarch in another bowl. Spread over the base.
- Sprinkle the remaining crumble mixture on top.
- Bake for 35-40 minutes until golden. Cool before cutting into bars.
Notes
- Use fresh peaches in summer for best flavor.
- For a gluten-free version, substitute gluten-free flour.
Nutrition
- Serving Size: 1 bar
- Calories: 220
- Sugar: 15g
- Sodium: 120mg
- Fat: 9g
- Saturated Fat: 5g
- Unsaturated Fat: 3g
- Trans Fat: 0g
- Carbohydrates: 32g
- Fiber: 2g
- Protein: 3g
- Cholesterol: 20mg