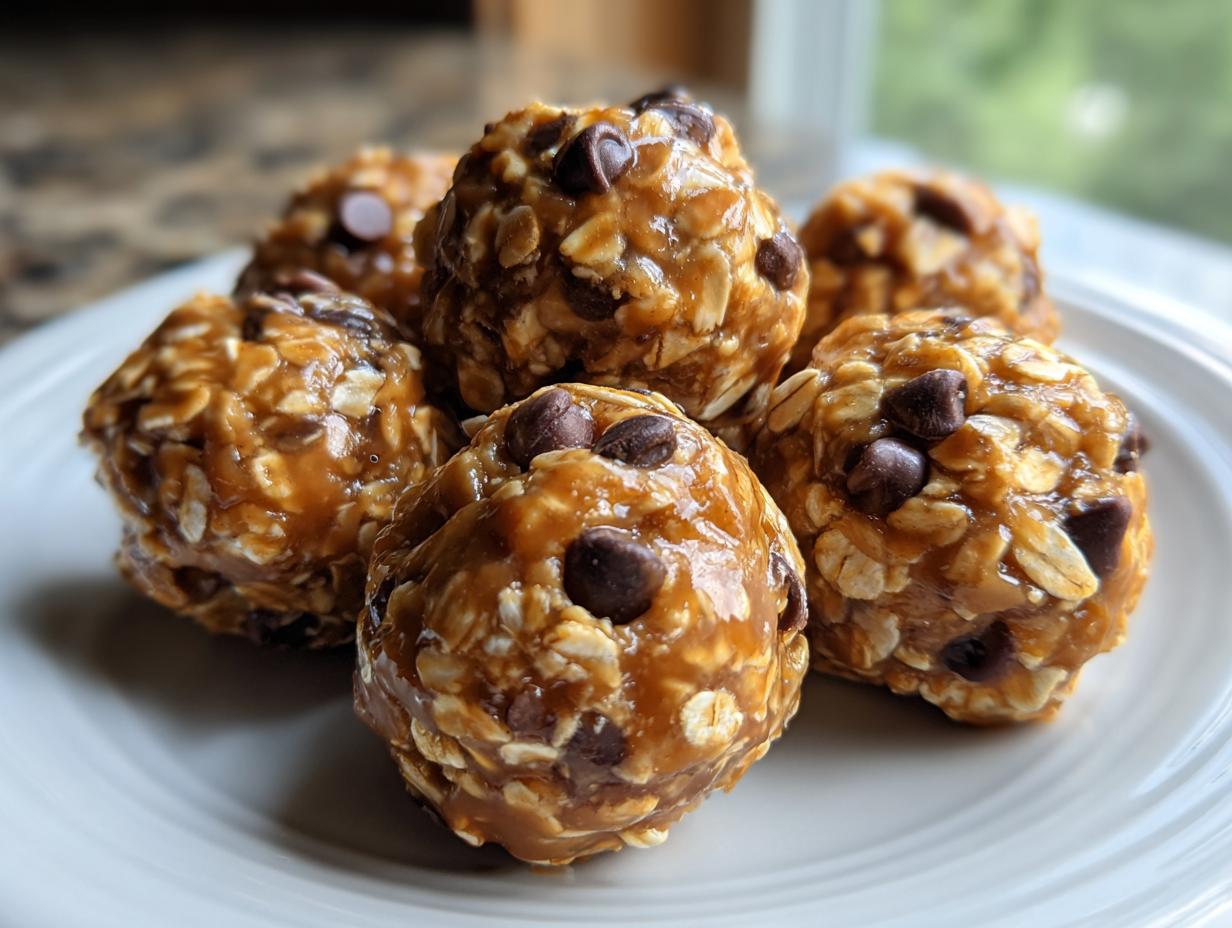

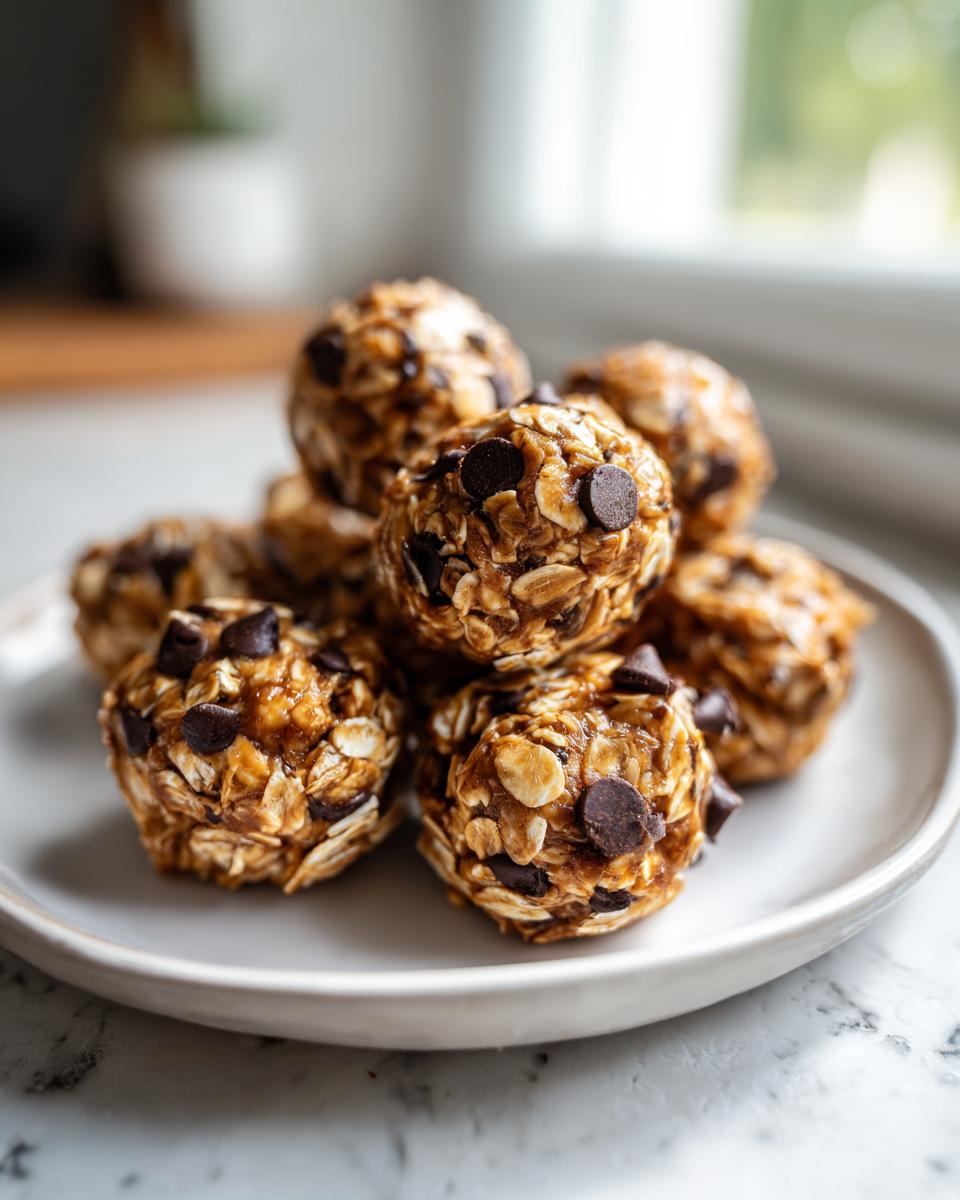
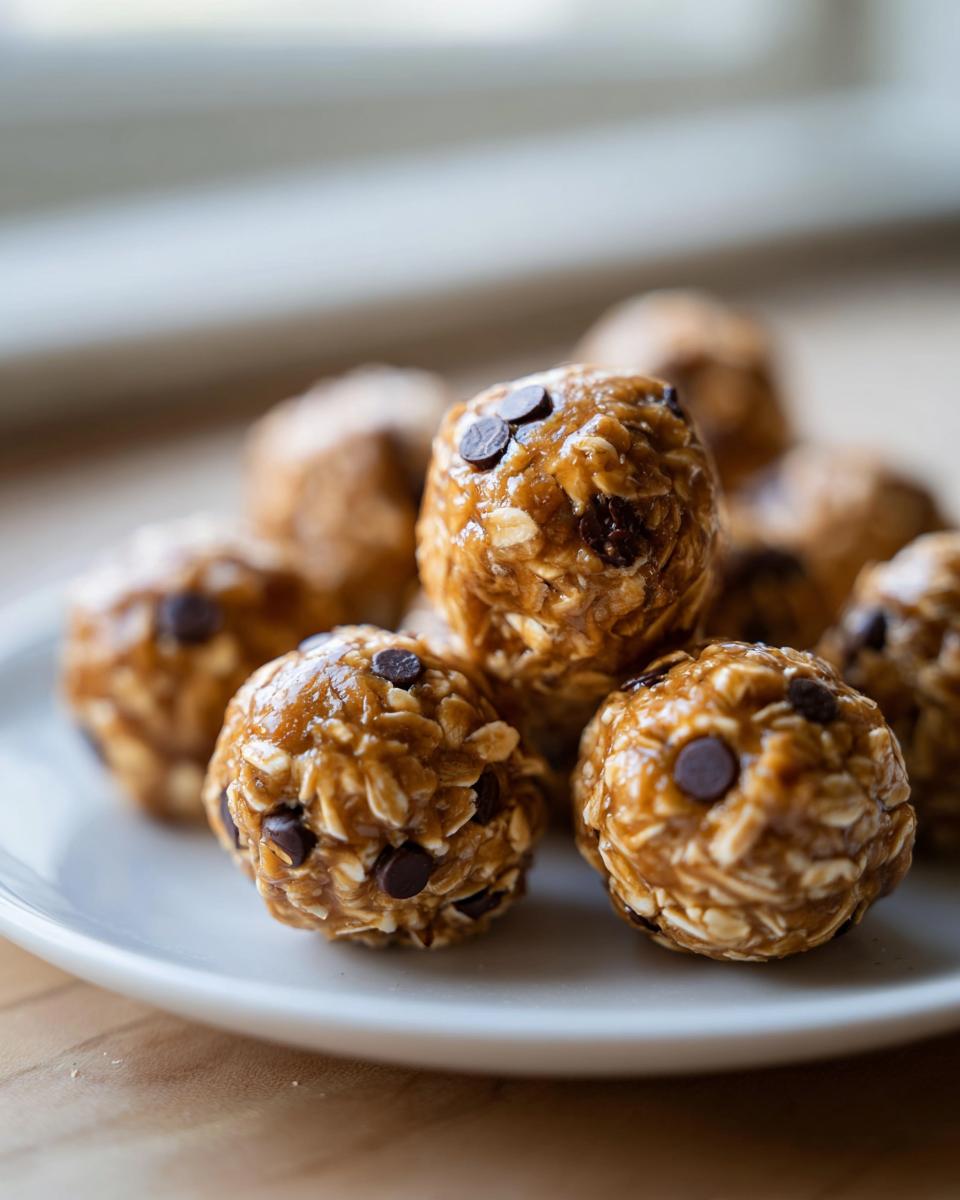
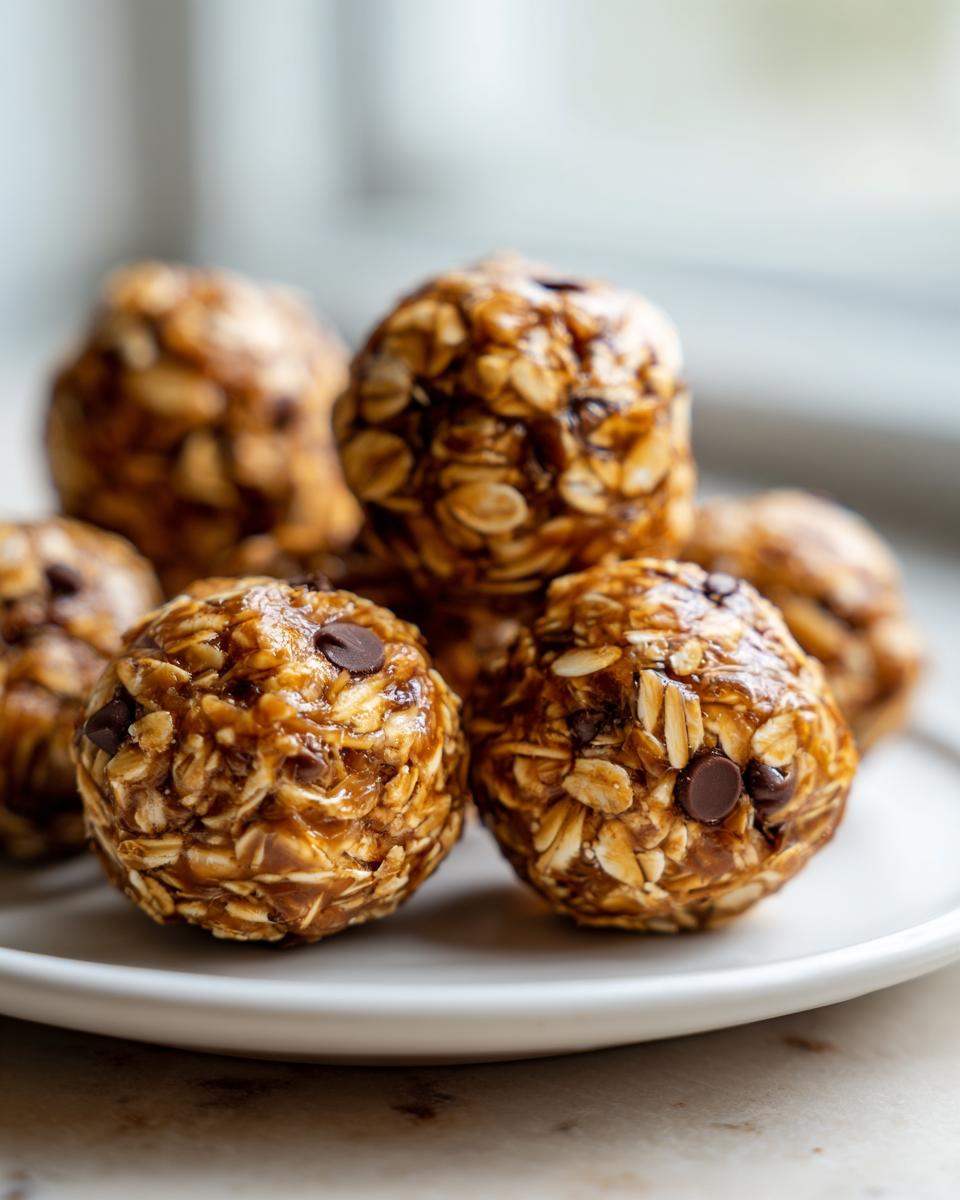
You know those days when you need a quick energy boost but don’t want to fuss with cooking? That’s where these peanut butter energy balls come in – my go-to lifesaver for busy mornings, workout fuel, and sneaky-nutritious kid snacks. I started making these years ago when my niece (a picky eater) declared store-bought granola bars “too crunchy.” One batch of these no-bake bites later, and she was hooked – now we make them together every Sunday while meal prepping. Just oats, peanut butter, and honey come together in minutes for protein-packed energy that keeps you full. The best part? They taste like cookie dough but actually give you real fuel for your day.
- Why You'll Love These Peanut Butter Energy Balls
- Ingredients for Peanut Butter Energy Balls
- How to Make Peanut Butter Energy Balls
- Tips for Perfect Peanut Butter Energy Balls
- Variations of Peanut Butter Energy Balls
- Storing and Freezing Peanut Butter Energy Balls
- Nutritional Information for Peanut Butter Energy Balls
- FAQs About Peanut Butter Energy Balls
- Share Your Peanut Butter Energy Balls
Why You’ll Love These Peanut Butter Energy Balls
Trust me, these little bites are about to become your new kitchen staple. Here’s why everyone in my house goes crazy for them:
- No-bake magic: No oven needed – just mix, roll, and chill. Perfect for summer days when you don’t want to heat up the kitchen
- 10-minute prep: Seriously faster than running to the store for processed snacks
- Totally customizable: I swap in whatever mix-ins I have – sometimes chia seeds, sometimes mini M&Ms (no judgment!)
- Protein powerhouse: With 4g per ball, they’re great post-workout or when that 3pm slump hits
- Meal prep dream: Make a batch Sunday and have grab-and-go snacks all week
- Kids devour them: My niece calls them “cookie dough balls” – shhh, don’t tell her they’re actually good for her
The best part? They’re naturally gluten-free (just use certified oats) and fit perfectly into weight loss programs – much better than those expensive meal delivery companies’ snacks. One batch gives me portion-controlled energy boosts that actually satisfy my sweet tooth!
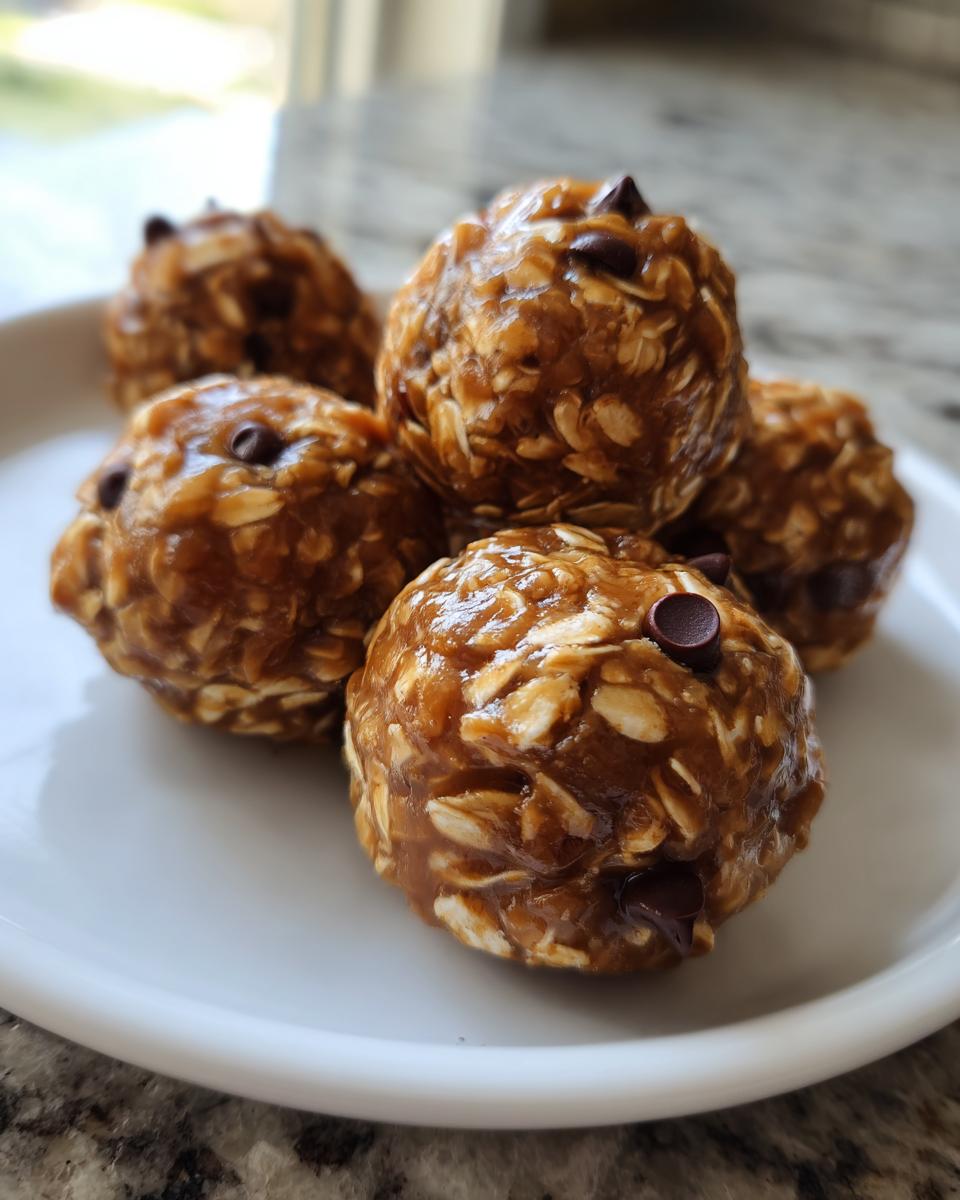
Ingredients for Peanut Butter Energy Balls
This recipe keeps things wonderfully simple, just like my grandma would’ve wanted. I always set everything out on the counter first – it reminds me of baking with her, minus the flour explosions! Here’s what you’ll need:
The Essentials:
- 1 cup rolled oats (not quick oats – they get too mushy)
- 1/2 cup creamy peanut butter (room temperature makes mixing easier)
- 1/4 cup honey (I warm mine for 10 seconds if it’s too thick)
Flavor Boosters:
- 1 tsp vanilla extract (the good stuff – it makes a difference!)
- Pinch of salt (balances the sweetness perfectly)
Fun Mix-Ins (Pick Your Favorites):
- 1/4 cup mini chocolate chips (these are my niece’s must-have)
- 1 tbsp chia seeds (for an extra nutrient punch)
- Optional: 1 tbsp flaxseed meal or coconut flakes (great for texture)
See why I love these? Most ingredients are pantry staples. The peanut butter should be natural if possible – the kind that separates, not the sugary stuff. And don’t worry if your honey’s crystallized – just warm it slightly before measuring. Easy peasy!
How to Make Peanut Butter Energy Balls
Making these peanut butter energy balls couldn’t be simpler – I promise! Here’s my foolproof method that even my 8-year-old niece can follow (with minimal mess… usually). First, grab a medium mixing bowl – my grandma’s old yellow ceramic one is my lucky charm here. Don’t have one? Any bowl will do!
- Mix the base ingredients: Dump in your oats first (always measure packed – none of that airy scooping!), then add the peanut butter and honey. Use a sturdy spoon or even clean hands to mash it all together until no dry spots remain. You’ll know it’s ready when it forms a sticky dough that holds together when you pinch it.
- Fold in your extras: Now the fun part! Add your vanilla extract and salt, then gently stir in whatever mix-ins you’re using. I press chocolate chips in last so they don’t get smashed (learned that the hard way once). The dough should look speckled with goodies but still hold its shape.
- Roll those balls: Line a baking sheet with parchment paper – this prevents sticking and makes cleanup a breeze. Scoop about 1 tablespoon of dough and roll between your palms. If it crumbles, add a teaspoon more honey. Pro tip: slightly wet hands stop the mixture clinging to your fingers.
- Chill to perfection: Pop the tray in the fridge for at least 30 minutes. This firms them up so they don’t fall apart when you grab one post-workout. I wait the full hour if adding chia seeds – they soak up moisture and make the texture even better!
And voila! You’ve just made the easiest, tastiest protein-packed snack. I usually whip up two batches while meal prepping – one with grown-up add-ins like flaxseed for me, and an M&M version for my niece’s lunchbox. Either way, these disappear fast!
Tips for Perfect Peanut Butter Energy Balls
After years of making peanut butter energy balls (and a few crumbly fails!), I’ve picked up some tricks that guarantee perfect results every time. Here’s what I wish I’d known when I first started:
Stickiness control is key! If your mixture seems too wet, add oats a tablespoon at a time until it holds together. Too dry? Drizzle in more honey. I keep both handy during mixing – it makes adjusting a breeze. And here’s a fun trick: toast your oats in a dry skillet for 5 minutes first. The nutty aroma fills your kitchen, and it adds wonderful depth to every bite.
Always use natural peanut butter – the kind that separates is best because it’s less processed. Stir it well before measuring, and don’t even think about the sugary stuff! For mix-ins, press them gently into the dough rather than stirring vigorously. This keeps chocolate chips whole and prevents that dreaded “crumbly ball syndrome.” Want to get fancy? Melt dipping chocolate using a sous-vide precision cooker for an elegant drizzle over the finished balls – kids go wild for this special touch!
Variations of Peanut Butter Energy Balls
Here’s the best part about these energy balls – they’re a blank canvas for your cravings! Over the years, I’ve tested dozens of variations for different diets and taste buds. These are my family’s favorites that you can whip up with simple swaps:
Nut Butter Swaps: When my niece’s best friend (with a peanut allergy) comes over, I use creamy almond butter instead – it gives a delicious marzipan-like flavor. Cashew butter makes them extra rich, while sunflower seed butter keeps things school-safe for allergies.
Sweetener Options: For my vegan sister-in-law, I substitute maple syrup for honey – it works perfectly! Date paste adds extra fiber, though you’ll need less since it’s sweeter. Doing keto? Try powdered monk fruit sweetener mixed with a tablespoon of melted coconut oil.
Fun Mix-In Ideas: My husband loves when I add 1/4 cup of toasted coconut flakes – they taste like Samoa cookies! Protein powder (about 2 tablespoons) boosts the macros for post-workout fuel. My latest obsession? Crushed freeze-dried strawberries for a PB&J vibe. The options are endless!
Storing and Freezing Peanut Butter Energy Balls
One of my favorite things about peanut butter energy balls? They’re practically made for meal planning! I always double the batch because they store so beautifully. Here’s my go-to system that keeps them fresh whether I need a snack today or three months from now.
Fridge Storage: Simply pop them in an airtight container with a sheet of parchment between layers (so they don’t stick together). They’ll stay perfect for up to 2 weeks – though in my house they never last that long! For portion control, I use mini muffin liners to separate them – it tricks my brain into thinking I’m getting a “treat.”
Freezer Magic: When I’m doing serious meal prep, I freeze these gems for up to 3 months. Flash-freeze them first on a baking sheet (about 30 minutes), then transfer to freezer bags. This keeps them from clumping together. Pro tip: write the date with a permanent marker – you’d be surprised how easy it is to forget!
Thawing Tips: Need a quick thaw? Leave them at room temperature for 15 minutes or pop one straight from the freezer into your lunchbox – it’ll be perfectly snackable by mid-morning! Avoid condensation by letting them come to temp in the container instead of unwrapping them cold. These make great additions to meal delivery prep too – just portion them out with your weekly meals for instant energy boosts!
Nutritional Information for Peanut Butter Energy Balls
Now, let’s talk nutrition – but remember, these numbers will vary slightly depending on your exact ingredients (especially your mix-in choices!). Based on my standard recipe with peanut butter, honey, and mini chocolate chips, here’s what you’re getting in each delicious ball:
- Calories: 120
- Fat: 6g (the good kind from peanut butter!)
- Protein: 4g (perfect for curbing cravings)
- Carbs: 14g (with 2g fiber to keep you satisfied)
What I love about these is how well they fit into weight loss programs – they satisfy sweet cravings without derailing progress. The combo of protein, healthy fats, and fiber makes them way better than store-bought snacks. Need to adjust? Swap honey for sugar-free syrup or add protein powder to tweak those macros!
FAQs About Peanut Butter Energy Balls
I get so many questions about these little powerhouses – let’s tackle the most common ones that pop up in my kitchen and in your DMs! Trust me, I’ve made every mistake so you don’t have to.
Can I use steel-cut oats instead of rolled oats?
Oh honey, no! Steel-cut oats are way too hard and will make your energy balls gritty. Stick with good old rolled oats (sometimes called old-fashioned oats). They blend perfectly and give that chewy texture we love. I learned this lesson the hard way when my first batch tasted like eating gravel – not my finest kitchen moment!
Are peanut butter energy balls gluten-free?
Absolutely – just use certified gluten-free oats! That’s what I do for my friend with celiac disease. Some oats get cross-contaminated during processing, so check that package. The rest of the ingredients are naturally gluten-free (unless you’re adding something crazy like cookie crumbs).
Help! My energy balls are too soft – how do I firm them up?
Been there! Just add more oats, a tablespoon at a time, until the mixture holds its shape. They’ll absorb excess moisture. If they’re still too sticky after chilling, roll them in oat flour or coconut flakes for extra grip. My niece calls these the “snowball version” when I do that!
Can I skip the honey if I don’t have any?
Sure thing! Maple syrup works beautifully (that’s my vegan go-to). You could also try agave or even date syrup – just adjust to taste. The syrup mainly helps bind everything, so don’t skip it entirely unless you enjoy edible sand… not that I’d know about that failed experiment or anything.
Are these good for post-workout recovery?
You bet! The combo of protein from peanut butter and carbs from oats makes them perfect fuel. I stash a few in my gym bag. Some folks add a scoop of vanilla protein powder to boost the muscles’ recovery – just add a splash more liquid if the dough gets too thick. Whip up a batch Sunday for easy grab-and-go workout snacks all week!
Share Your Peanut Butter Energy Balls
Tag me on Facebook when you make these—I love seeing your creative twists! Did you try an unexpected mix-in like pretzel bits or dried cherries? Spill your secrets in the comments below. Wouldn’t it be fun to compare our favorite flavor combos? Nothing makes me happier than when readers tell me these became part of their weekly meal planning routine. Now let’s spread that peanut butter joy!
PrintPeanut Butter Energy Balls

Easy no-bake energy bites with oats, peanut butter, and honey. Perfect for a quick, healthy snack.
- Prep Time: 10 min
- Cook Time: 0 min
- Total Time: 40 min
- Yield: 12 balls 1x
- Category: Snack
- Method: No-Bake
- Cuisine: American
- Diet: Vegetarian
Ingredients
- 1 cup rolled oats
- 1/2 cup peanut butter
- 1/4 cup honey
- 1/4 cup mini chocolate chips
- 1 tbsp chia seeds
- 1 tsp vanilla extract
- Pinch of salt
Instructions
- In a bowl, mix oats, peanut butter, honey, chia seeds, vanilla, and salt.
- Fold in chocolate chips.
- Roll into 1-inch balls.
- Chill for 30 minutes before serving.
Notes
- Store in the fridge for up to 2 weeks.
- Freeze for longer storage.
- Substitute maple syrup for honey if vegan.
Nutrition
- Serving Size: 1 ball
- Calories: 120
- Sugar: 7g
- Sodium: 45mg
- Fat: 6g
- Saturated Fat: 1.5g
- Unsaturated Fat: 3.5g
- Trans Fat: 0g
- Carbohydrates: 14g
- Fiber: 2g
- Protein: 4g
- Cholesterol: 0mg