
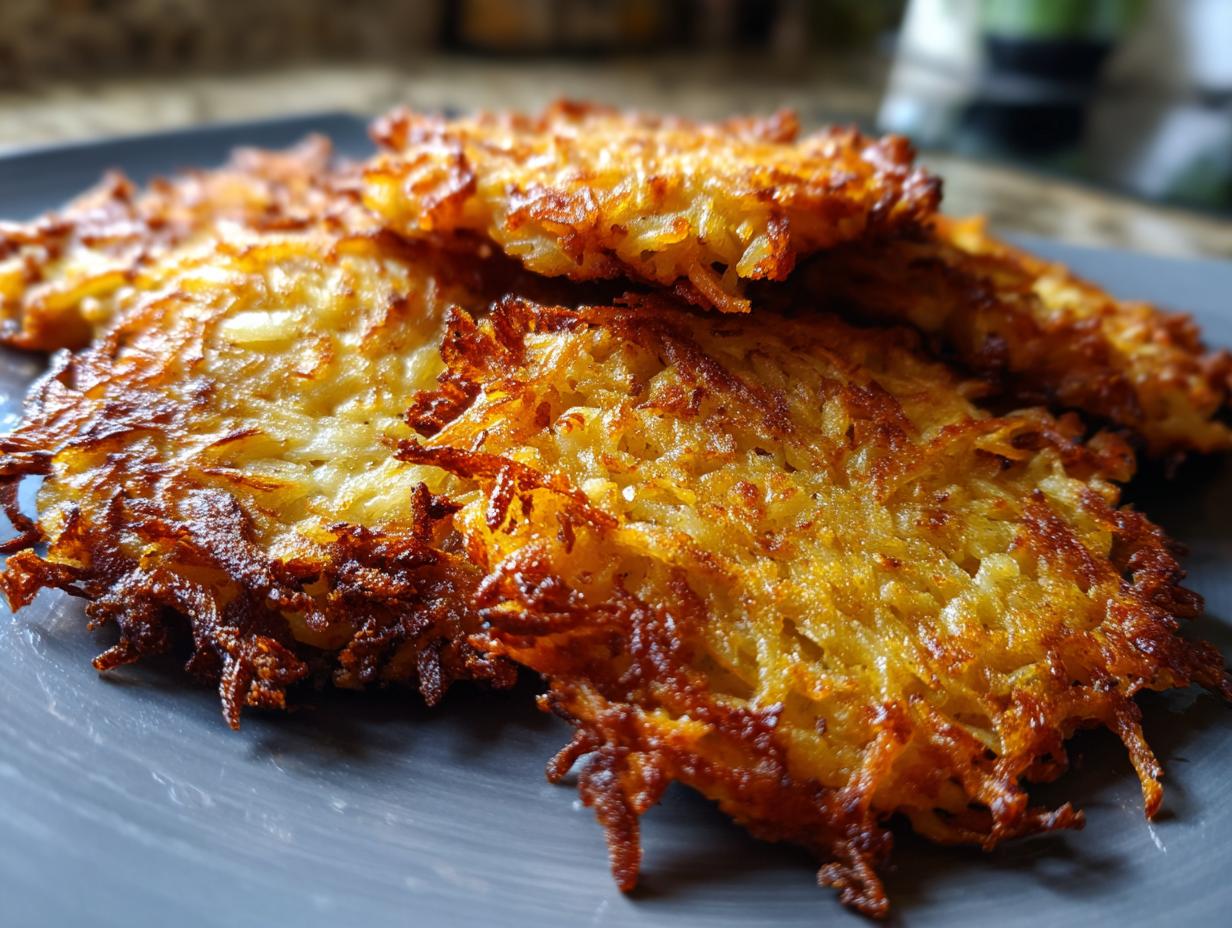

Oh, the holidays! Is there anything that smells quite like a warm, golden batch of potato pancakes frying, filling your home with that cozy, festive aroma? I swear, just thinking about it makes me feel like I’m back in my grandmother Eleanor’s kitchen, watching her work her magic. These latkes are more than just a dish; they’re a tradition, a little bite of history that makes Hanukkah feel extra special. And let me tell you, after all my testing, I’ve figured out the one thing that takes them from good to *perfectly* crispy. Stick with me, and you’ll be a latke pro in no time!
- Why You'll Love These Classic Latkes
- The Secret to Perfectly Crispy Latkes
- Ingredients for Classic Latkes
- Crafting Your Hanukkah Potato Pancakes: Step-by-Step
- Tips for Success with Your Latkes
- Serving Suggestions for Your Classic Latkes
- Storing and Reheating Your Latkes
- Frequently Asked Questions about Latkes
- Estimated Nutritional Information
- Share Your Latkes Creations!
Why You’ll Love These Classic Latkes
Seriously, these latkes are a game-changer! You’re going to absolutely adore them because:
- They’re surprisingly easy to whip up, even if you’re new to holiday baking.
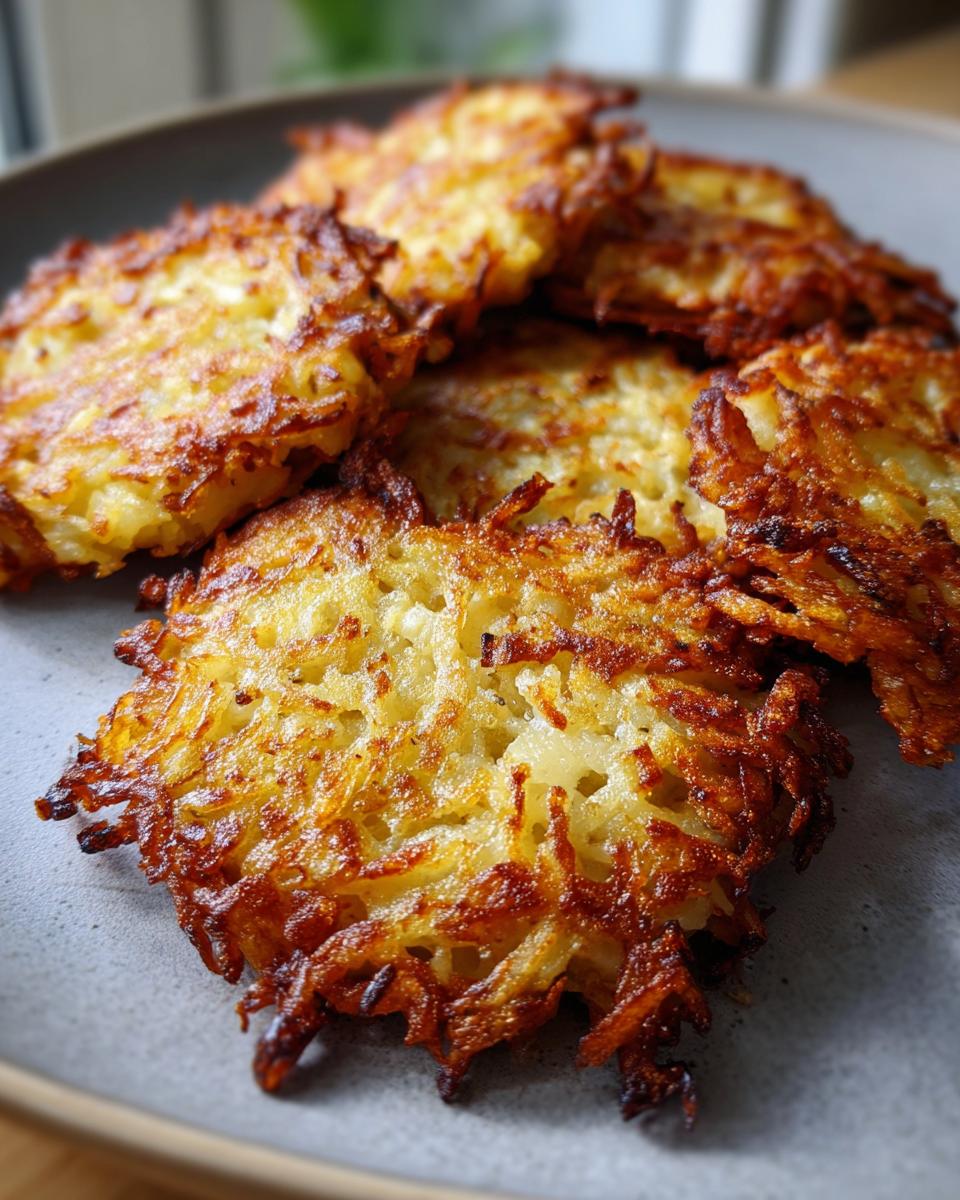
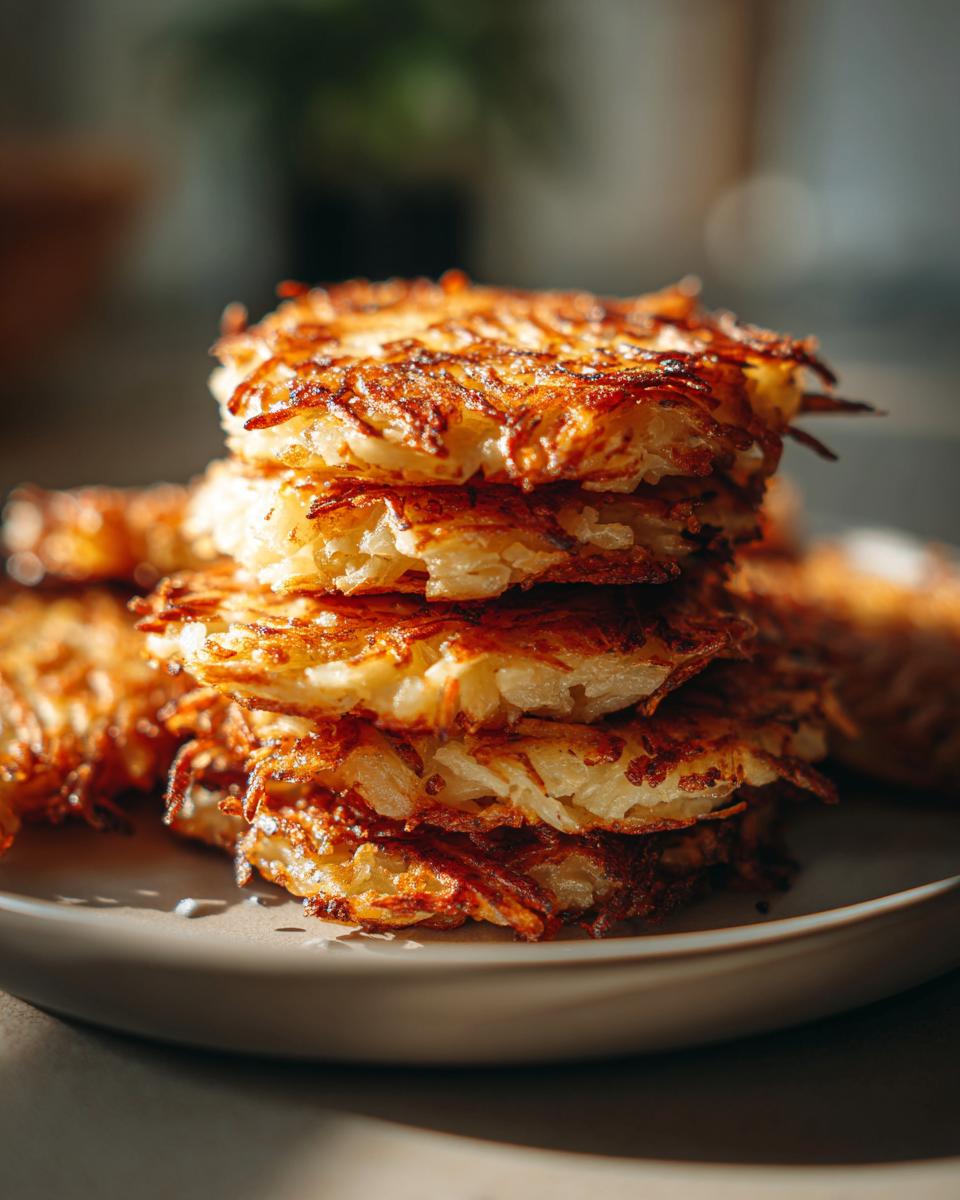
- You get that perfect contrast: a super crispy golden outside and a tender, flavorful inside.
- They’re an absolute crowd-pleaser, perfect for Hanukkah or any time you need a taste of comfort.
The Secret to Perfectly Crispy Latkes
Okay, so here’s the real deal, the absolute game-changer for getting those amazing, crunchy latkes you dream about. It’s something my Grandma Eleanor always insisted on, and trust me, she knew her stuff. The secret? It’s all about getting every single bit of moisture out of those grated potatoes and onions. We’re talking about squeezing, wringing, pressing – whatever it takes! If you skip this step, you’re going to end up with soggy latkes, and nobody wants that. This is the #1 reason why these latkes become so wonderfully crisp on the outside and just melt in your mouth tender on the inside. It’s a little bit of elbow grease, but oh, is it worth it!
Ingredients for Classic Latkes
Alright, let’s get down to business with what you’ll need to make these fantastic latkes. It’s a pretty straightforward list, and I promise, nothing too fancy!
- About 2 pounds of good ol’ russet potatoes (peeled, of course!)
- 1 big yellow onion
- 2 large eggs, just give ’em a quick whisk
- A quarter cup of all-purpose flour – don’t cheat with fancy stuff here!
- 1 teaspoon of salt (makes all the flavors pop!)
- A half teaspoon of black pepper
- Plenty of vegetable oil, for frying them up nice and golden
- And for serving? Think of creamy sour cream or sweet applesauce – whatever makes you happy!
Crafting Your Hanukkah Potato Pancakes: Step-by-Step
Alright, let’s get our hands busy and turn these simple ingredients into something truly special! It’s not complicated, and really, the most important part is done already—squeezing out that liquid. Now, we just follow these steps to make the most amazing latkes.
- First things first, get your grated potatoes and onion into a clean kitchen towel or some cheesecloth. Time to squeeze like you mean it! Get every last drop of water out. Seriously, work it good.
- Once they’re nice and dry, dump that potato-onion mix into your medium bowl.
- Now, let’s add the wet stuff: the lightly beaten eggs, that flour, salt, and pepper. Stir it all up just until it’s combined. Don’t go crazy mixing; we don’t want to overdo it.
- Here comes the fun part: frying! Grab a big, heavy skillet and pour in about half an inch of vegetable oil. You want it medium-high heat until it’s shimmering – that’s how you know it’s ready.
- Carefully spoon dollops of your latke mixture into that hot oil. I usually use about a quarter cup for each pancake, and then gently flatten them a little with the back of the spoon. And *please*, don’t cram the pan! Cook them in batches, giving them space to get all crispy.
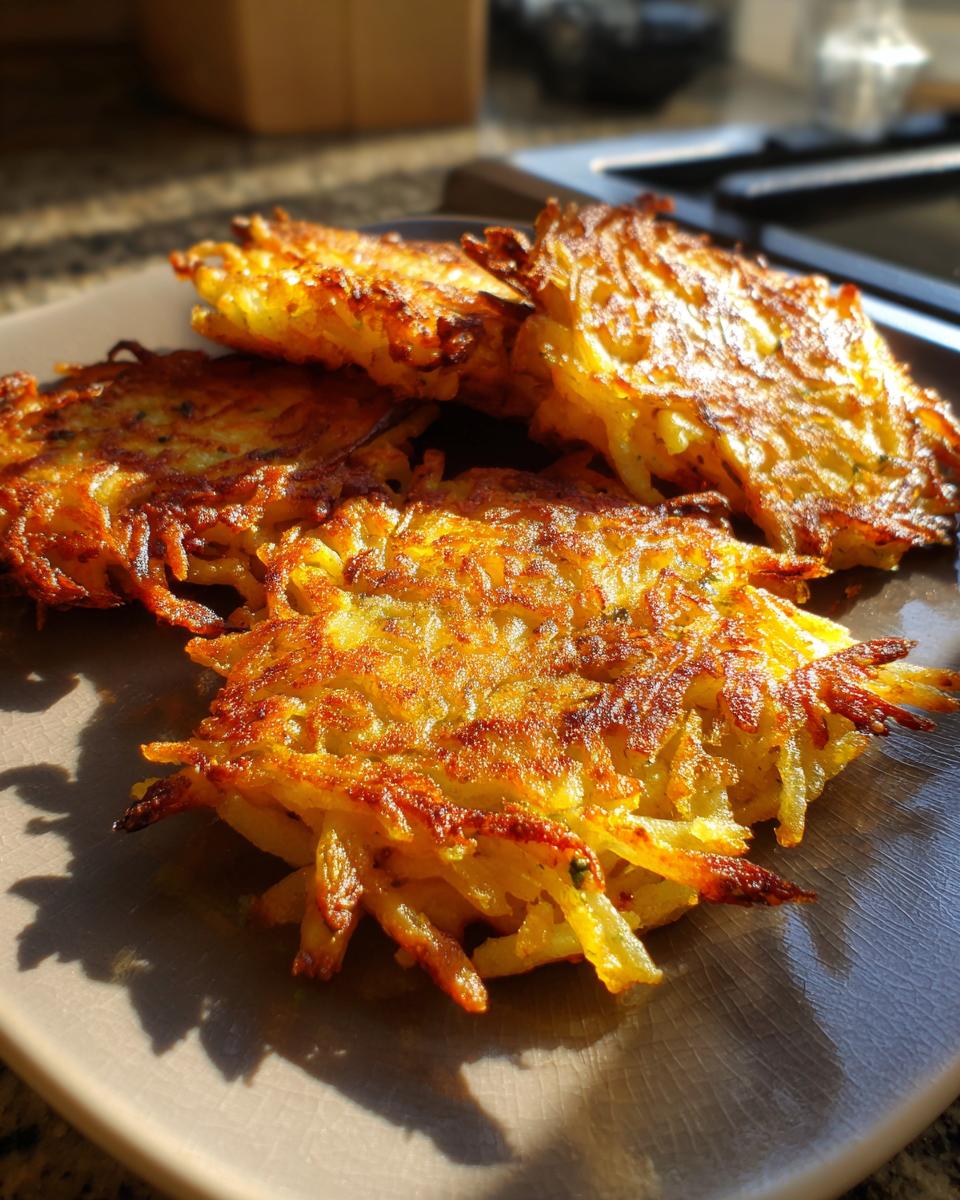
- Let them fry for about 3 to 5 minutes on each side. You’re looking for that perfect golden-brown color and a wonderfully crispy edge.
- As they come out, use a slotted spoon to lift them from the skillet and pop them onto a wire rack set over a baking sheet. This lets any extra oil drip away, keeping them deliciously crisp.
- Just repeat with the rest of your mixture.
- Serve these beauties up right away! They’re best hot and fresh, just like Grandma Eleanor made them. A little shout-out and hello on Facebook to all you fellow cooks out there!
Tips for Success with Your Latkes
You know, making latkes is really pretty straightforward, but a few little tricks can make all the difference between a good batch and a truly spectacular one. These are the things Grandma Eleanor always did, and they’re the keys to getting those golden, crispy delights we all love. Don’t skip out on these tips, especially if you want your holiday spread to be extra special! For more great holiday ideas, check out our holiday baking tips.
Choosing the Right Potatoes for Latkes
So, you want the best latkes, right? Start with the right spuds! I’m a big fan of russets for these. They have that lovely high starch content, which is crucial for getting that perfect crispy edge. When you pick them out, look for ones that feel firm and heavy for their size. Avoid any with soft spots or that feel light – those are usually past their prime and won’t give you the best texture for your classic latkes.
Why Squeezing is So Important
Okay, I’ve said it twice, but I’ll say it again: SQUEEZE! I can’t stress this enough. Grating those potatoes and onions releases so much water. If you don’t get most of it out, that moisture will steam your latkes instead of frying them, and nobody wants a sad, soggy pancake holding up your delicious Hanukkah meal. Use a clean kitchen towel or cheesecloth and really give it all you’ve got to wring out every last drop. It’s the secret weapon for truly crispy fried latkes.
Frying Techniques for Crispy Fried Latkes
When it comes to frying, heat is your best friend. Make sure that oil is good and hot – about 365°F is ideal, but “shimmering” is a good visual cue. If the oil isn’t hot enough, your latkes will soak up too much and get greasy. And remember to work in batches! Trying to fry too many at once will drop the oil temperature and lead to uneven cooking. Give them space to get beautifully golden brown and crispy all around.
Serving Suggestions for Your Classic Latkes
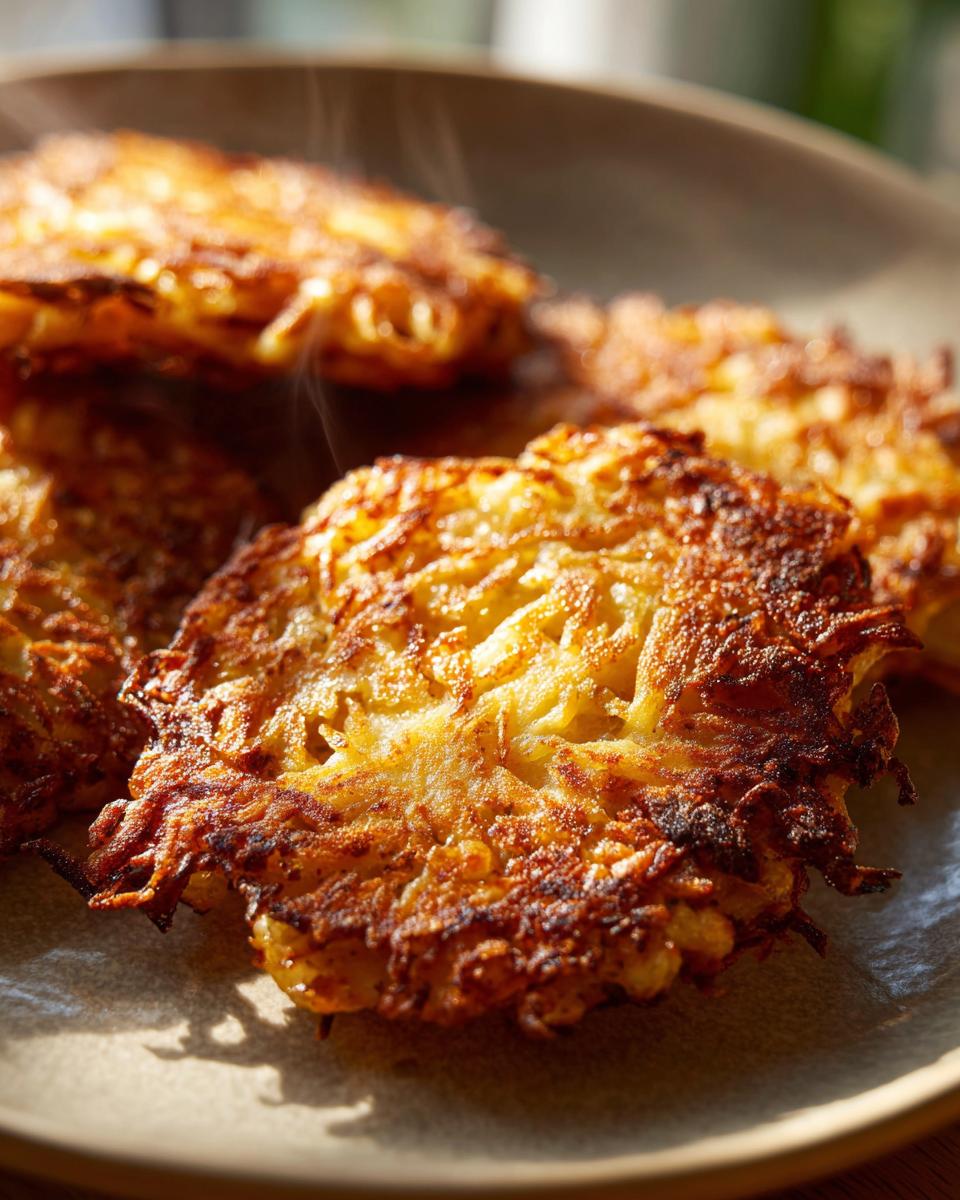
Now, the best part! Serving up those beautiful, golden latkes. You absolutely can’t go wrong with the classics: a big dollop of cool, creamy sour cream and a spoonful of sweet, chunky applesauce. Pure perfection! But don’t stop there! These crispy little wonders are also amazing with a sprinkle of fresh chives, a dollop of smoked salmon, or even alongside a hearty brisket. For more ideas to round out your holiday table, check out our side dish collection!
Storing and Reheating Your Latkes
So you made a TON of latkes – yay! Don’t let those delicious crispy treasures go to waste. Once they’ve cooled completely, just pop them into an airtight container and they’ll be good in the fridge for a couple of days. For reheating, the absolute best way to get them crispy again is to pop them in a single layer on a baking sheet in a hot oven (around 375°F or even 400°F if you’re brave!) for about 5-10 minutes. Trust me, skip the microwave – it turns them into sad, soggy discs. If you’re in a rush though, a quick zap in a non-stick skillet over medium heat can also work wonders! For more tips on keeping your holiday goodies just right, peek at our blog.
Frequently Asked Questions about Latkes
Got questions about making these glorious potato pancakes? I’ve got answers! It’s totally normal to have a few little things you’re wondering about when you’re aiming for perfection. Here are some of the most common things people ask when they’re making their own batches of classic latkes!
Are these Latkes gluten-free?
Nope, this particular recipe uses a little all-purpose flour to help bind everything together. But don’t you worry! If you need a gluten-free version, you can totally swap in a gluten-free all-purpose flour blend. Just make sure it has xanthan gum in it, and you should be good to go. You might need to adjust the amount slightly, so start with a little less and add more if needed.
How to get Latkes extra crispy?
Oh, this is my favorite question! Remember that big secret I told you? It’s truly all about squeezing out as much moisture as possible from those grated potatoes and onions – seriously, wring ’em out! Also, make sure your oil is nice and hot before you drop the latkes in, and don’t overcrowd the pan. Fry them in batches so they have room to get that gorgeous golden, crispy edge. And always drain them on a wire rack, not on paper towels, so the bottoms stay crisp!
Estimated Nutritional Information
When we talk about a serving of two of these delicious latkes, you’re looking at roughly 250 calories, about 15 grams of fat (mostly good unsaturated fats!), 25 grams of carbs, and around 4 grams of protein. Keep in mind, these are just estimates, and the exact numbers can change a bit based on how much oil they soak up and the size of your potatoes!
Share Your Latkes Creations!
Now it’s your turn to make some latke magic! Once you’ve whipped up a batch of these golden delights, I’d absolutely LOVE to hear how they turned out! Leave a comment below to share your experience, rate the recipe, or even tell me what toppings you chose. And if you snap a pic, totally tag us on social media – I can’t wait to see your delicious creations! You can also reach out via our contact page if you have any questions!
PrintPerfect Crispy Latkes: 1 Secret Revealed
Learn how to make perfectly crispy latkes with this classic recipe. These potato pancakes are a Hanukkah favorite and are sure to become a keeper in your recipe collection.
- Prep Time: 20 min
- Cook Time: 30 min
- Total Time: 50 min
- Yield: 12-15 latkes 1x
- Category: Side Dish
- Method: Frying
- Cuisine: Jewish
- Diet: Vegetarian
Ingredients
- 2 pounds russet potatoes, peeled
- 1 large yellow onion
- 2 large eggs, lightly beaten
- 1/4 cup all-purpose flour
- 1 teaspoon salt
- 1/2 teaspoon black pepper
- Vegetable oil, for frying
- Optional toppings: sour cream, applesauce
Instructions
- Grate the peeled potatoes and onion using the large holes of a box grater.
- Place the grated potatoes and onion in a clean kitchen towel or cheesecloth. Squeeze out as much liquid as possible. This is the secret to crispy latkes!
- Transfer the squeezed potato and onion mixture to a medium bowl.
- Add the beaten eggs, flour, salt, and pepper. Mix until just combined. Do not overmix.
- In a large, heavy-bottomed skillet, heat about 1/2 inch of vegetable oil over medium-high heat until shimmering.
- Carefully drop spoonfuls of the latke mixture into the hot oil, flattening them slightly with the back of the spoon. Do not overcrowd the pan.
- Fry for 3-5 minutes per side, until golden brown and crispy.
- Remove the latkes from the skillet and place them on a wire rack set over a baking sheet to drain.
- Repeat with the remaining latke mixture.
- Serve immediately with your favorite toppings.
Notes
- For extra crispy latkes, ensure you squeeze out all the excess moisture from the potatoes and onions.
- Use a neutral oil with a high smoke point, such as vegetable, canola, or peanut oil.
- You can prepare the potato and onion mixture a few hours ahead of time. Store it in the refrigerator, but be sure to squeeze out any accumulated liquid before frying.
Nutrition
- Serving Size: 2 latkes
- Calories: 250
- Sugar: 2g
- Sodium: 300mg
- Fat: 15g
- Saturated Fat: 2g
- Unsaturated Fat: 13g
- Trans Fat: 0g
- Carbohydrates: 25g
- Fiber: 2g
- Protein: 4g
- Cholesterol: 50mg