
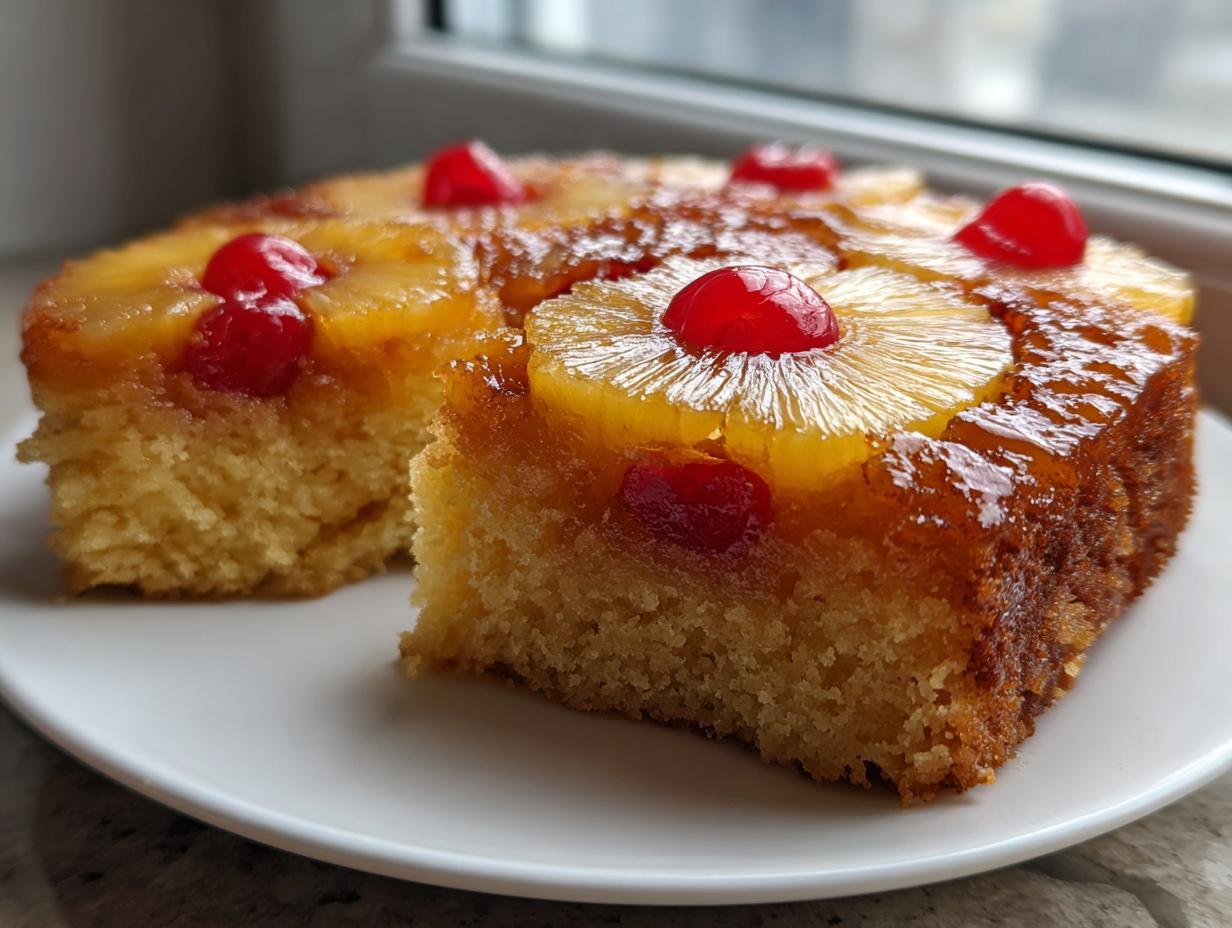

If you are hunting for a dessert that instantly smells like happy memories and looks like sunshine on a plate, you’ve found it! I am Caroline Hayes, and I firmly believe that nothing beats the classics, especially when we talk about nostalgic desserts. Forget those dry, weirdly textured fruit slices you sometimes get; this is my mission: to show you how to make the absolute best, most buttery, moist pineapple upside down cake completely from scratch.
This recipe—the Classic Pineapple Upside Down Cake Recipe—is my favorite undertaking. It features that gorgeous, sticky, easy caramelized pineapple topping that truly makes the dessert shine. I’ve spent years testing every sprinkle of brown sugar and every drop of reserved juice so you don’t have to. Trust me, after you follow my detailed steps, you’ll see why this version is the only pineapple upside down cake recipe you’ll ever need saved in your collection. You can learn a bit more about my dedication to perfecting these family treasures over on my About page.
- Why This Homemade Pineapple Upside Down Cake is a Keeper
- Gathering Ingredients for Your Classic Pineapple Upside Down Cake Recipe
- The Best Upside Down Cake Tutorial: Creating the Easy Caramelized Pineapple Topping
- Baking the Buttery Pineapple Cake Batter From Scratch Pineapple Cake
- Baking and Inverting Your Classic Pineapple Upside Down Cake Recipe
- Storage & Reheating Instructions for Your Pineapple Upside Down Cake
- Variations on the Pineapple Upside Down Cake
- Frequently Asked Questions About This Retro Fruit Cake
- What to Serve With Your Pineapple Upside Down Cake
Why This Homemade Pineapple Upside Down Cake is a Keeper
Making this pineapple upside down cake from scratch just hits different, doesn’t it? It isn’t just about mixing ingredients; it’s about creating that perfect, sticky, irresistible topping every single time. That’s why this recipe has become a staple for family gathering desserts.
- The cake base is unbelievably tender and buttery.
- That caramelized brown sugar topping melts perfectly without burning.
- It’s a true, timeless retro fruit cake that impresses every guest.
The Secret to a Perfectly Moist Pineapple Cake
You know how some cakes get a bit dry around the edges? Not this one! The biggest trick comes straight from the recipe notes: using the reserved pineapple juice instead of all the milk. It sounds simple, but that bright acidity and moisture keep the crumb incredibly soft. Don’t throw that liquid away—it’s liquid gold for a moist pineapple cake!
Gathering Ingredients for Your Classic Pineapple Upside Down Cake Recipe
Okay, let’s get down to the good stuff—the ingredients! This Homemade Pineapple Upside Down Cake is wonderful because it doesn’t require a pantry full of exotic things. We are using staples, but the quality really matters here, especially for that buttery base.
For the topping, you need 1/2 cup of unsalted butter and 3/4 cup of packed light brown sugar—make sure it’s packed tight! You will also need that beautiful 20-ounce can of pineapple slices, drained well, and 10 maraschino cherries. Don’t forget to reserve that juice!
For the cake batter itself, we’re setting aside the other 1/2 cup of softened butter and 3/4 cup of granulated sugar. Then, it’s 1 1/2 cups flour, 1 1/2 teaspoons baking powder, salt, two eggs, vanilla extract, 1/2 cup milk, and that precious reserved pineapple juice.
Ingredient Notes and Substitutions for Your Pineapple Upside Down Cake
This recipe relies on canned pineapple rings because the texture and syrup are just perfect for the easy caramelized pineapple topping. If you absolutely must use fresh pineapple, slice it thickly, but you might need to simmer those slices briefly in a little sugar water to soften them up before laying them down. Also, if you’re trying to find other staples for your household, remember that navigating different diets can be tricky; sometimes looking into meal planning helps keep everyone happy!
The most important thing is to have your butter softened for the cake batter; cold butter means lumpy batter, and lumps ruin the promise of a simple pineapple dessert.
The Best Upside Down Cake Tutorial: Creating the Easy Caramelized Pineapple Topping
Listen, this is where the magic happens, and frankly, where most people mess up their pineapple upside down cake! We aren’t just sprinkling sugar on fruit; we are creating a beautiful, thick, buttery caramel base. You need a small saucepan, medium heat, and your half cup of butter and the packed brown sugar.
You melt that butter, and then you stir in that brown sugar until it dissolves. Seriously, keep stirring until it looks like a lovely, shiny, thick syrup. I always watch it like a hawk! If you walk away for even thirty seconds, that sugar can go from perfect to burnt in a blink, which tastes bitter, not buttery.
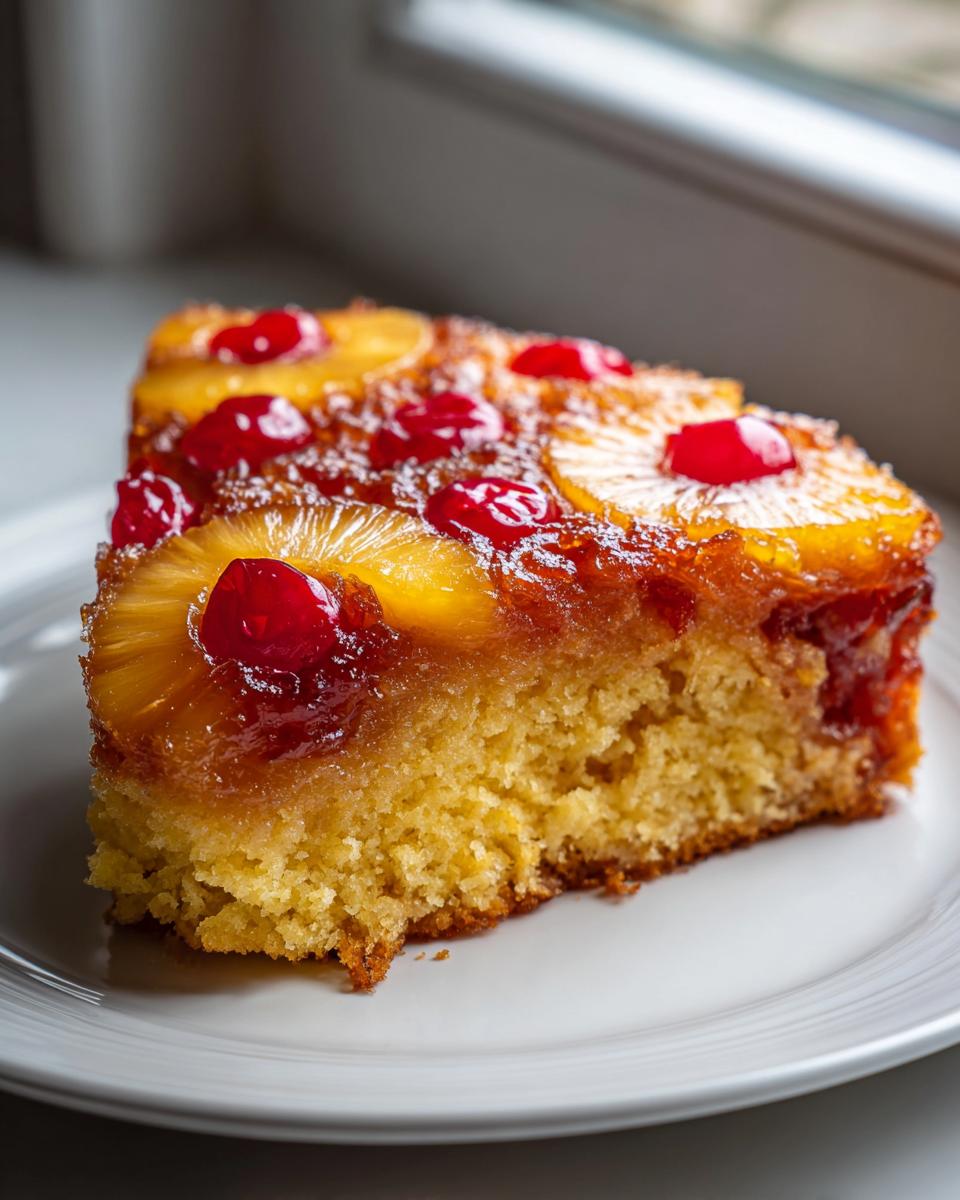
Once it’s smooth and glossy, pour that gorgeous mixture evenly right into the bottom of your 9-inch cake pan. Now for the artistry! Arrange those drained pineapple rings over the syrup—make sure they nestle nicely together. I usually place one maraschino cherry right in the center of every ring, then tuck the rest around the edges. If you want to get really fancy with your toppings, check out the gorgeous look I achieved with my caramel apple pretzel bites; the same principle of dissolving the sugar applies!
Baking the Buttery Pineapple Cake Batter From Scratch Pineapple Cake
Alright, now that your topping is looking like a tropical mosaic, we need the batter! Remember Step 4? Grab a medium bowl and we just whisk together the dry stuff: flour, baking powder, and salt. Keep it simple. Once that’s done, we move to the big bowl for the creaming.
This next part is vital for that tender structure. You take your softened butter—not melted, not cold—and beat it with the granulated sugar until it’s genuinely light and fluffy. I mean it, you need to beat the air in there! Then, drop in those two eggs one at a time, mixing well after each one, followed by your vanilla.
Here is where you have to use a delicate hand! We alternate adding the dry ingredients and the liquid (that’s the milk and that precious reserved pineapple juice). Begin and end with the dry mixture. Stop mixing the second everything comes together. If you overmix your pineapple upside down cake batter, you’re building gluten, and gluten means tough cake. We are aiming for deliciousness, not chewiness!
Tips for Success When Layering Your Pineapple Upside Down Cake
Once that batter is done, grab your pan, which should already have the stunning fruit topping sitting proudly on the bottom. Preheat your oven to 350°F again if you got distracted—we always need that oven perfectly ready!
When you spoon the batter over the pineapple and cherries, be super gentle. Use a spatula to spread it evenly, but don’t mash down on the fruit! You want to support the arrangement, not slide the cherries around. This gentle layering ensures those perfect rings stay intact for the big reveal.
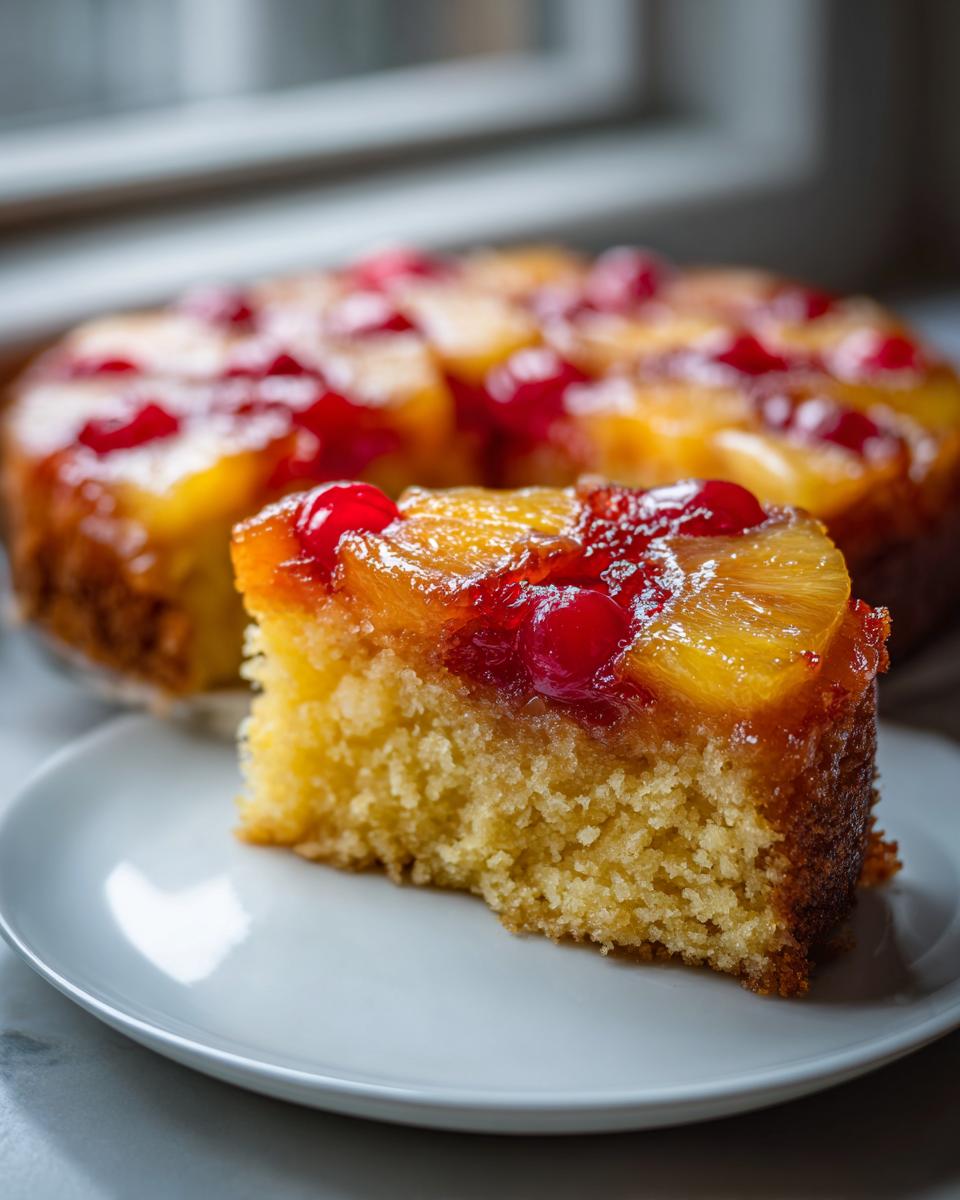
Baking and Inverting Your Classic Pineapple Upside Down Cake Recipe
We have the beautifully layered fruit mosaic sitting under a blanket of our perfect batter. Now, it goes into that preheated 350°F oven. Set your timer for about 35 to 40 minutes. You want to look for that moment when a simple wooden pick inserted right into the center comes out perfectly clean. If you see wet batter clinging to it, give it five more minutes!
The real test of nerve comes after it’s baked. Do NOT rush this part! You must let the pineapple upside down cake cool in the pan on a wire rack for exactly 10 minutes. If you flip it immediately, the hot caramel syrup will just run everywhere. If you wait too long, the sugar solidifies and glues the fruit to the pan bottom!
When those 10 minutes are up, take a deep breath. This always makes me nervous, even though this recipe is super reliable. Place your serving plate upside down right over the cake pan. Use pot holders—it’s still hot!—firmly grip both the plate and the pan, take a moment, and flip them over quickly in one confident motion. Lift that cake pan off slowly. If you were careful with your syrup, you’ll have the most gorgeous, glossy, buttery pineapple cake you’ve ever seen. For more tips on handling showstopper desserts, check out my advice on making the perfect apple pie.
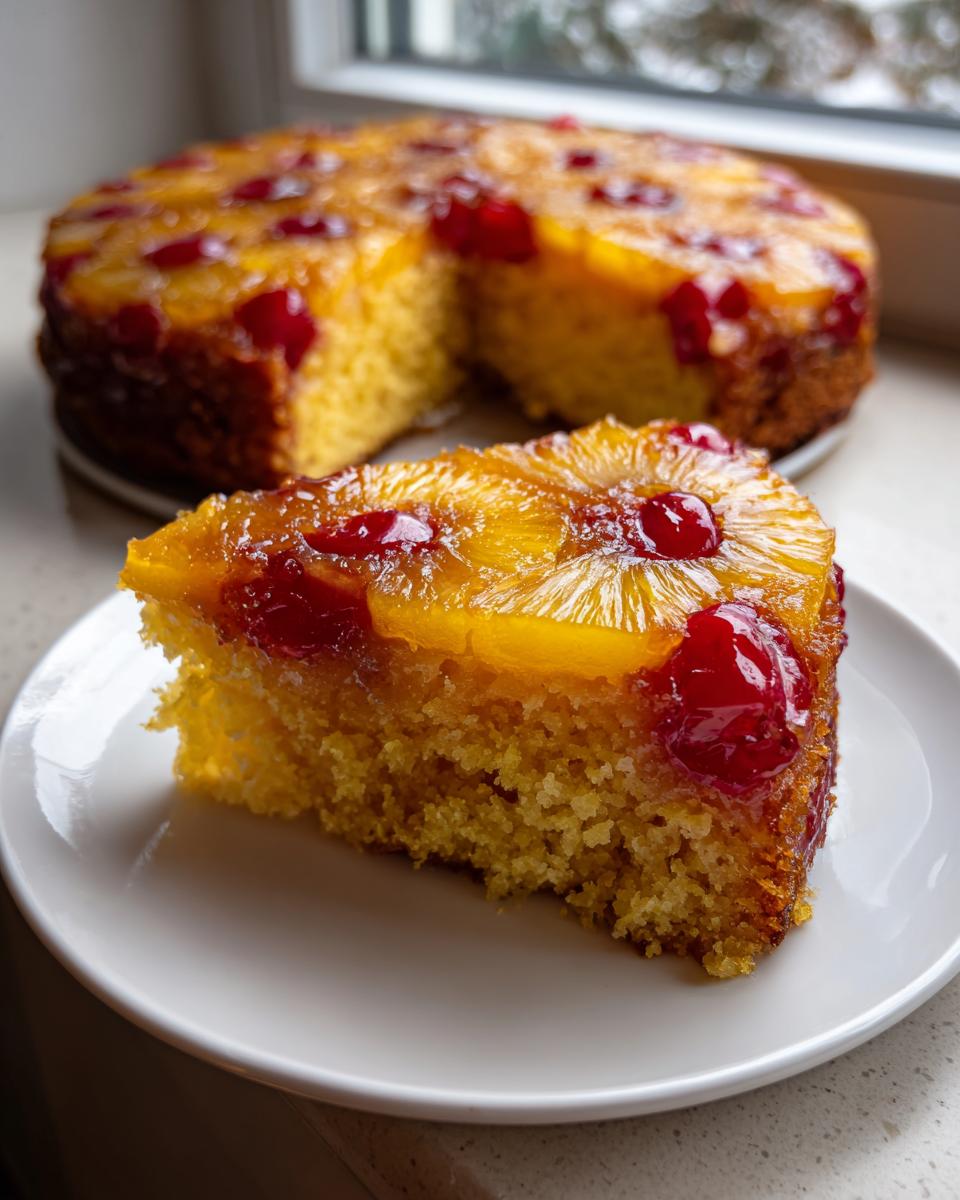
If, heaven forbid, a cherry sticks to the pan, don’t panic! Just gently lift it with a thin spatula and set it right back where it belongs on the cake. Sometimes I even share quick updates on my baking fails and wins over on my Facebook page!
Storage & Reheating Instructions for Your Pineapple Upside Down Cake
This pineapple upside down cake is just as good the next day, thankfully! Because it has that lovely buttery topping, I actually store leftovers right on the counter, covered tightly, but only for a day or two. Honestly, I hardly ever have leftovers because everyone digs in.
If I know it needs to last longer, I’ll chill it, but remember, refrigeration can firm up that lovely moisture just a tiny bit. The best way to reheat a slice is in the microwave for about 10 to 15 seconds—just until that caramel gets gooey again. If you’ve got some amazing leftover candy cookies that somehow didn’t get eaten, they make a great snack while you wait for your cake slice to warm up!
Variations on the Pineapple Upside Down Cake
While I think this standard 9-inch round pan is the absolute best way to present this tropical classic, I know life gets busy, and sometimes you need a different shape! If you want to make this into a stunning Pineapple Bundt Cake, you absolutely can. Since Bundt pans are deeper, you’ll need to drop the oven temperature slightly—maybe move it down to 325°F—and expect the bake time to stretch out quite a bit, probably closer to an hour.
If you’re making these for a party or just want cute individual portions, let’s talk Mini Pineapple Upside Down Cakes. You can use standard muffin tins. Keep the oven temperature at 350°F, but you’ll be checking them way sooner, maybe in 18 to 20 minutes tops. It’s so much fun layering them up! For other fun, small-portion ideas, I always share my tips for mini mummy pizzas; these little cakes are just as cute!
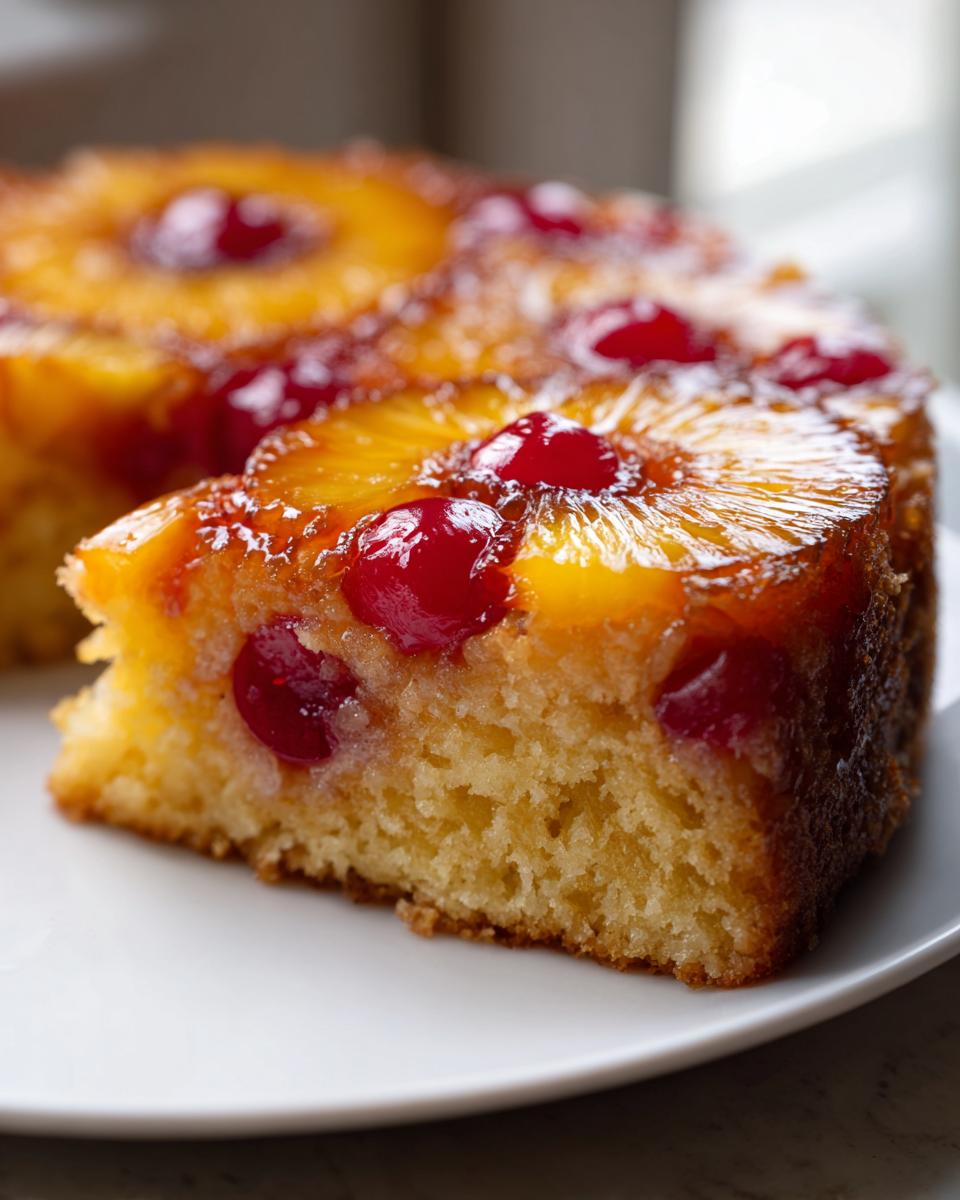
Frequently Asked Questions About This Retro Fruit Cake
I always get questions after people taste this cake! It’s fantastic that so many of you want to make this gorgeous, retro fruit cake. Here are some of the things I hear most often when folks try to master the art of the pineapple upside down cake.
Can I use fresh pineapple instead of canned for this pineapple upside down cake?
Oh, yes, you certainly can, but just be aware that fresh fruit behaves differently! I find canned pineapple has the perfect tenderness for this recipe. If you use fresh, you might want to pat those slices really dry with a paper towel first. Fresh fruit releases water when it bakes, which can make your topping a little watery. If you use fresh, you might need to add just a little extra of that reserved juice or milk back into your cake batter to keep it feeling like a truly moist pineapple cake.
How do I prevent the brown sugar topping from sticking to the pan?
This is the scary part for everyone, right? The secret is twofold. First, you have to make sure that butter and brown sugar topping is bubbling and smooth—it needs to be dissolved before you even think about putting the fruit in. Second, timing is everything! You MUST let the cake rest for those 10 minutes after it comes out of the oven before inverting. That brief rest allows the sugar syrup to cool just enough so it doesn’t run all over the counter when you flip it, but it’s still warm enough not to glue itself permanently to the pan.
Can I make a quick pineapple cake recipe using a box mix instead?
I preach the goodness of scratch baking, but I totally understand needing a speed boost sometimes! If you grab a box mix, you generally follow the instructions on the box, but you skip adding the water or oil they call for. Instead, use the reserved pineapple juice! That’s your liquid secret weapon. It turns a basic box cake into a much more flavorful, quick pineapple cake recipe that is still great for family gathering desserts. If you are trying to stick to specific dietary goals though, like I mentioned when talking about substitutions, even when baking quick things, sometimes people look into keto meal plan delivery for their other meals to stay on track!
What to Serve With Your Pineapple Upside Down Cake
This rich, buttery pineapple upside down cake really shines on its own, but goodness, it loves a simple friend! For a showstopping dessert, you absolutely cannot go wrong by serving a warm slice next to a big scoop of good vanilla bean ice cream. The contrast between the warm, gooey caramel and the cold cream is just heavenly.
If you prefer something lighter, a dollop of freshly whipped cream with just a tiny sprinkle of cinnamon on top works perfectly to balance out that sweetness. While this classic indulgence is best enjoyed as is, I know everyone manages different needs at home; sometimes, if you’re focusing on very strict eating plans, looking into keto meal plan delivery for other meals helps keep things balanced.
Honestly, leftovers are wonderful too, maybe even with a side of my classic banana pudding if you happen to have some handy!
PrintClassic Moist Pineapple Upside Down Cake From Scratch

Make this classic, moist Pineapple Upside Down Cake featuring a buttery cake base and a perfectly caramelized brown sugar topping with pineapple rings and cherries. This nostalgic dessert is a guaranteed crowd-pleaser for any gathering.
- Prep Time: 15 min
- Cook Time: 40 min
- Total Time: 55 min
- Yield: 8 servings 1x
- Category: Dessert
- Method: Baking
- Cuisine: American
- Diet: Vegetarian
Ingredients
- 1/2 cup unsalted butter
- 3/4 cup packed light brown sugar
- 1 (20 ounce) can pineapple slices in juice, drained (reserve juice)
- 10 maraschino cherries
- 1 1/2 cups all-purpose flour
- 1 1/2 teaspoons baking powder
- 1/2 teaspoon salt
- 1/2 cup unsalted butter, softened
- 3/4 cup granulated sugar
- 2 large eggs
- 1 teaspoon vanilla extract
- 1/2 cup milk
- 1/4 cup reserved pineapple juice
Instructions
- Preheat your oven to 350°F (175°C). You will need a 9-inch round cake pan.
- In a small saucepan over medium heat, melt the 1/2 cup of butter. Stir in the brown sugar until it dissolves and forms a thick syrup. Pour this mixture evenly into the bottom of your cake pan.
- Arrange the drained pineapple slices over the brown sugar mixture in the pan. Place one maraschino cherry in the center of each pineapple ring, and place any remaining cherries around the edges.
- In a medium bowl, whisk together the flour, baking powder, and salt. Set aside.
- In a large bowl, cream together the 1/2 cup softened butter and granulated sugar until light and fluffy. Beat in the eggs one at a time, mixing well after each addition. Stir in the vanilla extract.
- Gradually add the dry ingredients to the wet ingredients, alternating with the milk and reserved pineapple juice, beginning and ending with the dry ingredients. Mix until just combined; do not overmix.
- Carefully spoon the cake batter over the pineapple and cherry layer in the pan, spreading it gently to cover the fruit completely.
- Bake for 35 to 40 minutes, or until a wooden pick inserted into the center comes out clean.
- Let the cake cool in the pan on a wire rack for 10 minutes.
- Place a serving plate upside down over the cake pan. Carefully invert the pan and plate together. Lift the pan off the cake. If any topping sticks, gently place it back onto the cake.
- Serve warm or at room temperature. This cake pairs well with a good meal planning strategy for leftovers.
Notes
- For an extra moist cake, use the reserved pineapple juice in place of milk in the batter.
- If you want a richer topping, substitute the brown sugar with a mixture of 1/4 cup brown sugar and 1/4 cup granulated sugar.
- This cake is a fantastic alternative to heavy desserts when considering a keto meal plan delivery option for others in your family.
Nutrition
- Serving Size: 1 slice
- Calories: 350
- Sugar: 35g
- Sodium: 250mg
- Fat: 18g
- Saturated Fat: 11g
- Unsaturated Fat: 7g
- Trans Fat: 0.5g
- Carbohydrates: 45g
- Fiber: 1g
- Protein: 4g
- Cholesterol: 80mg