


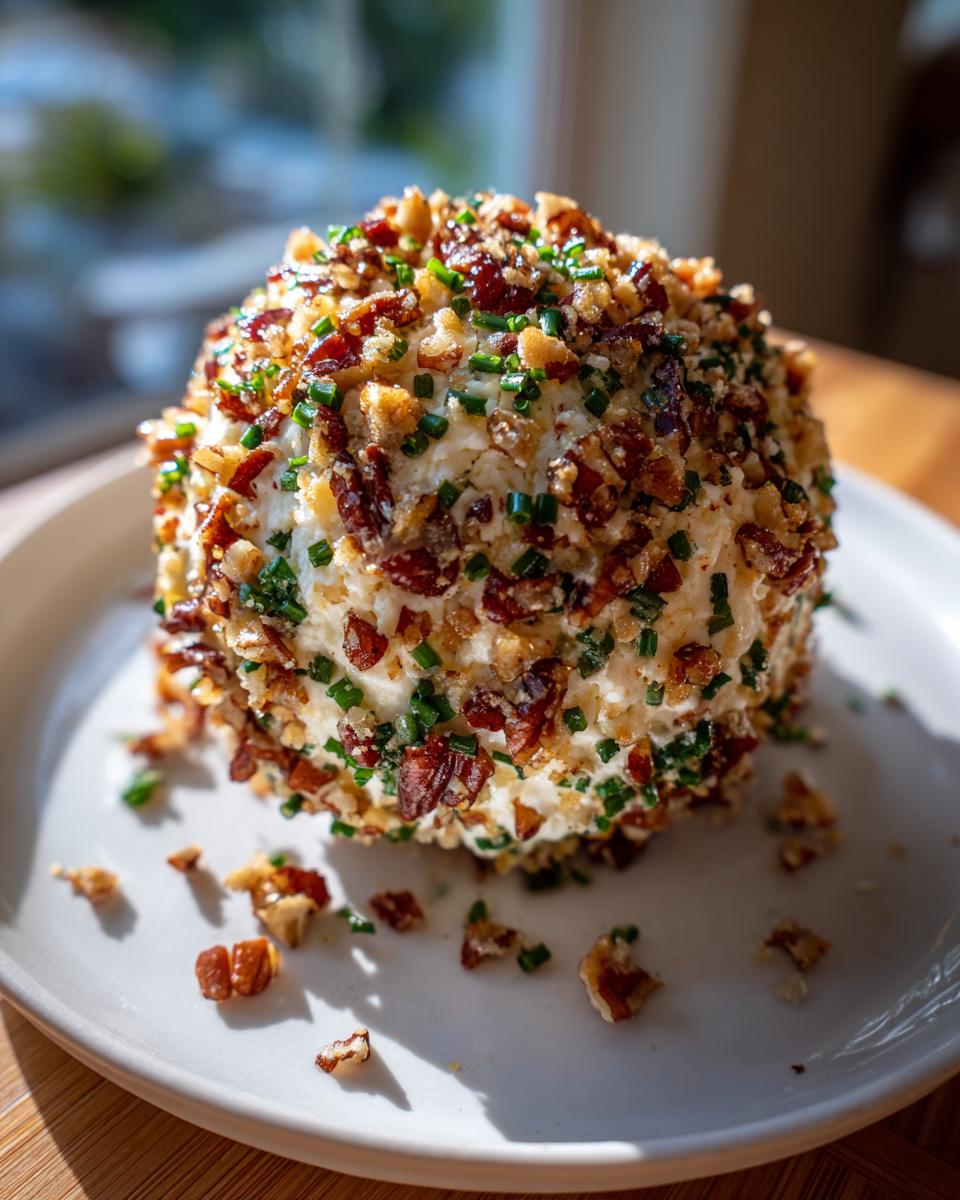
Okay, who remembers the absolute *magic* of walking into a holiday party and seeing that glorious, creamy orb sitting proudly on the appetizer table? That’s right, we’re talking about the classic cheese ball! It’s a total retro throwback, and honestly, I wouldn’t have the holidays without it. Growing up, my Grandma Eleanor always had one ready, and the memory of its rich, savory goodness still makes my heart sing. It’s more than just an appetizer; it’s a centerpiece, a conversation starter, and a taste of pure comfort. This recipe is all about capturing that nostalgic magic with simple ingredients and a foolproof method, so you can easily wow your guests!
- Why This Cheese Ball Recipe is a Keeper
- Gather Your Ingredients for the Perfect Cheese Ball
- Crafting Your Classic Cheese Ball: Step-by-Step
- Tips for the Ultimate Cheese Ball Success
- Serving Your Festive Cheese Ball
- Frequently Asked Questions About This Cheese Ball
- Estimated Nutritional Information
- Share Your Creations!
Why This Cheese Ball Recipe is a Keeper
Honestly, this cheese ball recipe is one of those treasures that just *works*. It’s the kind of thing you can whip up without breaking a sweat, and it always disappears first! Here’s why I think you’re going to love it just as much as I do:
- Super Easy to Make: Seriously, it’s mostly hands-off! You just mix, shape, and chill. No fancy techniques needed.
- Crowd-Pleaser Guaranteed: That creamy, savory mix with a hint of garlic and onion, all coated in crunchy nuts? It’s basically irresistible. Everyone always asks for the recipe!
- Make-Ahead Magic: The best part? It actually gets *better* when you make it a day ahead. That just means more time for you to relax and less stress on party day.
- Festive and Fancy: Even though it’s simple, rolling it in nuts or herbs makes it look so impressive! It’s the perfect centerpiece for any holiday spread.
Gather Your Ingredients for the Perfect Cheese Ball
Alright, let’s get down to business! To make this classic cheese ball the star of your party, you’ll want to gather these goodies. Trust me, using good quality stuff makes all the difference!
- 8 ounces cream cheese, nice and softened (this is key for mixing!)
- 8 ounces sharp cheddar cheese, shredded (I like to shred it myself so it mixes in better)
- 4 ounces blue cheese, crumbled (this is optional, but oh-so-good if you like a little tang!)
- 1/4 cup finely chopped pecans or walnuts (plus extra for rolling later!)
- 2 tablespoons chopped fresh chives or parsley (again, plus more for dipping!)
- 1 teaspoon Worcestershire sauce (don’t skip this, it adds so much flavor!)
- 1/2 teaspoon garlic powder (for that little kick)
- 1/4 teaspoon salt (just to bring it all together)
- 1/4 teaspoon black pepper (freshly ground is best, if you have it!)
Crafting Your Classic Cheese Ball: Step-by-Step
Alright, let’s get this party started! Making this cheese ball is honestly one of the most satisfying parts of holiday prep. It’s like magic happening right in your bowl. Watching all those simple ingredients meld into something so delicious is just the best. Let’s walk through it together!
Mixing the Base for Your Cheese Ball
First things first, grab a good-sized bowl! Into that go your softened cream cheese, that fabulous sharp cheddar, and if you’re feeling adventurous, that crumbly blue cheese. Give it a good stir – I like to use a sturdy spoon or even my hands for this part. You want it all to be perfectly combined. Then, fold in those yummy chopped pecans (or walnuts!), fresh chives, that splash of Worcestershire, garlic powder, salt, and pepper. Mix until everything is just beautifully incorporated. It should look like a delightful, slightly chunky paste, ready for its transformation. For more tips on great recipes, check out our blog!
Chilling and Shaping the Cheese Ball
Now, this is important! Cover that bowl up tight with some plastic wrap and pop it into the fridge for at least an hour. Trust me, you need this time to let everything chill out and firm up. It makes shaping your glorious cheese ball so much easier and less messy. Once it’s nice and firm, scoop it out with a spoon. Now, use your hands to gently roll and shape it into a beautiful ball. Don’t overwork it, just a gentle coaxing into that perfect sphere shape. This is where your cheese ball really starts to take its iconic form!
Coating Your Nut-Covered Cheese Spread
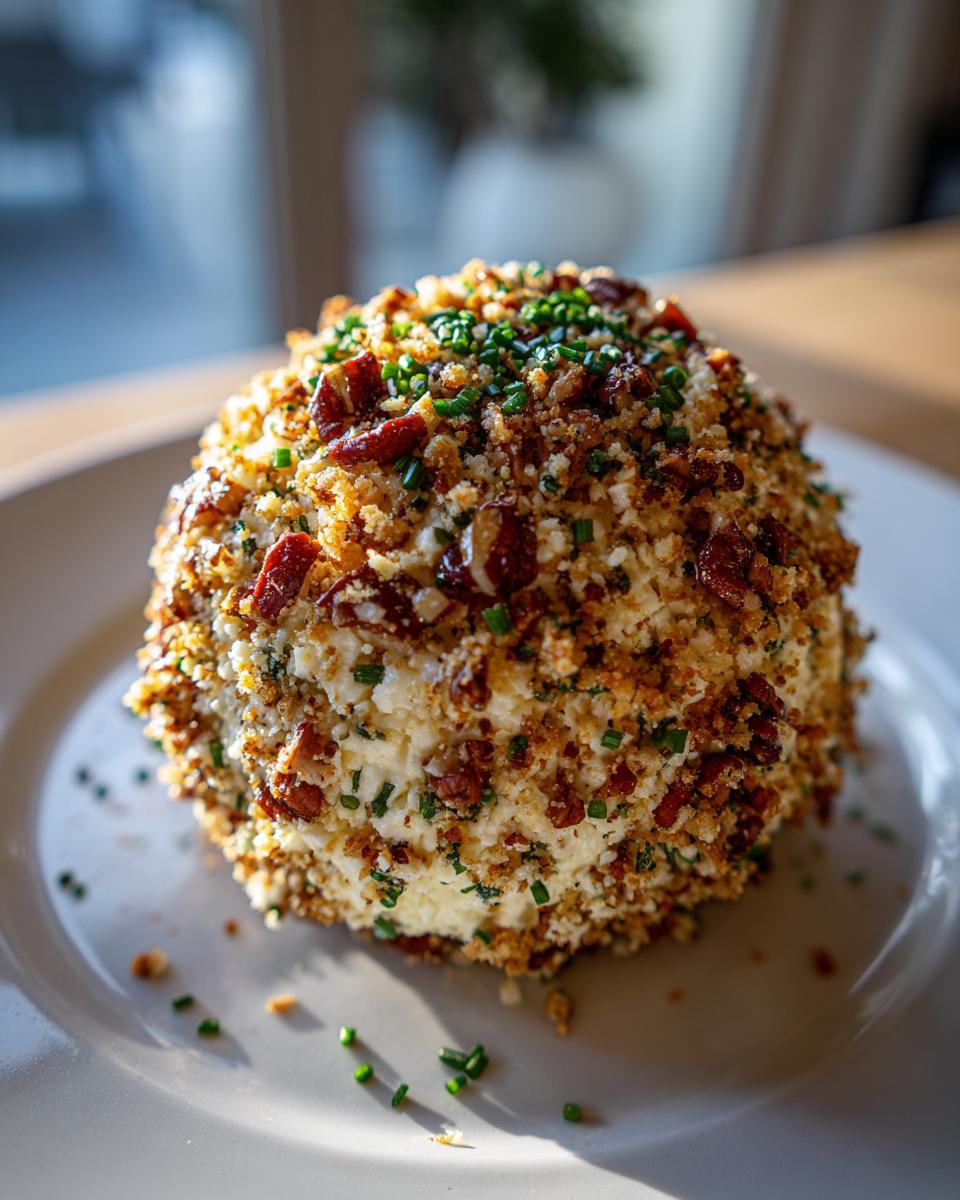
This is the really fun, visually stunning part! On a plate or a clean cutting board, spread out your coating – maybe some extra chopped nuts like pecans or walnuts, or those vibrant green chives or parsley. Now comes the best bit: gently take your shaped cheese ball and roll it around in the coating. Just press softly so the nuts or herbs stick well all over. You want it to look like a little edible jewel! If you want to get fancy, you can even mix and match – try half nuts, half herbs. It looks amazing!

Tips for the Ultimate Cheese Ball Success
You know, making a fantastic cheese ball isn’t just about following a recipe; it’s about understanding a few little secrets that make it truly shine. These aren’t hard and fast rules, but more like little nudges that ensure your cheese ball is the absolute star of the show. I’ve learned a thing or two over the years, and I’m happy to share them with you! For more great ideas on easy entertaining, check out our easy weeknight meals selection.
Ingredient Substitutions for Your Cheese Ball
Don’t be afraid to play around! If blue cheese isn’t your jam, just skip it or add a bit more cheddar. You could also try a different nut for coating – almonds or even some toasted sesame seeds would be lovely. Some folks even use crushed pretzels for a salty crunch! The beauty of this cheese ball recipe is its flexibility. It’s all about making it *your* perfect bite.
Making Your Holiday Cheese Ball Ahead
This is my favorite tip: make it the day before! Seriously, this cheese ball honestly tastes even better after chilling overnight. The flavors get to really, really meld together beautifully. Just wrap it up tight in plastic wrap and keep it in the ‘fridge. You can even roll it in the nuts or herbs the day before too; just be sure to keep it well-covered so the coating doesn’t get soggy.
Serving Your Festive Cheese Ball
Now that your beautiful cheese ball is perfectly chilled and ready to go, it’s time for the best part: serving it up! People will be gathered around, just waiting for that first delicious bite. It’s so versatile! I love serving it with an assortment of crackers – some crispy, some buttery. Slices of a good baguette are also fantastic for scooping up all that creamy goodness. And if you want some crunch and freshness, some crisp veggie sticks like carrots, celery, or bell peppers are always a hit. For more fantastic serving ideas, don’t forget to peek at our side dishes section!

Frequently Asked Questions About This Cheese Ball
Got questions about making your perfect cheese ball? I’ve got answers! This recipe is pretty straightforward, but here are a few things folks often ask:
Can I make this cheese ball recipe without nuts?
Absolutely! If you have nut allergies or just aren’t a fan, you can totally skip the nuts. Just use more fresh herbs like chives or parsley for the coating, or try some paprika, a sprinkle of Everything Bagel seasoning, or even crushed red pepper flakes for a little zing. It’ll still be delicious!
How long does a cheese ball last in the refrigerator?
This classic cheese ball is a make-ahead dream! Once it’s all formed and coated, you can keep it tightly wrapped in the fridge for up to 2 days. Honestly, the flavors get even better the next day, so don’t be afraid to make it a little ahead of your party. It’s a lifesaver when you’re hosting!
What are good alternatives to using cream cheese in a cheese ball?
Cream cheese is really the star for that signature super-creamy texture in this particular cheese ball recipe. While other softer cheeses can be mixed in, cream cheese is pretty essential for that smooth, spreadable base. If you’re looking for something completely different, you might explore recipes that use goat cheese or even ricotta as their base, though the flavor and texture will be quite distinct from this classic!
Can I add other things to the cheese ball mixture?
Oh, goodness, yes! That’s the fun part about a cheese ball! While this recipe is fantastic as-is, feel free to stir in some finely chopped dried cranberries or apricots for a touch of sweetness, a little bit of that pimento cheese spread for color and flavor, or even some finely diced jalapeño for a spicy kick. Just remember to keep the amounts balanced so they don’t overwhelm the cheese!
Estimated Nutritional Information
Just a little heads-up, these numbers are my best guess, as ingredient brands can make a difference! This is for about a 1/12th serving of the cheese ball.
Serving Size: 1/12 of cheese ball
Calories: ~150
Fat: ~13g
Saturated Fat: ~7g
Unsaturated Fat: ~6g
Trans Fat: 0g
Cholesterol: ~35mg
Sodium: ~200mg
Carbohydrates: ~2g
Fiber: ~1g
Sugar: ~1g
Protein: ~6g
Share Your Creations!
I just *love* hearing from you all! If you make this cheesy delight, please leave a comment below and tell me how it turned out. Did you try any fun substitutions? And if you snap a pic, tag us on Instagram or Facebook – I’d be thrilled to see your beautiful cheese ball creations! You can find us over at Recipes To Keep HQ.
PrintClassic Holiday Cheese Ball
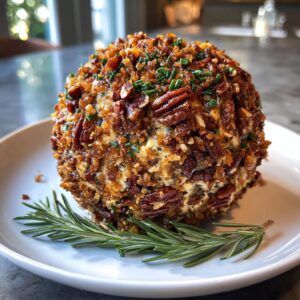
A retro party favorite, this cheese ball is creamy, savory, and perfect for holiday gatherings. Roll it in nuts or herbs for a festive finish.
- Prep Time: 20 min
- Cook Time: 0 min
- Total Time: 2 hr 20 min
- Yield: 1 cheese ball (about 12 servings) 1x
- Category: Appetizer
- Method: No Bake
- Cuisine: American
- Diet: Vegetarian
Ingredients
- 8 ounces cream cheese, softened
- 8 ounces sharp cheddar cheese, shredded
- 4 ounces blue cheese, crumbled (optional)
- 1/4 cup finely chopped pecans or walnuts, plus more for coating
- 2 tablespoons chopped fresh chives or parsley, plus more for coating
- 1 teaspoon Worcestershire sauce
- 1/2 teaspoon garlic powder
- 1/4 teaspoon salt
- 1/4 teaspoon black pepper
Instructions
- In a medium bowl, combine the softened cream cheese, shredded cheddar cheese, and crumbled blue cheese (if using). Mix until well combined.
- Stir in the 1/4 cup chopped pecans or walnuts, 2 tablespoons chopped chives or parsley, Worcestershire sauce, garlic powder, salt, and pepper. Mix until all ingredients are evenly distributed.
- Cover the bowl with plastic wrap and refrigerate for at least 1 hour, or until firm enough to shape.
- On a clean surface, spread out additional chopped nuts and/or chopped chives/parsley for coating.
- Scoop the cheese mixture from the bowl and shape it into a ball using your hands.
- Gently roll the cheese ball in the chopped nuts and/or herbs until it is evenly coated on all sides.
- Transfer the coated cheese ball to a serving plate. Cover loosely with plastic wrap.
- Refrigerate for at least 2 hours, or preferably overnight, before serving. This allows the flavors to meld and the cheese ball to firm up.
- Serve with crackers, baguette slices, or vegetable sticks.
Notes
- For a smoother texture, you can use a food processor to combine the cheeses and flavorings.
- If you don’t like blue cheese, you can omit it or substitute with more cheddar cheese.
- Other coating options include paprika, crushed red pepper flakes, or a mix of dried herbs.
- This cheese ball can be made up to 2 days in advance.
Nutrition
- Serving Size: 1/12 of cheese ball
- Calories: 150
- Sugar: 1g
- Sodium: 200mg
- Fat: 13g
- Saturated Fat: 7g
- Unsaturated Fat: 6g
- Trans Fat: 0g
- Carbohydrates: 2g
- Fiber: 1g
- Protein: 6g
- Cholesterol: 35mg