
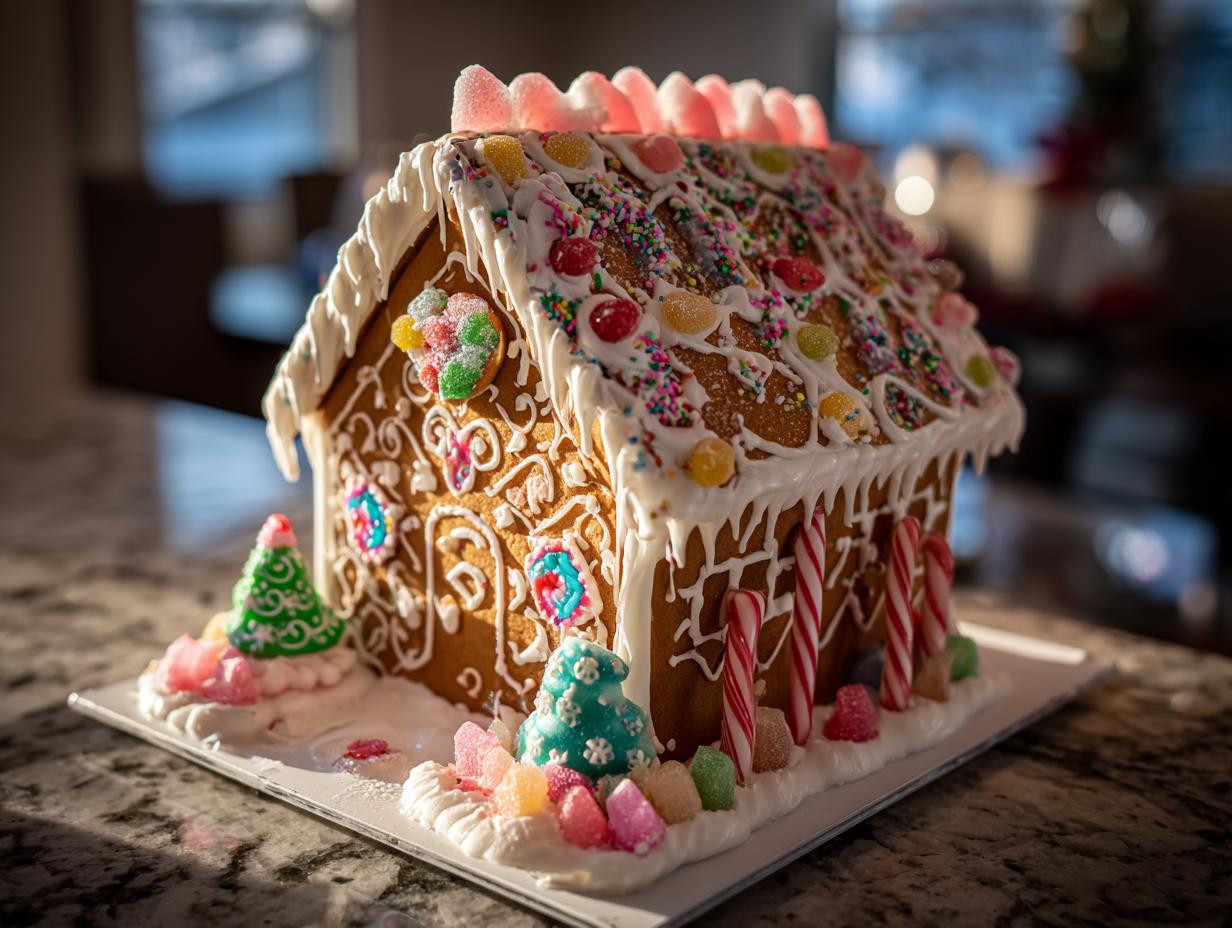

Oh, the holidays! Is there anything quite like the smell of ginger and cinnamon filling your kitchen, all while you’re busy building a magical little edible cottage? Creating a gingerbread house is one of those traditions that just feels like pure Christmas magic, and it’s even more fun when you know your creation isn’t going to crumble before your eyes! I’ve spent ages tweaking this gingerbread house recipe to make sure it’s sturdy enough for even the most ambitious builders, so you get that perfect structure and all the joy of decorating. Trust me, building this festive masterpiece is a holiday memory in the making, and you can follow along with more traditions on our Facebook page!
- Why This Gingerbread House Recipe is a Keeper
- Gathering Your Gingerbread House Ingredients
- Crafting the Perfect Gingerbread House Dough
- Baking Your DIY Gingerbread Structure
- Creating the Christmas House Icing Glue
- Assembling Your Gingerbread House Masterpiece
- Decorating Your Gingerbread House
- Frequently Asked Questions about Gingerbread Houses
- Estimated Nutritional Information
Why This Gingerbread House Recipe is a Keeper
Okay, so why bother with *this* gingerbread house recipe when there are a million out there? Simple! This one is designed from the ground up to be your trusty sidekick for all your holiday building dreams. You know how sometimes gingerbread can be a bit… floppy? Not this one! We’ve nailed that perfect balance:
- Super Sturdy Walls: The dough bakes up firm and strong, so your walls won’t buckle under the pressure of a snowy roof or a heavy candy load. It’s built to last through the whole season!
- Easy to Work With: This dough isn’t fussy. It rolls out nicely and cuts cleanly, meaning less stress and more fun when you’re crafting those perfect house pieces.
- The Best ‘Glue’: Our royal icing recipe is the real deal – it dries hard and holds everything together like a charm. No collapsing houses on my watch!
- Pure Holiday Joy: Honestly, building a gingerbread house is just a blast! It’s a fantastic project to do with the kids (or just for yourself!) and it becomes such a gorgeous centerpiece.
It’s all about makingEmbracing the holiday spirit with a beautifully crafted gingerbread house is a cherished tradition for many. This recipe focuses on creating a sturdy foundation for your edible architectural dreams, ensuring your creation stands tall and proud throughout the festive season. Follow these steps to build a gingerbread house that’s as delightful to look at as it is to eat!
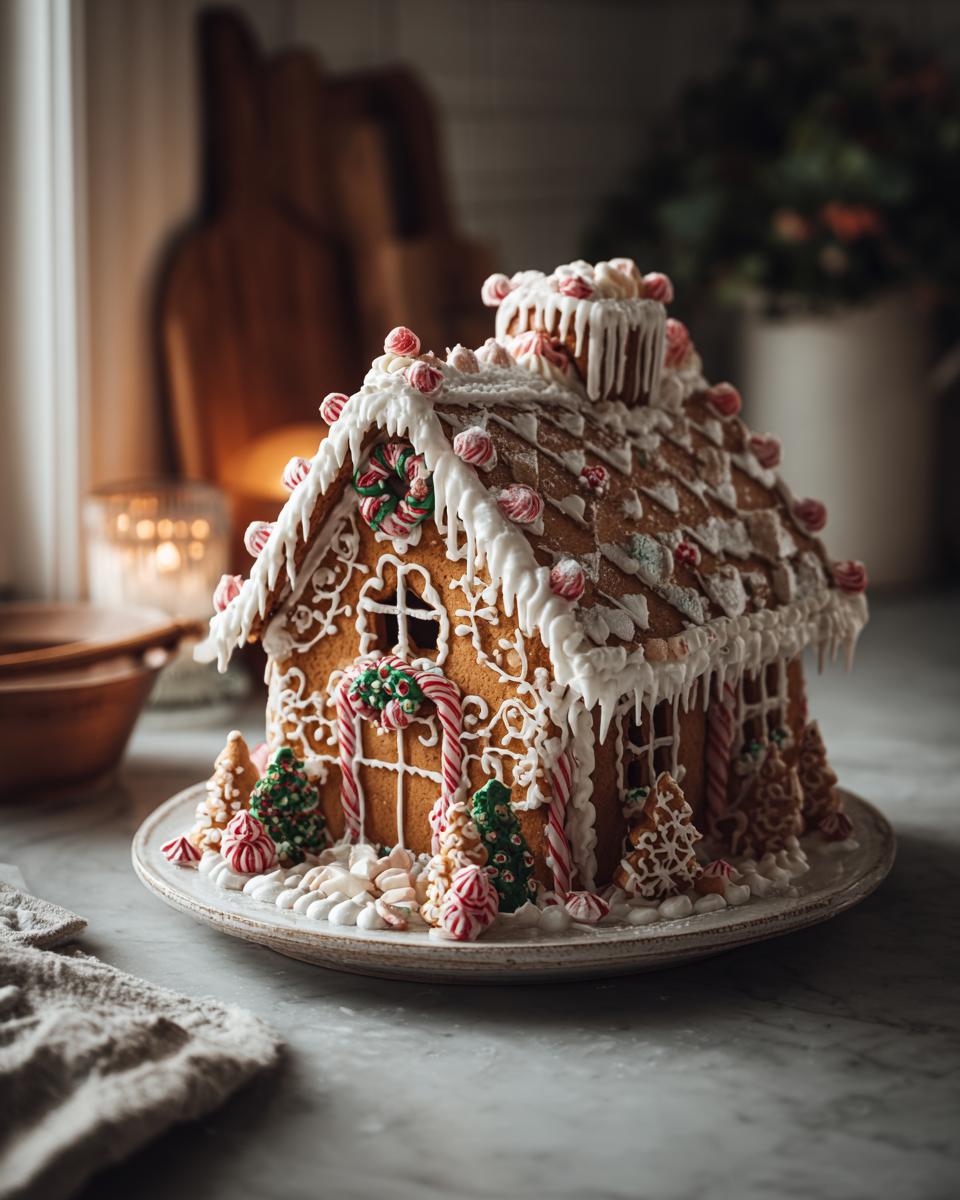
to making sure you have a successful, fun, and beautiful gingerbread masterpiece every single time. You’ll love it!
Gathering Your Gingerbread House Ingredients
Alright, let’s get you all prepped for gingerbread greatness! Before we even think about mixing, grab everything you’ll need. For the actual gingerbread dough that’s going to be the sturdy foundation of your Christmas house, you’ll want 3 cups of all-purpose flour, plus a little extra for dusting your surface. Don’t forget your warm spices: 1 teaspoon each of ginger and cinnamon, and about half a teaspoon of cloves, plus a quarter teaspoon of salt. For the wet ingredients, make sure you have 1 stick (that’s 1/2 cup!) of unsalted butter, nice and softened, 1/2 cup of packed light brown sugar (it gives such a lovely depth of flavor!), and that indispensable 1/2 cup of unsulfured molasses. Oh, and one large egg and a teaspoon of vanilla extract to round it out.
Then for the “glue” – the royal icing – we’ll need 4 cups of powdered sugar and 3 tablespoons of meringue powder. You’ll also need about 6 to 8 tablespoons of water for that, depending on how thick you want it. And of course, the best part: your assorted candies for all that creative decorating fun!
Crafting the Perfect Gingerbread House Dough
Alright, let’s talk about the heart of your edible architecture: the dough! This isn’t your average gingerbread cookie dough; we need it to be nice and stiff so our gingerbread house stands tall and proud. Trust me, this gingerbread house dough holds up beautifully, making it way less frustrating to build. It’s all about getting that perfect texture that bakes up firm but still tastes delicious, not like a brick! When I first started, I remember my houses caving in because the dough was too soft. Nope, not anymore!
Mixing the Gingerbread Dough
First things first, in a big bowl, cream together that softened butter and light brown sugar until it’s all light and fluffy. Then, beat in the molasses, egg, and vanilla. Now, gradually add in your dry ingredients – the flour, ginger, cinnamon, cloves, and salt. Mix it all until it *just* comes together. Seriously, don’t overmix! You want it to be stiff, almost like cookie putty. That’s the secret to a strong house.
Chilling Your Gingerbread House Dough
Once it’s all mixed, divide the dough in half. Flatten each half into a disk, wrap it up tight in plastic wrap, and pop it in the fridge for at least 2 hours. Even better if you can let it chill longer! This step is super important because it lets the flour hydrate and the dough firm up. It makes rolling it out so much easier and prevents your gingerbread pieces from spreading out like sad puddles in the oven.
Baking Your DIY Gingerbread Structure
Alright, it’s time to turn that perfectly chilled dough into the actual pieces for your amazing DIY gingerbread structure! This is where the magic really starts to happen. First things first, preheat your oven to 350°F (175°C). You’ll want to line a couple of baking sheets with parchment paper – this is key for preventing sticking and helping things cool evenly. Now, take one disk of your dough and get it onto a lightly floured surface. Roll it out nice and evenly to about 1/4-inch thickness. You really want that consistent thickness so everything bakes up the same. For more tips on baking successes, check out my blog!
Cutting Your Gingerbread House Pieces
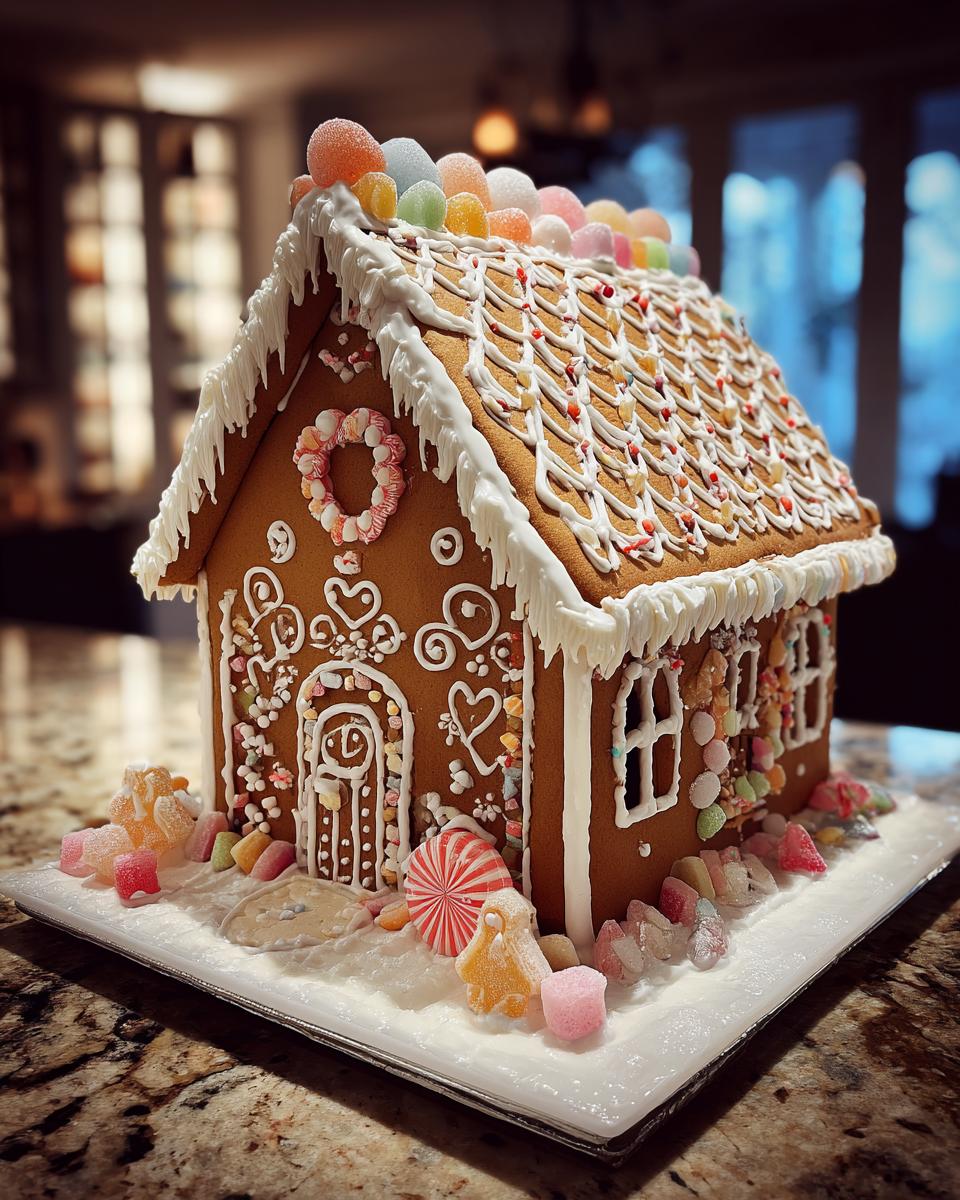
This is where you get to design your dream house! You can use templates you’ve printed out or just cut freehand with a knife. You’ll need two side walls, two front/back walls (these can be rectangles or have a little triangular top for the roof slope), two roof pieces, and maybe some little bits for a chimney. The more precise your cuts, the easier it’ll be to assemble later, so take your time here!
Tips for Even Baking
Once your pieces are cut, carefully transfer them to those prepared baking sheets. Give them a little breathing room between each one, as they might spread just a tiny bit. Now, for the baking – usually, about 10 to 15 minutes does the trick. You’re looking for the edges to be firm and just starting to turn a lovely golden brown. Bigger pieces might need a few extra minutes. Here’s my secret trick: rotate those baking sheets halfway through! This makes sure all your pieces bake evenly. Don’t rush the cooling process! Let them cool on the baking sheets for about 5 minutes first; they’ll firm up a bit more. Then, *carefully* move them to a wire rack to cool completely. You want them totally cool and hard before you even think about gluing them together, otherwise, you’ll end up with a gingerbread puddle!
Creating the Christmas House Icing Glue
Now for the sticky, delightful part – making the magic-holding “glue”! This isn’t just any icing; this is royal icing, and it’s the absolute best for building. It dries super hard, which is exactly what you need to keep your walls standing strong and your roof from sliding off. Think of it as edible cement for your gingerbread masterpiece! My Grandma Eleanor used to say it was like a marriage proposal for gingerbread pieces – it holds them together forever! We want a consistency that comes out of a piping bag smoothly but holds its shape, so it doesn’t just ooze everywhere. This Christmas house icing glue is what makes our decorative gingerbread dreams a reality without any collapses!
Assembling Your Gingerbread House Masterpiece
Okay, deep breaths! This is where your stunning gingerbread house all comes together. Make sure your gingerbread pieces are COMPLETELY cool – I can’t stress this enough, or your icing will melt and it’ll be a sad gingerbread mess! Grab your piping bag filled with that lovely royal icing we made. Start with the base: pipe a generous line of icing along the bottom edge of one of your side walls, and then stick it onto your parchment-lined board or plate. Pipe icing along one of its side edges, too. Now, grab a wall piece for the front or back and press it firmly against that wet icing. Hold it for a good minute or two… you’ll feel it start to grip. Once that’s stable, pipe icing along the other side of that front/back wall and attach the other side wall. You’re building a box! Do the same for the other side, and you’ll have your four walls standing proud. It looks so cool seeing it take shape, doesn’t it?

Next up, the roof! Pipe a thick line of icing along the top edges of your front and back walls, and on the part of the side walls where the roof will sit. Carefully place your two roof pieces. You might need to hold them in place for a few minutes each. And don’t forget the chimney! Pipe some icing on the bottom and sides of your chimney piece and gently press it onto the roof. It really looks complete once that’s on! If you want more amazing holiday ideas, check out my Graveyard Pudding Cups – they’re super fun too!
Decorating Your Gingerbread House
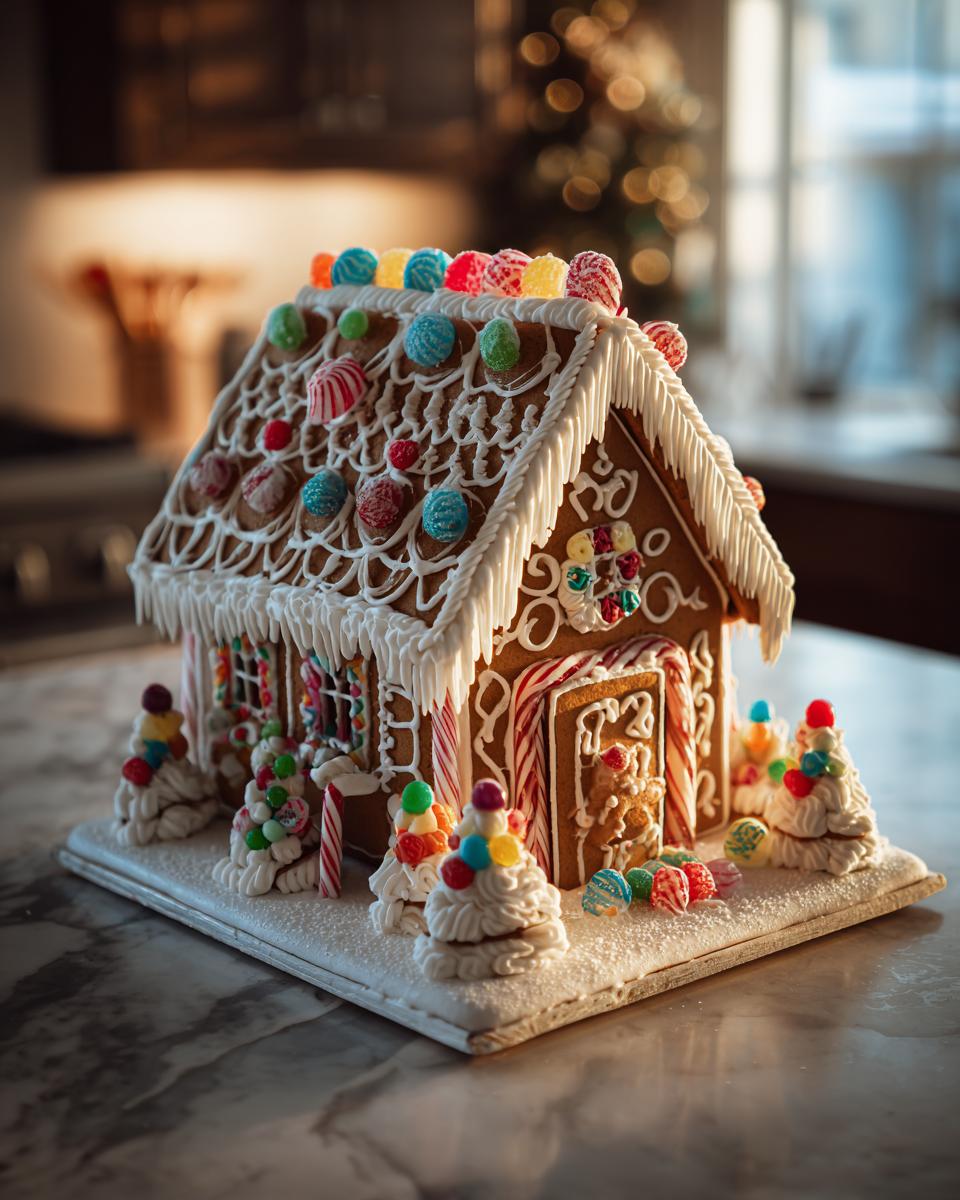
Now for the best part – turning your sturdy gingerbread structure into a festive showstopper! This is where you get to let your imagination run wild. Use that leftover royal icing to dab onto your candies and stick them all over your house. Think little gumdrop bushes, peppermint candy pathways, or even a curtain of licorice! You can make little windows with melted hard candies (just bake them inside the window cutouts before they go on the cookie sheet!) or use white icing to create snowy drifts on the roof. It really is all about personalizing it and having fun with it. For more sweet inspiration, peek at my Leftover Candy Cookies or some fun Halloween Sugar Cookie Tips!
Frequently Asked Questions about Gingerbread Houses
Building your own gingerbread masterpiece is so rewarding, but sometimes folks have a few questions pop up along the way. Don’t you worry, I’ve got you covered!
How do I prevent my gingerbread house pieces from breaking?
Oh, this is a big one! The absolute best way to keep your gingerbread from breaking is to make sure your dough is rolled consistently to about 1/4-inch thickness. Also, baking them just until the edges are firm and lightly browned is key. Don’t overbake them until they’re brittle! And remember to let them cool COMPLETELY on a wire rack before you even think about trying to assemble them. Patience, my friend!
Can I use a different type of icing instead of royal icing for my Christmas house?
You *can*, but I really, really recommend sticking with royal icing for building. It’s specifically designed to dry super hard and act like strong glue for your gingerbread structure. Other icings, like buttercream, are too soft and will just ooze, causing your house to tumble. You can totally use buttercream for decorating *on top* of the royal icing once it’s dry, but for the actual assembly, royal icing is your best friend.
How long does a gingerbread house last?
A properly constructed gingerbread house, made with this recipe and decorated with royal icing, can last for ages as a decoration – think weeks, even a whole season! Because royal icing dries so hard and dries out the gingerbread, it acts as a preservative. Just keep it away from humidity and direct sunlight. Eventually, it will become quite hard and might not taste as great, but as a festive display, it’s a champ!
My gingerbread dough feels too soft to roll. What should I do?
This sometimes happens if your kitchen is warm, or the butter was *too* soft to begin with. Don’t panic! Just wrap up the dough disks tightly and pop them back into the refrigerator for another 30 minutes to an hour. It’ll firm right up, and you’ll have an easier time rolling it out for your DIY gingerbread structure. Sometimes, just popping it in the fridge, even for 15 minutes, makes a world of difference.
Estimated Nutritional Information
Okay, let’s talk numbers! Keep in mind this is an estimate, and your gingerbread house’s final nutritional info will totally depend on how many candies you pile on – but for a basic “slice” of the structure itself, you’re looking at roughly 350 calories, 15g of fat (with 9g saturated), about 50g of carbs, 45g of sugar, and 150mg of sodium. So, enjoy your edible masterpiece, and maybe have a little extra water!
PrintClassic Gingerbread House Recipe

Construct a sturdy and decorative gingerbread house with this classic recipe, perfect for holiday crafting and family fun. This recipe yields a firm gingerbread dough ideal for building.
- Prep Time: 45 min
- Cook Time: 30 min
- Total Time: 3 hours 15 min (includes chilling time)
- Yield: 1 gingerbread house 1x
- Category: Dessert
- Method: Baking
- Cuisine: American
- Diet: Vegetarian
Ingredients
- 3 cups all-purpose flour, plus more for dusting
- 1 teaspoon ground ginger
- 1 teaspoon ground cinnamon
- 1/2 teaspoon ground cloves
- 1/4 teaspoon salt
- 1/2 cup (1 stick) unsalted butter, softened
- 1/2 cup packed light brown sugar
- 1/2 cup unsulfured molasses
- 1 large egg
- 1 teaspoon vanilla extract
- For Royal Icing:
- 4 cups powdered sugar
- 3 tablespoons meringue powder
- 6–8 tablespoons water
- Assorted candies for decoration
Instructions
- In a medium bowl, whisk together the flour, ginger, cinnamon, cloves, and salt.
- In a large bowl, cream together the softened butter and brown sugar until light and fluffy.
- Beat in the molasses, egg, and vanilla extract until well combined.
- Gradually add the dry ingredients to the wet ingredients, mixing until just combined. The dough will be stiff.
- Divide the dough in half, flatten each half into a disk, wrap in plastic wrap, and refrigerate for at least 2 hours, or until firm.
- Preheat your oven to 350°F (175°C). Line baking sheets with parchment paper.
- On a lightly floured surface, roll out one disk of dough to about 1/4-inch thickness. Cut out your gingerbread house pieces using templates or desired dimensions (e.g., two side walls, two front/back walls, two roof pieces, chimney pieces).
- Transfer the cut pieces to the prepared baking sheets, leaving some space between them.
- Bake for 10-15 minutes, or until the edges are firm and lightly browned. For larger pieces, you may need to bake them longer. Rotate the baking sheets halfway through baking for even cooking.
- Let the gingerbread pieces cool on the baking sheets for 5 minutes before carefully transferring them to a wire rack to cool completely.
- While the gingerbread pieces cool, prepare the royal icing. In a large bowl, whisk together the powdered sugar and meringue powder. Gradually add the water, starting with 6 tablespoons, and beat on medium speed until stiff peaks form. Add more water, 1 teaspoon at a time, if needed to reach a pipeable consistency.
- Once the gingerbread pieces are completely cool, assemble your house. Use the royal icing as ‘glue’ to attach the walls and roof pieces. Pipe generous lines of icing along the edges that will connect. Hold the pieces together for a few minutes until the icing begins to set.
- Attach the chimney pieces.
- Decorate your gingerbread house with assorted candies, using royal icing to secure them.
Notes
- Ensure your gingerbread pieces are completely cool before assembling to prevent them from breaking or melting the icing.
- For extra sturdy walls, you can bake the gingerbread pieces slightly longer until they are very firm.
- If your dough becomes too soft while working with it, return it to the refrigerator for a short period to firm up.
- Royal icing dries hard and acts as an excellent adhesive for gingerbread construction.
Nutrition
- Serving Size: 1 slice of house
- Calories: 350
- Sugar: 45g
- Sodium: 150mg
- Fat: 15g
- Saturated Fat: 9g
- Unsaturated Fat: 6g
- Trans Fat: 0g
- Carbohydrates: 50g
- Fiber: 1g
- Protein: 4g
- Cholesterol: 35mg