
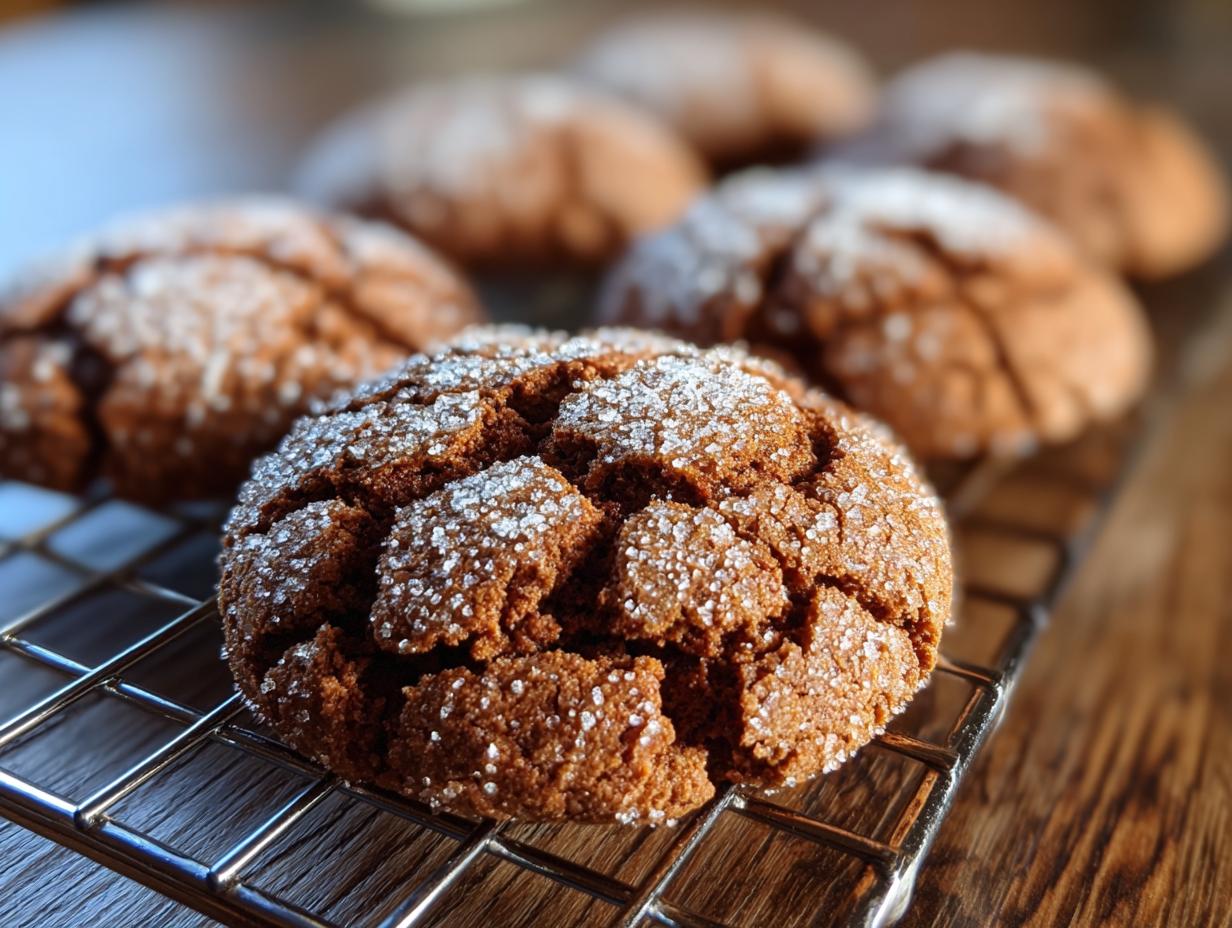

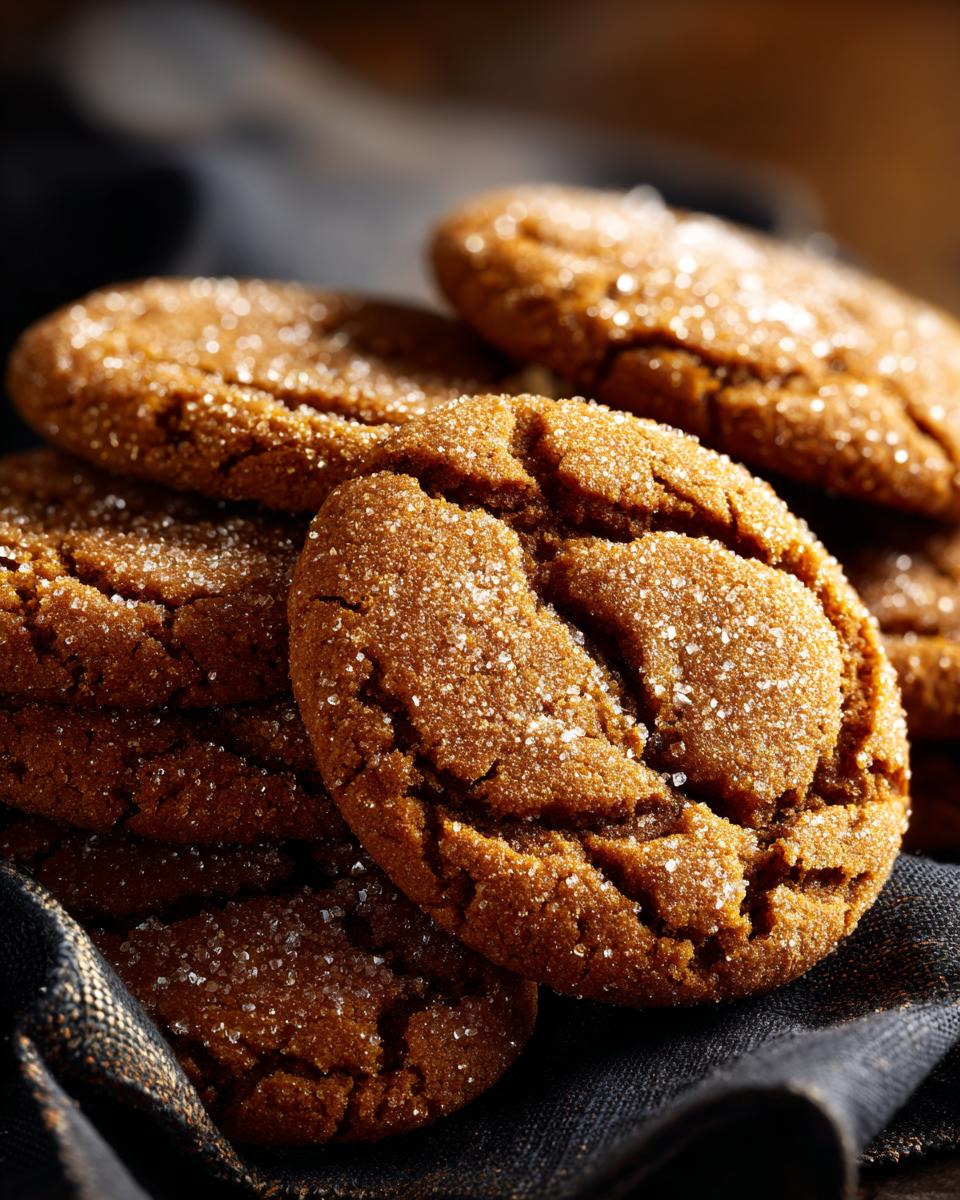
Oh, molasses cookies! Just thinking about them brings me right back to my grandmother Eleanor’s kitchen, doesn’t it? There’s something about that comforting, warm spice and that deep, smoky sweetness that just feels like a cozy hug on a chilly day. Forget those crisp gingersnaps; we’re talking about the real deal—cookies that are perfectly thick, wonderfully soft-centered, and topped with this amazing, sparkly sugar crust that makes them look as good as they taste. As a home cook who cherishes every faded recipe card from my own grandma’s wooden box, I’ve spent years perfecting this classic recipe. Trust me, these old-fashioned molasses cookies are the keepers you’ll want to bake again and again, especially once you try them! You can also follow our kitchen adventures on Facebook!
- Why You'll Love These Molasses Cookies
- Gather Your Ingredients for Old-Fashioned Molasses Cookies
- How to Make Soft Molasses Spice Cookies: Step-by-Step
- Tips for Baking Perfect Molasses Cookies
- Ingredient Notes and Substitutions
- Frequently Asked Questions About Molasses Cookies
- Storage and Reheating Instructions
- Estimated Nutritional Information
- Share Your Molasses Cookie Creations!
Why You’ll Love These Molasses Cookies
Seriously, why wouldn’t you love these cookies? They hit all the right notes, making them an absolute winner:
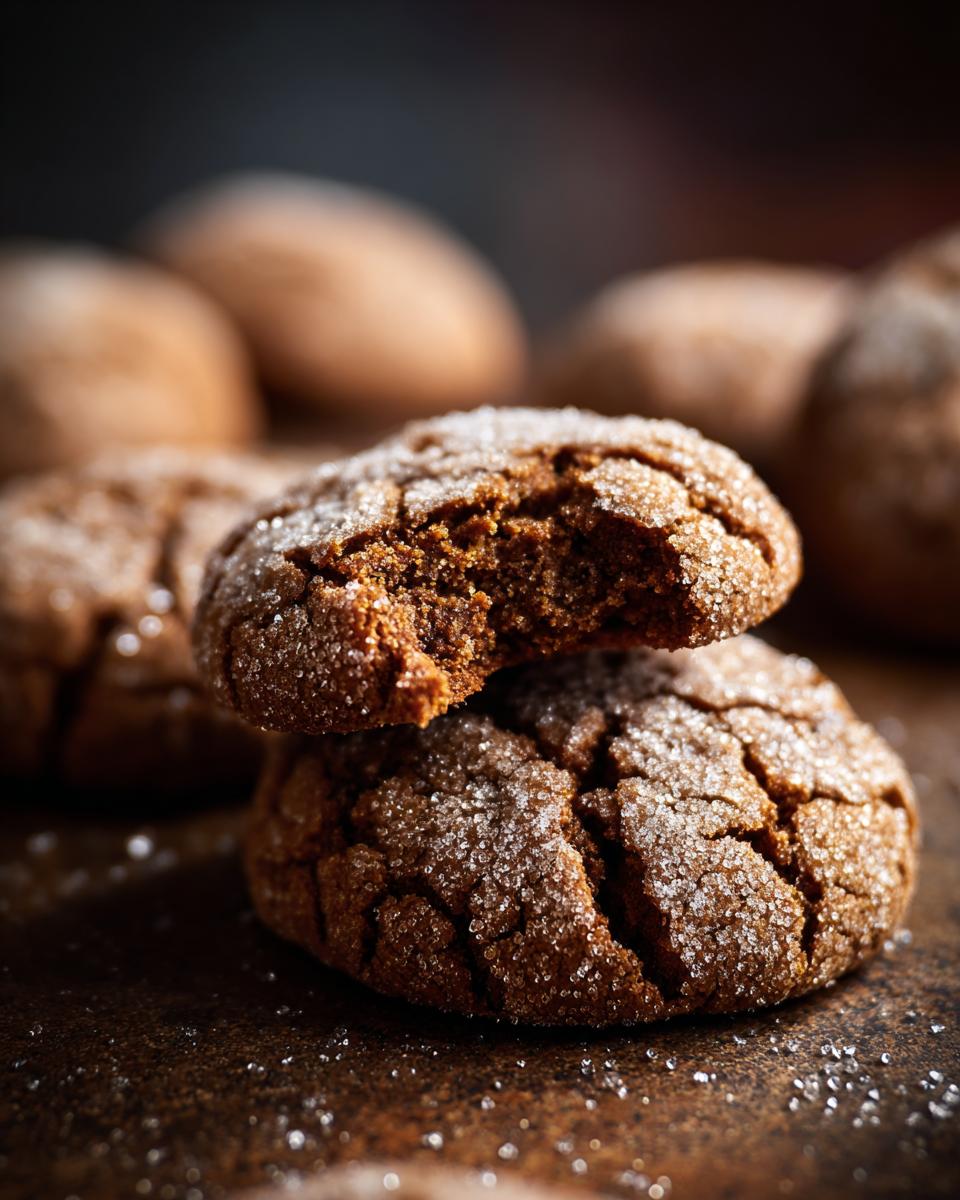
- The Perfect Texture: Forget flat, crispy cookies! These are wonderfully thick and have that unbelievably soft, chewy center that just melts in your mouth.
- Rich, Warm Flavor: That deep, smoky sweetness from the molasses combined with a delightful blend of ginger, cinnamon, and cloves is pure comfort. It tastes like a cozy hug!
- Gorgeous Sparkly Crust: Rolling them in sugar before baking gives them this beautiful, crackly, crinkled top that sparkles. They look as festive as they taste!
- Easier Than You Think: Even with all that amazing flavor and texture, they’re just simple drop cookies. Once the dough is chilled, they come together super fast, making them perfect for baking whenever that craving strikes.
Gather Your Ingredients for Old-Fashioned Molasses Cookies
Alright, let’s get our baking station ready! To make these amazing old-fashioned molasses cookies, you’ll need a few key players. Don’t worry, most of these are probably already in your pantry!
- 1 cup (2 sticks) unsalted butter, softened – make sure it’s nice and soft for creaming!
- 1 1/2 cups packed light brown sugar – it’s crucial for that chewiness and caramel flavor.
- 1 large egg – just one, to bind everything together.
- 1/2 cup unsulfured molasses – this is where that signature deep flavor comes from!
- 1 teaspoon vanilla extract – for that extra little kick of yummy.
- 3 1/2 cups all-purpose flour – the base of our cookie.
- 2 teaspoons baking soda – this helps them puff up just right.
- 1 teaspoon ground ginger – for that warm, spicy zing.
- 1 teaspoon ground cinnamon – a classic pairing with ginger and molasses.
- 1/2 teaspoon ground cloves – just a hint for that cozy holiday spice blend.
- 1/4 teaspoon salt – to balance all the sweetness.
- 1/4 cup granulated sugar, for rolling – this makes that sparkly, crackly crust we love!
How to Make Soft Molasses Spice Cookies: Step-by-Step
Alright, ready to whip up some of the best soft molasses spice cookies you’ve ever tasted? It’s easier than you think! We’re going for that perfect chewy ginger molasses cookie texture with a beautiful crinkled top. Let’s get started!
Creaming the Butter and Sugar
First things first, grab a big bowl and your softened butter and that packed light brown sugar. Beat them together until they look light, fluffy, and absolutely gorgeous. Think pale yellow and like a dream – this is super important for getting that wonderful texture!
Incorporating Wet Ingredients
Now, crack in your egg and give it a good mix. Then, pour in the molasses – be careful, it can be a bit thick! Stir in your vanilla extract until everything is nice and combined. It’s going to smell so good already!
Combining Dry Ingredients
In a separate bowl, let’s get our dry stuff together. Give the flour, baking soda, ginger, cinnamon, cloves, and salt a good whisk. We want all those lovely spices and everything to be shared evenly so every cookie gets that perfect flavor hug.
Mixing Dough and Chilling
Time to bring it all together! Gradually add the dry ingredients to your wet ones, mixing on low speed. Stop as soon as it’s *just* combined. Seriously, don’t overmix or you’ll lose that soft chewiness! Then, the hardest part: cover the bowl and let it chill in the fridge for at least an hour. This step is key to preventing them from spreading into sad little pancakes! For more baking tips, check out our blog!
Shaping and Rolling the Molasses Cookies
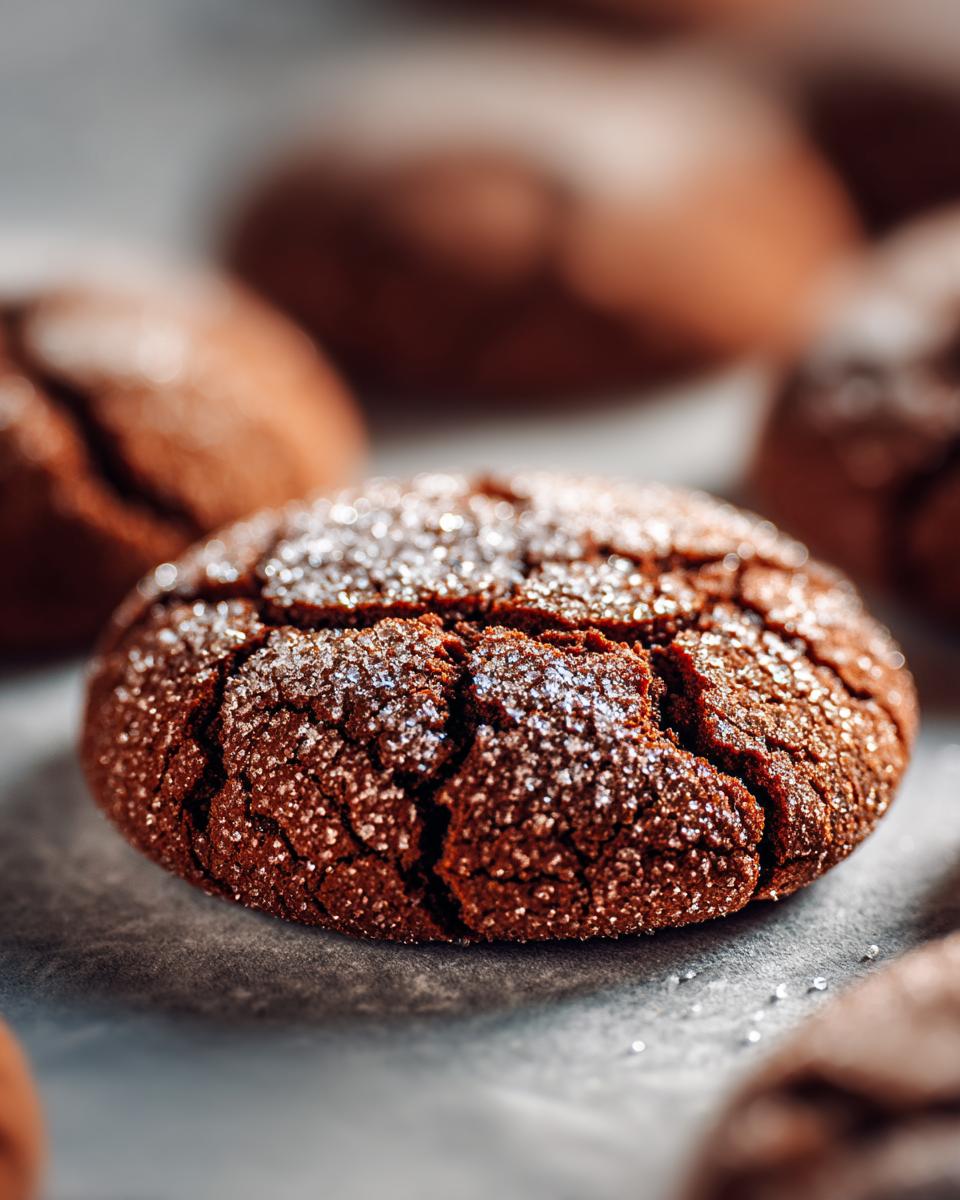
Once the dough is nice and firm, preheat your oven to 350°F (175°C) and line a couple of baking sheets with parchment paper. Put your granulated sugar in a little bowl. Grab a rounded tablespoon of dough, roll it into a nice ball, and give it a good tumble in the sugar until it’s coated all over. That sugar coating is what gives us that amazing sparkly, crackly, crinkled appearance!
Baking for Perfect Texture
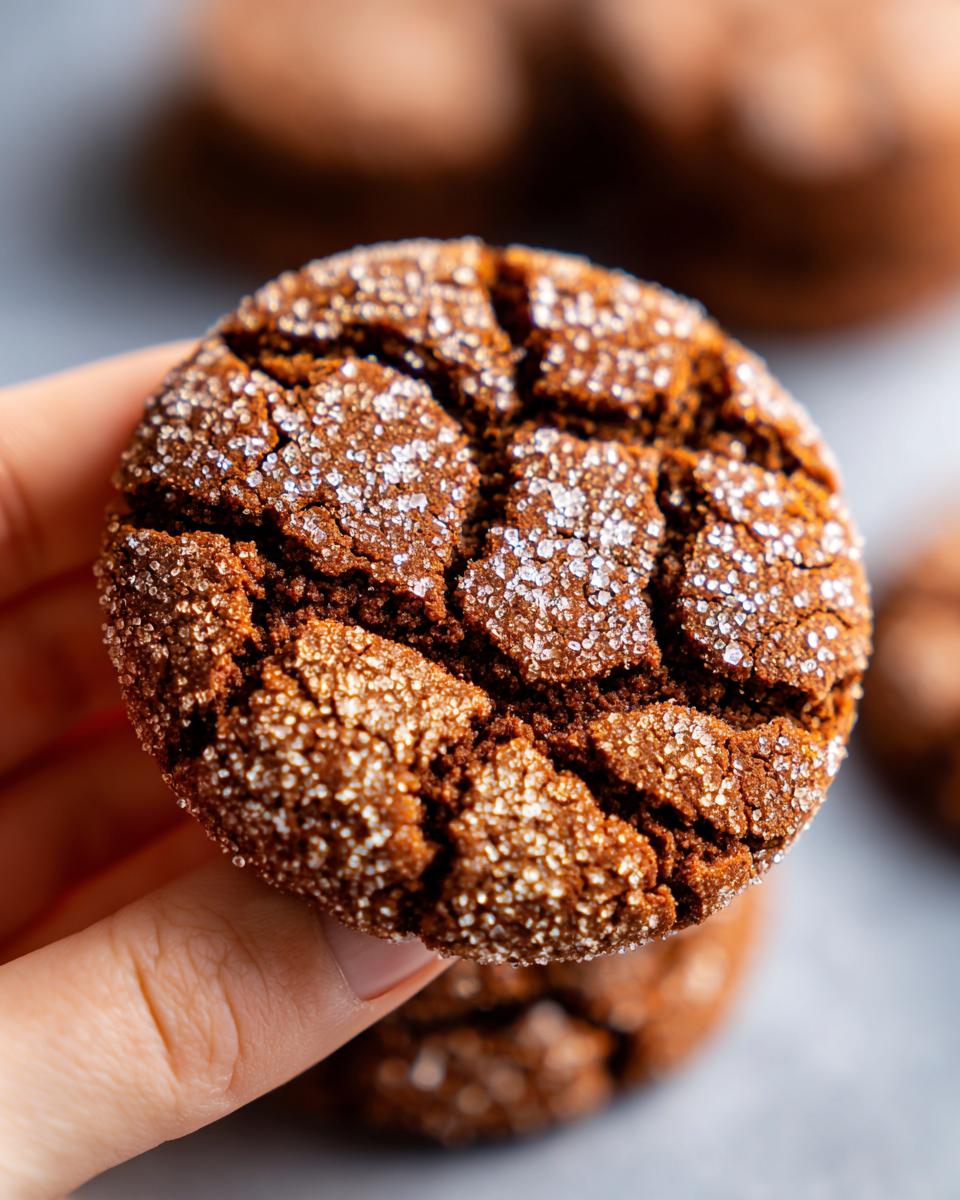
Pop those sugar-coated dough balls onto your prepared baking sheets, leaving about 2 inches between them. Now, bake them for about 10 to 12 minutes. Keep an eye on them! We want the edges to be set, but the centers should still look a little bit soft. For the best chewy old-fashioned molasses crinkles, it’s better to slightly underbake than overbake. Trust me on this!
Cooling and Finishing
Let the cookies hang out on the baking sheets for about 5 minutes after they come out of the oven. They’ll finish setting up there. Then, carefully transfer them to a wire rack to cool completely. Your kitchen should be smelling absolutely divine right about now!
Tips for Baking Perfect Molasses Cookies
Okay, so you’ve got the recipe – but sometimes, even with the best intentions, things can go a little sideways in the kitchen, right? Don’t you worry! I’ve got a few tried-and-true tips that’ll help you nail these molasses cookies every single time. It’s all about the little details!
Ingredient Temperature Matters!
Seriously, this is a big one. Make sure your butter is truly softened – not melted, but soft enough that you can easily make an indent with your finger. And your egg? A room-temperature egg incorporates much better. This helps us get that lovely, light base for our cookies.
Chilling is Non-Negotiable
I know it’s tempting to just mix and bake, but please, *please* give that dough at least an hour in the fridge. This really helps prevent your cookies from spreading out way too much. Cold dough means thicker cookies, and that’s exactly what we’re going for! If you’re ever in a bind, I’ve shared some helpful baking tips on this post that apply here too.
Don’t Overmix the Dough
This is a mistake I see a lot of home bakers make! When you add the dry ingredients to the wet, mix *just* until everything is combined. A few streaks of flour are okay because they’ll disappear in the oven. Overmixing develops the gluten too much, leading to tough cookies instead of that wonderfully chewy texture we crave.
Oven Variations Are Real
Every oven is a little different, so pay attention to your cookies! The baking time of 10-12 minutes is a guideline. Some ovens run hotter, so for that perfect soft center, you might need to pull them out a minute or two sooner. Look for the edges to be set, but the center should still feel slightly soft to the touch. Remember, they’ll set up more on the baking sheet!
Sweet Tooth Sugar Rush
For that extra crackly, crinkly top and a little crunch, make sure you’re rolling those dough balls generously in the granulated sugar. Don’t be shy! A good coating really helps create that iconic look and adds another layer of sweetness. It’s these little things that make them such perfect old-fashioned molasses cookies.
Ingredient Notes and Substitutions
Alright, let’s chat about a couple of these ingredients because using the right ones really makes a difference in our old-fashioned molasses cookies. First off, that molasses! You really want to grab unsulfured molasses. This kind has a sweeter, richer flavor without any of that bitter kick you get from the ‘stabilized’ or ‘sulfured’ stuff. It’s key for that signature warm, comforting taste. If you absolutely can’t find unsulfured, you could try blackstrap, but be warned – it’s much stronger and might make your cookies a bit more intense than you’re expecting!
Now, about the butter. Using unsalted butter is usually best in baking because it lets you control the saltiness of your recipe. If you only have salted butter on hand, you can totally use it, just cut back on the salt you add to the dry ingredients a little bit. For this recipe, though, sticking to the basics and using what’s called for will give you the most reliably delicious results!
Frequently Asked Questions About Molasses Cookies
Got questions about these wonderful chewy molasses cookies? I’ve got answers! Baking should be fun, not confusing, so let’s clear up anything that might be on your mind about making these old-fashioned delights.
Why are my molasses cookies spreading too much?
Oh, the dreaded cookie spread! It usually happens for a few reasons. Make sure your butter wasn’t too soft or melted when you creamed it – it should be just softened. Also, chilling the dough is super important! Cold dough spreads less. If they still spread more than you’d like, try adding just a tablespoon or two more flour to the dough next time, or make sure you’re not over-creaming the butter and sugar.
Can I make molasses cookie dough ahead of time?
Absolutely! This is one of the best things about this recipe. You can make the dough, cover it tightly, and keep it in the refrigerator for up to 3 days. The extra chilling time can actually make them even more flavorful! Just let it sit on the counter for about 10-15 minutes before you roll the balls if it’s gotten too hard.
What kind of molasses is best for cookies like these?
For these soft molasses spice cookies, you really want to use unsulfured molasses. It has a sweeter, milder flavor that’s perfect for cookies. Blackstrap molasses is much stronger and can give a more bitter, intense taste, so I’d stick to the unsulfured kind for this recipe to get that classic comforting flavor. You can find it in most grocery stores!
How do I get that crinkly top on my cookies?
That gorgeous crinkly look comes from a couple of things! First, rolling the dough balls generously in granulated sugar before baking is key – it creates that sparkly, crackly crust. Also, slightly underbaking them helps them puff up and then settle, creating those beautiful cracks. Don’t overbake them; you want them to look a little soft in the center when you take them out.
Can I freeze these molasses cookies?
You sure can! These chewy ginger molasses cookies freeze really well, either baked or as dough balls. For baked cookies, just make sure they’re completely cool, then store them in an airtight container with parchment paper between layers. For unbaked dough balls (coated in sugar, please!), freeze them on a baking sheet until solid, then transfer to a freezer bag. You can bake them straight from frozen, just add a couple of extra minutes to the baking time. For more baking secrets, definitely pop over to our blog!
Storage and Reheating Instructions
Got leftovers? Lucky you! To keep these amazing molasses cookies wonderfully soft and chewy, store them in an airtight container at room temperature. They’re usually good for about 3-4 days, but honestly, they never last that long in my house! If you want to freeze them, I recommend freezing the baked cookies – just wrap ’em well with parchment paper between layers. To reheat, pop a cookie on a plate in the microwave for just 5-10 seconds, or try warming them in a low oven for a few minutes to get them cozy again!
Estimated Nutritional Information
Now, I always say that baking is about joy, not precise science when it comes to your plate! But just to give you a ballpark number, one of these gorgeous molasses cookies comes in at around 180 calories. You’ll find about 8g of fat (5g saturated) and roughly 26g of carbs, with about 18g of that being sugar. Remember, these numbers are estimates, and they can change a bit depending on the brands you use!
Share Your Molasses Cookie Creations!
Okay, now it’s your turn to get baking! I am just bursting with excitement to hear all about your adventures with these molasses cookies. Did they turn out as wonderfully chewy as you hoped? Did your family gobble them up? Seriously, please leave a comment below and tell me everything! And if you snap a pic of your cookie creations, tag us on social media. We absolutely LOVE seeing what you make in your kitchens!
PrintSoft Molasses Crinkle Cookies
Bake thick, chewy molasses cookies with a sparkly sugar crust and a deep, warm spice flavor. These old-fashioned drop cookies are perfect for the holidays.
- Prep Time: 20 min
- Cook Time: 12 min
- Total Time: 1 hour 32 min
- Yield: 36 cookies 1x
- Category: Dessert
- Method: Baking
- Cuisine: American
- Diet: Vegetarian
Ingredients
- 1 cup (2 sticks) unsalted butter, softened
- 1 1/2 cups packed light brown sugar
- 1 large egg
- 1/2 cup unsulfured molasses
- 1 teaspoon vanilla extract
- 3 1/2 cups all-purpose flour
- 2 teaspoons baking soda
- 1 teaspoon ground ginger
- 1 teaspoon ground cinnamon
- 1/2 teaspoon ground cloves
- 1/4 teaspoon salt
- 1/4 cup granulated sugar, for rolling
Instructions
- In a large bowl, cream together the softened butter and light brown sugar until light and fluffy.
- Beat in the egg, then stir in the molasses and vanilla extract until well combined.
- In a separate medium bowl, whisk together the all-purpose flour, baking soda, ground ginger, ground cinnamon, ground cloves, and salt.
- Gradually add the dry ingredients to the wet ingredients, mixing on low speed until just combined. Do not overmix.
- Cover the dough and chill for at least 1 hour, or until firm enough to roll.
- Preheat your oven to 350°F (175°C). Line baking sheets with parchment paper.
- Place the granulated sugar in a small bowl.
- Roll rounded tablespoons of chilled dough into balls.
- Roll each dough ball in the granulated sugar until evenly coated.
- Place the sugared dough balls about 2 inches apart on the prepared baking sheets.
- Bake for 10-12 minutes, or until the edges are set and the centers are still slightly soft. For chewier cookies, underbake slightly.
- Let the cookies cool on the baking sheets for 5 minutes before transferring them to a wire rack to cool completely.
Notes
- Chilling the dough is essential for preventing the cookies from spreading too much.
- For a cracklier top, ensure the dough balls are well-coated in sugar.
- These cookies are best when slightly underbaked for a soft, chewy texture.
Nutrition
- Serving Size: 1 cookie
- Calories: 180
- Sugar: 18g
- Sodium: 75mg
- Fat: 8g
- Saturated Fat: 5g
- Unsaturated Fat: 3g
- Trans Fat: 0g
- Carbohydrates: 26g
- Fiber: 1g
- Protein: 2g
- Cholesterol: 25mg