
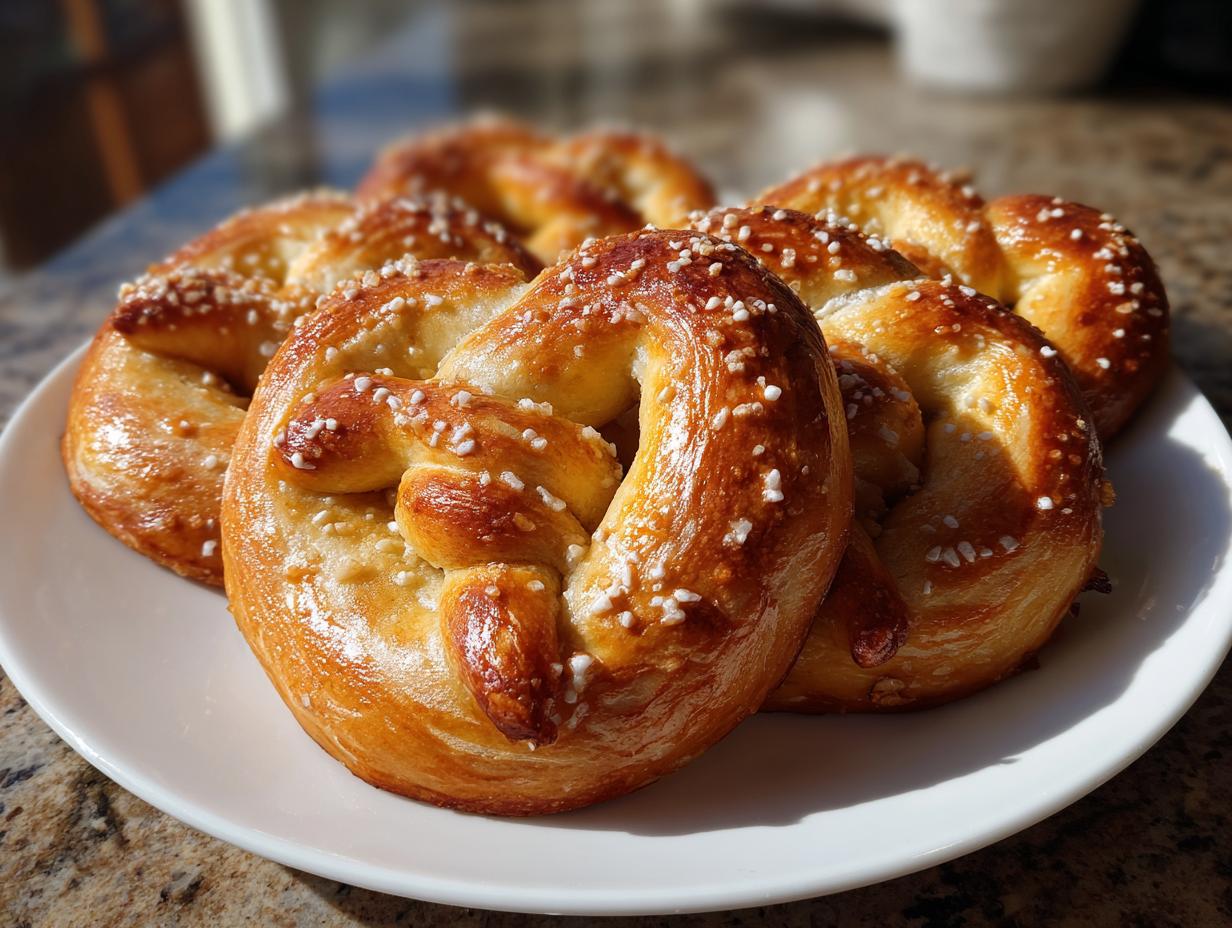

Oh, soft pretzels! Just thinking about them brings me right back to those crisp autumn days, maybe at a street fair, or even just that magical smell wafting from the mall. There’s something so incredibly comforting about a warm, chewy pretzel, especially when it’s sprinkled with just the right amount of coarse salt. I remember as a kid, my grandma would make these, and the whole house would smell like a little slice of heaven. It always felt like such a special treat, and honestly, I always thought they were some sort of culinary magic that only pros could pull off. Well, trust me, after a few tries (and a few delicious oopsies!), I’ve figured out how to make those amazing, homemade soft pretzels happen right in my own kitchen, and now I can’t wait to share my secrets with you!
- Why You'll Love This Homemade Soft Pretzel Recipe
- Ingredients for the Perfect Soft Pretzels
- Mastering the Pretzel Dough Rise
- The Crucial Baking Soda Pretzel Bath
- How to Shape and Bake Your Soft Pretzels
- Tips for the Best Chewy Salted Pretzels
- Serving and Storing Your Homemade Soft Pretzels
- Frequently Asked Questions About Soft Pretzels
- Nutritional Information
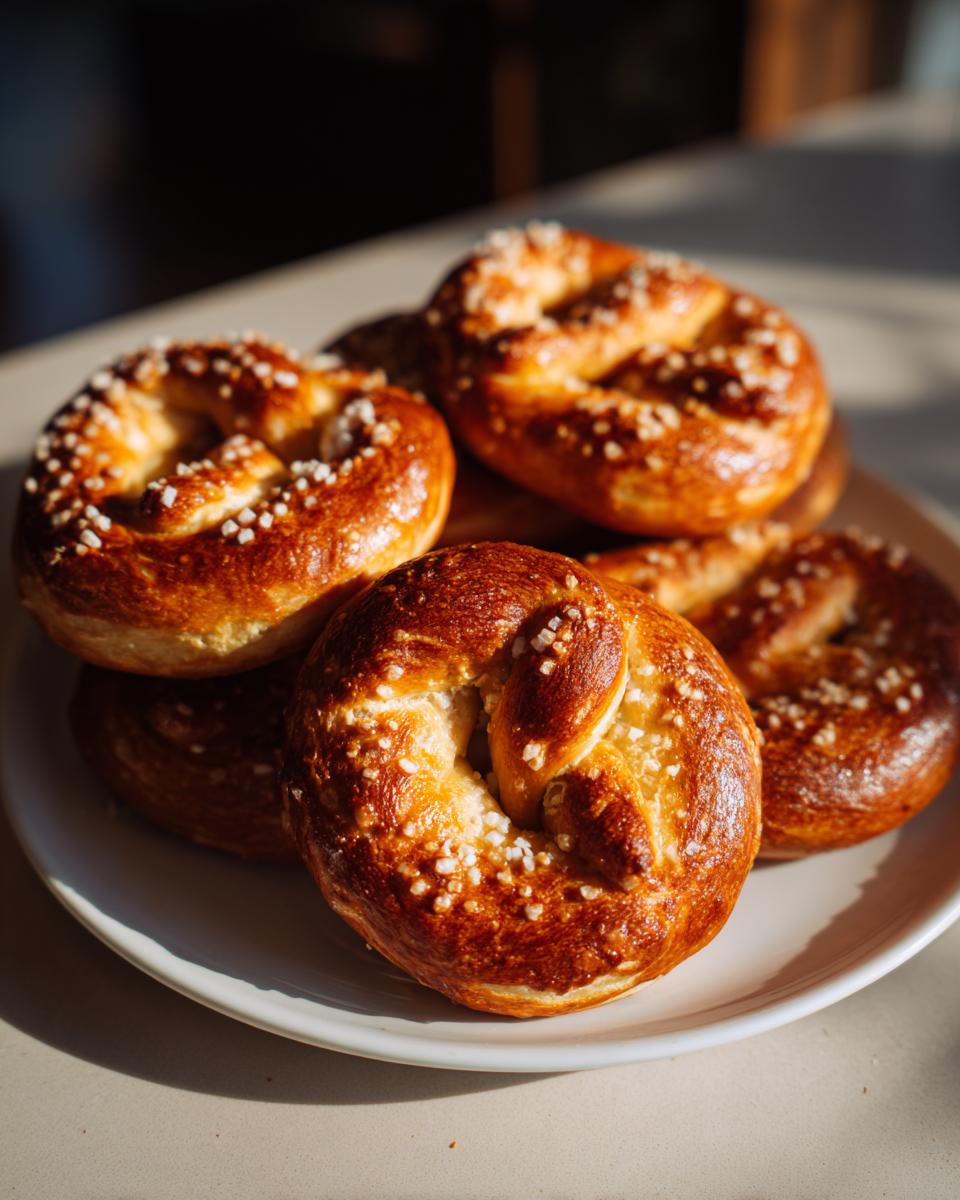
Why You’ll Love This Homemade Soft Pretzel Recipe
Honestly, why just *dream* about soft pretzels when you can make them yourself? This recipe is a total game-changer because:
- It’s surprisingly easy! Seriously, the dough comes together in a snap and the shaping is more fun than fussy.
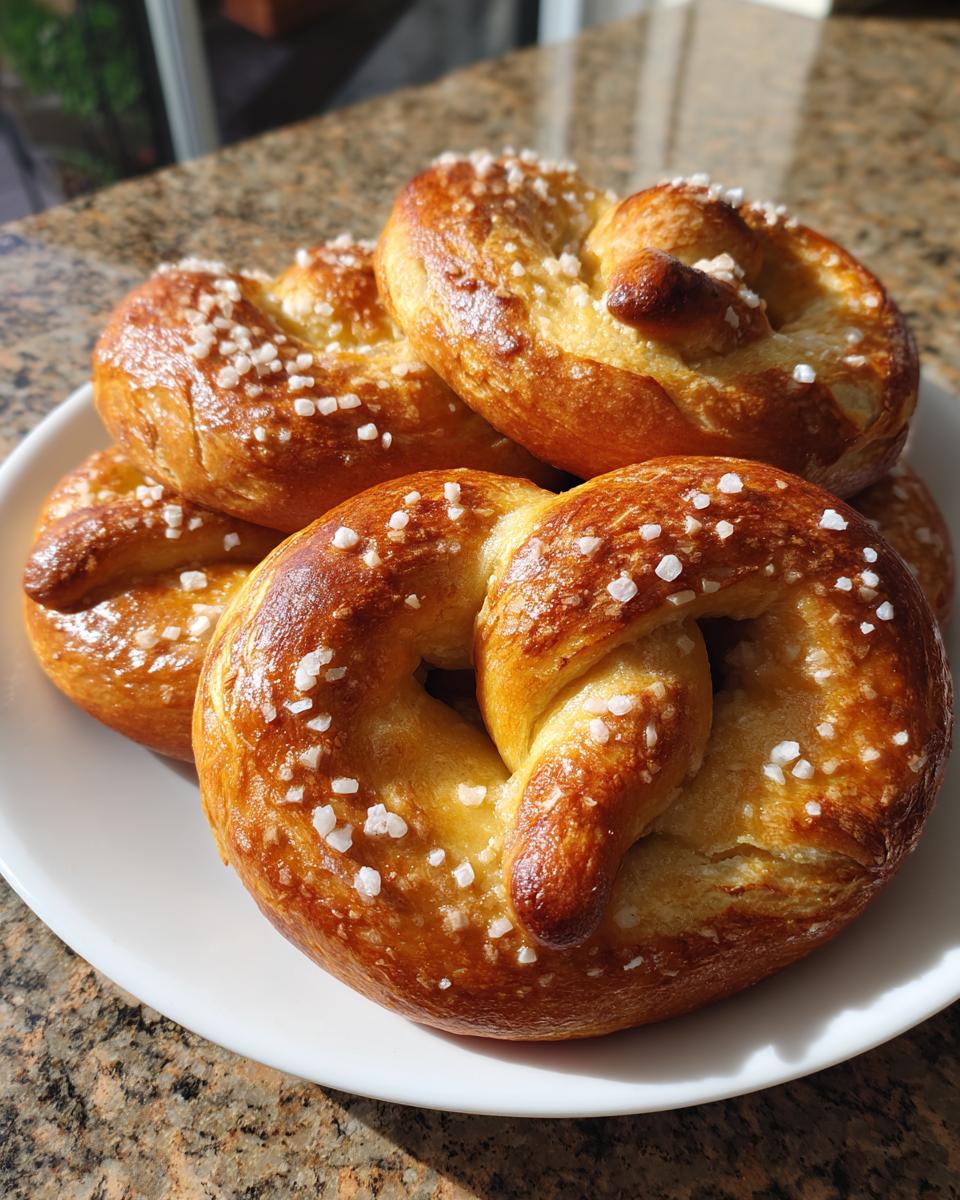
- That texture? Unbeatable. We’re talking that perfect chewy, slightly-crisp exterior and a wonderfully soft inside. Hello, authentic flavor!
- Perfect for any occasion. Whether it’s game day, a fall gathering, or just a cozy movie night, homemade pretzels always steal the show.
- The smell! Your whole house will smell amazing as these bake. It’s pure comfort food magic.
Get ready to impress yourself (and anyone lucky enough to be around!) with your amazing pretzel skills.
Ingredients for the Perfect Soft Pretzels
Alright, let’s talk about what you’ll need to whip up these beauties. The beauty of homemade pretzels is that they use pretty basic pantry staples, but using good quality ingredients really does make a difference. For the dough itself, grab your **warm water** – make sure it’s nice and cozy, around 105-115°F, that’s just right for waking up the yeast. We’ve got **1 ½ cups** of that. Then comes the star of the show for getting our dough bubbly: **1 packet of active dry yeast**, which is usually about **2 ¼ teaspoons**. A little **granulated sugar** (just **1 teaspoon**) is like a little snack for the yeast, helping it get going.
Now for our main structure: **4 ½ cups of all-purpose flour**. I always measure mine and then dust my surface with a little extra for kneading and shaping. Don’t forget **1 teaspoon of salt** to give the dough some flavor! For that gorgeous golden sheen and to help the salt stick, we’ll need **1 large egg**, just lightly beaten for our egg wash. And of course, the sparkle: **2 tablespoons of coarse salt** for topping – trust me, it’s worth finding the coarse kind! Finally, the secret weapon for that amazing chewy crust is **½ cup of baking soda**, which we’ll mix with water for our boiling bath. Simple, right?
Mastering the Pretzel Dough Rise
Okay, so you’ve got your shaggy dough mixed up. Now comes the part where we let it do its thing – the rise! This is where the magic of yeast really kicks in and gives us that lovely, chewy texture we’re after. First things first, find a nice, warm spot for your dough to hang out. Think of it like tucking it into bed for a cozy nap! I usually give my bowl a little light oiling, then pop on some plastic wrap to keep everything nice and moist. Let it sit for about an hour, or until it’s basically doubled in size. You want it to look puffy and airy!
Now, about that kneading we did earlier – that’s SO important for developing the gluten. It’s what makes our pretzels have that satisfying chew instead of being crumbly. My personal trick? If my kitchen feels a bit chilly, I’ll pop the covered bowl into my (turned off!) oven with just the oven light on. That tiny bit of warmth is usually *just* enough to encourage a happy rise. Seriously, this pretzel dough rise makes all the difference in the world! For more baking chat and tips, you can always find little snippets from my kitchen over on my Facebook page.
The Crucial Baking Soda Pretzel Bath
Okay, deep breaths everyone, because this next step is where the real pretzel magic happens! It’s called the **baking soda pretzel bath**, and it’s absolutely key to getting that classic chewy texture and that gorgeous, deep golden-brown color we all love. Don’t worry, it sounds a *little* intimidating, but it’s actually super straightforward. First, you’ll want to grab a nice big pot – big enough to comfortably dip your pretzels – and pour in about 8 cups of water. Then, carefully whisk in your ½ cup of baking soda. Turn up the heat and bring this mixture to a nice, rolling boil. Seriously, you want it bubbling!
While that’s getting ready, this is a great time to have your shaped pretzels lined up on the baking sheet. When the bath is boiling, you’ll carefully grab one pretzel at a time and gently submerge it in the bubbly water. Let it hang out there for about 30 seconds – you don’t want to overdo it! This bath is what gives the pretzels that unique flavor and that super satisfying chew. So important! My trick to keep them from sticking in the bath or the oven later is to make sure the water is *really* boiling and not to overcrowd the baking sheet. For more chewy pretzel goodness, check out my soft pretzel bites!
How to Shape and Bake Your Soft Pretzels
Alright, you’ve got your dough all risen and beautiful, and your baking soda bath is cheerfully bubbling away. Now for the fun part: turning that dough into classic, twisty pretzel shapes! It’s easier than you think, and honestly, it’s kind of therapeutic. First off, punch down that lovely risen dough gently – you don’t want to deflate all that wonderful airiness. Then, divide it into 8 equal pieces. I like to use a kitchen scale if I have one handy, but just eyeballing it works too!
Now, take one piece of dough and roll it out on your lightly floured surface into a long rope, about 24 inches long. Don’t worry if it’s not perfectly even; that just adds character! To make the classic shape, imagine a ‘U’ shape with the ends of the rope. Twist one end around the other twice, then bring the twisted ends down to meet the bottom of the ‘U’. Voilà! A pretzel! Carefully dip it into that boiling baking soda bath for about 30 seconds, making sure it’s fully submerged.
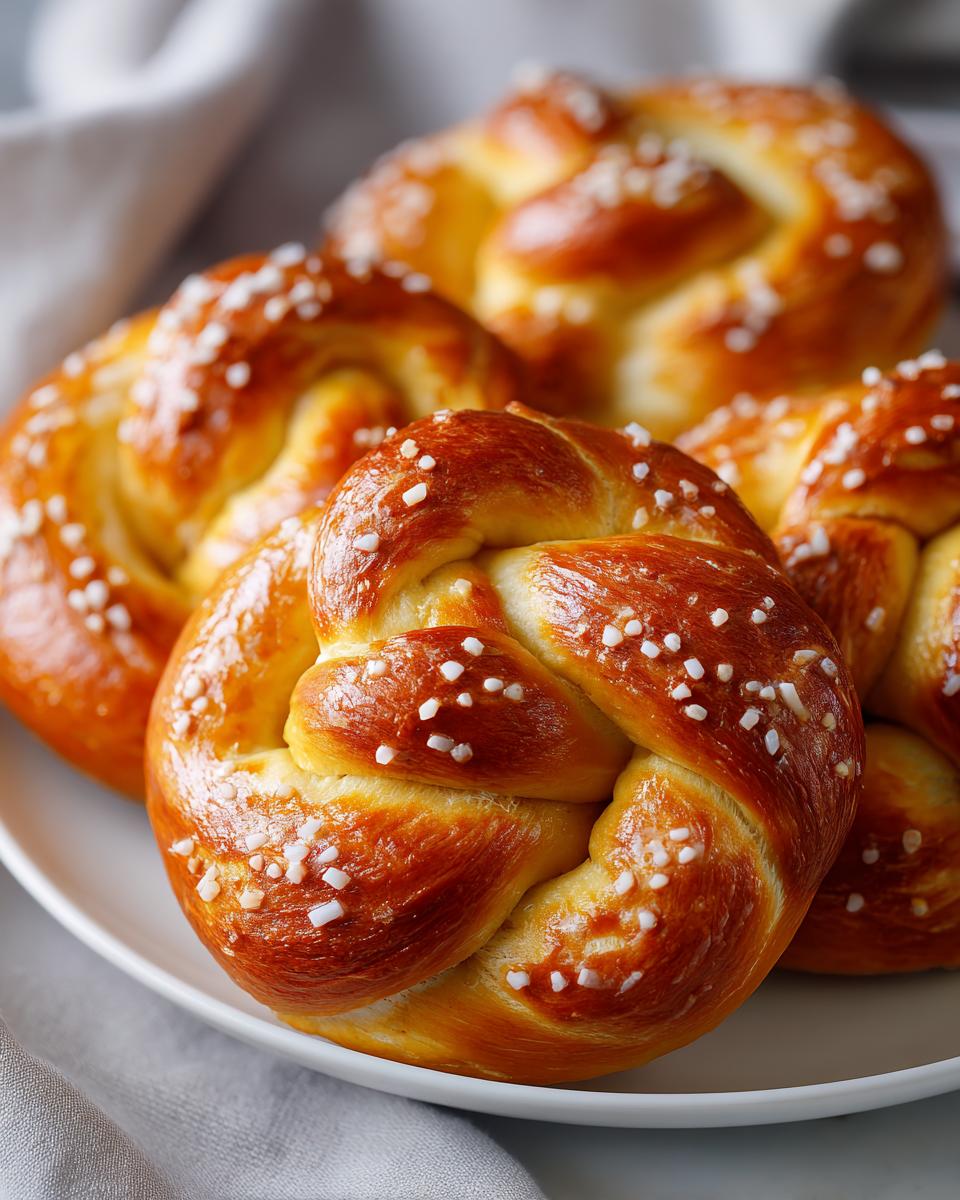
Once it’s had its quick spa treatment in the bath, lift it out and place it on your prepared baking sheet. Now do this for all your dough ropes. While they’re waiting, preheat your oven to 425°F (220°C). Once all your pretzels are shaped and on the sheet, brush them all over with that beaten egg wash. This is what makes them nice and shiny! And now, for the grand finale: sprinkle them generously with that coarse salt. Get it all over the tops! Pop them into the hot oven and bake for about 12-15 minutes. You’re looking for that perfect deep golden brown color. Keep an eye on them, as ovens can be a little wild! Once they’re golden and smell absolutely heavenly, pull them out. Perfection!
For more delightful baking adventures, why not browse my other dessert recipes?
Tips for the Best Chewy Salted Pretzels
You’re so close to pretzel perfection! To make sure your homemade soft pretzels are truly the best, here are a few little tips I’ve picked up along the way. First off, don’t be shy with that coarse salt! A good sprinkle right after the egg wash is what makes those classic chewy salted pretzels. If you find your dough is a little sticky when you’re shaping, just dust your hands and the surface with a *tiny* bit more flour – a little goes a long way. When it comes to baking, every oven is a bit different. Keep an eye on those pretzels; you want them beautifully golden, not too dark. Make sure your baking soda bath is truly boiling before you dip them; that’s the secret weapon for chewiness!
Serving and Storing Your Homemade Soft Pretzels
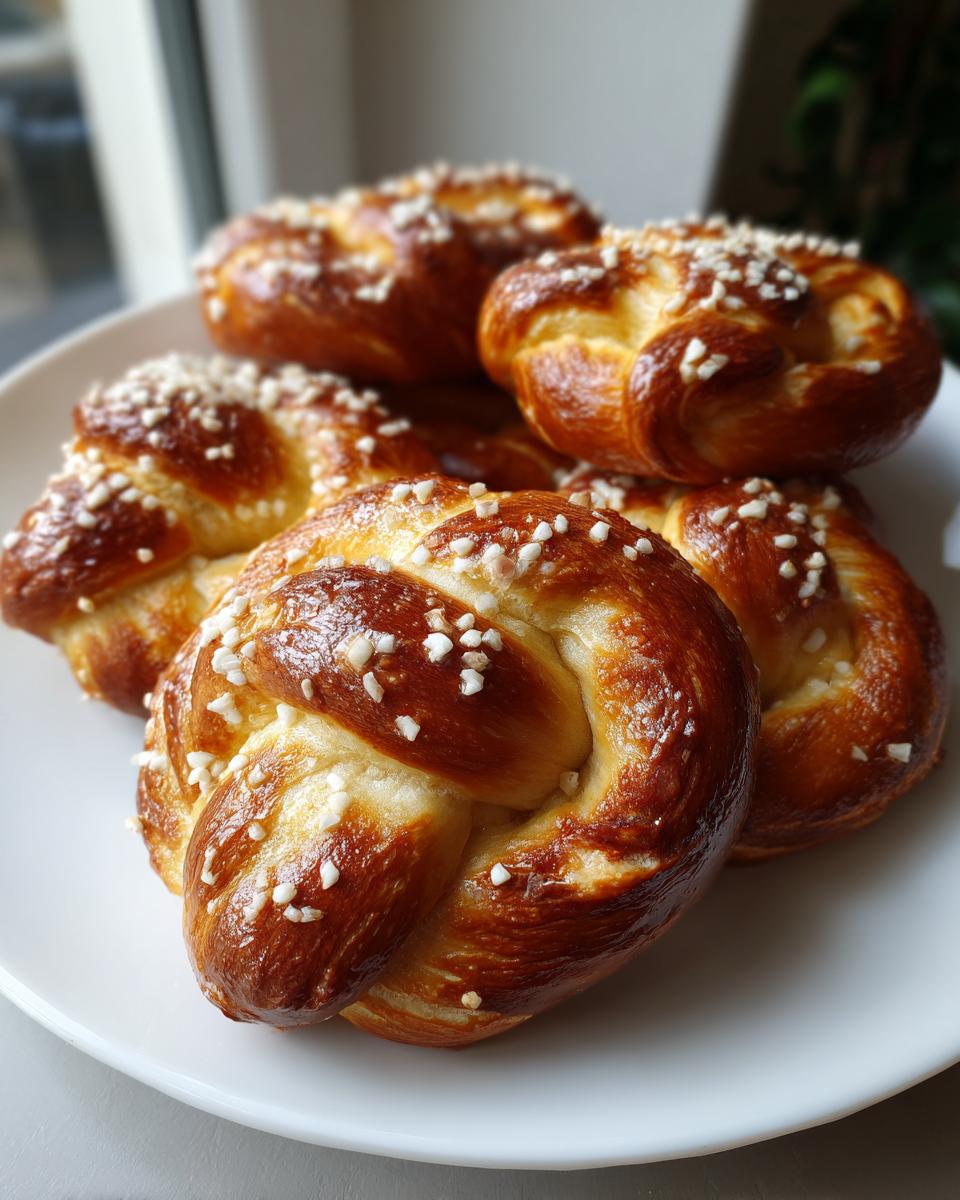
You did it! Your beautiful, warm soft pretzels are fresh out of the oven and smelling divine. Now, what to do with them? Honestly, they’re fantastic all on their own, but a little something extra never hurt anyone! My absolute favorite way to enjoy them is with a side of grainy mustard – that little tang is just perfect. A warm cheese sauce is also a total winner, especially if you’re making a batch for game day. Need a great cheese sauce recipe? My Slow Cooker Queso Dip is divine with these!
Got leftovers? Lucky you! To keep them tasting their best, let them cool completely, then store them in an airtight container or a zip-top bag at room temperature for a day or two. If you need to refresh them after that, just pop one in the microwave for about 10-15 seconds, or even better, a quick few minutes in a toaster oven or a hot oven (around 350°F) will bring back some of that lovely crispness. Enjoy every single bite!
Frequently Asked Questions About Soft Pretzels
Can I make soft pretzels without a baking soda bath?
While you *can* technically bake pretzels without the baking soda bath, you’ll miss out on that iconic chewy texture and deep golden color. The baking soda causes a chemical reaction that browns the crust and gives it that specific pretzel chewiness. Without it, you’ll end up with something closer to a regular breadstick or roll. It’s honestly the most important step for a true soft pretzel!
How do I get my pretzels to be chewy?
The chewiness comes from a few key things! First, make sure you knead the dough properly to develop the gluten. Then, the crucial step is that quick dip in the boiling baking soda bath – don’t skip it! Finally, don’t overbake them. You want them golden brown, but still a little soft inside. Overbaked pretzels can turn hard and dry.
What kind of flour is best for homemade soft pretzels?
All-purpose flour is usually perfect for homemade soft pretzels! It has a moderate protein content that gives you a good balance of chewiness and tenderness. You can also experiment with bread flour if you want an even chewier result, as it has a higher protein content, but all-purpose is usually reliable and easy to find. For more classic baking inspiration, check out my breakfast and brunch recipes!
My pretzels didn’t get very dark. What did I do wrong?
Don’t worry, it happens! Usually, the color is affected by the baking soda bath. Make sure your bath was at a rolling boil and that you gave the pretzels a good 30-second dip. Sometimes, if the baking soda isn’t super fresh, it can affect the reaction too. Also, ovens can vary, so sometimes a few extra minutes in the oven until they reach that deeper golden hue is all they need. Happy baking!
Nutritional Information
These numbers are just an estimate, crafted from the ingredients listed, so your actual counts might be a little different depending on how you whip them up! But generally, one of these glorious homemade soft pretzels comes in at around 250 calories, with about 2g of fat and 7g of protein. You’re looking at roughly 50g of carbohydrates and just 3g of sugar, making them a satisfying snack that won’t weigh you down. Pretty great for a homemade treat, right?
PrintHomemade Soft Pretzels
Create classic, chewy, golden-brown soft pretzels at home, perfect for gatherings or a cozy baking project.
- Prep Time: 20 min
- Cook Time: 15 min
- Total Time: 1 hr 35 min
- Yield: 8 pretzels 1x
- Category: Snack
- Method: Baking
- Cuisine: American
- Diet: Vegetarian
Ingredients
- 1 ½ cups warm water (105-115°F)
- 1 packet active dry yeast (2 ¼ teaspoons)
- 1 teaspoon granulated sugar
- 4 ½ cups all-purpose flour, plus more for dusting
- 1 teaspoon salt
- 1 large egg, beaten (for egg wash)
- 2 tablespoons coarse salt (for topping)
- ½ cup baking soda (for boiling bath)
Instructions
- In a large bowl, combine warm water, yeast, and sugar. Let stand for 5-10 minutes until foamy.
- Add flour and salt to the yeast mixture. Mix until a shaggy dough forms.
- Turn the dough out onto a lightly floured surface and knead for 8-10 minutes until smooth and elastic.
- Place the dough in a lightly oiled bowl, cover with plastic wrap, and let rise in a warm place for 1 hour, or until doubled in size.
- Preheat your oven to 425°F (220°C). Line a baking sheet with parchment paper.
- In a shallow dish, combine the baking soda and 8 cups of water. Bring to a boil.
- Punch down the risen dough and divide it into 8 equal pieces.
- Roll each piece into a rope about 24 inches long. Twist into pretzel shapes.
- Carefully dip each pretzel into the boiling baking soda water for 30 seconds.
- Remove pretzels from the water bath and place them on the prepared baking sheet.
- Brush the tops with the beaten egg wash and sprinkle generously with coarse salt.
- Bake for 12-15 minutes, or until golden brown.
- Serve warm with your favorite mustard or cheese sauce.
Notes
- For a richer flavor, you can add 1 tablespoon of melted butter to the dough.
- If you don’t have coarse salt, regular table salt can be used, but use it more sparingly.
- Ensure your baking soda bath is at a rolling boil before dipping the pretzels.
Nutrition
- Serving Size: 1 pretzel
- Calories: 250
- Sugar: 3g
- Sodium: 800mg
- Fat: 2g
- Saturated Fat: 0.5g
- Unsaturated Fat: 1.5g
- Trans Fat: 0g
- Carbohydrates: 50g
- Fiber: 2g
- Protein: 7g
- Cholesterol: 15mg