
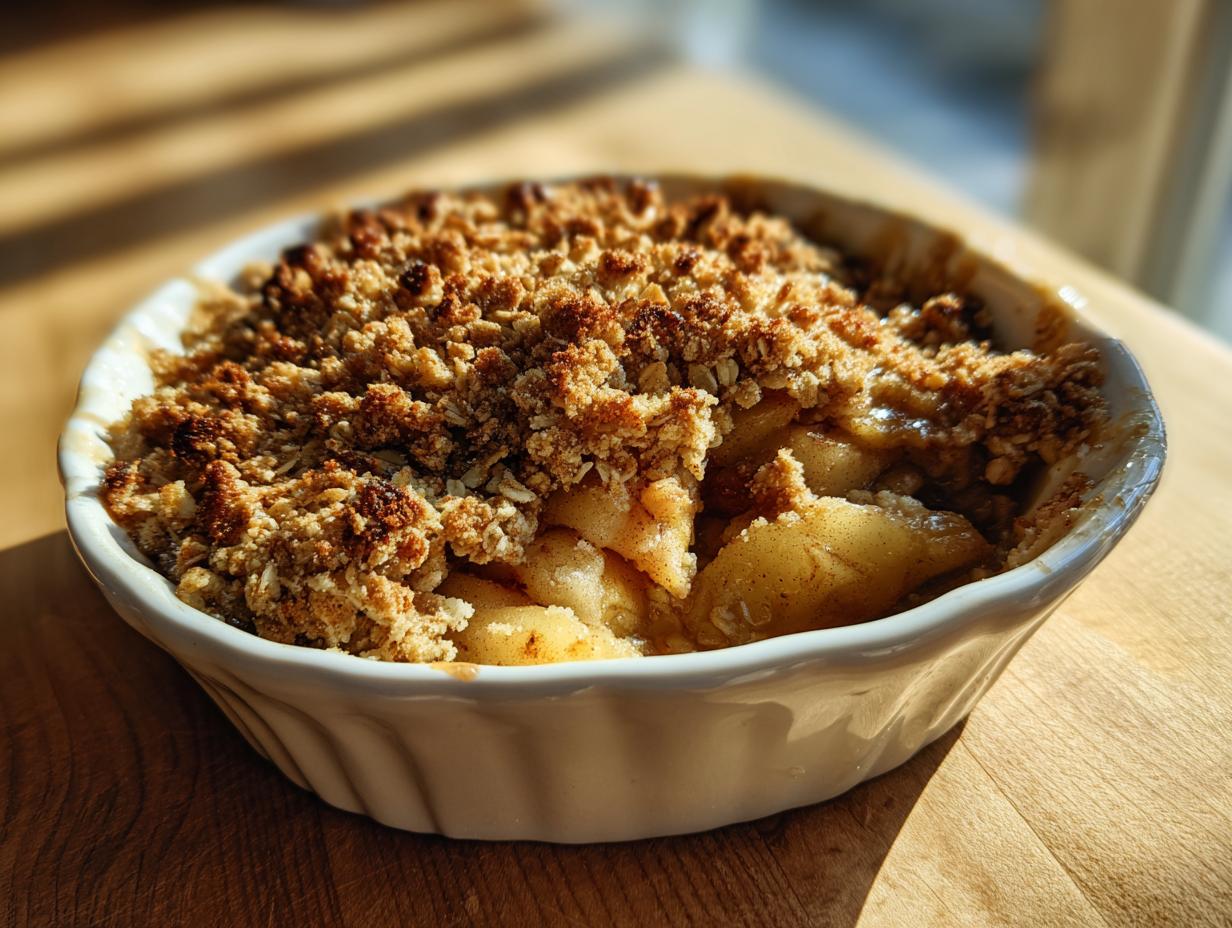

Oh, you know those dishes that just feel like a warm hug? That’s exactly what this apple crisp is to me. It reminds me so much of standing on a stool in my Grandma Eleanor’s kitchen, the air thick with the sweet smell of cinnamon and apples. She had this amazing knack for turning the simplest things into pure magic, and this crisp was always a favorite. It’s so straightforward, uses up those apples you’ve got piling up, and delivers that perfect, comforting dessert experience every single time. It’s truly a keeper!
- Why You'll Love This Classic Apple Crisp
- Ingredients for the Perfect Apple Crisp
- How to Make Old-Fashioned Apple Crumble
- Tips for the Best Apple Crisp Topping
- Apple Selection for Your Apple Crisp
- Serving Suggestions for Fall Apple Dessert
- Storage and Reheating Instructions
- Frequently Asked Questions about Apple Crisp
- Nutritional Information Estimate
Why You’ll Love This Classic Apple Crisp
This isn’t just any apple crisp; it’s pure comfort in a dish! Here’s why it’s a keeper:
- Super Easy to Make: Seriously, you can whip this up in no time.
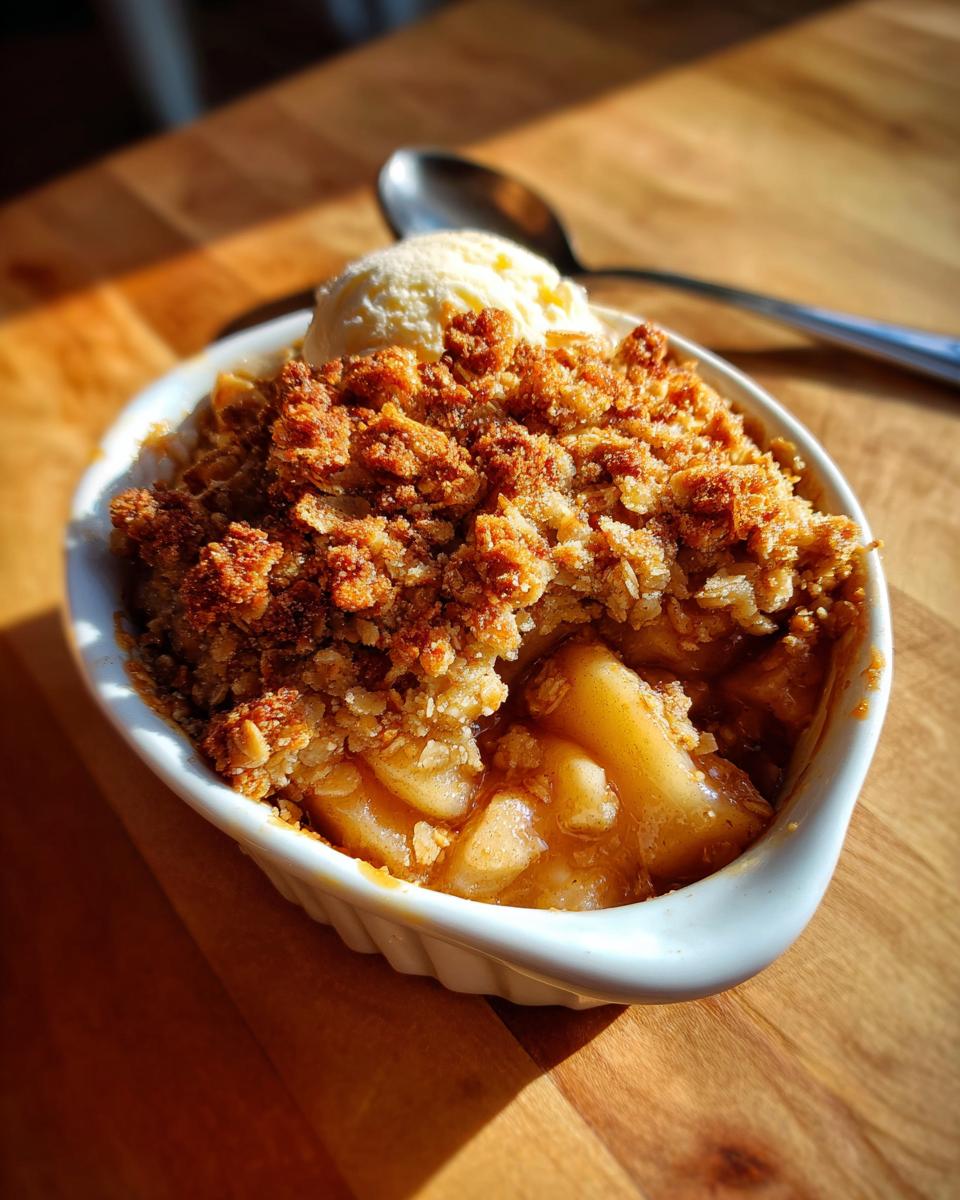
- Cozy Fall Flavors: Tender, spiced apples topped with a buttery, crunchy oat streusel – it’s the taste of autumn!
- Uses Fresh Apples: Perfect for when you have a surplus of those gorgeous fall apples.
- Crowd-Pleaser: It’s a classic for a reason and tastes amazing served warm with ice cream.
Ingredients for the Perfect Apple Crisp
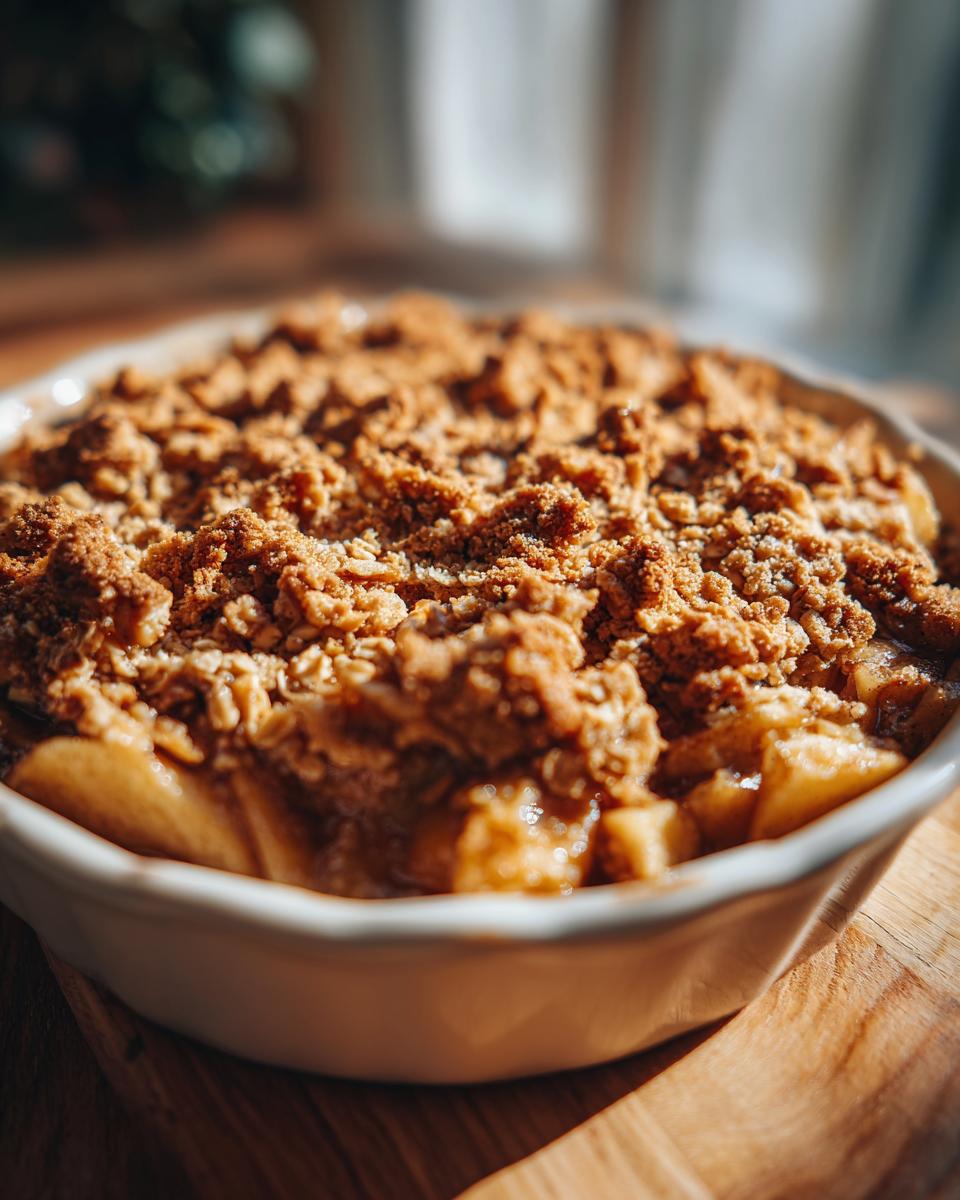
Alright, let’s get our ingredients together for this easy apple crisp! You’ll want about 6 medium apples – I like to use a mix of sweet and tart ones likeHoneycrisp and Granny Smith for the best flavor, about 2.5 pounds total. Make sure they’re peeled, cored, and sliced up nicely.
For the apple filling, grab 2 tablespoons of all-purpose flour, 1/4 cup of granulated sugar, 1 teaspoon of cinnamon, and a pinch of nutmeg. For that amazing streusel topping, you’ll need 1 cup of all-purpose flour, 1 cup of rolled oats (the old-fashioned kind are best!), 1/2 cup of packed light brown sugar, another 1/2 teaspoon of cinnamon, and 1/4 teaspoon of salt. And the real star of the topping? 3/4 cup (that’s 1.5 sticks!) of cold, unsalted butter, cut into little cubes. Trust me, cold butter is key here!
How to Make Old-Fashioned Apple Crumble
Alright, let’s get this classic baked goodness going! Making this old-fashioned apple crumble is really pretty simple, and the results are just SO worth it. First things first, preheat your oven to 375°F (190°C). While that’s warming up, grab a 9×13 inch baking dish and give it a little grease – you don’t want this sticking!
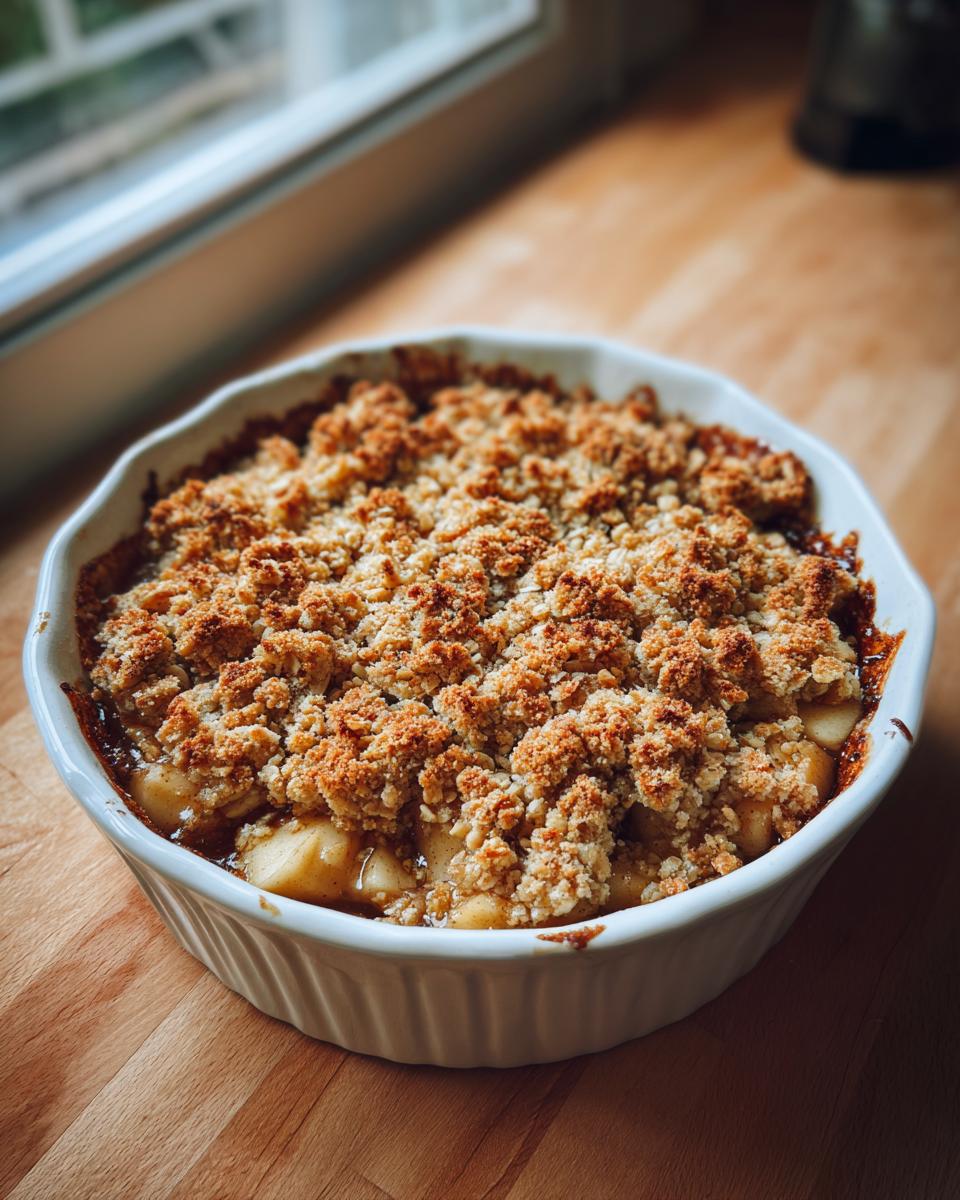
Now, into a big bowl, toss those sliced apples with 2 tablespoons of flour, the granulated sugar, 1 teaspoon of cinnamon, and the nutmeg. Give it a good stir to coat everything evenly. Spread that fragrant apple mixture into your prepared baking dish. It should smell amazing already, right?
For the topping, which is honestly my favorite part, grab another medium bowl. Whisk together 1 cup of all-purpose flour, your rolled oats, the packed light brown sugar, the other 1/2 teaspoon of cinnamon, and that pinch of salt. Then comes the butter! I like to use my fingertips for this, but a pastry blender works great too. Cut the cold butter cubes right into the dry ingredients until it all looks like coarse crumbs – kind of like nature’s best cookie dough. Don’t overwork it; a few little lumps of butter are totally fine and actually help make it extra delicious. My Grandma Eleanor always said the key was to make sure the butter was really cold, so it stays in little pockets that get all gooey and delicious while baking!
Sprinkle that glorious crumb topping evenly all over the apples. Pop it in the oven for about 35-45 minutes. You’ll know it’s ready when the topping is a beautiful golden brown and you can see the apple juices bubbling up around the edges. Oh, and try to let it cool for at least 10 minutes before digging in – it helps it set up and prevents any unfortunate burnt-tongue incidents. You can find another easy apple crisp recipe if you need more ideas, but this old-fashioned one is truly special!
Tips for the Best Apple Crisp Topping
Getting that perfect crumbly topping on your apple crisp is super important, and it really comes down to a few simple things. First, make sure your butter is really cold! I can’t stress this enough. When the butter is cold and cut into small cubes, it melts slower in the oven, creating those lovely pockets of gooeyness and helping the topping hold its shape instead of turning into a greasy puddle.
When you’re mixing the dry ingredients for the topping – the flour, oats, brown sugar, cinnamon, and salt – don’t overmix once you add the butter. You want it to look like coarse crumbs, maybe with a few pea-sized chunks of butter still in there. This is what gives you that wonderful texture. A good cinnamon oat topping should be hearty and have a nice crunch, not dense and hard. So, just cut it in until it’s combined, and you’re good to go!
Apple Selection for Your Apple Crisp
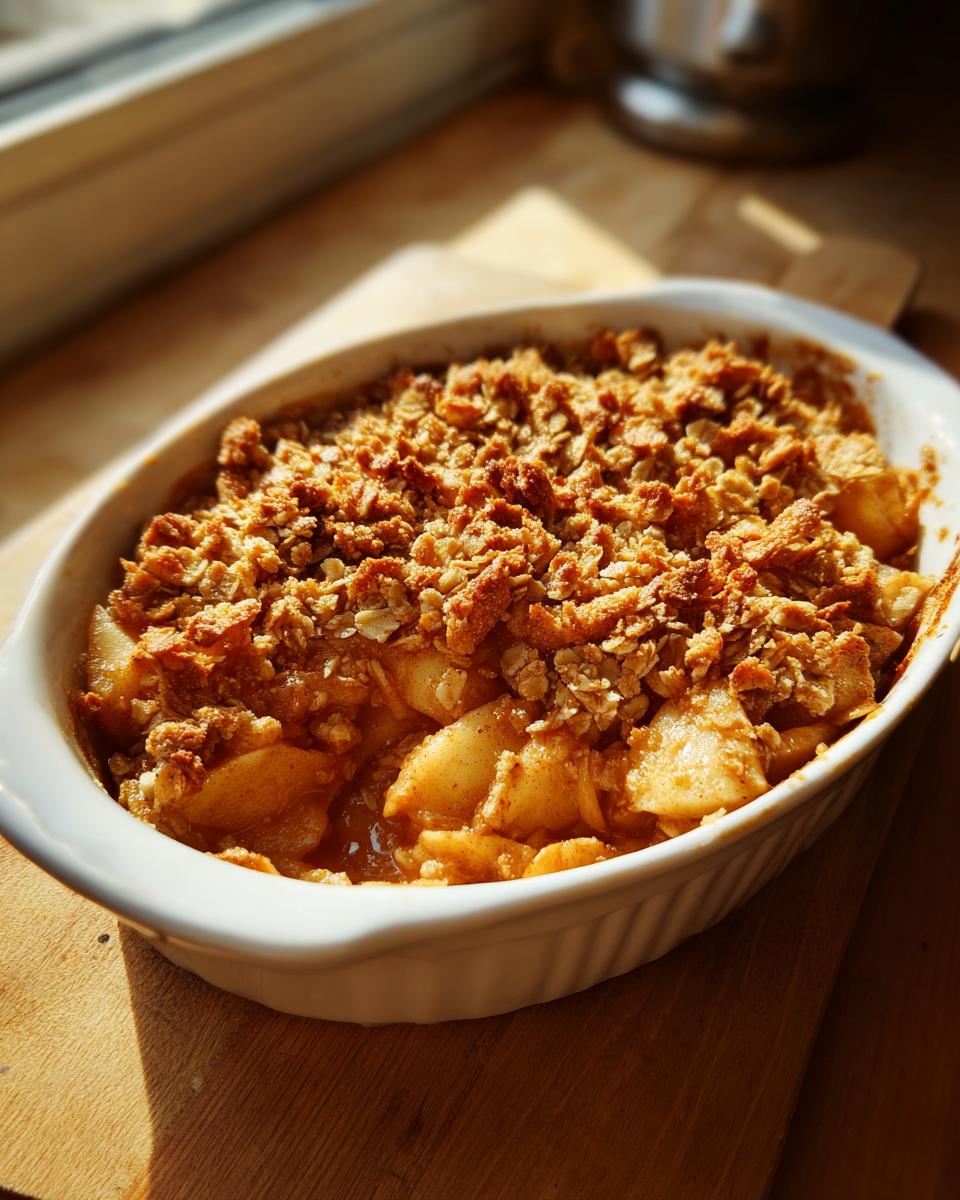
Choosing the right apples is like picking the perfect paint color for a masterpiece – it makes all the difference in your apple crisp! I find that using a mix of apple varieties gives the most amazing depth of flavor. For a perfect balance of sweet and tart that holds up beautifully when baked, try a combination of crisp, juicy apples like Honeycrisp, Gala, and a touch of tart Granny Smith. This blend ensures your filling is wonderfully fragrant and tender, not mushy, when it comes out of the oven. If you’re ever near an orchard, grab whatever looks good – most apples bake up wonderfully! You can find more apple-y goodness in my apple cinnamon pancakes recipe.
Serving Suggestions for Fall Apple Dessert
This apple crisp is simply divine served warm right out of the oven. Hands down, my favorite way to enjoy this fall apple dessert is with a generous scoop of creamy vanilla ice cream – the contrast between the warm, spiced apples and the cold, sweet ice cream is just heavenly! A dollop of freshly whipped cream is also wonderful, or even a drizzle of caramel sauce if you’re feeling extra decadent. It’s also lovely on its own, but who can resist those classic pairings? For more dessert inspiration, you can always check out my collection of delicious desserts!
Storage and Reheating Instructions
Got leftovers? Lucky you! To store your delicious apple crisp, just cover the baking dish tightly with plastic wrap or foil, or transfer it to an airtight container. It’ll stay fresh in the refrigerator for up to 3-4 days. When you’re ready to enjoy it again, just pop a portion in the microwave for a quick warm-up, or for that perfect crisp texture, gently reheat it in a 350°F (175°C) oven for about 10-15 minutes until warm and bubbly again.
Frequently Asked Questions about Apple Crisp
Got questions about making the best darn apple crisp? I’ve got you covered! Here are a few things folks often wonder about.
Can I use different types of apples for this apple crisp recipe?
Oh, absolutely! While I love my Honeycrisp and Granny Smith combo, feel free to experiment. Just aim for apples that hold their shape when baked – Granny Smith, Fuji, Gala, and even Braeburn work beautifully. A mix is usually best for that perfect sweet-tart balance!
How do I get a crispy topping on my apple crisp?
The secret to a crispy topping, like our fall apple dessert star, is keeping that butter COLD and not overmixing. When you cut in the cold butter, you want coarse crumbs, not a paste. Also, make sure you sprinkle it evenly so every bite gets some of that glorious crunch!
Can this apple crisp be made gluten-free?
You bet! To make this a gluten-free apple crisp, just swap out the all-purpose flour for a good quality gluten-free all-purpose blend. And be sure to use certified gluten-free rolled oats if you need to avoid gluten. It works like a charm! You might also want to check out my fudgy gluten-free brownies too!
Nutritional Information Estimate
Just a heads-up, this is an estimate! The nutritional info for this delicious apple crisp can vary based on the exact apples and brands of ingredients you use, but generally, a serving (about 1/8th of the crisp) comes in around 350 calories, with roughly 18g of fat, 45g of carbs, and 3g of protein. It’s a comforting treat that tastes way richer than it is!
PrintClassic Apple Crisp

A comforting homestyle apple crisp with tender baked apples and a buttery oat streusel topping, perfect for a fall dessert.
- Prep Time: 20 min
- Cook Time: 45 min
- Total Time: 65 min
- Yield: 8 servings 1x
- Category: Dessert
- Method: Baking
- Cuisine: American
- Diet: Vegetarian
Ingredients
- 6 medium apples (about 2.5 lbs), peeled, cored, and sliced
- 2 tablespoons all-purpose flour
- 1/4 cup granulated sugar
- 1 teaspoon ground cinnamon
- 1/4 teaspoon ground nutmeg
- 1 cup all-purpose flour
- 1 cup rolled oats
- 1/2 cup packed light brown sugar
- 1/2 teaspoon ground cinnamon
- 1/4 teaspoon salt
- 3/4 cup (1.5 sticks) unsalted butter, cold and cut into cubes
Instructions
- Preheat your oven to 375°F (190°C). Grease a 9×13 inch baking dish.
- In a large bowl, toss the sliced apples with 2 tablespoons of flour, granulated sugar, 1 teaspoon cinnamon, and nutmeg. Spread the apple mixture evenly in the prepared baking dish.
- In a separate medium bowl, combine 1 cup flour, rolled oats, brown sugar, 1/2 teaspoon cinnamon, and salt.
- Cut in the cold butter using a pastry blender or your fingertips until the mixture resembles coarse crumbs.
- Sprinkle the oat topping evenly over the apples.
- Bake for 35-45 minutes, or until the topping is golden brown and the apples are tender and bubbly.
- Let the crisp cool for at least 10 minutes before serving.
Notes
- Serve warm with vanilla ice cream or whipped cream.
- For a richer flavor, use a mix of apple varieties like Honeycrisp, Gala, and Granny Smith.
- If you don’t have rolled oats, you can use quick oats, but the texture will be slightly different.
Nutrition
- Serving Size: 1/8th of the crisp
- Calories: 350
- Sugar: 30g
- Sodium: 150mg
- Fat: 18g
- Saturated Fat: 11g
- Unsaturated Fat: 7g
- Trans Fat: 0g
- Carbohydrates: 45g
- Fiber: 4g
- Protein: 3g
- Cholesterol: 45mg