
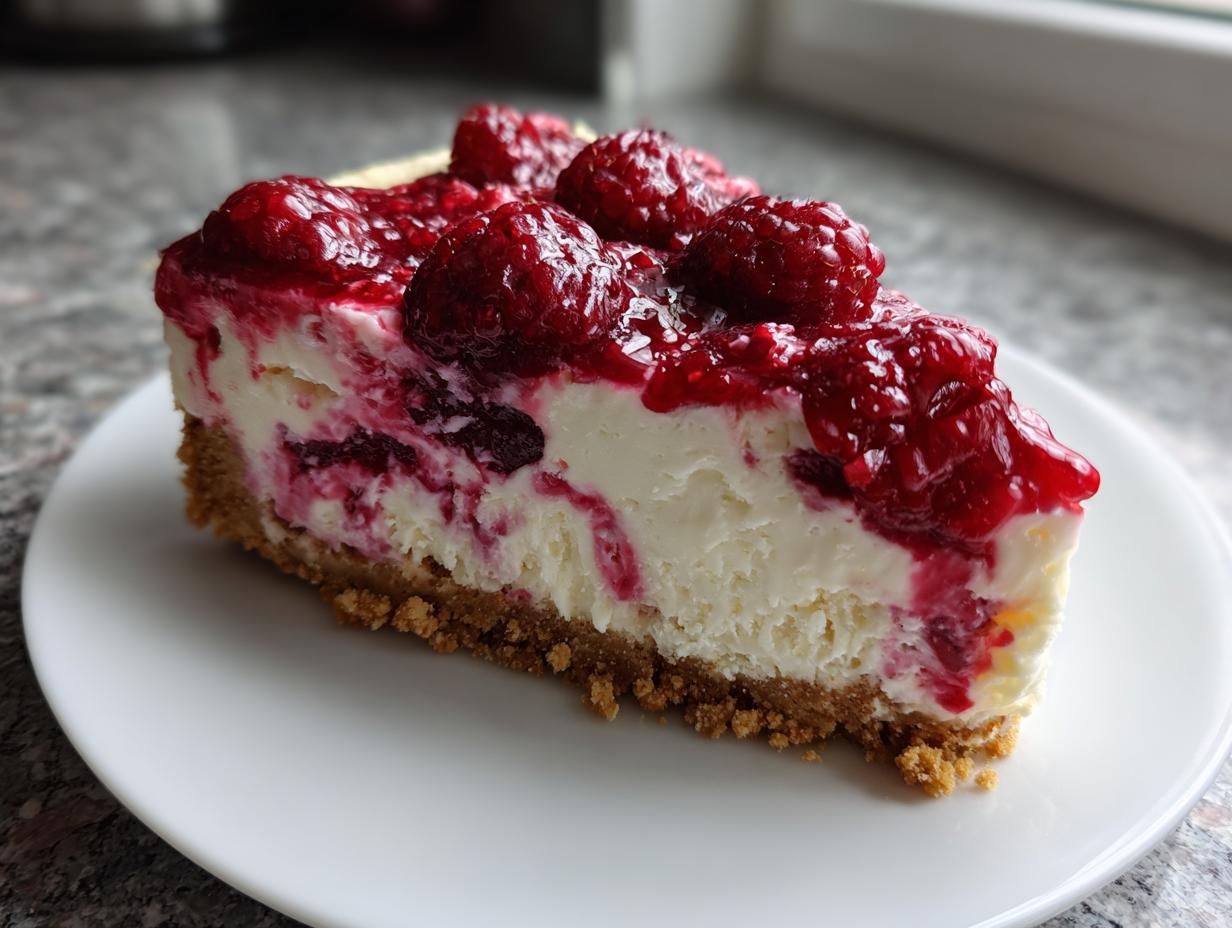

Oh my goodness, if you need a dessert that tastes unbelievably rich but requires absolutely zero time sweating by the hot oven, you have landed in the right spot! I’m sharing my go-to recipe for an **easy raspberry cheesecake** that is genuinely the creamiest, most refreshing dessert you can whip up, especially when summer hits or company drops by last minute. As someone who obsessively tests classic American recipes to make sure they work perfectly for busy schedules, trust me when I say this no-bake version is a certified keeper. Forget fussy water baths; this straightforward **raspberry cheesecake** sets up beautifully in the fridge!
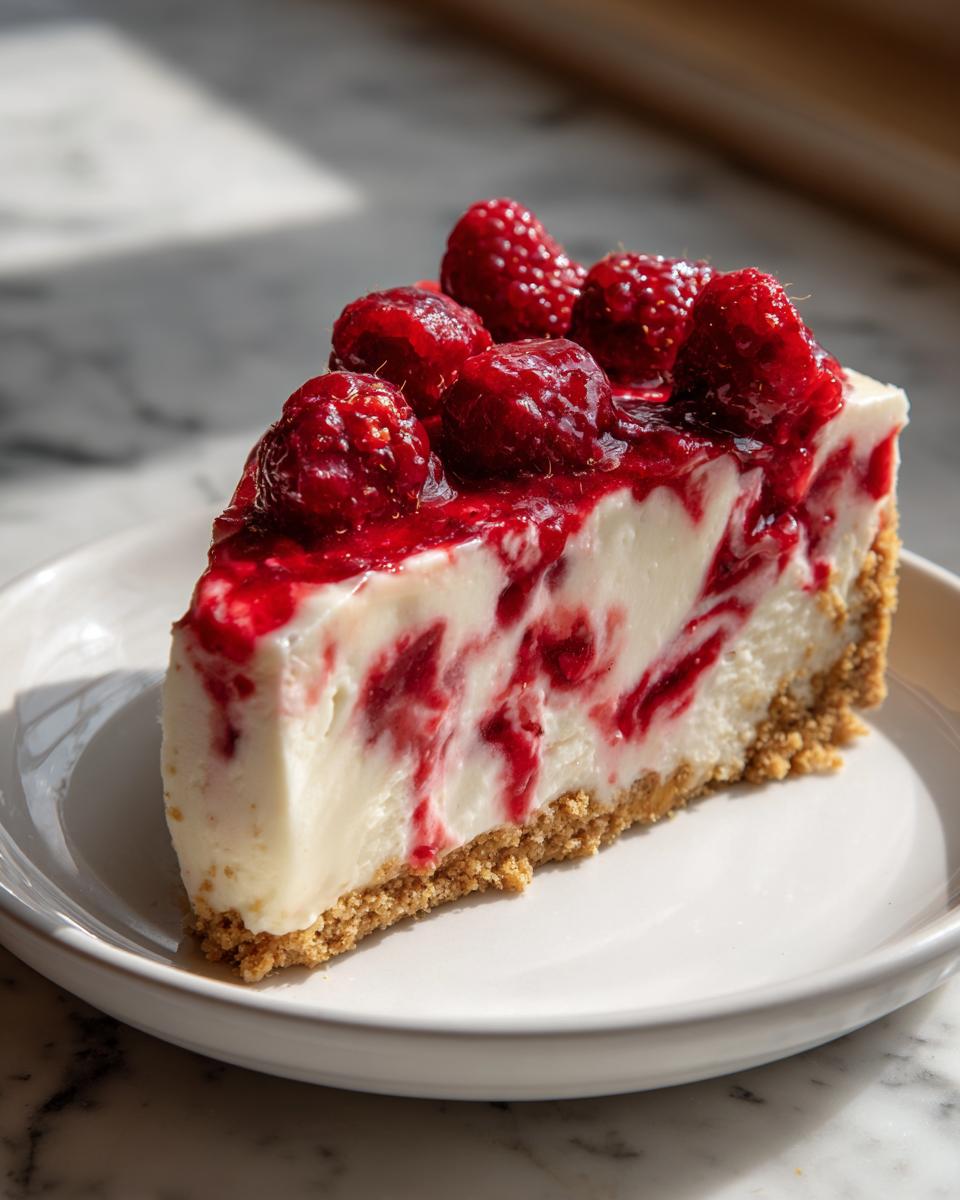
This recipe is proof that you don’t need to be a pastry chef to create a showstopper. I developed this because sometimes I just need that gorgeous tart-and-creamy flavor without adding another thing to the baking roster. You are going to love how simple the graham cracker crust is, and the filling? It’s pure velvety heaven. If you’ve ever looked for a fantastic make-ahead dessert, this is it!
- Why This No Bake Raspberry Cheesecake is a Keeper
- Gathering Ingredients for Your Creamy Raspberry Cheesecake
- Step-by-Step Instructions for the Easy Raspberry Cheesecake Recipe
- Tips for the Best Homemade Cheesecake Experience
- Variations on Your Favorite Raspberry Cheesecake
- Storage and Make Ahead Cheesecake Planning
- Frequently Asked Questions About Making Raspberry Cheesecake
- Estimated Nutritional Data for This Raspberry Cheesecake
- Share Your Keeper Dessert Creation
Why This No Bake Raspberry Cheesecake is a Keeper
Honestly, this recipe is my summer secret weapon. I keep coming back to it because it checks every single box a tired home cook like me needs! I promise you, this is the most reliable, fuss-free slice of heaven you’ll ever make. It’s the ultimate crowd-pleaser without needing any specialized equipment—just a mixer and some patience for chilling.
- It is exceptionally **creamy**; no grainy texture here, just pure smoothness that melts on your tongue.
- This really is the definition of an **easy raspberry cheesecake recipe**—no oven required!
- It’s perfectly **refreshing** thanks to that slight tang from the lemon juice, balancing the richness.
- It’s the ultimate **easy make ahead cheesecake**. You literally assemble it the day before, and it just waits for you.
- It scales beautifully if you need a bigger batch for summer parties or holidays.
Gathering Ingredients for Your Creamy Raspberry Cheesecake
Okay, let’s get down to what you need before you dive into making this amazing **raspberry cheesecake**. Because this is a no-bake recipe, the quality of your ingredients really shines through, so grab the good stuff! Having everything ready to go makes assembly feel like a breeze—seriously, prep smarter, not harder, right? We are dividing this into two parts: the crunchy base and the ridiculously smooth filling. Don’t forget to pull your cream cheese out early; getting that perfectly **creamy raspberry cheesecake** texture starts with warm cream cheese, not the stuff straight from the fridge!
Once you have these items, you can see just how simple this recipe is. If you’re looking for other indulgent, yet surprisingly easy, treats to make ahead, you absolutely have to check out my caramel apple pretzel bites recipe next!
For the Graham Cracker Crust
This crust is buttery, crispy, and gives us that perfect foundation for about a 9-inch springform pan. No fancy baking needed!
- 1 3/4 cups graham cracker crumbs
- 1/4 cup granulated sugar
- 6 tablespoons unsalted butter, melted
For the No Bake Raspberry Cheesecake Filling
This is where all the magic happens. The combination of condensed milk and lemon juice does all the heavy lifting to make this filling firm up so beautifully.
- 2 (8 ounce) packages cream cheese, softened (non-negotiable!)
- 1 (14 ounce) can sweetened condensed milk
- 1/3 cup fresh lemon juice
- 1 teaspoon vanilla extract
- 1 cup heavy whipping cream, whipped (Yes, you need to whip this separately!)
- 1 cup fresh raspberries for swirling
- 1/2 cup raspberry sauce or jam for topping
Step-by-Step Instructions for the Easy Raspberry Cheesecake Recipe
Now for the fun part—assembling this incredible cheesecake! Since this is a no-bake recipe, the timeline is all about chilling, not actual cooking time by the stove. Just follow these steps exactly, and I guarantee you’ll have the best **raspberry cheesecake** you’ve ever sliced into. We move fast on the assembly so nothing melts or gets too warm before it hits the fridge!
Preparing and Chilling the Crust
First things first, grab that graham cracker mixture we talked about. Combine the crumbs, the measured sugar, and the melted butter right there in a bowl. Don’t just toss it in the pan; make sure it’s mixed really well until it holds together like damp sand. Press that mixture down firmly into the bottom of your 9-inch springform pan. I mean firm! You need to pack it down hard so it doesn’t crumble when you serve it—stability is key for a great no bake raspberry dessert. Pop this packed crust into the freezer or fridge for about 15 minutes while you get the filling ready.
Mixing the Smooth Cheesecake Filling
This is where we earn that ‘creamy’ promise, so don’t rush it! Grab your softened cream cheese and beat it by itself until it’s absolutely silky smooth. Seriously, no lumps allowed! Once it looks like velvet, start beating in that can of sweetened condensed milk slowly, spoonful by spoonful. You want that mixture totally homogenous before moving on. Then, add your lemon juice and vanilla. You’ll notice the mixture immediately starts to thicken up a touch because of the acid in the lemon—that’s the chemical magic setting up the filling!
Creating the Raspberry Swirl Effect
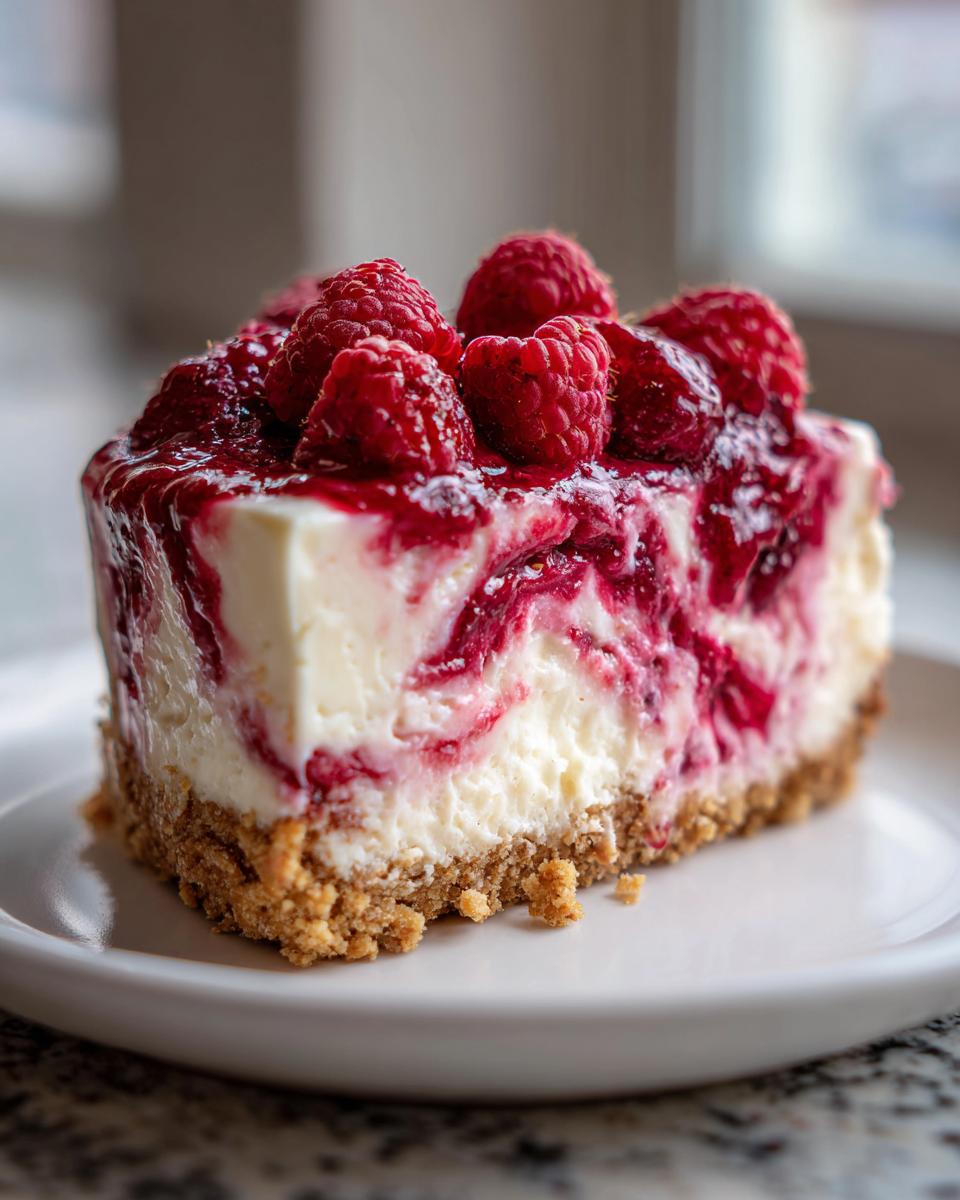
Remember that heavy whipping cream? Beat that separately until you get nice, stiff peaks—it should hold its shape perfectly. Now, you need to gently fold that whipped cream into your thickened cream cheese base. Use a spatula and go slow—we don’t want to punch out all those lovely air bubbles we just created. That airy texture is crucial! Pour about half of the filling onto your chilled crust now. Then, scatter over some fresh raspberries and spoonfuls of that raspberry sauce or jam. Top it with the rest of the filling. Then, grab a knife or a thin skewer and gently run it through the layers a couple of times. That’s how you get that beautiful, marbled look—the signature of a stunning **raspberry swirl cheesecake**!
Final Chill and Serving the Raspberry Cheesecake
Once it’s swirled, cover that whole masterpiece gently so nothing touches the top. It needs a good, long rest. I always recommend chilling it for a full overnight session, but you need a minimum of six hours for it to be truly firm enough to slice cleanly. When it’s finally time to serve your amazing **raspberry cheesecake**, run a thin knife under very hot tap water, wipe it dry quickly, and use that warm blade to slice. It cuts like butter! Releasing the springform sides is the final, satisfying step.
Tips for the Best Homemade Cheesecake Experience
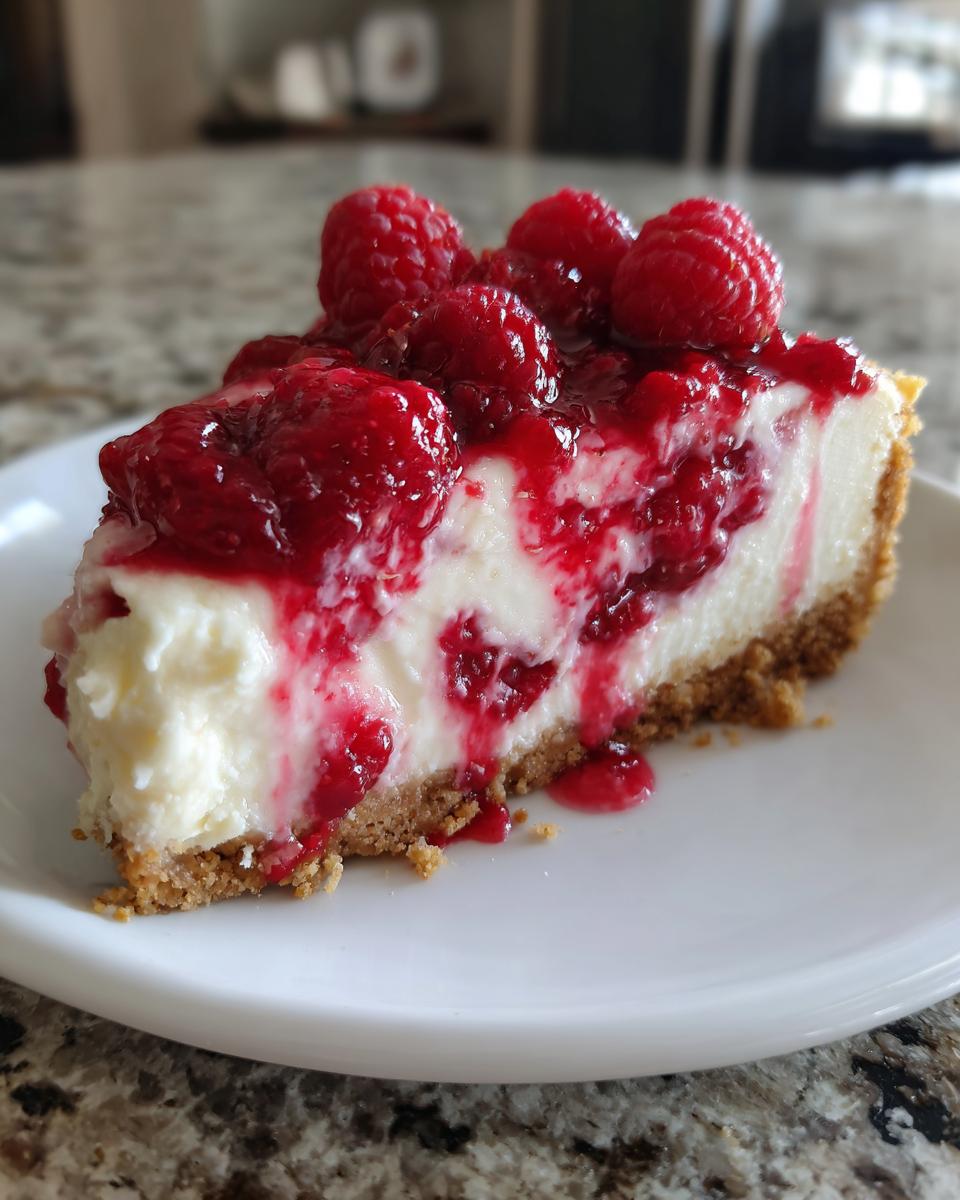
Listen, since this **raspberry cheesecake** doesn’t get the help of an oven to set firmly, we have to be a little smarter about our ingredients. My biggest piece of advice, after years of testing recipes just like this, is temperature control. Seriously, your cream cheese needs to be completely softened. If it’s cold, you end up with tiny little cream cheese pebbles in your filling, and that totally ruins that dreamy, **creamy raspberry cheesecake** texture we are aiming for.
Also, a quick note on those beautiful fresh raspberries you’re using for the swirl? If they are still icy cold, they can sometimes shock the cream cheese mixture and make it stiffen up too fast. I always let my berries sit on the counter for about 15 minutes while I’m mixing everything else. This small step makes a huge difference in how easily they incorporate and how truly **refreshing fruit cheesecake** tastes later. It keeps everything blending just right!
Variations on Your Favorite Raspberry Cheesecake
You know me, I love sticking to a classic, but this **raspberry cheesecake** base is just too flexible to ignore all the other amazing possibilities out there! If you’re looking for something different—maybe you need a portioned dessert for a potluck, or maybe you just really love white chocolate—we can totally tweak this recipe.
For instance, everyone goes crazy for cheesecake bars! To turn this into delicious **raspberry cheesecake bars**, all you have to do is transfer the graham cracker crust mixture into a greased 9×13 inch baking pan instead of a springform. Before you chill the whole thing, you’ll want to bake that crust for about 10 minutes just to firm it up a bit. Then, pour the filling over top, swirl, and chill as usual. So simple!
If you want to try a **white chocolate raspberry cheesecake**, it’s just as easy. Melt about 4 ounces of good quality white chocolate and let it cool slightly. Then, after beating in the condensed milk but before you fold in the whipped cream, gently beat in that cooled, melted white chocolate. It makes the whole thing even richer! It’s amazing how far one simple recipe can travel when you explore these different **berry cheesecake variations**.
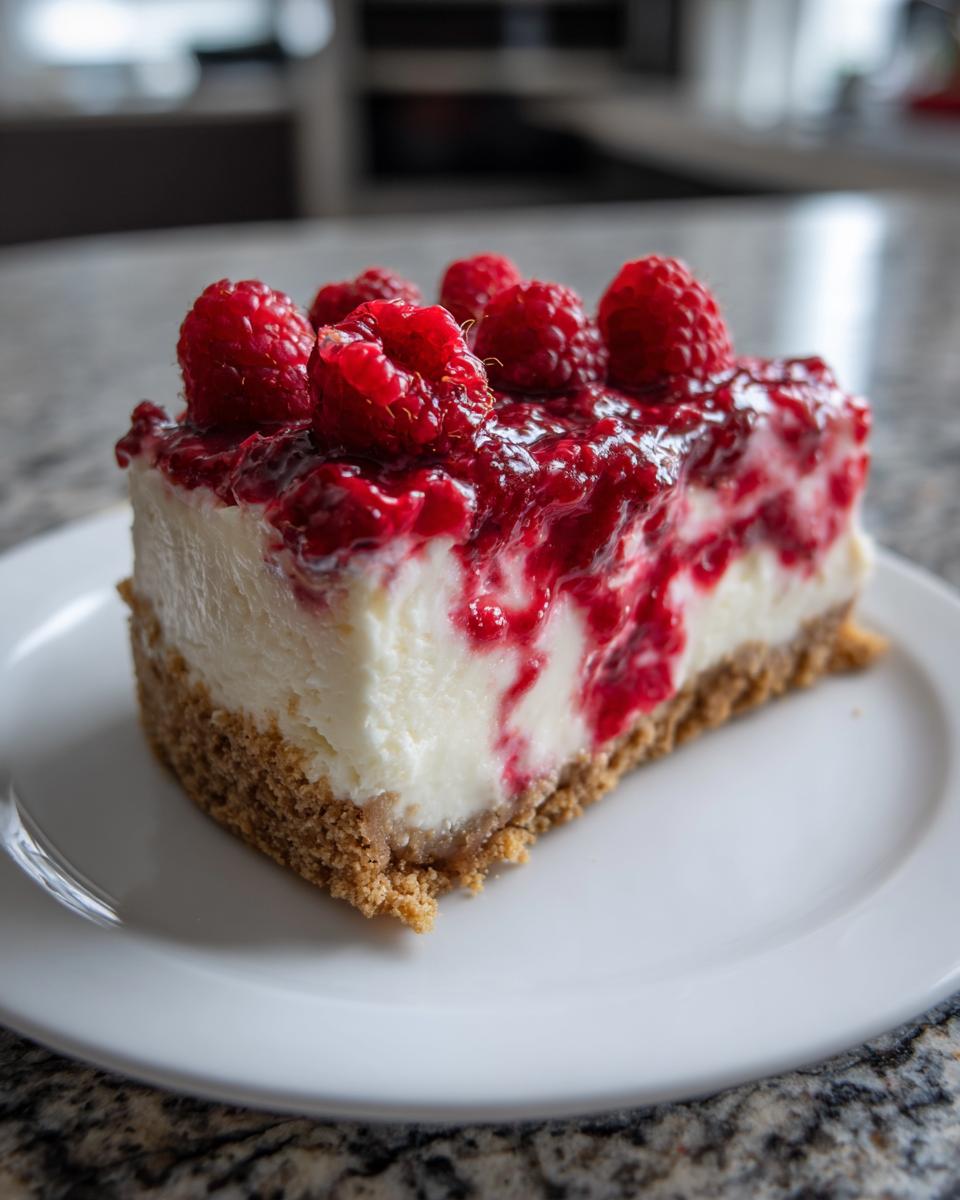
Storage and Make Ahead Cheesecake Planning
If there’s one thing I love more than eating this dessert, it’s knowing I made it yesterday! This is truly an easy make ahead cheesecake. When you wrap that chilled **raspberry cheesecake** pan tightly in plastic wrap, it keeps beautifully in the refrigerator for up to five days. That makes it perfect for serving at weekend gatherings without any last-minute drama.
Now, can you freeze it? Yes, you absolutely can! For the best **storage**, let it set completely first, then wrap the entire pan (or slices) very tightly in plastic wrap followed by a layer of foil. It lasts well frozen for about a month. Just let it thaw in the fridge overnight before serving. It’s a real lifesaver when you need a dessert ready to go!
Frequently Asked Questions About Making Raspberry Cheesecake
When I first started tinkering with dessert recipes, there were always a few things I needed clarification on—and I bet you have those same questions bubbling up now! It helps me feel way more confident knowing the answers before I even pull out the mixer. Here is the stuff people seem to ask most often about making this wonderful **raspberry cheesecake**!
Can I use frozen raspberries instead of fresh in this easy raspberry cheesecake recipe?
You absolutely can, and sometimes I have to rely on frozen berries depending on what the stores have! But here’s the trick: don’t just toss them in frozen, or you’ll end up with way too much pink liquid seeping into your beautiful filling. You need to thaw them out completely first on a plate lined with paper towels. Gently pat them dry after thawing—we want to keep that moisture in the sauce/jam part of the swirl, not in the filling itself! This keeps your **easy raspberry cheesecake recipe** setting up nice and firm.
How do I achieve the ultimate creamy raspberry cheesecake texture?
This is my favorite question because it gets right to the heart of what makes this dessert amazing! It all comes down to two things that you can *absolutely* control. First, the cream cheese must be fully softened—I mean totally room temperature, squishy when pressed. Second, when you fold in that whipped heavy cream, you must be gentle. Use a spatula and lift from the bottom, folding slowly. If you mix too hard, you deflate the air, and then you are back to dense instead of that **ultimate creamy raspberry cheesecake** texture we worked so hard to achieve!
Is this considered a good holiday raspberry dessert option?
It is a fantastic option for any time of year; I promise! Because it’s so refreshing, it’s brilliant for lighter summer gatherings, but nobody will say no to a decadent, no-bake slice during the holidays either. If you want to lean into a more festive look for a **holiday raspberry dessert**, forget the raspberry sauce topping for a minute. Instead, top the finished, chilled cheesecake with white chocolate shavings and maybe some fresh rosemary sprigs for a bit of holiday color contrast. It looks incredibly elegant for Christmas or New Year’s!
If you want to explore more great recipes from my collection, don’t forget to check out the latest posts on my recipe blog!
Estimated Nutritional Data for This Raspberry Cheesecake
Now, I know most of us aren’t tracking every single calorie when we are diving into a slice of heaven like this **creamy raspberry cheesecake**, but I do like to keep a general idea of what we are working with! As a dedicated home cook trying to share reliable recipes, I always run my finished calculations through a standard tracker so you know what to expect.
Please remember these are estimates only, calculated based on the exact measurements listed in the recipe above. Your final numbers might shift slightly depending on the brands you choose or the size of your slices. But this should give you a great starting point for planning your treat!
- Serving Size: 1 slice
- Calories: 450
- Fat: 30g (with 18g of that being saturated fat—hello full-fat cream cheese!)
- Carbohydrates: 40g
- Sugar: 35g (The berries, jam, and condensed milk really add up here!)
- Protein: 7g
It’s a decadent dessert, for sure, but honestly, for something this rich and satisfying, 450 calories for a generous slice of **easy raspberry cheesecake** feels like a bargain when you aren’t turning on the oven!
Share Your Keeper Dessert Creation
I poured my heart into perfecting this recipe so you could have the easiest, creamiest **raspberry cheesecake** experience possible, and now I really want to know what you think!
If you made this recipe, please, please hop down into the comments below and leave me a rating—five stars if you loved it as much as I do! Telling me how it went—whether you kept it classic or tried one of the variations—really helps other home cooks see that this is a reliable recipe they can trust.
If you decide to share a beautiful picture of your finished swirl on Instagram or Facebook, tag me! Seeing your creations makes my whole day, honestly. It’s proof that these recipes truly keep going from my kitchen right into yours.
You can share your incredible photos and success stories right over on our Facebook page here: Recipes To Keep Facebook. Now go enjoy that slice!
PrintEasy No Bake Raspberry Cheesecake
Make this creamy, refreshing no bake raspberry cheesecake with a simple graham cracker crust. It is an easy make ahead dessert perfect for summer or special occasions.
- Prep Time: 20 min
- Cook Time: 0 min
- Total Time: 6 hr 20 min
- Yield: 10 servings 1x
- Category: Dessert
- Method: No Bake
- Cuisine: American
- Diet: Vegetarian
Ingredients
- 1 3/4 cups graham cracker crumbs
- 1/4 cup granulated sugar
- 6 tablespoons unsalted butter, melted
- 2 (8 ounce) packages cream cheese, softened
- 1 (14 ounce) can sweetened condensed milk
- 1/3 cup fresh lemon juice
- 1 teaspoon vanilla extract
- 1 cup heavy whipping cream, whipped
- 1 cup fresh raspberries for swirling
- 1/2 cup raspberry sauce or jam for topping
Instructions
- Combine graham cracker crumbs, 1/4 cup sugar, and melted butter in a bowl. Press the mixture firmly into the bottom of a 9-inch springform pan. Chill the crust for 15 minutes.
- In a large bowl, beat the softened cream cheese until smooth. Gradually beat in the sweetened condensed milk until fully combined.
- Mix in the lemon juice and vanilla extract until the filling thickens slightly.
- Gently fold the whipped heavy cream into the cream cheese mixture until just combined. Do not overmix.
- Pour half of the cheesecake filling over the chilled crust. Drop spoonfuls of fresh raspberries and raspberry sauce over the filling. Top with the remaining filling.
- Use a knife or skewer to gently swirl the raspberries and sauce through the filling to create a marbled effect.
- Cover the pan and chill in the refrigerator for at least 6 hours, or preferably overnight, until firm.
- Before serving, top with extra fresh raspberries or raspberry sauce. Release the springform sides carefully.
Notes
- For the easiest slicing, run a thin knife under hot water and wipe dry between cuts.
- If you prefer a baked version, this recipe works well; bake at 325 degrees Fahrenheit for 50-60 minutes.
- This recipe is a great base for other berry cheesecake variations.
- If you are planning meals ahead, this is an excellent make ahead cheesecake.
Nutrition
- Serving Size: 1 slice
- Calories: 450
- Sugar: 35g
- Sodium: 250mg
- Fat: 30g
- Saturated Fat: 18g
- Unsaturated Fat: 12g
- Trans Fat: 0g
- Carbohydrates: 40g
- Fiber: 1g
- Protein: 7g
- Cholesterol: 95mg