
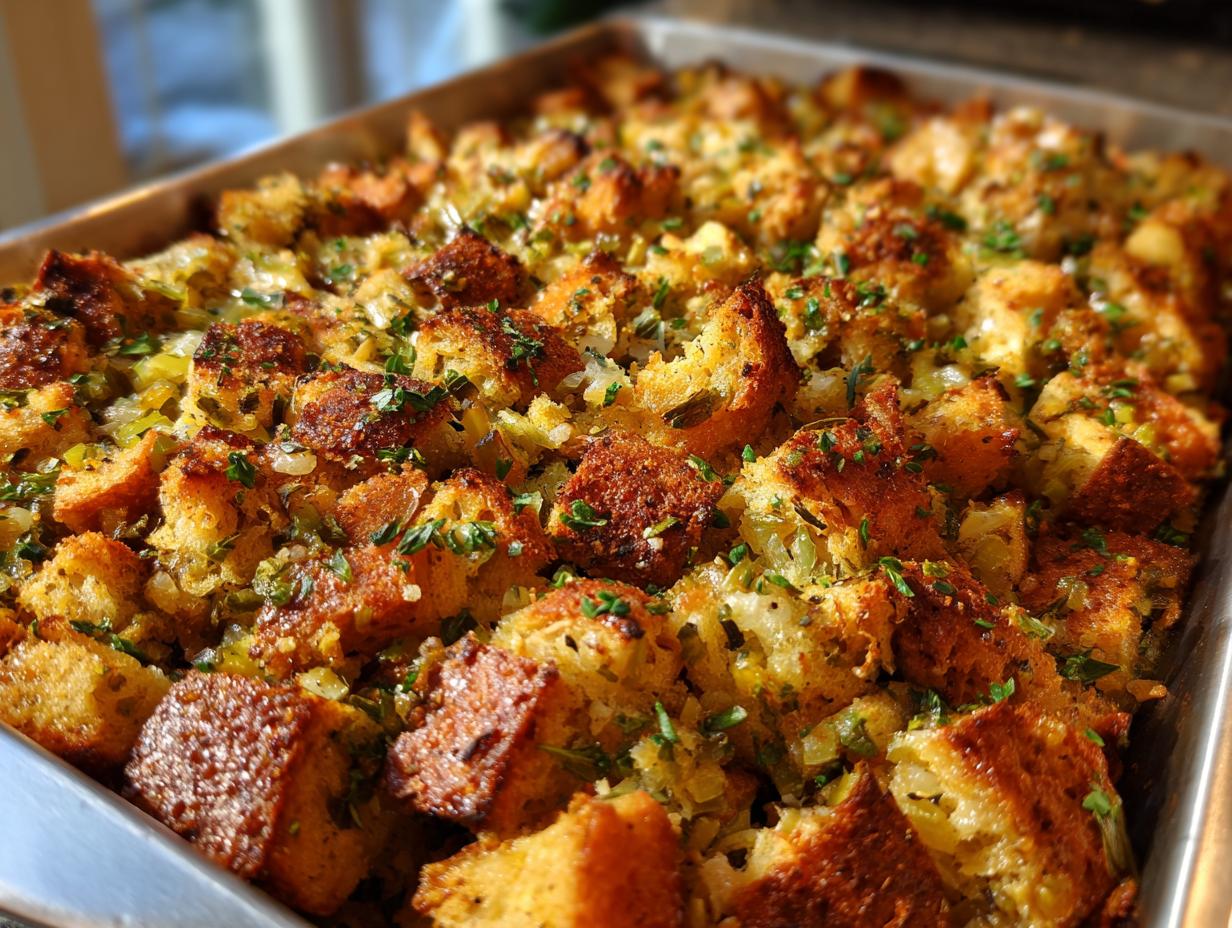

You know, that feeling when a dish just wraps you up like the warmest hug? Or when a cookie is so perfectly made it becomes pure family legend? That’s what cooking is all about for me! Here at Recipes To Keep, we’re all about those incredible moments, and food is seriously the thread that ties generations together. It’s in those faded recipe cards from Grandma Eleanor, and it’s in the new favorites we discover as a family. My mission has always been to capture those timeless, soul-warming recipes that make a house feel like a home, and that’s exactly what this gluten-free stuffing is.
My own journey started in my grandmother’s sun-drenched Ohio kitchen, where she had this knack for turning simple ingredients into pure magic. Her worn recipe box was her treasure chest, overflowing with cards stained with years of love. When I started my own home, that box was the first thing I unpacked! I soon realized her handwritten notes needed a little translating for today’s kitchens, so I set out to test, perfect, and preserve these classics. Every pinch was measured, every bake timed, and I meticulously noted every tip to ensure these recipes are not only as delicious as I remember but also foolproof for cooks of all levels. You can learn more about my passion and ‘s archive of cherished recipes here!
- Why You'll Love This Gluten-Free Stuffing
- Ingredients for Amazing Gluten-Free Stuffing
- Tips for Making Perfect Gluten-Free Stuffing
- How to Prepare Gluten-Free Stuffing: Step-by-Step
- Ingredient Notes and Substitutions for Your Gluten-Free Stuffing
- Serving Suggestions for This Gluten-Free Thanksgiving Stuffing
- Storage and Reheating Your Wheat-Free Holiday Dressing
- Frequently Asked Questions About Celiac Safe Stuffing
- Nutritional Information Estimate
Why You’ll Love This Gluten-Free Stuffing
Honestly, you’re going to adore this stuffing because it’s just SO EASY! Seriously, holiday meal prep can be frantic, but this comes together lickety-split. And the FLAVOR? It’s got all those classic, savory, herby notes that just scream holiday comfort food, but without a trace of gluten. It’s a total lifesaver if you’re dealing with celiac disease or just trying to keep things gluten-free for guests.
Ingredients for Amazing Gluten-Free Stuffing
Gathering your ingredients is the first step to stuffing perfection! Here’s what you’ll need to make this incredible gluten-free side dish shine on your holiday table:
- 1 loaf (about 16 oz) gluten-free bread, cut into nice 1-inch cubes
- 1/2 cup unsalted butter
- 2 cups chopped yellow onion (that’s usually about 1 large onion!)
- 1 1/2 cups chopped celery (around 3 stalks)
- 2 cloves garlic, minced
- 1 teaspoon dried sage
- 1 teaspoon dried thyme
- 1/2 teaspoon dried rosemary, crushed just a bit
- 1/2 teaspoon salt
- 1/4 teaspoon black pepper
- 2 cups low-sodium chicken or vegetable broth
- 1 large egg, given a gentle whisk
Tips for Making Perfect Gluten-Free Stuffing
Now, let’s talk about making this gluten-free stuffing absolutely perfect—the kind that makes everyone ask for seconds, no matter their dietary needs! My biggest tip? Toasting those bread cubes is non-negotiable! It really gives the stuffing that lovely texture, so it doesn’t turn into a mushy mess. I actually found that baking them on a single layer on the sheet pan helps them toast evenly. And don’t be afraid of a little moisture – the broth and egg mixture really bring this stuffing to life, making sure every bite is rich and flavorful. When I first started testing, I made the mistake of adding too much liquid, and boy, did that turn out soupy! So, trust me on the measurements, and let the bread soak it up for those five minutes. It makes all the difference for that ideal consistency. For more tips on getting stuffing just right (even my non-gluten-free version has its secrets!), read on!
How to Prepare Gluten-Free Stuffing: Step-by-Step
Alright, let’s get this amazing gluten-free stuffing party started! Making this feels like a warm hug in the kitchen, and I promise, it’s super straightforward. First things first, get your oven preheating to 350°F (175°C). While it’s heating up, spread those lovely gluten-free bread cubes you cut out all over a baking sheet. Pop them in the oven for about 10 to 15 minutes, just until they feel lightly toasted and a little dry. This step is key for texture, so don’t skip it! Once they’re toasted, just pull them out and set them aside.
Now, grab your biggest skillet or a Dutch oven. Melt that half cup of butter over medium heat. Toss in your chopped onions and celery. We want to cook these until they’re nice and soft, usually about 8 to 10 minutes. They should smell amazing and be really tender. Next, add in that minced garlic, dried sage, thyme, and that crushed rosemary. Stir it around and let it cook for just another minute until you can really smell all those yummy herbs. Then, stir in your salt and pepper.
Time to bring it all together! In a large bowl, combine the toasted bread cubes you set aside earlier with that savory onion and celery mixture from the skillet. Pour the chicken or vegetable broth right over everything and give it a gentle toss. You want to mix it just enough so the bread starts to soak up all that liquid goodness. Let this sit for about 5 minutes – this is where the magic starts to happen, and the bread really absorbs all the flavor.
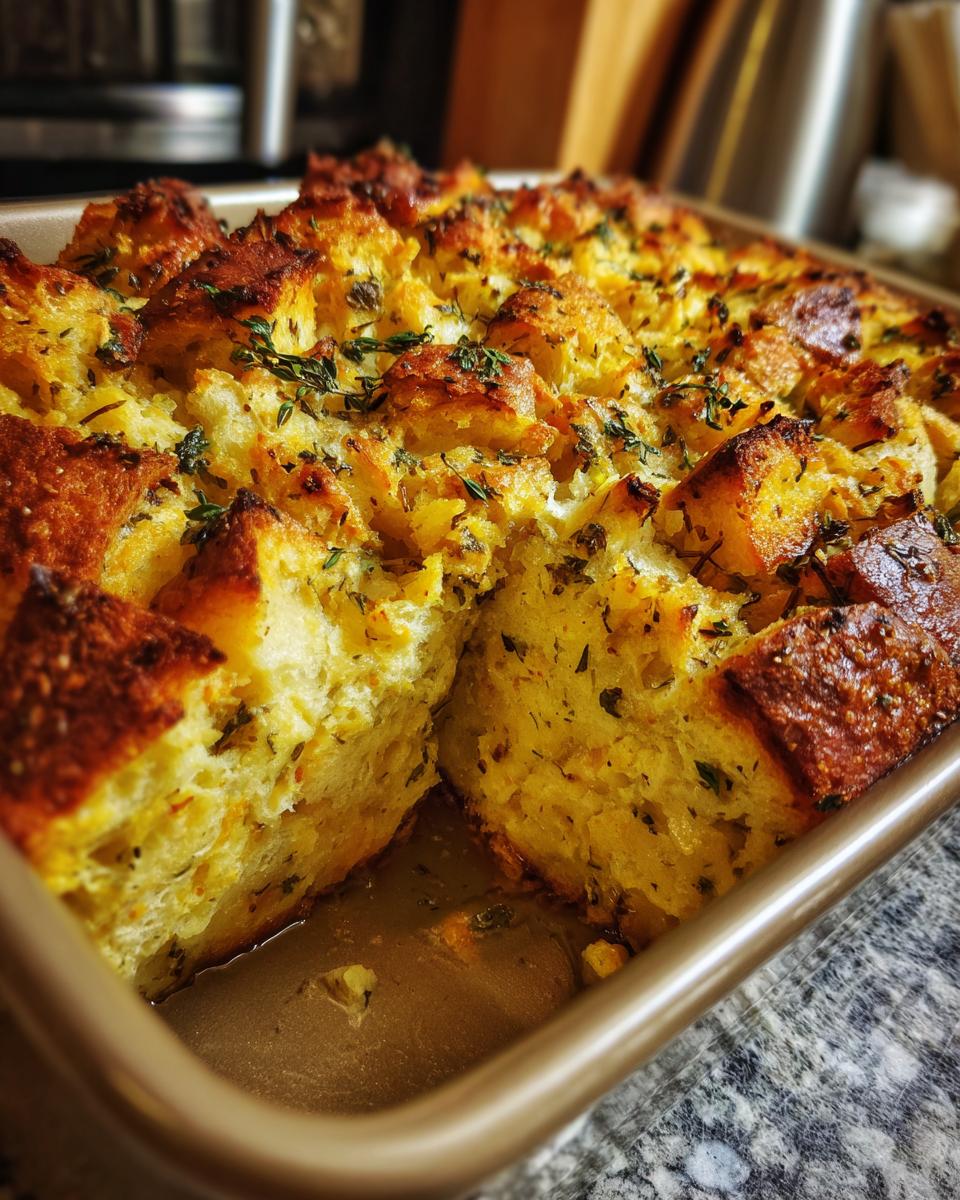
After it’s had a little soak, stir in that lightly beaten egg. You want to mix until everything is nicely combined and that egg is incorporated throughout. Now, carefully transfer all of that delicious stuffing mixture into a greased 9×13 inch baking dish. Smooth it out a bit. Finally, bake it for 25 to 30 minutes. You’re looking for that golden brown, slightly crispy top and for the stuffing to be heated all the way through.
Ingredient Notes and Substitutions for Your Gluten-Free Stuffing
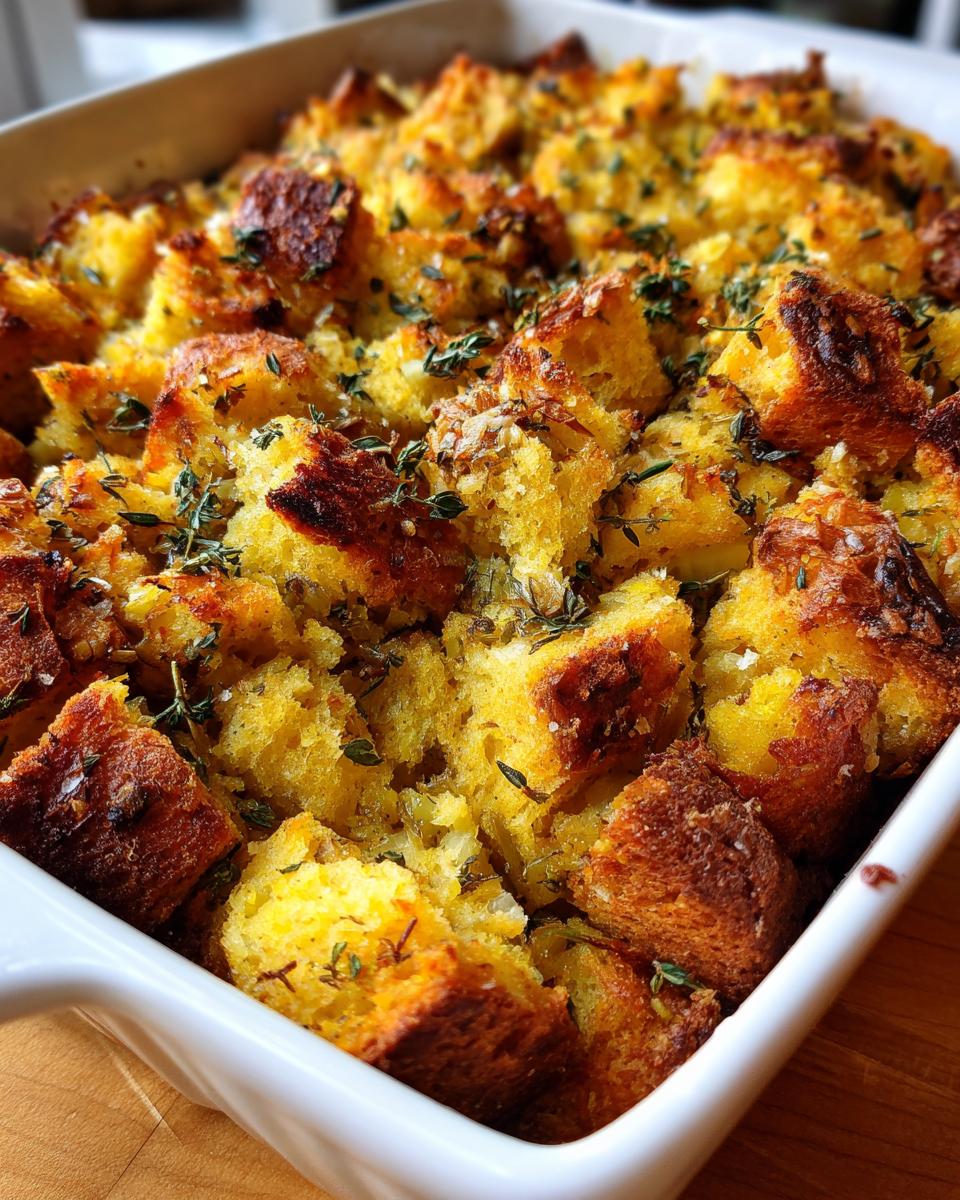
You know, picking the right ingredients is super important for making any gluten-free stuffing a total win! That gluten-free bread you use can really make a difference. I find loaves that are a bit heartier, almost chewy, work best. If your bread is super soft, you might need to toast it a little longer to get that perfect texture. And don’t stress about the broth! While chicken or vegetable broth is fantastic, turkey broth is also a yummy choice, especially if you’re making it for Thanksgiving. For herbs, fresh is always amazing if you have them – just double the amount! The goal is always that comforting, savory flavor everyone loves, gluten-free or not.
Serving Suggestions for This Gluten-Free Thanksgiving Stuffing
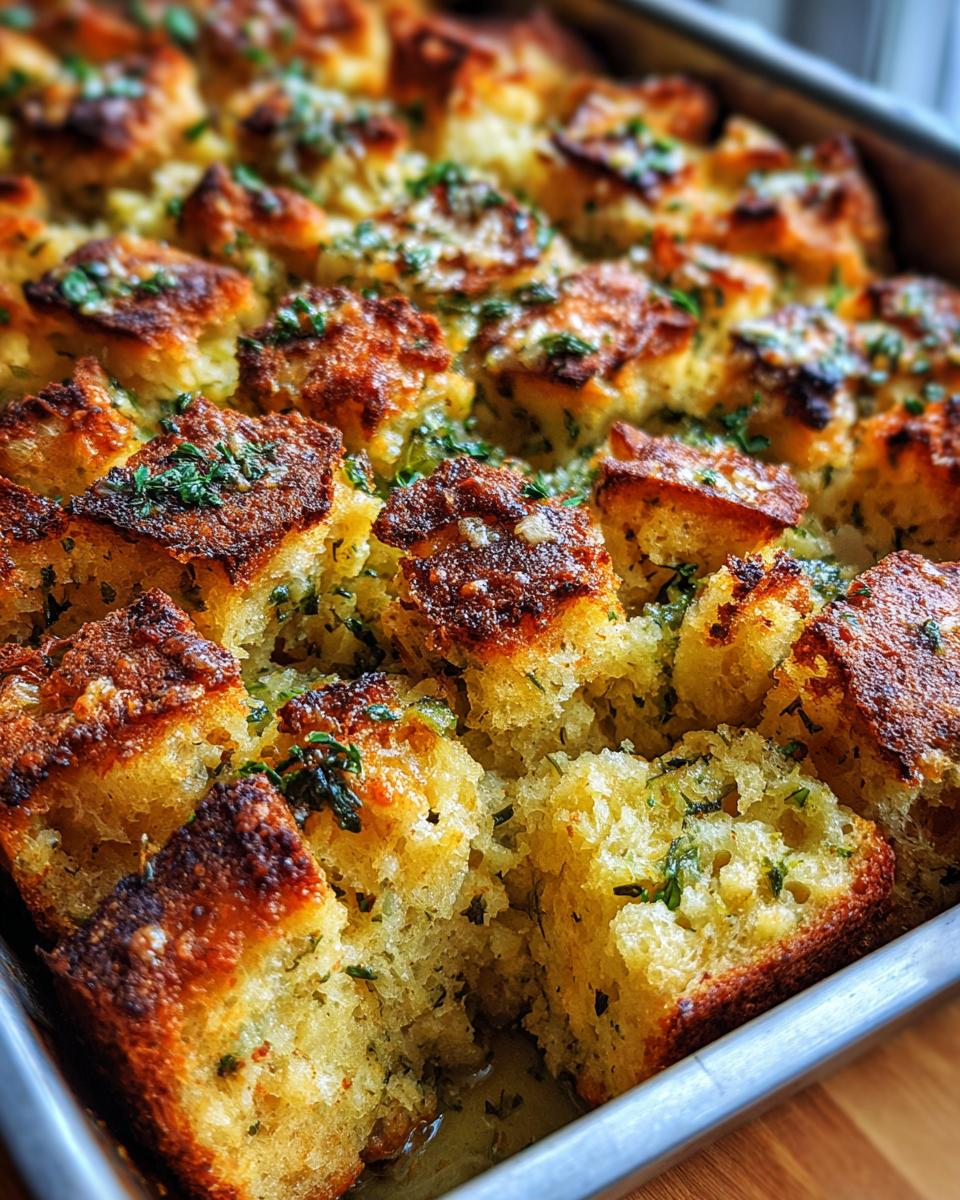
Now that you’ve got this fabulous gluten-free Thanksgiving stuffing ready to go, let’s talk about what else should be on your holiday plate! This stuffing is a star, but it shines even brighter next to other classic Thanksgiving dishes. Imagine it piled high next to some fluffy creamy mashed potatoes or alongside a perfectly roasted turkey.
And you absolutely CANNOT forget the homemade cranberry sauce! Our homemade cranberry sauce recipe is so simple and adds that perfect burst of tartness. Whether you’re serving a whole bird or just a delicious roasted turkey breast, this stuffing is the ultimate comforting side that ties it all together beautifully.
Storage and Reheating Your Wheat-Free Holiday Dressing
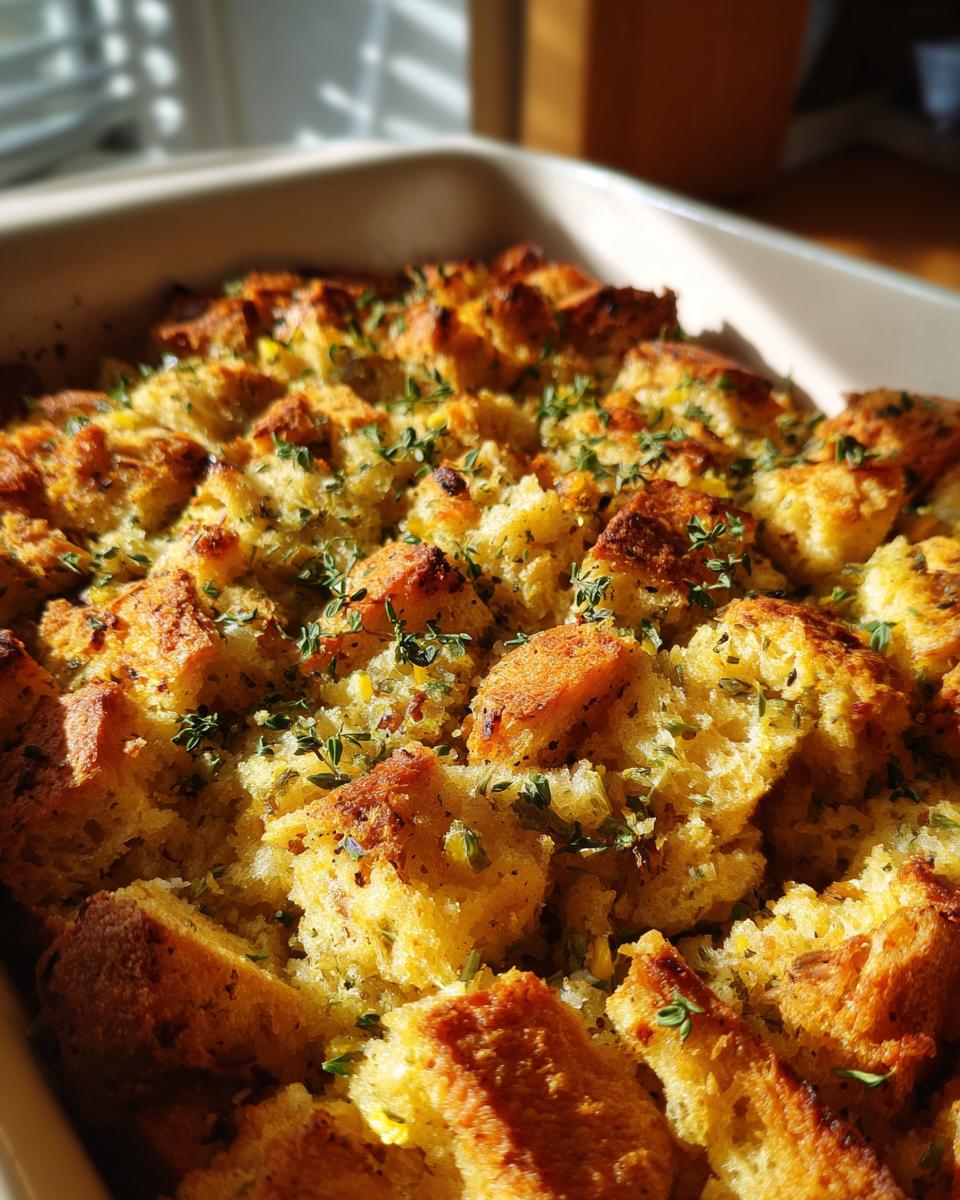
Got leftovers of this amazing wheat-free holiday dressing? Lucky you! Store any extra stuffing in an airtight container in the fridge for up to 3-4 days. When you’re ready to reheat, the best way to get that lovely texture back is in the oven. Pop it into a baking dish with just a tiny splash of broth or water to keep it moist, cover it with foil, and bake at around 300°F (150°C) until it’s heated through. If you like a crispier top, just uncover it for the last few minutes!
Frequently Asked Questions About Celiac Safe Stuffing
Got questions about whipping up the best celiac safe stuffing recipe? I totally get it! Making holiday favorites special-diet friendly can feel tricky, but it’s totally doable. Here are a few things folks often ask:
Can I use a different type of gluten-free bread for this stuffing?
Oh yes, you absolutely can! Different gluten-free breads will give you slightly different textures. Breads that toast up nicely tend to be best. If your bread is super soft, just toast it a bit longer!
How do I make this stuffing dairy-free?
Super simple! Just swap out the butter for a good quality dairy-free butter substitute. Margarine or even a solid coconut oil will work too. It’ll still be delicious!
Can I make this gluten-free stuffing ahead of time?
You sure can! Prepare everything right up to the point of baking, then cover the dish and pop it in the fridge. When you’re ready to bake, just add it to the oven, but you might need to bake it a few minutes longer to heat it all the way through.
Nutritional Information Estimate
Just a heads-up, these numbers are just an estimate, okay? What you end up with can change a bit depending on the exact gluten-free bread you use and even the brands of broth and butter. But, to give you a good idea, one serving of this stuffing is roughly:
Serving Size: 1/8th of recipe
Calories: 350
Fat: 18g (Saturated Fat: 8g, Unsaturated Fat: 10g, Trans Fat: 0g)
Carbohydrates: 35g (Fiber: 3g, Sugar: 5g)
Protein: 8g
Sodium: 600mg
Cholesterol: 60mg
PrintAmazing Gluten-Free Stuffing
A comforting and savory gluten-free stuffing recipe perfect for holiday meals, made with gluten-free bread and classic herbs.
- Prep Time: 20 min
- Cook Time: 45 min
- Total Time: 65 min
- Yield: 8 servings 1x
- Category: Side Dish
- Method: Baking
- Cuisine: American
- Diet: Gluten Free
Ingredients
- 1 loaf (16 oz) gluten-free bread, cut into 1-inch cubes
- 1/2 cup unsalted butter
- 2 cups chopped yellow onion (about 1 large)
- 1 1/2 cups chopped celery (about 3 stalks)
- 2 cloves garlic, minced
- 1 teaspoon dried sage
- 1 teaspoon dried thyme
- 1/2 teaspoon dried rosemary, crushed
- 1/2 teaspoon salt
- 1/4 teaspoon black pepper
- 2 cups low-sodium chicken or vegetable broth
- 1 large egg, lightly beaten
Instructions
- Preheat your oven to 350°F (175°C). Spread the gluten-free bread cubes on a baking sheet and bake for 10-15 minutes, or until lightly toasted. Remove from oven and set aside.
- In a large skillet or Dutch oven, melt the butter over medium heat. Add the chopped onion and celery and cook until softened, about 8-10 minutes.
- Add the minced garlic, dried sage, thyme, and rosemary to the skillet. Cook for 1 minute more until fragrant.
- Stir in the salt and pepper.
- In a large bowl, combine the toasted bread cubes with the onion and celery mixture.
- Pour the chicken or vegetable broth over the bread mixture and toss gently to combine. Let it sit for 5 minutes to allow the bread to absorb some of the liquid.
- Stir in the lightly beaten egg until everything is well combined.
- Transfer the stuffing mixture to a greased 9×13 inch baking dish.
- Bake for 25-30 minutes, or until the top is golden brown and the stuffing is heated through.
Notes
- For a richer flavor, you can use turkey broth instead of chicken or vegetable broth.
- If you prefer a moister stuffing, add an extra 1/2 cup of broth.
- For a crispier top, you can broil the stuffing for the last 1-2 minutes of baking, watching carefully to prevent burning.
- This recipe is a great option for those looking for gluten-free meal planning.
Nutrition
- Serving Size: 1/8th of recipe
- Calories: 350
- Sugar: 5g
- Sodium: 600mg
- Fat: 18g
- Saturated Fat: 8g
- Unsaturated Fat: 10g
- Trans Fat: 0g
- Carbohydrates: 35g
- Fiber: 3g
- Protein: 8g
- Cholesterol: 60mg