


There’s just something magical about a piping hot, bubbly homemade pizza, isn’t there? That perfect chewy-crisp crust, the gooey melted cheese, and all your favorite toppings – it’s basically a culinary hug in every slice! I remember growing up, Friday nights were always pizza nights, and my mom would let me help stretch the dough. Even though it was never *perfectly* round, the joy of making our own pizza from scratch was the best part. And let me tell you, getting that pizzeria-style crust right in your own oven is totally achievable! This recipe is my tried-and-true method for a truly fantastic homemade pizza that’ll have everyone asking for seconds.
- Why You'll Love This Homemade Pizza Recipe
- Gather Your Ingredients for the Perfect Homemade Pizza
- Crafting Your Homemade Pizza Dough: Step-by-Step
- Assembling and Baking Your Homemade Pizza
- Ingredient Notes and Substitutions for Homemade Pizza
- Tips for the Ultimate Homemade Pizza Experience
- Frequently Asked Questions About Homemade Pizza
- Nutritional Information for Your Homemade Pizza
- Share Your Homemade Pizza Creations!
Why You’ll Love This Homemade Pizza Recipe
Honestly, making your own pizza is one of those kitchen wins that just feels *so* good. You’ll love how:
- It’s surprisingly easy to whip up the dough – seriously, no fancy tricks needed!
- You get that amazing, crispy crust that rivals your favorite takeout joint.
- You’re in total control of the toppings, so everyone gets exactly what they want.
- It turns a regular night into a fun DIY pizza party!
Gather Your Ingredients for the Perfect Homemade Pizza
Alright, let’s get our game faces on and gather everything we need for this amazing homemade pizza. You might be surprised how simple it is! Here’s what you’ll want to have ready:
- 1 ½ cups of nice, warm water – think around 105-115°F. Too hot and you’ll kill the yeast, too cool and it won’t wake up!
- 1 teaspoon of active dry yeast. Make sure it’s not expired!
- A little pinch of sugar – just about 1 teaspoon – to help that yeast get going.
- 3 ½ cups of all-purpose flour. You’ll need a little extra for dusting, so keep that nearby.
- 2 tablespoons of good olive oil, plus a tiny bit more for greasing the bowl later.
- 1 teaspoon of salt – don’t skip this, it adds so much flavor!
- ½ teaspoon of dried oregano for that classic pizza aroma.
- And ½ teaspoon of garlic powder. Trust me, it makes a difference!
- Then, of course, you’ll need about 1 cup of your favorite pizza sauce and 2 cups of shredded mozzarella cheese. Pile on your favorite toppings too – pepperoni, veggies, whatever your heart desires!
Crafting Your Homemade Pizza Dough: Step-by-Step
Okay, this is where the magic really starts! Making your own pizza dough might sound intimidating, but trust me, it’s more about patience than anything else. It’s that simple dough that forms the heart of your amazing homemade pizza! So let’s get our hands a little floured and make some pizza perfection.
Activating the Yeast for Your Homemade Pizza Dough
First things first, we need to wake up that yeast! In a nice big bowl, pour in your warm water. You know, that perfect temperature, like a comfy bath, not scalding hot. Then, toss in your yeast and that little teaspoon of sugar. Give it a gentle stir and let it hang out for about five to ten minutes. You’ll know it’s ready when it gets all foamy and bubbly on top. That tells us the yeast is alive and ready to work its magic! Don’t forget, you can always follow along with more tips if you need them on our Facebook page!
Mixing and Kneading the Homemade Pizza Dough
Once your yeast looks happy, it’s time to add the rest of the goodies: the flour, those two tablespoons of lovely olive oil, the salt, oregano, and garlic powder. You can start mixing it with a spoon, or if you have a stand mixer with a dough hook, now’s its time to shine! Just mix until everything starts to come together into a shaggy dough. Then, turn it out onto a lightly floured surface and get ready to knead. You want to do this for about 8 to 10 minutes until the dough feels smooth, soft, and wonderfully elastic. It shouldn’t be sticky anymore! If you’re using a stand mixer, the dough hook will do most of the work for you, just keep an eye on it.
The First Rise: Letting Your Homemade Pizza Dough Breathe
Now, we need to let this beautiful dough rest and get nice and puffed up. Grab a clean bowl and give it a light coating of olive oil. Pop your kneaded dough in there and give it a little turn so it’s greased all over. Cover the bowl snugly with plastic wrap or a clean, damp kitchen towel. Find a nice, warm spot in your kitchen – maybe near a sunny window or on top of the (turned off!) oven. Let it rise for about an hour and a half, or until it’s just about doubled in size. You’ll see it get all billowy and light. It’s so satisfying to watch!
Assembling and Baking Your Homemade Pizza
Alright, our dough is puffed up and ready to go! Now for the fun part: turning this lovely dough into a glorious homemade pizza! We’re going to get that crust just right, so pay attention, friends. This is how we get that authentic, delicious pie.
Preheating for a Perfect Homemade Pizza Crust
First things first, crank up that oven! We want it screaming hot to get that crust nice and crispy. Aim for 475°F (245°C). If you’ve got a pizza stone or steel, now’s the time to pop it in there to get super hot. This is seriously your secret weapon for that pizzeria-quality crunch. Having it preheated makes all the difference!
Shaping and Topping Your Homemade Pizza
Once your oven’s blazing hot, gently punch down that wonderfully risen dough to get the air out. Divide it in half – each half makes one fantastic homemade pizza. On a lightly floured surface, gently stretch or roll out one piece of dough into your desired shape, usually around 12 inches. Don’t go crazy pulling it thin; we want some body! Carefully transfer your shaped dough onto a pizza peel dusted with cornmeal, or just use parchment paper for an easier slide. Now, spread on your pizza sauce, leaving a little border for that perfect crust. Then, pile on that glorious mozzarella, followed by all your favorite toppings. Just a little tip from me: don’t go overboard with the toppings, or your crust might get a little soggy. Less is often more!

Baking Tips for a Pizzeria-Quality Homemade Pizza
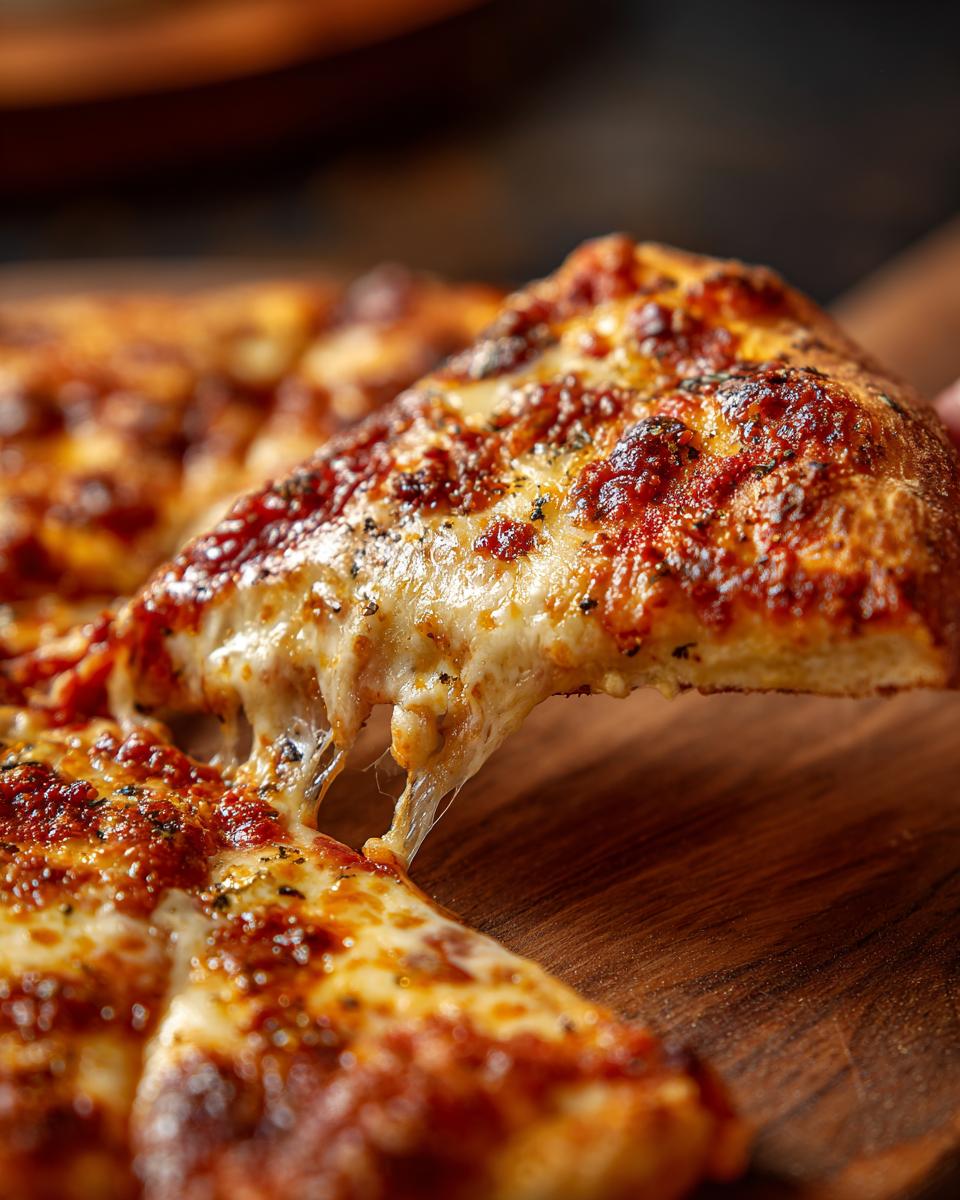
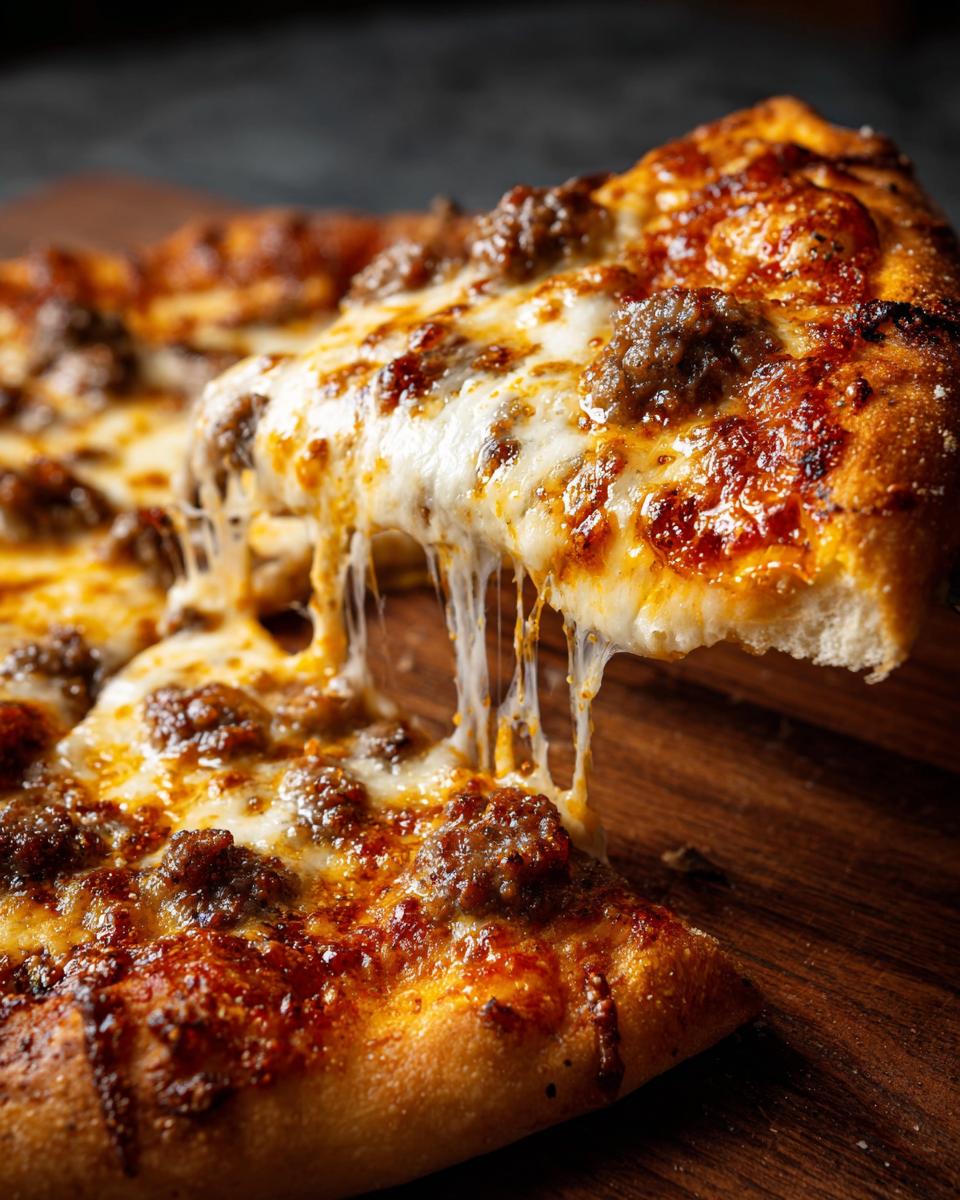
Now for the grand finale! Carefully slide your creation onto that hot pizza stone or steel (or just pop your baking sheet in if that’s what you’re using). Let it bake for about 10 to 15 minutes. You’ll know it’s ready when the crust is a beautiful golden brown, and that cheese is all bubbly and melted, maybe even browning a little in spots. Oh, that smell! Carefully take it out, let it cool just for a minute (so you don’t burn your mouth on that molten cheese goodness!), slice it up, and enjoy your amazing homemade pizza. You can totally check out our homemade pepperoni pizza for some topping inspiration!

Ingredient Notes and Substitutions for Homemade Pizza
When it comes to making a fantastic homemade pizza, the ingredients really count, but don’t worry, you can totally tweak things! For the absolute best crust, I really love using good old all-purpose flour, but if you want something a bit chewier, try using bread flour instead. It’s got more protein and gives great structure. For the cheese, mozzarella is classic for a reason, but a mix of provolone or even a sprinkle of Parmesan can add a lovely zing. And if you’re not a fan of oregano, a little basil or Italian seasoning blend works just beautifully in the dough too!
Tips for the Ultimate Homemade Pizza Experience
Okay, so you’ve got the dough made and you’re ready to bake. But let me share a couple of my favorite tricks to take your homemade pizza from good to absolutely *unforgettable*! For starters, if you have the time, letting that dough do a slow, cold ferment in the fridge for a day or two before baking? Game changer! It really deepens the flavor and makes the crust even better. Also, don’t be shy about getting your oven as hot as possible, and if you can swing a pizza stone or steel, it makes a world of difference for that crispy bottom. You can find even more kitchen adventures over on my blog!
Frequently Asked Questions About Homemade Pizza
Got questions about whipping up your own homemade pizza? I totally get it! It’s a journey, and I’m here to help smooth out any bumps.
Can I make the homemade pizza dough ahead of time?
Oh absolutely! You can totally make the dough and let it chill in the fridge for up to 3 days. This cold fermentation thing really does wonders for flavor, making your homemade pizza even more delicious!
How do I get a crispy crust on my homemade pizza?
For that ultimate crispy crust, make sure your oven is super hot – like, as hot as it can go! Using a preheated pizza stone or steel is a total game-changer. It gets that bottom perfectly browned and crunchy.
What are some creative topping ideas for homemade pizza?
Beyond the classic pepperoni, why not try a zesty buffalo chicken pizza, or maybe a white pizza with garlic, ricotta, and spinach? Even a simple veggie pizza with roasted peppers and onions is divine!
Nutritional Information for Your Homemade Pizza
You know, when you make your own delicious homemade pizza, the nutrition can really change depending on what you put on it, but here’s a general idea for one slice (assuming about 1/8th of a pizza with basic toppings like sauce and cheese): we’re looking at around 250 calories, about 10g of fat (4g of that is saturated), roughly 35g of carbs with 2g of fiber, and about 12g of protein. Remember, this is just an estimate, so load up on those veggies!
Share Your Homemade Pizza Creations!
I would absolutely LOVE to see your homemade pizza masterpieces! Did you try any fun topping combos? How did the crust turn out? Please share your thoughts, rate this recipe, and maybe even drop a picture of your amazing pizza in the comments below. Seeing your creations brightens my day and helps other home cooks too!
PrintHomemade Pizza: 1 Perfect Pizzeria Crust

Learn to make a perfect homemade pizza with a crispy crust, just like your favorite pizzeria. This recipe guides you through creating delicious pizza dough and baking it in your home oven.
- Prep Time: 20 minutes
- Cook Time: 15 minutes
- Total Time: 1 hour 35 minutes
- Yield: 2 pizzas (about 12 inches each) 1x
- Category: Dinner
- Method: Baking
- Cuisine: American
- Diet: Vegetarian
Ingredients
- 1 ½ cups warm water (105-115°F)
- 1 teaspoon active dry yeast
- 1 teaspoon granulated sugar
- 3 ½ cups all-purpose flour, plus more for dusting
- 2 tablespoons olive oil, plus more for greasing
- 1 teaspoon salt
- ½ teaspoon dried oregano
- ½ teaspoon garlic powder
- 1 cup pizza sauce
- 2 cups shredded mozzarella cheese
- Your favorite pizza toppings (pepperoni, mushrooms, onions, peppers, etc.)
Instructions
- In a large bowl, combine the warm water, yeast, and sugar. Let stand for 5-10 minutes until foamy.
- Add the flour, olive oil, salt, oregano, and garlic powder to the yeast mixture.
- Mix with a spoon or in a stand mixer with a dough hook until a shaggy dough forms.
- Turn the dough out onto a lightly floured surface and knead for 8-10 minutes until smooth and elastic.
- Lightly grease a clean bowl with olive oil. Place the dough in the bowl, turning to coat. Cover with plastic wrap or a damp towel and let rise in a warm place for 1-1.5 hours, or until doubled in size.
- Preheat your oven to 475°F (245°C). If you have a pizza stone or steel, place it in the oven while it preheats.
- Punch down the risen dough and divide it in half.
- On a lightly floured surface, stretch or roll out one half of the dough into your desired pizza shape (about 12 inches).
- Carefully transfer the dough to a pizza peel dusted with cornmeal or parchment paper.
- Spread the pizza sauce evenly over the dough, leaving a small border for the crust.
- Sprinkle the mozzarella cheese over the sauce, followed by your desired toppings.
- Carefully slide the pizza onto the preheated pizza stone or steel (or place the baking sheet directly in the oven).
- Bake for 10-15 minutes, or until the crust is golden brown and the cheese is bubbly and melted.
- Remove from oven, let cool slightly, slice, and serve. Repeat with the second half of the dough.
Notes
- For a crispier crust, preheat your oven as hot as it can go and use a pizza stone or steel.
- You can make the dough ahead of time and let it cold ferment in the refrigerator for up to 3 days for a more complex flavor.
- Experiment with different flours like bread flour for a chewier crust.
- Don’t overload your pizza with toppings, as this can make the crust soggy.
Nutrition
- Serving Size: 1 slice (1/8 of pizza)
- Calories: 250
- Sugar: 3g
- Sodium: 450mg
- Fat: 10g
- Saturated Fat: 4g
- Unsaturated Fat: 6g
- Trans Fat: 0g
- Carbohydrates: 35g
- Fiber: 2g
- Protein: 12g
- Cholesterol: 15mg