


Oh, the sheer magic of watching a hot chocolate bomb dissolve right before your eyes, turning a plain mug of milk into a luscious cup of cocoa? It’s pure, unadulterated joy, isn’t it? I’m Caroline Hayes, and here at Recipes To Keep, we’re all about those unforgettable food moments. These DIY hot chocolate bombs are just that – a delightful little surprise that’s as fun to make as it is to give, totally fitting with our philosophy of creating dishes that become keepsakes.
- Why You'll Love Making Hot Chocolate Bombs
- Gather Your Ingredients for Hot Chocolate Bombs
- Essential Equipment for Crafting Hot Chocolate Bombs
- Step-by-Step Guide to Making Hot Chocolate Bombs
- Tips for Perfect Hot Chocolate Bombs
- Ingredient Notes and Substitutions for Hot Chocolate Bombs
- Storing and Reheating Your Hot Chocolate Bombs
- Frequently Asked Questions About Hot Chocolate Bombs
- Estimated Nutritional Information
- Share Your Hot Chocolate Bomb Creations!
Why You’ll Love Making Hot Chocolate Bombs
Honestly, you’re going to adore making these! They’re:
- Super fun to create – like little edible science experiments!
- The perfect surprise when you pour in that hot milk.
- Fantastic as homemade gifts or wedding favors – talk about a thoughtful touch!
- Surprisingly simple, even if you’re new to working with chocolate.
Get ready for some serious smiles!
Gather Your Ingredients for Hot Chocolate Bombs
Alright, let’s get our goodies together! For these little magic spheres, you’ll need about 12 ounces of really good quality chocolate – whatever you like best, milk, dark, or even white! Make sure it’s chopped up nicely. Then, you’ll grab about half a cup of your favorite hot cocoa mix, a quarter cup of powdered sugar, and a generous cup of those cute little mini marshmallows. If you’re feeling fancy, maybe some crushed peppermint or colorful sprinkles for decorating!
Essential Equipment for Crafting Hot Chocolate Bombs
To get our hot chocolate bombs just right, you’ll need a few key things. Grab a set of silicone sphere molds – the kind that make cute little half-circles. You’ll also want a small offset spatula or a pastry brush for getting that chocolate into every nook of the mold. A microwave-safe bowl for melting the chocolate is a must, and having a baking sheet lined with parchment paper is super handy for setting them up.
Step-by-Step Guide to Making Hot Chocolate Bombs
Alright, who’s ready to make some chocolate magic? It might seem a little fancy, but trust me, it’s totally achievable right in your own kitchen. My grandmother always said taking your time with chocolate is key, and she was so right! It’s like a little labor of love that pays its own sweet dividends. Learning how to make these hot chocolate bombs is so rewarding!
Melting and Tempering Your Chocolate
First things first, let’s get that chocolate ready. You can pop your chopped chocolate in a microwave-safe bowl and zap it in 30-second bursts, stirring in between, until it’s all smooth and luscious. Or, use a double boiler if you prefer that old-school method. For that gorgeous shine and a nice snap, tempering is your best friend! Heat it to about 115-120°F, then cool it down to around 80-82°F while stirring, and then gently warm it back up just a hair.
Coating the Silicone Molds
Now, spoon about a tablespoon or two of that beautiful melted chocolate into each little half-sphere mold. Use a pastry brush or the back of your spoon to carefully spread it all up the sides, making sure you get a nice, even coat with no gaps. You want those shells to be sturdy! Pop the mold into the fridge for about 10-15 minutes until it’s firm. If any spots look a little thin, just brush on a second layer and chill again.
Demolding and Assembling Your Hot Chocolate Spheres
Time for the fun part! Gently pop those chocolate half-spheres right out of the mold. Be careful, they can be a bit delicate! To seal them, I like to take a clean plate, warm it up for just a few seconds (think countertop warm, not hot!), and then gently place the rim of one half-sphere onto the plate for a second to soften it just a tiny bit. Quickly fill that half with your cocoa mix, marshmallows, and any other goodies, then take another empty half, warm its rim, and press it gently onto the filled one to seal them together.

Decorating Your Hot Chocolate Bombs
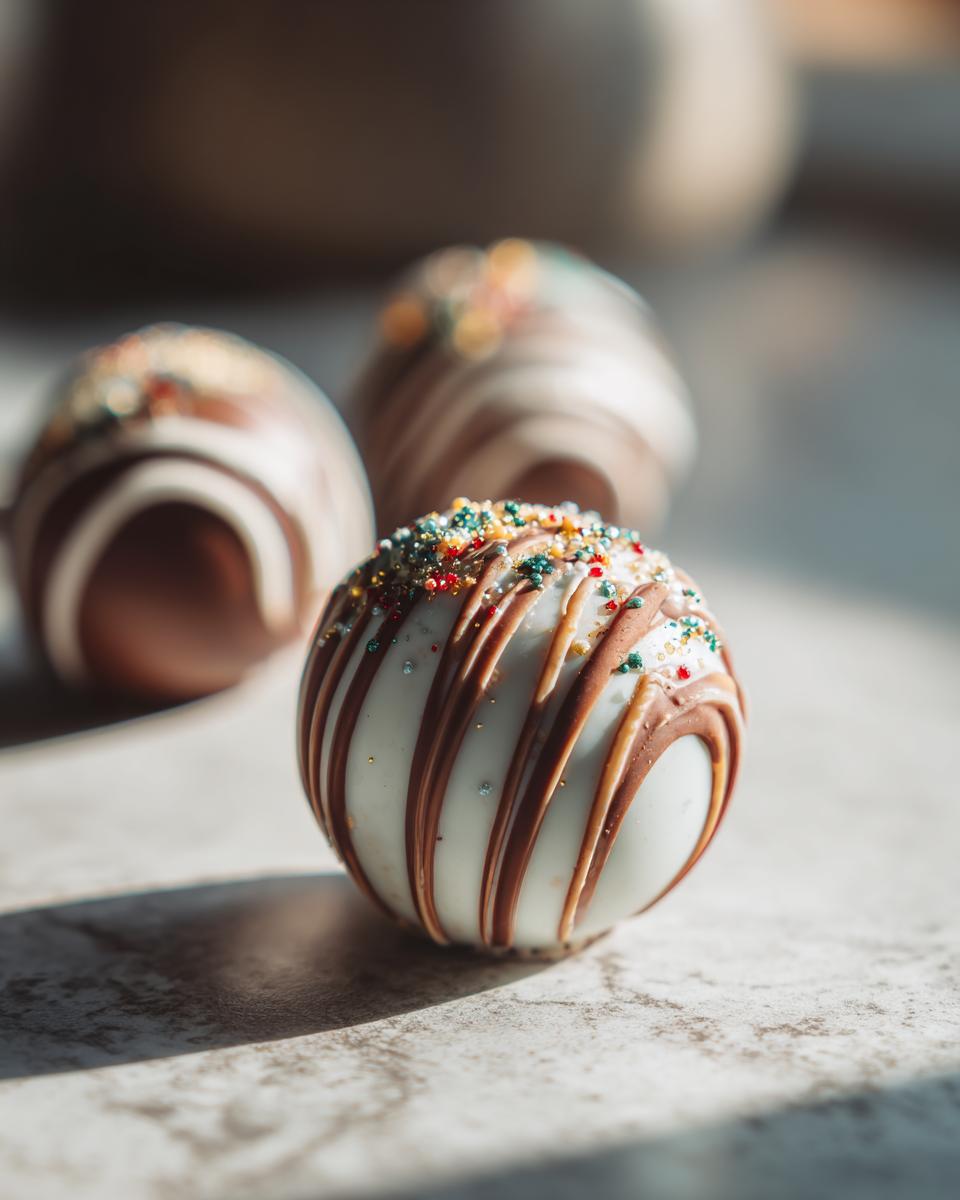
You’ve made the bombs, yay! Now, let’s make them pretty. You can drizzle on a little extra melted chocolate – maybe a contrasting color like white chocolate on dark, or vice versa! Then, go wild with sprinkles, edible glitter, or even some crushed candy canes. It’s a great way to use up leftover holiday candies too!

Tips for Perfect Hot Chocolate Bombs
Oh, getting these just right is all about a few little secrets! Trust me, as someone who loves to really nail a recipe, a few key things make all the difference. First, always use good quality chocolate. The fancy stuff melts so much better and tastes way more decadent – it’s worth every penny! And make sure your silicone molds are super clean and totally dry before you start; any hint of water can mess with your chocolate. Also, be gentle when you’re popping those little chocolate halves out. They can be a tad dramatic and crack if you’re too rough! It’s all about patience, just like my Grandma Eleanor used to say about her baking!
Ingredient Notes and Substitutions for Hot Chocolate Bombs
Okay, let’s chat ingredients for a sec! The chocolate you pick really makes or breaks these bombs. I *highly* recommend using good quality chocolate, like couverture or a nice baking bar, not just chocolate chips. Why? Because they melt smoother and set up with a beautiful shine and a satisfying snap, instead of looking dull or feeling greasy. If you need dairy-free, look for a good quality dark chocolate that doesn’t contain milk ingredients, or try some dairy-free baking wafers.
Storing and Reheating Your Hot Chocolate Bombs
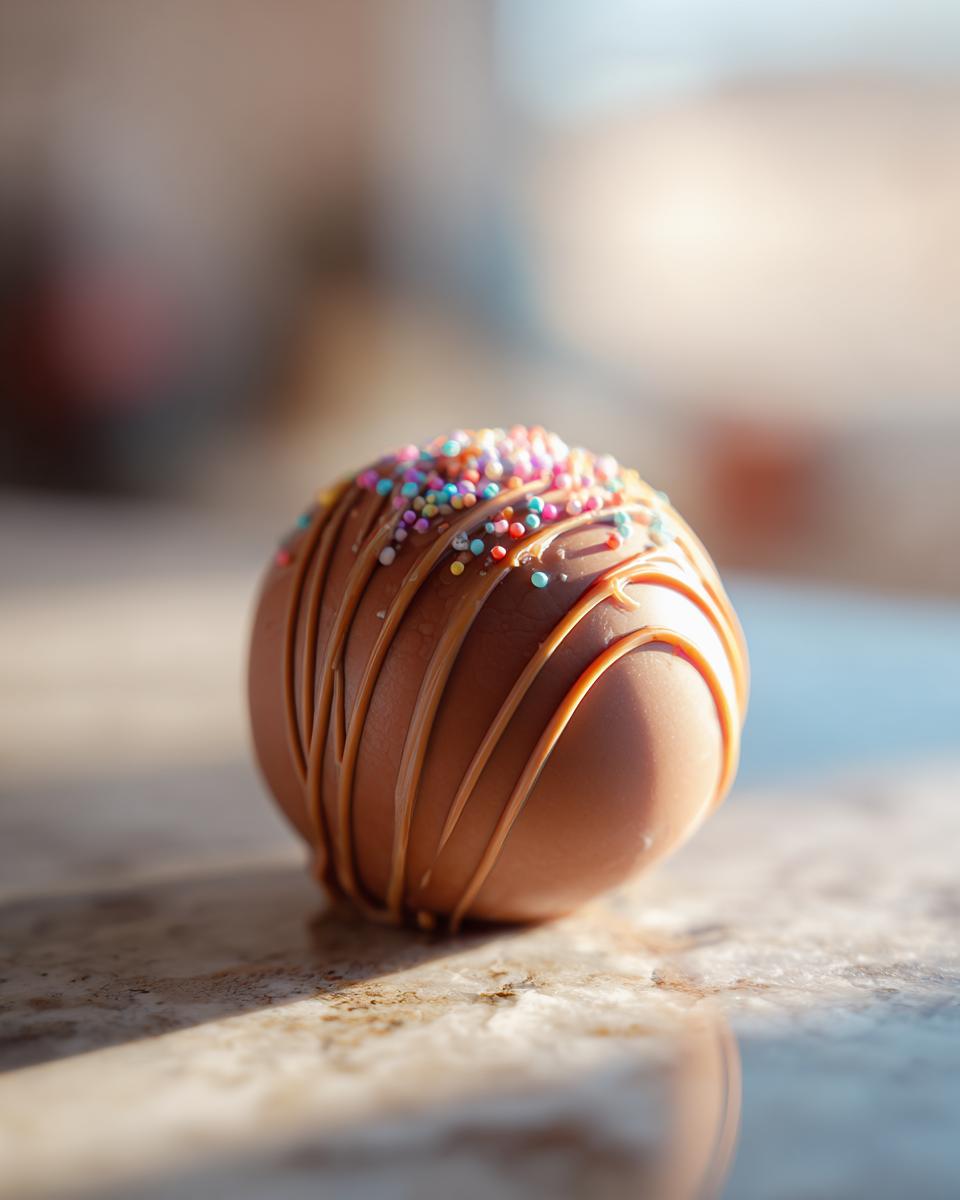
Once your beautiful hot chocolate bombs are all made and decorated, storing them is super easy. Just pop them into an airtight container at cool room temperature – avoid the fridge, as that can make the chocolate contract and crack. They’re best enjoyed within a few weeks. To use one, just drop it into a mug, pour about 8-10 ounces of hot milk over it, and watch the magic happen!
Frequently Asked Questions About Hot Chocolate Bombs
Got questions about these fun little guys? I hear you! Here are a few things folks often ask:
Can I use candy melts instead of chocolate for my cocoa bombs?
You totally can! Candy melts are a bit more forgiving and don’t require tempering, which can make things easier. However, they won’t have that rich chocolate flavor or the same satisfying snap when they break open in hot milk. They’re a good shortcut if you’re pressed for time or worried about making tempered chocolate, though!
How do I keep my hot chocolate bombs from cracking?
Cracking usually happens for a couple of reasons. Make sure your chocolate isn’t too hot when you’re coating the molds, and don’t make the shells *too* thin – a double layer really helps! Also, be super gentle when you’re popping them out of the molds and when you’re sealing the halves together. They are delicate little treasures!
What’s the easiest way to seal the two halves?
My favorite trick is the warm plate method! Just warm up a plate for a few seconds, then gently place the rim of a chocolate half onto it to soften it *just* a bit. Then, quickly fill it and press another half on top. You can also use a piping bag with a little bit of melted chocolate to create a seal like a chocolate glue. Either way works like a charm!
Can I make these DIY cocoa bombs ahead of time?
Oh, absolutely! These are perfect for making in advance. You can make them a few days, or even a week, before you plan to use them or give them as gifts. Just store them in an airtight container at cool room temperature. That way, you’re all set when that cozy craving hits or when you need a last-minute, super thoughtful gift! For more sweet ideas, check out our desserts!
Estimated Nutritional Information
Just a heads-up, these yummy estimates are based on using milk chocolate and standard hot cocoa mix. Everything can change a little depending on the specific brands and types of chocolate you decide to use, of course!
- Serving Size: 1 bomb
- Calories: About 350
- Fat: Around 20g
- Protein: Roughly 5g
- Carbohydrates: About 40g
- Sugar: Approximately 30g
Share Your Hot Chocolate Bomb Creations!
Did you try making these fun hot chocolate bombs? I’d absolutely love to see your creations! Tag us on social media or leave a comment below telling me how they turned out. Happy baking, and don’t forget to check us out on Facebook!
PrintDIY Hot Chocolate Bombs
Create fun, exploding hot chocolate bombs for a delightful treat or gift.
- Prep Time: 45 min
- Cook Time: 0 min
- Total Time: 45 min
- Yield: 6 bombs 1x
- Category: Dessert
- Method: Molding
- Cuisine: American
- Diet: Vegetarian
Ingredients
- 12 oz good quality chocolate (milk, dark, or white), chopped
- 1/2 cup good quality hot cocoa mix
- 1/4 cup powdered sugar
- 1 cup mini marshmallows
- Optional: crushed peppermint, sprinkles, edible glitter
Instructions
- Melt the chocolate: Place chopped chocolate in a microwave-safe bowl. Microwave in 30-second intervals, stirring between each, until smooth. Alternatively, use a double boiler.
- Temper the chocolate (optional but recommended for shine and snap): Heat chocolate to 115-120°F (46-49°C), then cool to 80-82°F (27-28°C) while stirring, and rewarm slightly to 88-90°F (31-32°C) for dark chocolate, or 86-88°F (30-31°C) for milk/white chocolate.
- Coat the molds: Spoon about 1-2 tablespoons of melted chocolate into each half of a silicone sphere mold. Use a brush or the back of the spoon to spread the chocolate evenly up the sides, creating a thick shell. Ensure there are no gaps.
- Chill: Place the mold in the refrigerator for 10-15 minutes, or until the chocolate is firm.
- Add a second coat: Apply a second layer of melted chocolate to any thin spots in the shells. Chill again until firm.
- Demold: Carefully pop the chocolate half-spheres out of the silicone mold.
- Fill: Warm the rim of half of the chocolate spheres by placing them rim-down on a warm plate for a few seconds. Fill these warmed halves with hot cocoa mix, powdered sugar, mini marshmallows, and any other desired fillings.
- Seal: Place a filled half-sphere onto a clean, warmed plate for a few seconds to slightly melt the rim. Immediately place an empty half-sphere on top and gently press to seal, forming a full sphere.
- Decorate (optional): Drizzle with additional melted chocolate and add sprinkles or edible glitter.
- Store: Store finished hot chocolate bombs in an airtight container at cool room temperature.
Notes
- Use good quality chocolate for the best results.
- Tempering the chocolate will give your bombs a professional shine and prevent blooming.
- Ensure your molds are clean and dry before adding chocolate.
- Be gentle when demolding the chocolate shells to prevent breakage.
- For a festive touch, use colored chocolate for drizzling or add festive sprinkles.
Nutrition
- Serving Size: 1 bomb
- Calories: 350
- Sugar: 30g
- Sodium: 50mg
- Fat: 20g
- Saturated Fat: 12g
- Unsaturated Fat: 8g
- Trans Fat: 0g
- Carbohydrates: 40g
- Fiber: 3g
- Protein: 5g
- Cholesterol: 20mg