
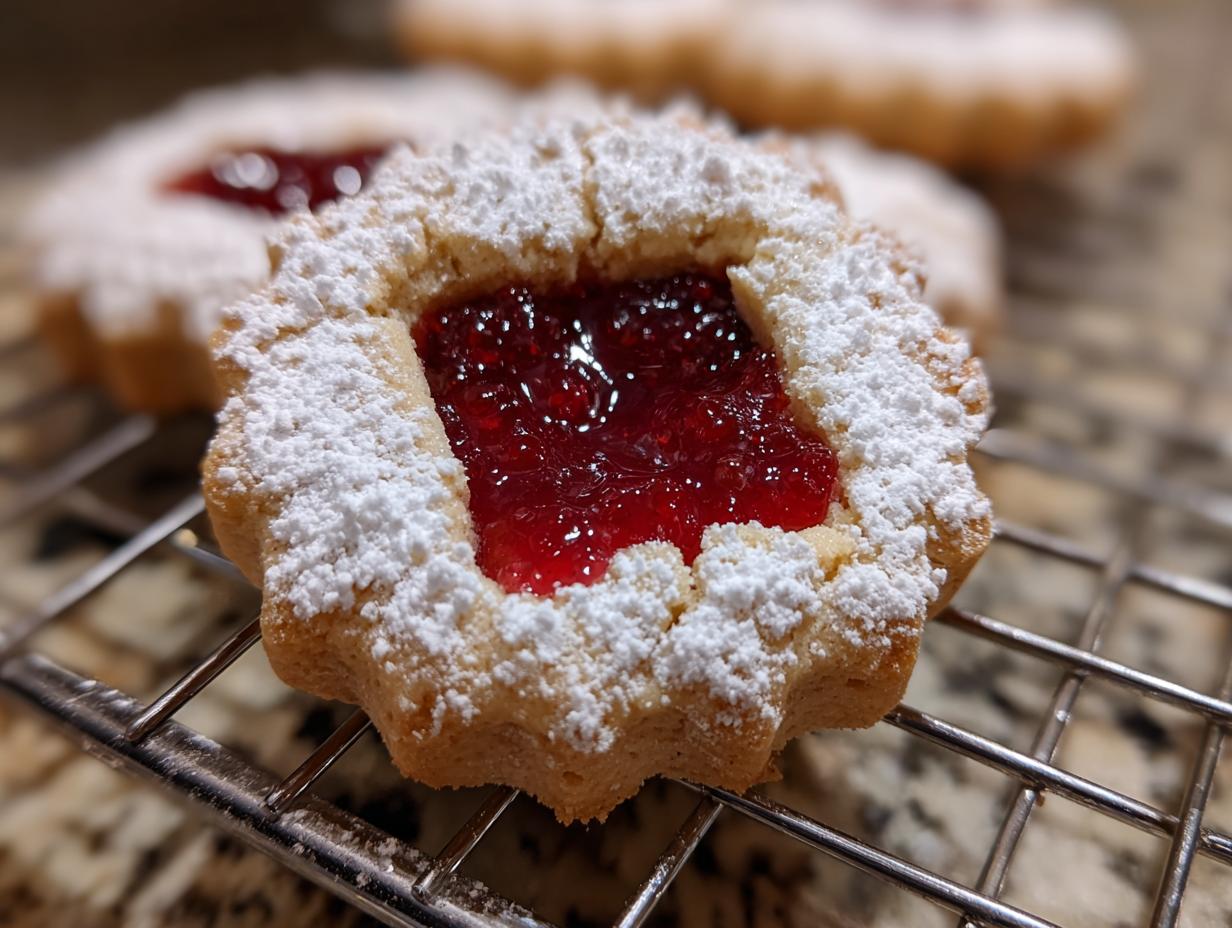

Who else thinks of these delightful little beauties when the holidays roll around? There’s just something so elegant and special about Linzer cookies, isn’t there? They’re basically the fancy jewelry of the cookie plate! I remember the first time I tried making them, totally intimidated, but oh my goodness, the reward is so worth it. That slightly crisp, nutty almond dough hugging a bit of tart raspberry jam – it’s pure magic. My goal with this recipe is to give you all the tips so yours turn out just as stunning and delicious as you imagine, making those special occasions even sweeter.

- Why You'll Love These Linzer Cookies
- Gather Your Ingredients for Linzer Cookies
- Expert Tips for Making Perfect Linzer Cookies
- Step-by-Step Guide to Baking Linzer Cookies
- Ingredient Notes and Substitutions
- Make-Ahead and Storage Tips for Linzer Cookies
- Common Questions About Almond Jam Window Cookies
- Estimated Nutritional Information
- Share Your Linzer Cookie Creations!
Why You’ll Love These Linzer Cookies
Seriously, these cookies are a winner for so many reasons:
- They’re surprisingly easy to whip up, even if they look fancy!
- That almond-y, nutty dough is just *divine* – so tender and flavorful.
- They look absolutely gorgeous on any cookie platter.
- You can switch up the jam to make them totally your own.
- Perfect for holidays, gifts, or just because you deserve a sweet treat!
Gather Your Ingredients for Linzer Cookies
Alright, let’s get our ducks in a row! To make these gorgeous Linzer cookies, you’ll need a few simple things. Make sure your butter is nice and softened – that’s key for a tender dough. And for the nuts, I really, really think going for finely ground almonds or hazelnuts makes all the difference. You can even do a mix! Trust me on this one.
Here’s what you’ll need:
- 2 cups all-purpose flour
- 1 cup finely ground almonds or hazelnuts
- 1/2 cup granulated sugar
- 1/4 teaspoon salt
- 1 cup (that’s two sticks!) unsalted butter, softened
- 1 big egg yolk
- 1 teaspoon vanilla extract
- 1/2 teaspoon almond extract (this is totally optional, but adds a lovely extra layer of flavor!)
- About 1 cup of your favorite jam – raspberry is the classic choice, but we’ll talk more about that later!
- Powdered sugar for dusting the tops, so pretty!
Expert Tips for Making Perfect Linzer Cookies
Okay, listen up! Making gorgeous Linzer cookies is totally do-able, and a few little tricks make all the difference. Nut doughs can be a bit sticky, but don’t you worry! With a little patience and these tips I’ve picked up over the years, you’ll be a Linzer pro in no time. Trust me, it’s all about handling that delicate dough just right. For more baking adventures, check out our blog!

Achieving the Right Dough Consistency
The dough for these cookies should feel soft and just come together, not really sticky or super dry. If it feels a tad too wet, gently add a tablespoon of flour at a time. Too dry? A tiny splash of milk or even just a bit more squishing with your hands *might* help. Humidity in the kitchen can really play tricks, so get a feel for it! Overmixing is the enemy here; we want tender cookies, not tough ones!
The Importance of Chilling Your Linzer Cookie Dough
This step is non-negotiable, folks! Chilling your Linzer cookie dough is what makes it manageable. It firms up that butter, making the dough way less sticky and easier to roll out without it sticking to everything. I usually chill mine for at least an hour, sometimes even longer if I’m not in a rush. Seriously, don’t skip this, or you’ll be wrestling with a melty mess!
Step-by-Step Guide to Baking Linzer Cookies
Alright, let’s get this party started! Here’s how we turn that magical dough into stunning Linzer cookies. Don’t stress, just follow along, and you’ll have a batch of beauties in no time. It’s pretty straightforward, but there are a few little things that make a big difference, so pay attention!
Preparing the Dough and Rolling
So, you’ve got your chilled dough, right? Perfect! Take one disk out of the fridge. On a lightly floured board or your countertop, gently roll it out. We’re aiming for about 1/4-inch thick. You don’t want it too thin, or it’ll be too delicate, and definitely not too thick, or it’ll be too cakey. Just a nice, even layer is what we’re after.
Cutting and Baking Your Linzer Cookie Shapes
Now for the fun part – the cutting! Grab your cookie cutters. You’ll need a larger one for the base of the cookie and then a smaller one (like a little star or heart) to cut out the ‘window’ in the center of the top cookies. Try to cut them out quickly so the dough doesn’t warm up too much. Carefully transfer all your cut-outs to baking sheets lined with parchment paper. Pop them into your preheated oven (remember, 350°F or 175°C!) and bake for about 10 to 12 minutes. You’re looking for just lightly golden edges. They’ll firm up as they cool, so don’t overbake them!
Assembling Your Raspberry Linzer Sandwich Cookies
Once those cookies are completely cool – and I mean *completely* cool, otherwise, the jam will just melt everywhere – it’s time to assemble! Take one of your solid bottom cookies and spread a nice, even layer of raspberry jam on it. Then, take one of the ‘window’ top cookies, give it a little puff of powdered sugar dust (so pretty!), and gently place it on top of the jam-covered bottom. Press ever so lightly… and voilà! You’ve got yourself a gorgeous raspberry Linzer sandwich cookie!

Ingredient Notes and Substitutions
So, let’s chat about the stars of the show here! The nuts are a big deal, for sure. Almonds are the classic, giving you that delicate, nutty flavor that’s just *perfect* with the jam. But honestly, hazelnuts? Oh my goodness, they are divine here too, adding a richer, deeper taste. You could even do half and half if you’re feeling adventurous! Just make sure whatever nuts you choose are ground up super fine so they blend into the dough nicely – you don’t want big chunks. It makes all the difference!
Choosing the Best Jam for Your Linzer Cookies
Raspberry jam is pretty much the reigning champion for Linzer cookies, and for good reason! That vibrant color and slightly tart flavor cuts through the rich, nutty dough beautifully. But you know me, I’m all about options! Apricot jam is another fantastic choice, giving you a lovely golden hue and a nice tang. Strawberry works too if that’s what you have. Just make sure your jam isn’t too runny; you don’t want a jam explosion when you bite into your cookie!
Make-Ahead and Storage Tips for Linzer Cookies
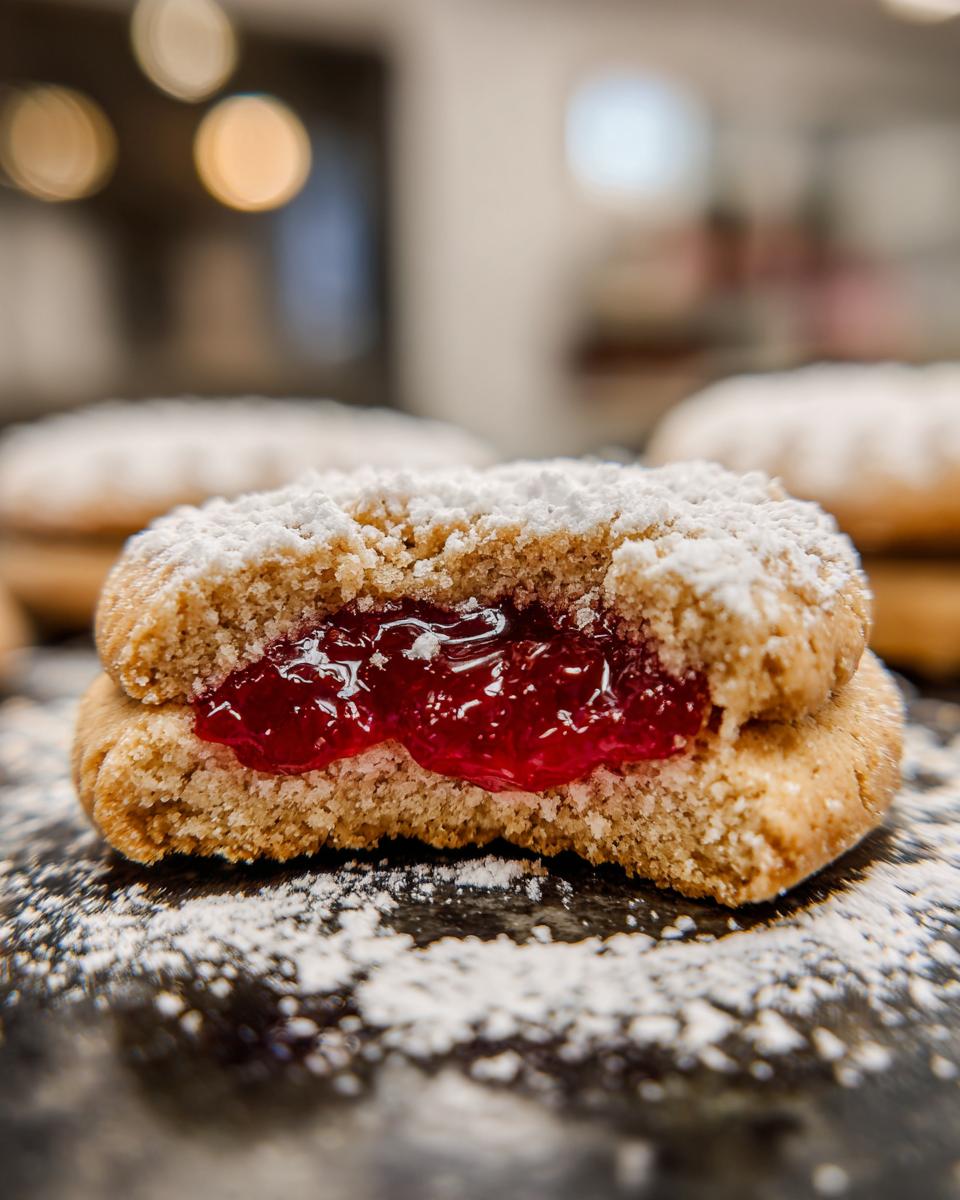
Oh, the beauty of Linzer cookies is you can totally get ahead of the game! The dough itself freezes like a dream. Just wrap those flattened disks really well after you make them, and they’ll keep in the freezer for a couple of months. When you’re ready, just thaw them in the fridge overnight before you plan to roll. Baked cookies, before you fill them, also store well in an airtight container for a few days. Once assembled, they’re best enjoyed within 3-4 days. Any longer, and that lovely crispness might start to fade a bit, which is why I also have tips on storing leftover cookie creations and even how to handle brownie batches!
Common Questions About Almond Jam Window Cookies
You know, I get asked a lot of the same things when people first dive into making these beautiful almond jam window cookies. It’s totally normal! Don’t you worry, we’ve all been there.
Can I use a food processor for the dough?
Oh yes, you absolutely can! A food processor can speed things up for making the Linzer cookie dough. Just pulse the dry ingredients first, then add the cold butter and pulse until it looks like coarse crumbs. Add the wet ingredients and pulse *just* until the dough starts to come together. Be super careful not to over-process, or you’ll end up with tough cookies!
Why are my Linzer cookies spreading too much?
This is a common little snag! Usually, it means the dough wasn’t chilled enough before baking. That means the butter melts too fast. Make sure your dough is nice and firm from the fridge. Also, check your oven temp – if it’s running too hot, the cookies can spread. Sometimes even a smidge too much flour can make them spread less too, but don’t add too much!
How do I get clean cut-outs for my cookies?
This is key for that pretty Linzer look! Make sure your cookie cutters are nice and sharp. Dip them in a little flour between cuts if they start to stick. And remember, rolling the dough evenly to about 1/4-inch is super important. That consistent thickness helps everything bake evenly and makes those cut-outs look so crisp and perfect!
Estimated Nutritional Information
Just a friendly heads-up that these numbers are estimates, okay? They can change a bit depending on the exact ingredients you use and the size of your cookies. But generally, you’re looking at around 180-200 calories per Linzer cookie, with about 10-12g of fat and 12-15g of sugar. They’re more of a treat than an everyday nibble, but oh-so worth it!
Share Your Linzer Cookie Creations!
I just *love* hearing from you all! When you make these Linzer cookies, please leave a comment below and let me know how they turned out. Did you try a different jam? What cookie cutters did you use? And if you snap any photos, be sure to tag us on social media – we adore seeing your beautiful creations! Here at Recipes To Keep, we’re all about building a community around those cherished, classic recipes that just make you feel good. You can also find us on Facebook!
PrintClassic Linzer Cookies

Elegant almond-based sandwich cookies filled with jam, perfect for holidays and special occasions.
- Prep Time: 30 min
- Cook Time: 12 min
- Total Time: 1 hour 42 min
- Yield: 24 cookies 1x
- Category: Dessert
- Method: Baking
- Cuisine: American
- Diet: Vegetarian
Ingredients
- 2 cups all-purpose flour
- 1 cup finely ground almonds or hazelnuts
- 1/2 cup granulated sugar
- 1/4 teaspoon salt
- 1 cup (2 sticks) unsalted butter, softened
- 1 large egg yolk
- 1 teaspoon vanilla extract
- 1/2 teaspoon almond extract (optional)
- 1 cup raspberry jam or other fruit jam
- Powdered sugar for dusting
Instructions
- In a large bowl, whisk together the flour, ground nuts, sugar, and salt.
- Add the softened butter, egg yolk, vanilla extract, and almond extract (if using). Mix with a wooden spoon or electric mixer on low speed until just combined and a dough forms. Do not overmix.
- Divide the dough in half, flatten each half into a disk, wrap in plastic wrap, and refrigerate for at least 1 hour.
- Preheat your oven to 350°F (175°C). Line baking sheets with parchment paper.
- On a lightly floured surface, roll out one disk of dough to about 1/4-inch thickness.
- Using cookie cutters, cut out shapes for the cookie bottoms and tops. For the tops, use a smaller cutter to create a window in the center of each cookie.
- Carefully transfer the cookies to the prepared baking sheets.
- Bake for 10-12 minutes, or until the edges are lightly golden. Let cool on the baking sheets for a few minutes before transferring to a wire rack to cool completely.
- Repeat with the second disk of dough.
- Once cooled, spread jam on the flat side of the solid cookie bottoms.
- Dust the cut-out tops with powdered sugar.
- Place the dusted tops over the jam-filled bottoms to create sandwich cookies.
Notes
- For best results, use finely ground nuts.
- Chill the dough sufficiently to make it easier to handle.
- Ensure your cookie cutters are sharp for clean cuts.
- Allow cookies to cool completely before assembling to prevent the jam from melting.
- Raspberry jam is traditional, but apricot or strawberry jam also works well.
- These cookies store well in an airtight container for several days.
Nutrition
- Serving Size: 1 cookie
- Calories: 180
- Sugar: 12g
- Sodium: 20mg
- Fat: 10g
- Saturated Fat: 5g
- Unsaturated Fat: 5g
- Trans Fat: 0g
- Carbohydrates: 20g
- Fiber: 1g
- Protein: 3g
- Cholesterol: 30mg