
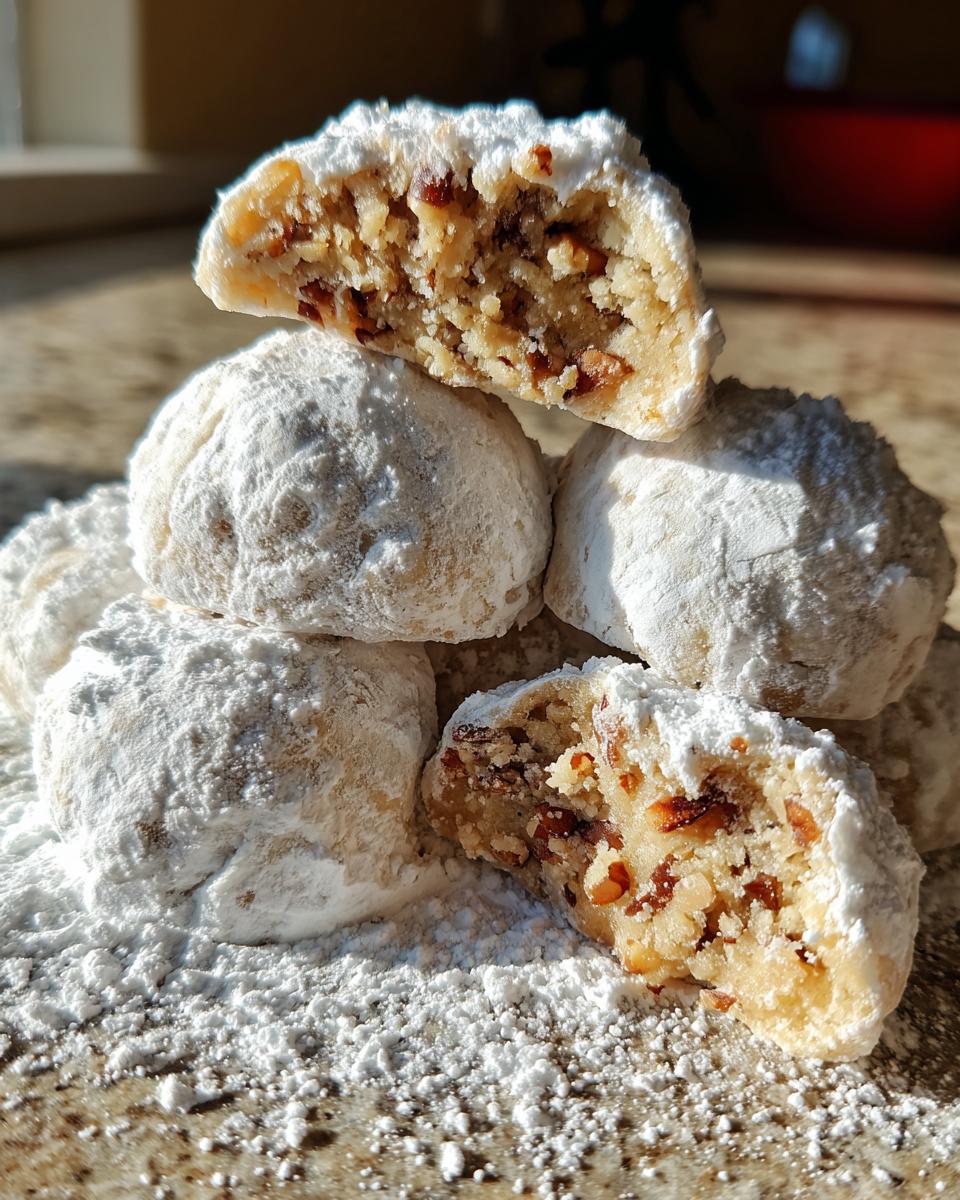

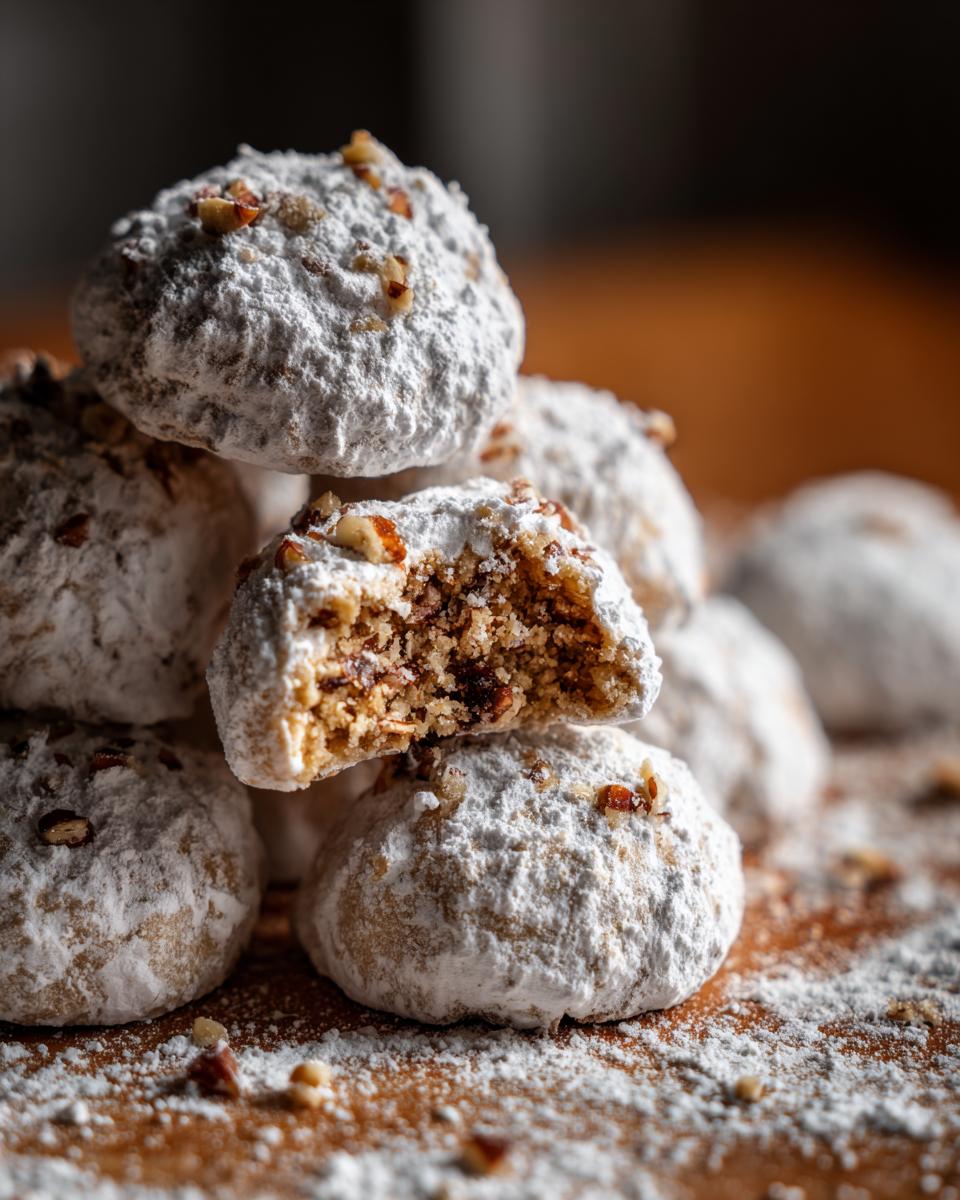
Oh, have you ever tasted a cookie that just feels like a warm hug from your grandma? Or a sweet, snowy little bite that instantly screams ‘holidays’? That’s exactly what these Mexican wedding cookies are to me! They’re just pure magic, with that melt-in-your-mouth texture and delicate, powdery coating that looks like little snowballs. For me, they’re more than just a recipe; they’re a connection to my grandmother, Eleanor, and my passion here at Recipes To Keep for saving those classic American treats that truly stand the test of time. If you’re dreaming of baking a batch that’s perfectly tender, deliciously nutty, and just sweet enough for any festive gathering, you’ve come to the right place!
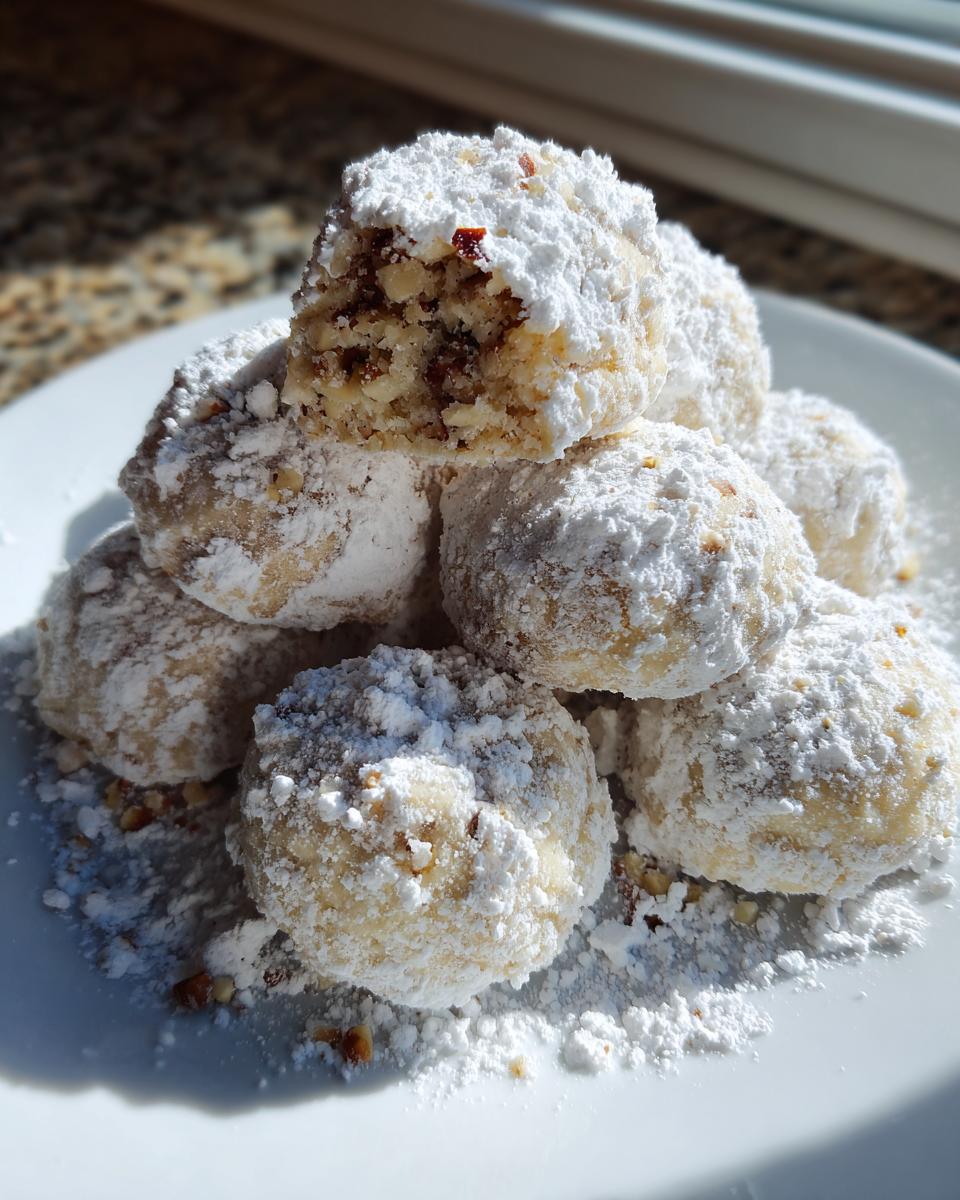
- Why You'll Love These Mexican Wedding Cookies
- Gather Your Ingredients for Perfect Mexican Wedding Cookies
- Step-by-Step Guide to Making Mexican Wedding Cookies
- Essential Equipment for Baking Mexican Wedding Cookies
- Frequently Asked Questions About Mexican Wedding Cookies
- Storage and Make-Ahead Tips for Your Mexican Wedding Cookies
- Estimated Nutritional Information
- Share Your Mexican Wedding Cookie Creations!
Why You’ll Love These Mexican Wedding Cookies
Trust me, you’re going to adore these little gems. They’re:
- Super Easy to Make: Seriously, even if you’re new to baking, these come together so quickly!
- Irresistibly Tender: They basically just dissolve in your mouth – pure bliss!
- Perfectly Nutty: That little crunch from the nuts is just divine.
- Holiday Ready: With their snowy look, they’re practically begging to be on your Christmas cookie platter.
Gather Your Ingredients for Perfect Mexican Wedding Cookies
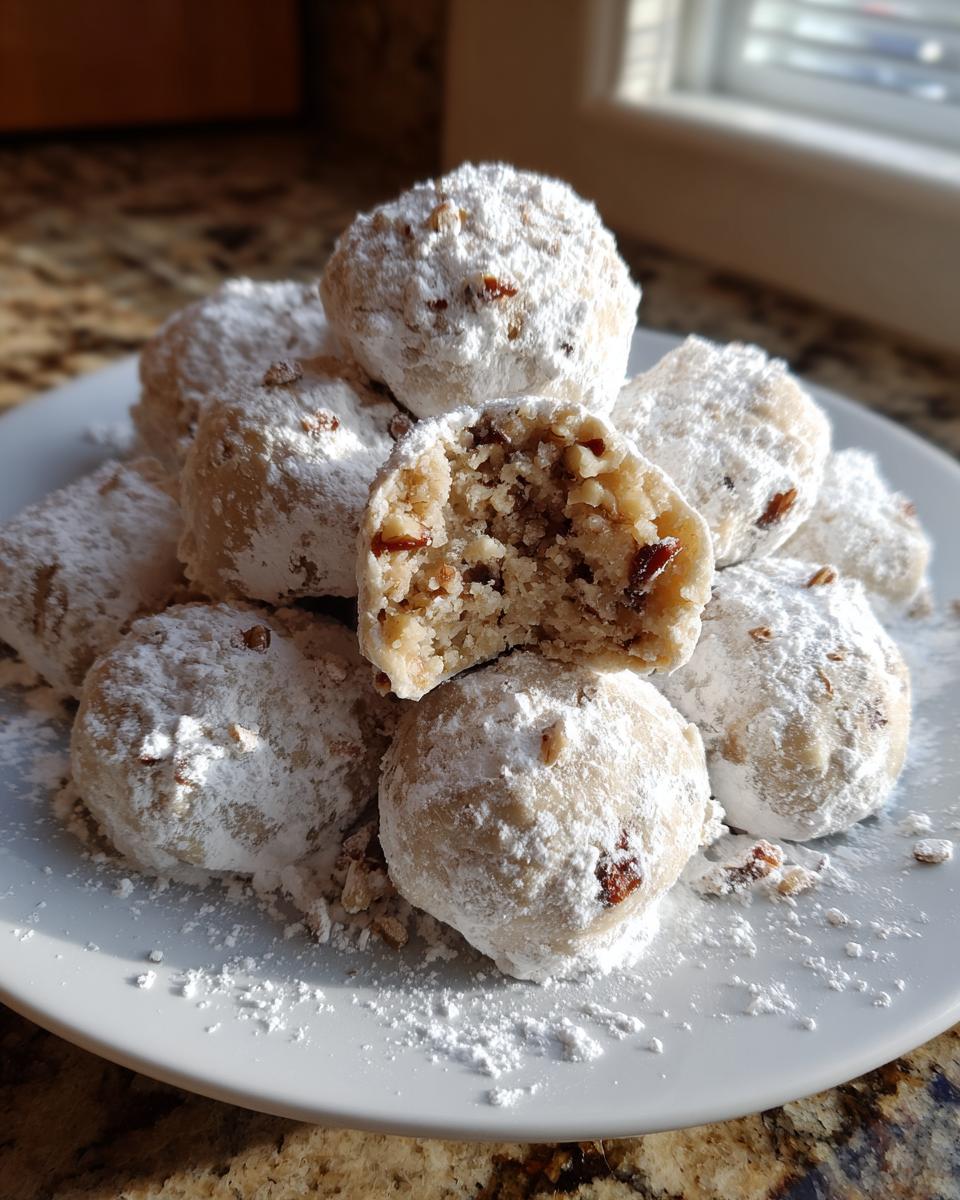
Alright, let’s get our baking game faces on! To make these little snowball wonders, you’ll need a few simple things you probably already have in your pantry. We’re talking about a cup of butter, softened just right – that’s our key to getting that melt-in-your-mouth texture, no chewy cookies here! Then we need half a cup of powdered sugar for sweetness and to help create that doughy base. A teaspoon of vanilla extract for that cozy aroma, a pinch of salt to make all the flavors pop, and about two and a quarter cups of all-purpose flour to hold it all together. And, of course, our star ingredient: a cup of finely chopped pecans or walnuts. Trust me, the finer you chop them, the better they’ll blend into that tender cookie!
Ingredient Notes and Substitutions
So, about those nuts! Pecans are dreamy and classic, but walnuts work just as beautifully if that’s what you have on hand. Just make sure they’re chopped really, really fine – almost like a dust with a few tiny bits. My grandma Eleanor used to say, “You want to *flavor* the cookie, not bite into a whole nut!” As for the butter, unsalted is best so you can control the saltiness yourself, but if you only have salted, just cut back on that pinch of salt a bit. And if nuts aren’t your thing, or you have allergies, you can totally omit them! The cookies will still be wonderfully tender and sweet, just less… nutty. They’ll still be keepers!
Step-by-Step Guide to Making Mexican Wedding Cookies
Alright, let’s actually make some cookies! Get your oven preheated to 350°F – you know the drill, nice and hot for that perfect bake. Grab a large bowl, and we’ll start by creaming together your softened butter and that half-cup of powdered sugar. My grandma Eleanor always said this part was key to getting that super tender texture. You want to beat them until the mixture is nice and fluffy, almost like pale whipped cream. This is where the magic starts to happen!
Next, we’ll beat in that teaspoon of vanilla extract and the salt. It just wakes up all those flavors, doesn’t it? Then comes the flour. Add it gradually, mixing until it’s *just* combined. Honestly, don’t overmix here! We’re aiming for tender, not tough. Once the flour is mostly in, stir in those finely chopped nuts. See? It’s all coming together so easily. Now, the fun part: shaping them! Roll the dough into little balls, about 1-inch in size. I like to keep them pretty uniform so they bake evenly. Pop them onto ungreased baking sheets – no need for parchment here unless you’ve had issues before, but these shouldn’t stick too badly. If you’re curious about more baking tips from my kitchen adventures, you can always check out my blog!
Bake them for about 10 to 12 minutes. You’re looking for just the faintest golden kiss on the edges. They won’t get super brown, and that’s exactly what we want for that snowball look! Once they’re done, let them hang out on the baking sheets for about 5 minutes. This helps them firm up just enough so they don’t crumble when you move them. Then, carefully transfer them to a wire rack to cool completely. Seriously, give them time to cool down – this is super important for the next step!
Tips for Perfectly Shaped Mexican Wedding Cookies
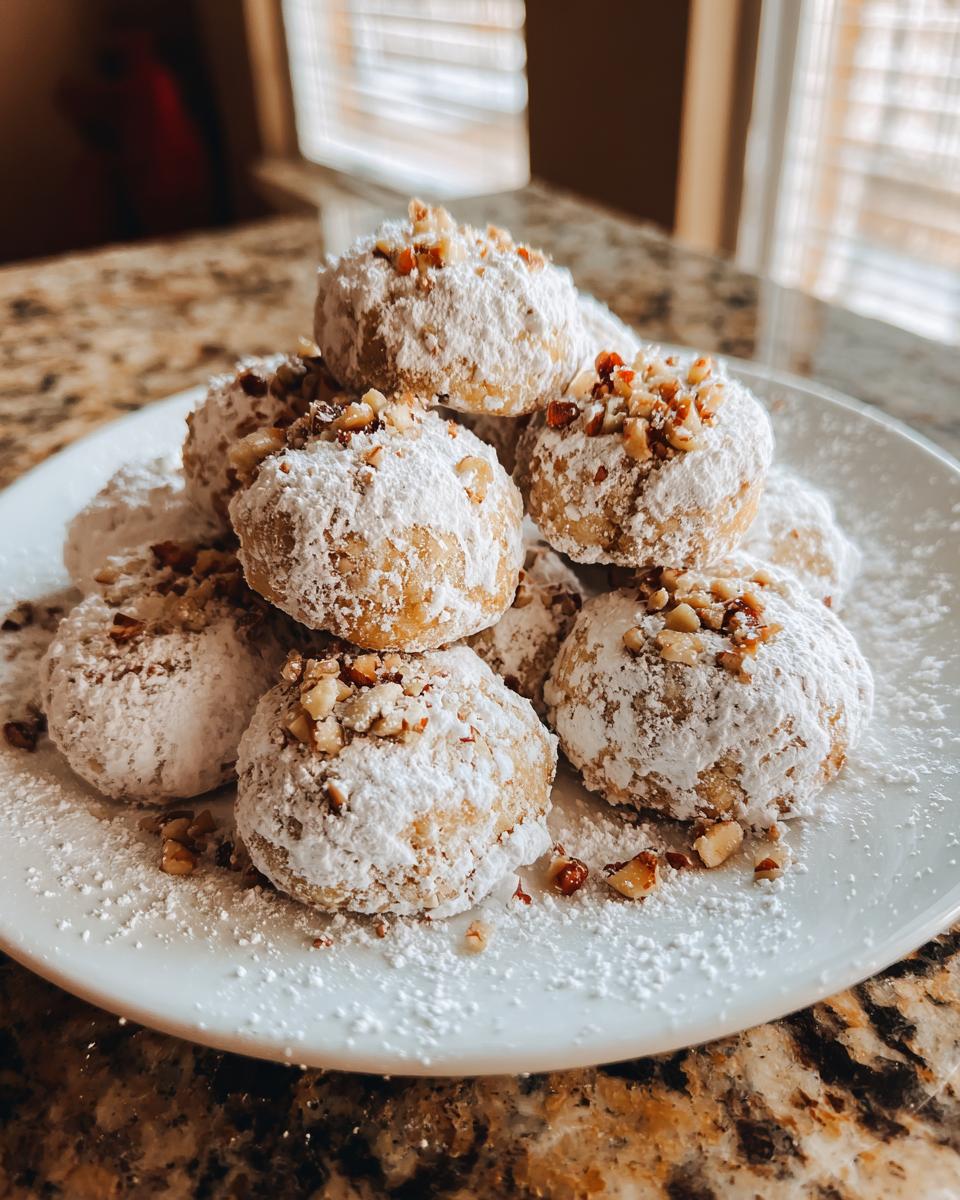
Want to make sure your little snowballs keep their shape? A little chill time for the dough before you roll them can work wonders. If your dough feels too soft or sticky, just pop it in the fridge for about 30 minutes. This helps the butter firm up so the cookies don’t spread too much in the oven. When you’re rolling, try to make your balls nice and firm. A gentle but decisive roll between your palms should do the trick. Remember, these aren’t meant to be flat cookies!
Achieving the Signature Snowball Look
This is where the real ‘snowball’ magic happens! Once your cookies are completely cool (I mean it, *completely*!), it’s time for their powdery coating. Pour a generous amount of powdered sugar into a bowl. Roll a few cookies at a time in the sugar, making sure they’re nicely coated. Shake off the excess. Now, here’s the trick my grandma Eleanor taught me: let those sugar-coated cookies sit for about 10 to 15 minutes. This lets the warmth from the cookie help the sugar stick. Then? Roll them in powdered sugar *again*! This second coat really gives them that beautiful, thick, snowy appearance that everyone loves. Just try to make sure they’re fully cooled before that first coating, or the sugar can get a bit gummy.
Essential Equipment for Baking Mexican Wedding Cookies
To whip up these delightful snowball cookies, you won’t need anything too fancy. Just your trusty mixing bowls, a good set of measuring cups and spoons, a reliable baking sheet, and a wire rack for cooling. Oh, and don’t forget a whisk or electric mixer for creaming that butter and sugar perfectly. Having a few small bowls handy for the powdered sugar coating is helpful too. Easy peasy!
Frequently Asked Questions About Mexican Wedding Cookies
Got questions about these delightful little snowballs? I’ve got answers! It’s so common to have little quirks pop up when baking, and these cookies are no different. Here are a few things folks often ask:
Why did my Mexican wedding cookies spread so much?
Oh, the dreaded spread! This usually happens if your butter was too soft when you started creaming, or if you overmixed the dough after adding the flour. Remember, these cookies have very little flour relative to butter and no eggs to provide structure, making them more prone to spreading. Make sure your butter is softened but not melted, and mix the flour in *just* until it’s combined. Chilling the dough for 30 minutes before shaping can really help them keep their shape!
Can I make these snowball cookies without nuts?
Absolutely! While the nuts add a fantastic texture and flavor, these cookies are still delicious without them. You can just skip the nuts altogether, and you’ll end up with a wonderfully tender, melt-in-your-mouth cookie that’s primarily a sweet, buttery shortbread coated in powdered sugar. They’re sometimes called Russian tea cakes when made without nuts, or just plain powdered sugar cookies. They bake up beautifully either way!
How long do these Mexican wedding cookies last?
These cookies stay wonderfully fresh for quite a while, thanks to all that buttery goodness and powdered sugar coating. Stored in an airtight container at room temperature, they’ll usually be great for about 5 to 7 days. I like to put a layer of wax paper between cookie layers if I’m stacking them to prevent them from sticking together too much, especially after that second coating of sugar.
Can these be made ahead of time?
Yes, totally! You can make the dough ahead of time and keep it chilled in the fridge for up to 3 days. Just let it soften slightly before shaping if it’s too firm. You can also bake the cookies completely, let them cool, and store them unfrosted for a day or two before rolling them in powdered sugar. Or, if you’re feeling super organized, you can do the full cookie-making process and the double sugar coating and store them in an airtight container for that 5-7 day window. Perfect for holiday prep!
Storage and Make-Ahead Tips for Your Mexican Wedding Cookies
These little snowballs are fantastic for making ahead, which is a lifesaver during the busy holiday season! Once they’re completely cool and have received their second glorious dusting of powdered sugar, store them in an airtight container. Avoid plastic bags, as they can get a bit sticky. I like to add a little piece of wax paper between layers just to be safe. They’ll stay fresh and delicious for about 5 to 7 days. If you want to get a head start, you can even bake the cookies and store them unfrosted in a container for a couple of days before giving them their snowy coating. And if you’re really planning ahead, this recipe works wonderfully for freezing the baked, unfrosted cookies. Just be sure to wrap them well! For more tips on keeping all sorts of treats fresh, especially after the holidays, you might want to check out this handy guide!
Estimated Nutritional Information
Just a heads-up, these numbers are estimates, okay? What you put into your cookies can change things a bit! We’re looking at around 150 calories per serving (which is about 3 cookies). You can expect about 10g of fat, 2g of protein, 15g of carbs, and roughly 10g of sugar. It’s all part of the yummy goodness!
Share Your Mexican Wedding Cookie Creations!
I absolutely LOVE hearing from you and seeing your baking triumphs! Have you made these delightful Mexican wedding cookies? Did they turn out as tender and snowy as you hoped? Drop a comment below to share your experience, or even better, rate this recipe! If you snap some pics, be sure to tag us on social media, like on our Facebook page. Seeing your creations makes my day and reminds me why we love keeping these classic recipes alive!
PrintMexican Wedding Cookies
Tender, melt-in-your-mouth cookies coated in powdered sugar, perfect for holiday gatherings.
- Prep Time: 20 min
- Cook Time: 12 min
- Total Time: 32 min
- Yield: 3 dozen 1x
- Category: Dessert
- Method: Baking
- Cuisine: American
- Diet: Vegetarian
Ingredients
- 1 cup (2 sticks) unsalted butter, softened
- 1/2 cup powdered sugar, plus more for coating
- 1 teaspoon vanilla extract
- 1/4 teaspoon salt
- 2 1/4 cups all-purpose flour
- 1 cup finely chopped pecans or walnuts
Instructions
- Cream together the softened butter and 1/2 cup powdered sugar in a large bowl until light and fluffy.
- Beat in the vanilla extract and salt.
- Gradually add the flour, mixing until just combined.
- Stir in the chopped nuts.
- Shape the dough into 1-inch balls and place them on ungreased baking sheets.
- Bake at 350°F (175°C) for 10-12 minutes, or until the edges are lightly golden.
- Let the cookies cool on the baking sheets for 5 minutes before transferring them to a wire rack to cool completely.
- Once completely cool, roll the cookies generously in powdered sugar.
- For a thicker coating, let the cookies sit for 10-15 minutes, then roll them in powdered sugar again.
Notes
- For a smoother dough, chill it for 30 minutes before shaping.
- Ensure cookies are completely cool before the second coating of powdered sugar for the best snowy effect.
- These cookies are often called Snowball Cookies or Russian Tea Cakes.
Nutrition
- Serving Size: 3 cookies
- Calories: 150
- Sugar: 10g
- Sodium: 20mg
- Fat: 10g
- Saturated Fat: 5g
- Unsaturated Fat: 5g
- Trans Fat: 0g
- Carbohydrates: 15g
- Fiber: 1g
- Protein: 2g
- Cholesterol: 20mg