
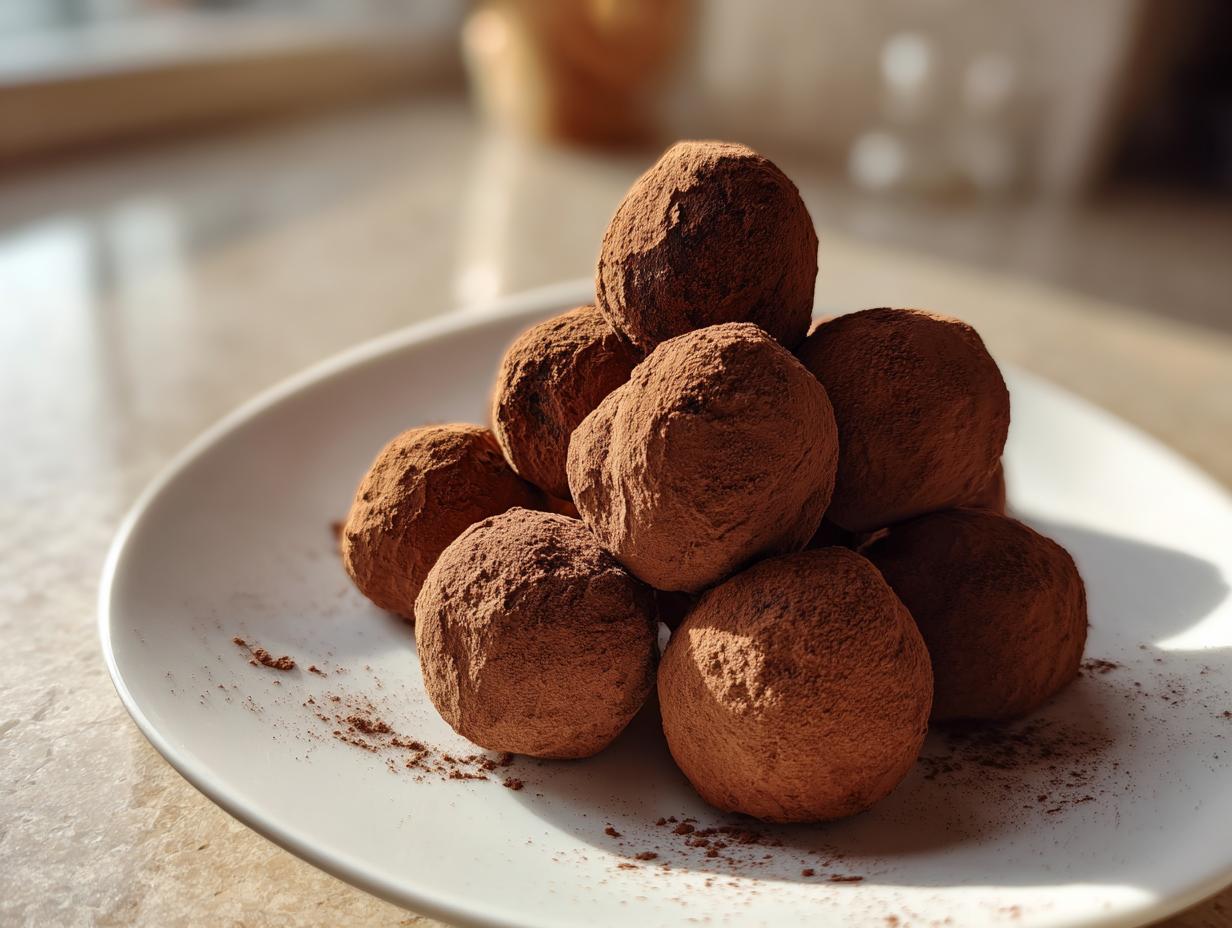

Oh, homemade chocolate truffles! Is there anything more decadent and utterly delightful? I swear, when you whip up a batch of these silky, rich chocolate truffles right in your own kitchen, it feels like you’ve entered a secret world of gourmet candy making. Trust me, I’ve been there – carefully coaxing ganache into smooth perfection and then rolling them, feeling like a true chocolatier. My favorite part is boxing them up to give away; they’re honestly the most impressive DIY gift, and everyone always raves about how they taste like something from a fancy shop. This recipe makes it surprisingly simple, even for us home cooks! You can even follow along for more kitchen inspiration over on our Facebook page!
- Why You'll Love These Easy Chocolate Truffles
- Gather Your Ingredients for Perfect Chocolate Truffles
- How to Make Silky Chocolate Truffles: Step-by-Step
- Tips for Perfect Chocolate Truffles Every Time
- Variations and Flavor Ideas for Your Chocolate Truffles
- Storing Your Delicious Chocolate Truffles
- Frequently Asked Questions about Chocolate Truffles
- Nutritional Information for Chocolate Truffles
Why You’ll Love These Easy Chocolate Truffles
Honestly, why wouldn’t you love making these? They’re a total game-changer for anyone who wants a touch of fancy without the fuss:
- Super Simple: Seriously, these are almost magical. Minimal ingredients, barely any cooking!
- Rich & Decadent: That smooth, melt-in-your-mouth texture? Pure chocolate bliss.
- So Versatile: Whether you’re rolling them in cocoa or dressing them up with nuts, they always impress.
- Perfect for Gifting: Imagine handing someone a box of these beautifully made truffles. Instant holiday hero!
Gather Your Ingredients for Perfect Chocolate Truffles
Alright, let’s get our ingredients ready to make these incredible chocolate truffles shine! It’s all about quality here, but don’t worry, you probably have most of this stuff on hand. You’ll need about 8 ounces of good quality semi-sweet or dark chocolate – I really love using something with at least 60% cacao for that deep, rich flavor that makes truffles taste truly gourmet. Make sure it’s finely chopped so it melts like a dream!
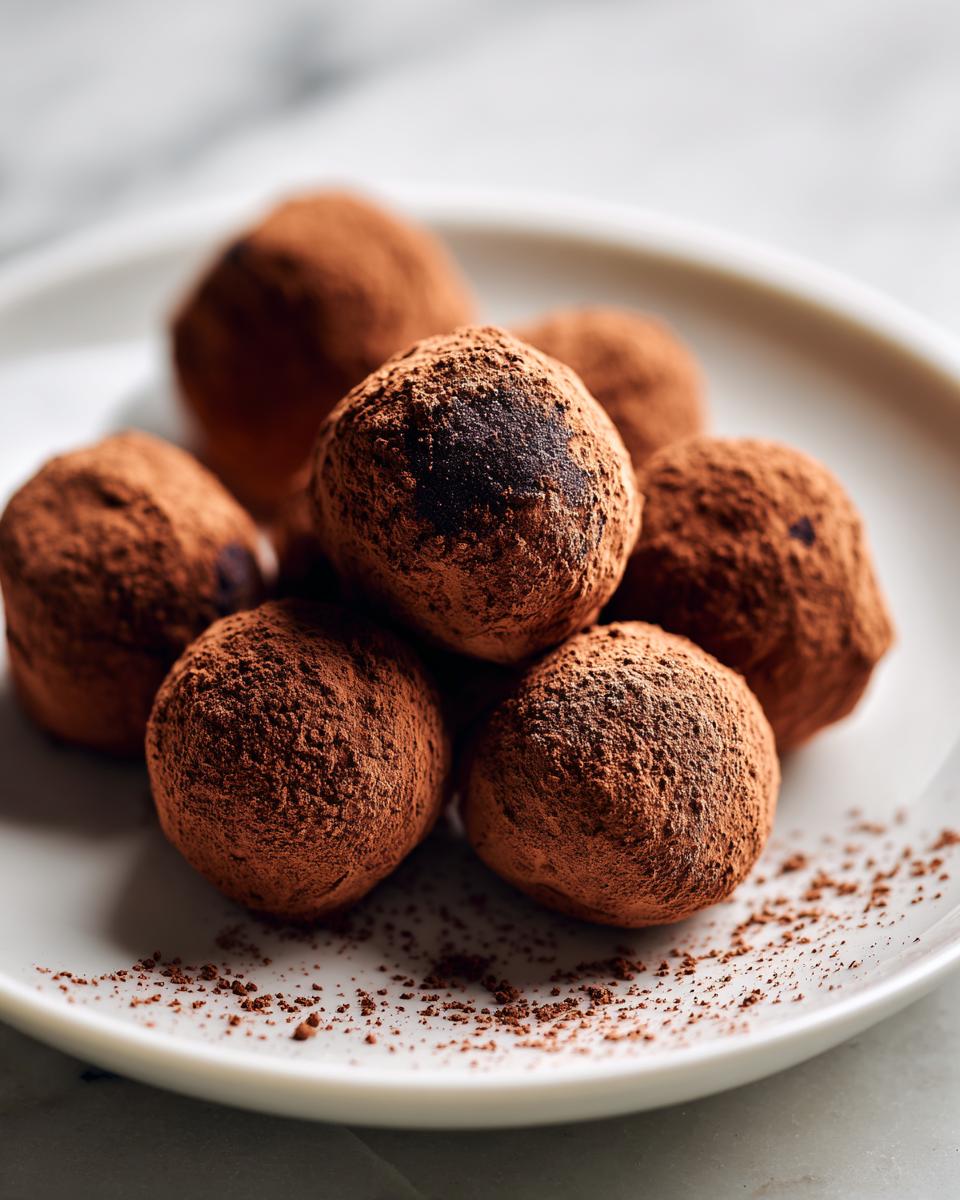
Then, we need 1 cup of heavy cream, which is going to make our ganache super silky. A tablespoon of unsalted butter, softened (just leave it on the counter for a bit), is key for that extra smooth finish and a touch of richness. And don’t forget 1 teaspoon of vanilla extract to really round out those chocolatey notes. For rolling, just have some plain old cocoa powder ready to go. That’s it for the base recipe!
How to Make Silky Chocolate Truffles: Step-by-Step
Alright, let’s get down to business! Making these luxurious chocolate truffles really isn’t as intimidating as it sounds. It’s more about patience and a little bit of love. We’re going to walk through this together, step by step, to get you those perfect, melt-in-your-mouth delights. You can find more amazing dessert recipes right here if you’re feeling inspired!
Creating the Rich Chocolate Ganache
First things first, we need to make the heart of our truffle: that super-smooth ganache. Take your finely chopped chocolate and pop it into a heatproof bowl. It’s important it’s chopped small so it melts evenly. Now, in a little saucepan, gently warm up your heavy cream over medium heat. You want it to just start simmering around the edges – no big bubbles, please! Carefully pour that hot cream right over the chocolate. Now, here’s the trick: let it sit for a good 5 minutes without touching it. This lets the heat do its magic. After those 5 minutes, start gently whisking from the center outwards until everything is smooth and glossy. Then, whisk in that softened butter and vanilla extract until it’s all beautifully combined and super shiny.
Chilling and Shaping Your Chocolate Truffles
Okay, ganache is made! Now it’s time for that crucial chilling phase. Cover that bowl tightly with plastic wrap, making sure the wrap actually touches the surface of the ganache. This stops a yucky skin from forming. Pop it into the fridge for at least 2 hours, or until it’s firm enough to scoop and handle. When it’s ready, grab a small cookie scoop or a spoon and scoop out portions, then gently roll them into little balls with your hands. If your hands get too warm and the ganache starts to get melty, don’t freak out! Just pop the whole tray back in the fridge for a little bit to firm up again. Easy peasy!
Coating Your Gourmet Holiday Truffle Candies
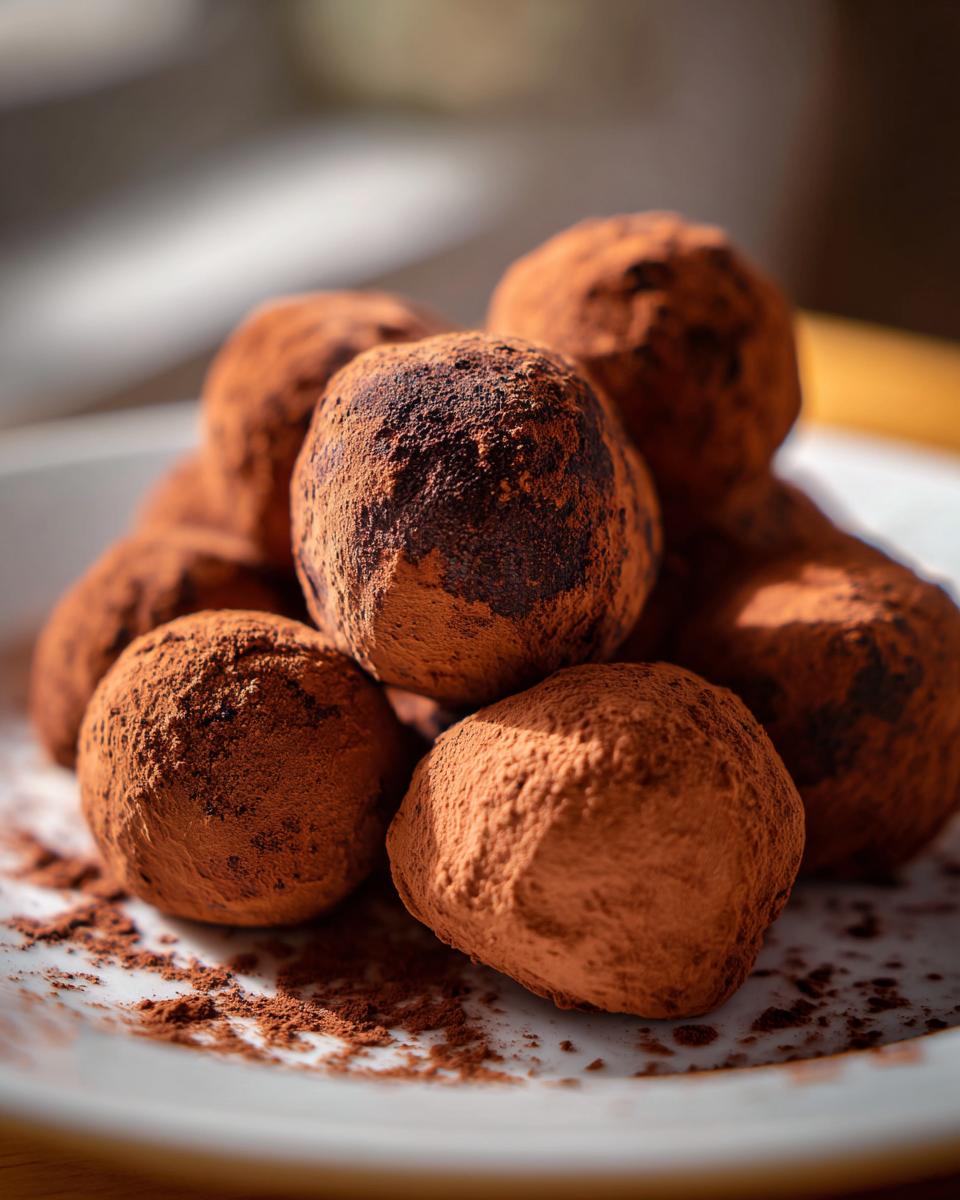
Now for the fun part – coating these little beauties! Get a shallow dish and fill it with your cocoa powder. Take each truffle ball and gently roll it around in the cocoa until it’s evenly coated. This gives them that classic truffle look and a lovely hint of chooclatey bitterness. If you’re feeling fancy, you could also try rolling them in finely chopped nuts (like toasted almonds or pistachios) or even some fun sprinkles! For other candy inspiration, check out this Candy Corn Fudge Recipe!
Tips for Perfect Chocolate Truffles Every Time
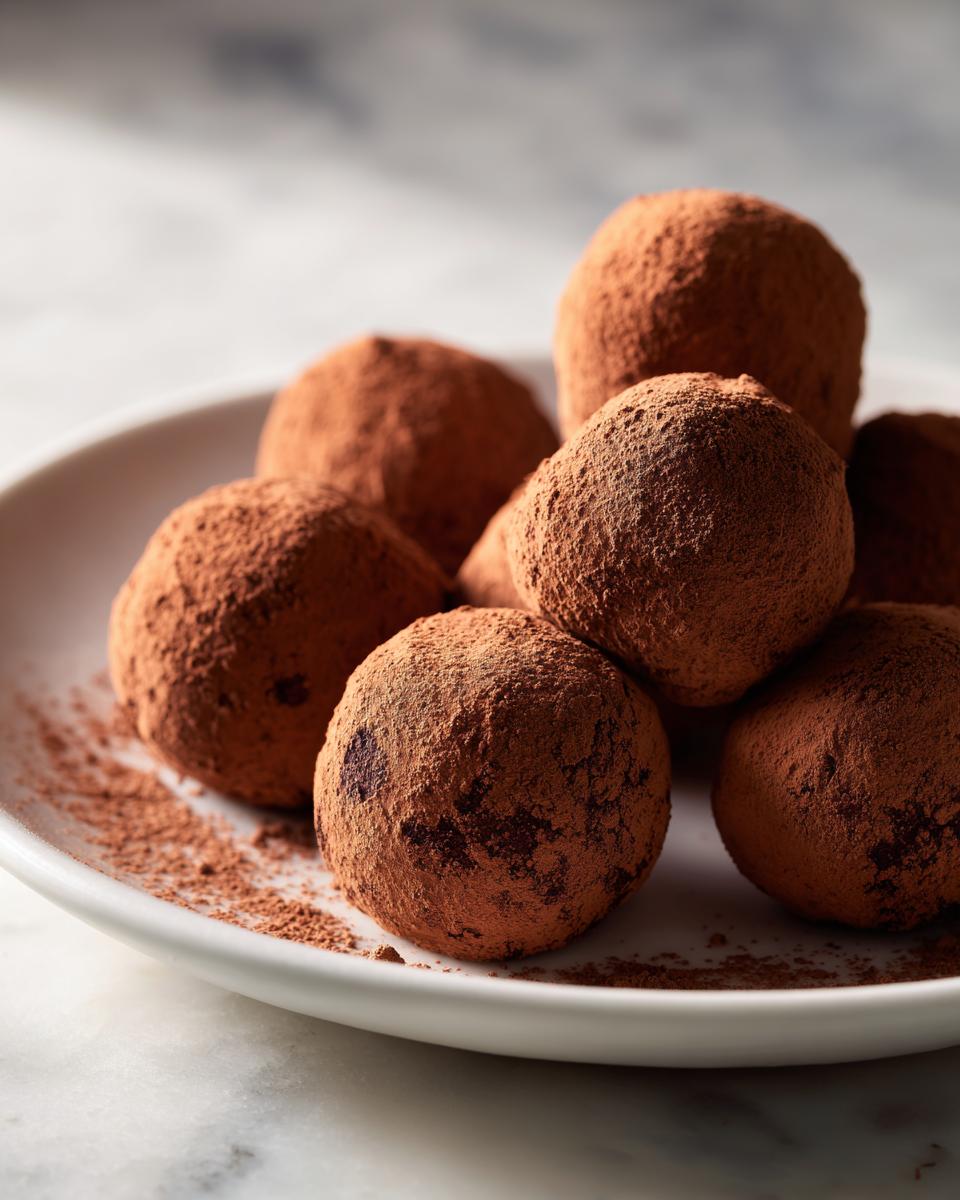
Okay, so you’ve made these luscious chocolate truffles, and you want them to be absolutely perfect every single time, right? I get it! Over the years, I’ve learned a few little tricks that make all the difference. First off, chocolate quality is *huge*. Seriously, use the best semi-sweet or dark chocolate you can find. It really lets the chocolate flavor shine, and trust me, your taste buds will thank you. Cheaper chocolate just doesn’t melt as smoothly or taste as rich.
Don’t be afraid of the chilling step! It’s super important for getting that perfect ganache consistency. If it’s too warm, it’ll be messy and hard to roll. If it gets too soft while you’re rolling, just pop it back in the fridge for 10-15 minutes. It’s not a big deal! Also, remember to cover the ganache directly with plastic wrap once it’s made; that’s how you avoid that weird skin forming. For more kitchen wisdom, you can always check out our blog!
Variations and Flavor Ideas for Your Chocolate Truffles
Now for my absolute favorite part: making these chocolate truffles totally your own! While the basic recipe is divine, you can really jazz them up. Want a boozy kick? Stir in 1 to 2 tablespoons of your favorite liqueur – Kahlua, rum, or Grand Marnier are amazing – right after you finish whisking the ganache. It might make the ganache a tiny bit softer, so just give it a little extra chill time. You could also add a dash of mint or orange extract, or even some warm spices like cinnamon or a pinch of chili powder for a sneaky little heat! Some finely chopped espresso beans would make these feel like a fancy coffee treat. Get creative – these chocolate truffles are your canvas!
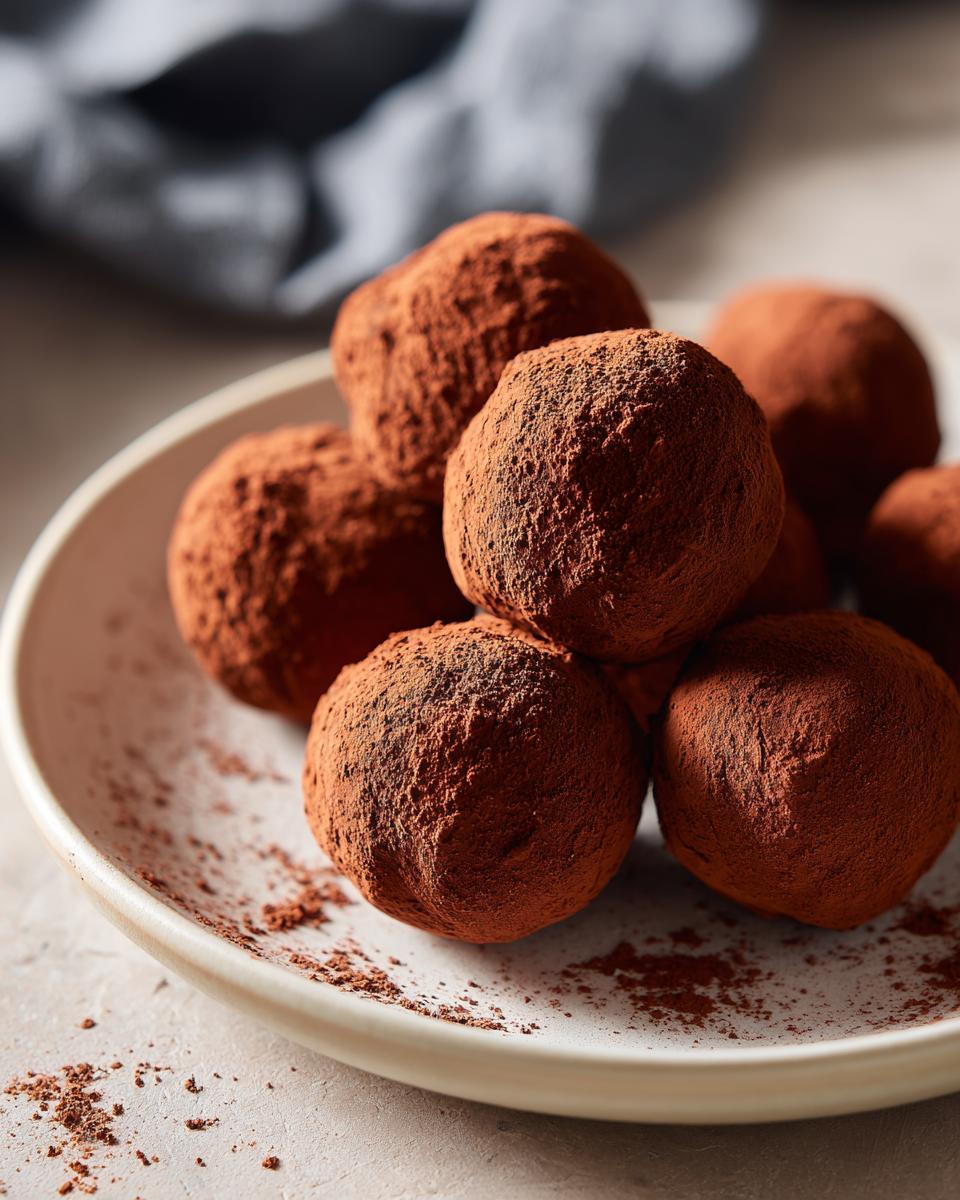
Storing Your Delicious Chocolate Truffles
Okay, so you’ve made all these fabulous chocolate truffles, and now you’re wondering how to keep them fresh and delicious, right? It’s super simple! Once they’ve had their final chill, pop them into an airtight container. Keeping them in the fridge helps them stay firm and prevents them from getting too soft. They’ll stay lovely for about a week like this. Just remember, before you serve them, give them about 15-20 minutes out on the counter to come back to room temperature. That’s the secret to letting them melt perfectly in your mouth!
For more tips on storing goodies, you might like to check out our guide on leftover candy and cookies.
Frequently Asked Questions about Chocolate Truffles
Got questions about whipping up these delightful chocolate truffles? I’ve got you covered! Making these easy chocolate truffles is pretty straightforward, but a few little things can pop up. For other no-bake ideas, check out these awesome oreo truffles!
Can I use milk chocolate instead of dark for these truffles?
You totally can! If you prefer a sweeter taste, milk chocolate works. Just know that milk chocolate has more sugar and less cocoa solids, so your truffles might be a bit softer. You might need to chill them a bit longer to get them firm enough to roll. They’ll still be delicious!
Why are my chocolate truffles too soft to roll?
This usually happens if the ganache wasn’t chilled long enough or if your kitchen is on the warmer side. Don’t worry! Just pop the whole bowl of ganache back into the fridge for another 20-30 minutes. You want it firm enough to scoop and hold its shape when you roll it. If your hands get too warm while rolling, that’s okay too – just take a quick break and let the ganache firm up in the fridge between batches.
How long do these cocoa rolled ganache balls last?
These lovely cocoa rolled ganache balls will keep well in an airtight container in the refrigerator for about a week. They hold up pretty nicely! Just remember to let them sit out for about 15-20 minutes before you plan to eat them so they can soften up just right. They get a little hard in the fridge, and you want that melt-in-your-mouth texture!
Nutritional Information for Chocolate Truffles
Just a heads-up, the nutrition info for these chocolate truffles is an estimate per serving (that’s about 1 truffle). Because we all use slightly different chocolate or maybe add a little extra something, it can vary a bit! But generally, each truffle packs around 90 calories with about 7g of fat, 6g carbs, and 7g sugar. You get a little bit of protein in there too!
PrintEasy Chocolate Truffles
Create rich, silky chocolate truffles with this straightforward recipe. Perfect for gifting or special occasions.
- Prep Time: 20 min
- Cook Time: 5 min
- Total Time: 2 hours 25 min
- Yield: 24 truffles 1x
- Category: Dessert
- Method: No-Bake
- Cuisine: American
- Diet: Vegetarian
Ingredients
- 8 ounces good quality semi-sweet or dark chocolate, finely chopped
- 1 cup heavy cream
- 1 tablespoon unsalted butter, softened
- 1 teaspoon vanilla extract
- Cocoa powder, for rolling
Instructions
- Place the finely chopped chocolate in a heatproof bowl.
- In a small saucepan, heat the heavy cream over medium heat until it just begins to simmer around the edges. Do not boil.
- Pour the hot cream over the chopped chocolate. Let it sit for 5 minutes without stirring.
- Gently whisk the mixture starting from the center and working your way out until smooth and fully combined.
- Whisk in the softened butter and vanilla extract until the butter is melted and incorporated.
- Cover the bowl with plastic wrap, pressing it directly onto the surface of the ganache to prevent a skin from forming.
- Chill the ganache in the refrigerator for at least 2 hours, or until firm enough to scoop.
- Once firm, scoop the ganache using a small cookie scoop or a spoon. Roll into balls with your hands. If the ganache becomes too soft, return it to the refrigerator for a short time.
- Place cocoa powder in a shallow dish. Roll each truffle ball in the cocoa powder until evenly coated.
- Place the finished truffles on a parchment-lined baking sheet.
- Chill the truffles for at least 30 minutes before serving or storing.
Notes
- For a richer flavor, use dark chocolate with at least 60% cacao.
- You can add 1-2 tablespoons of your favorite liqueur (like Kahlua, Grand Marnier, or rum) to the ganache after whisking in the cream for flavored truffles.
- For a different coating, try rolling the truffles in finely chopped nuts, sprinkles, or shredded coconut.
- Store truffles in an airtight container in the refrigerator for up to 1 week. Let them come to room temperature for about 15-20 minutes before serving for the best texture.
Nutrition
- Serving Size: 1 truffle
- Calories: 90
- Sugar: 7g
- Sodium: 5mg
- Fat: 7g
- Saturated Fat: 4g
- Unsaturated Fat: 3g
- Trans Fat: 0g
- Carbohydrates: 6g
- Fiber: 1g
- Protein: 1g
- Cholesterol: 20mg